


How to Create Embellished Roller Shades

Materials Needed:
- roller shades
- decorative shade pulls
- upholstery trim (grosgrain ribbon, rick-rack, bullion fringe, pom-poms, etc.)
- temporary fabric pen
- fabric glue
- small brush
- scissors
- tape measure
- ruler
- screwdriver
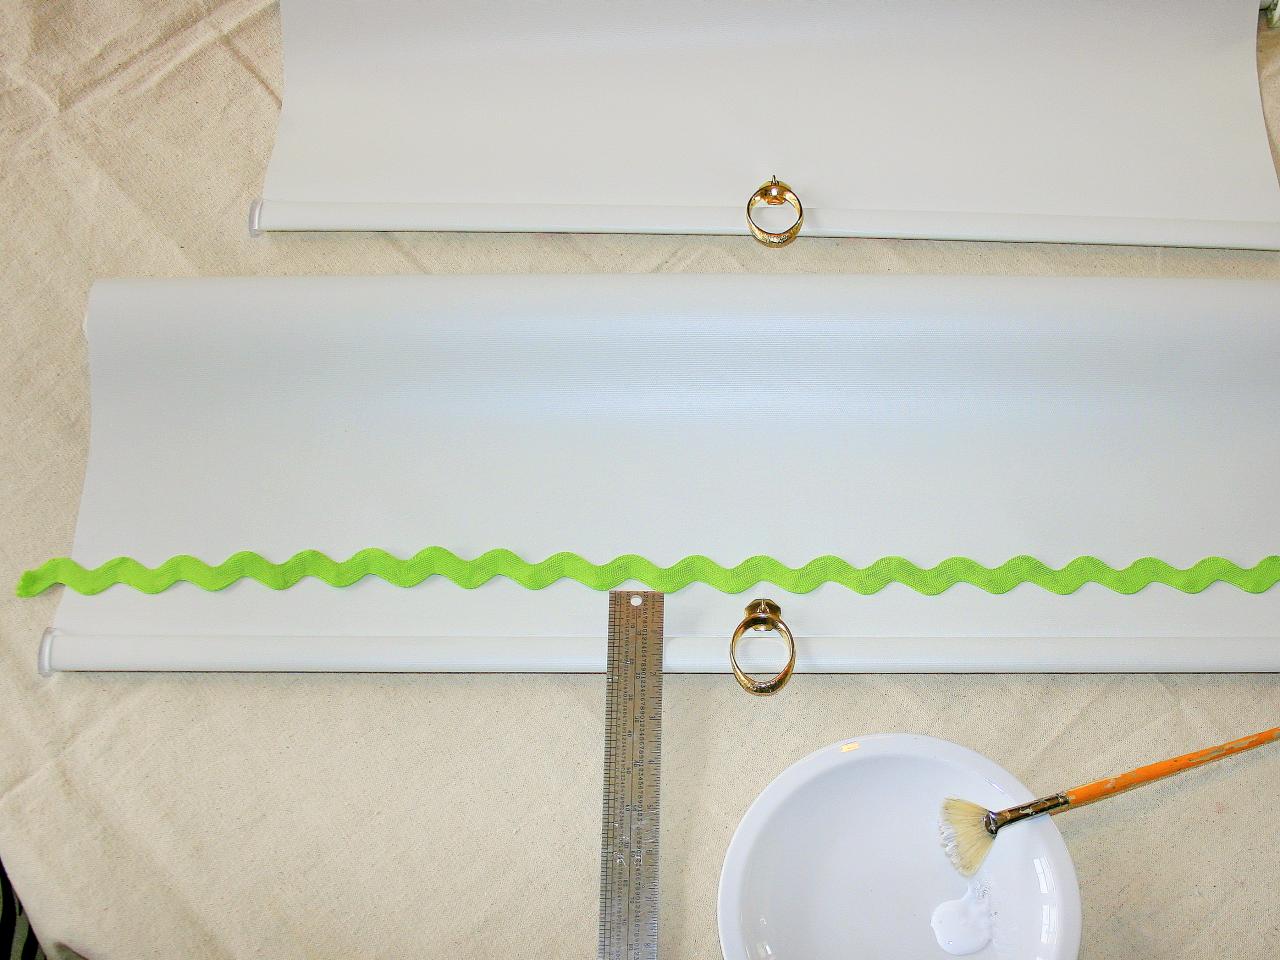
Gather Materials and Attach Pulls
Select roller shades, decorative shade pulls and trim. Attach pulls to center point of bottom shade edge.

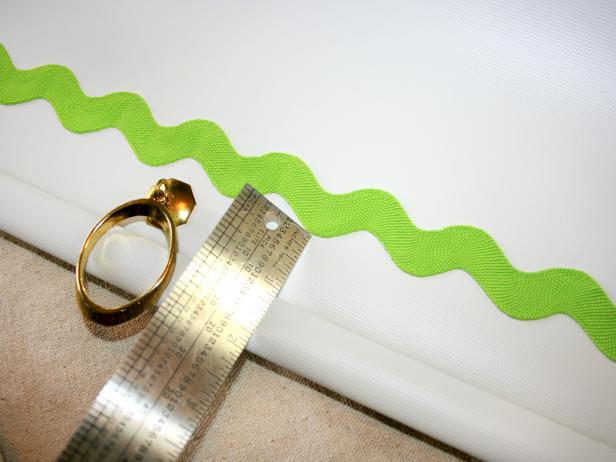
Cut Decorative Trim
Lay trim on shade and cut to size, leaving one inch excess on each side.

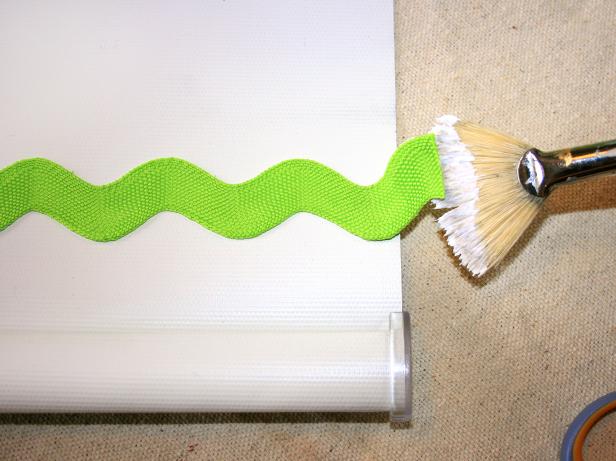
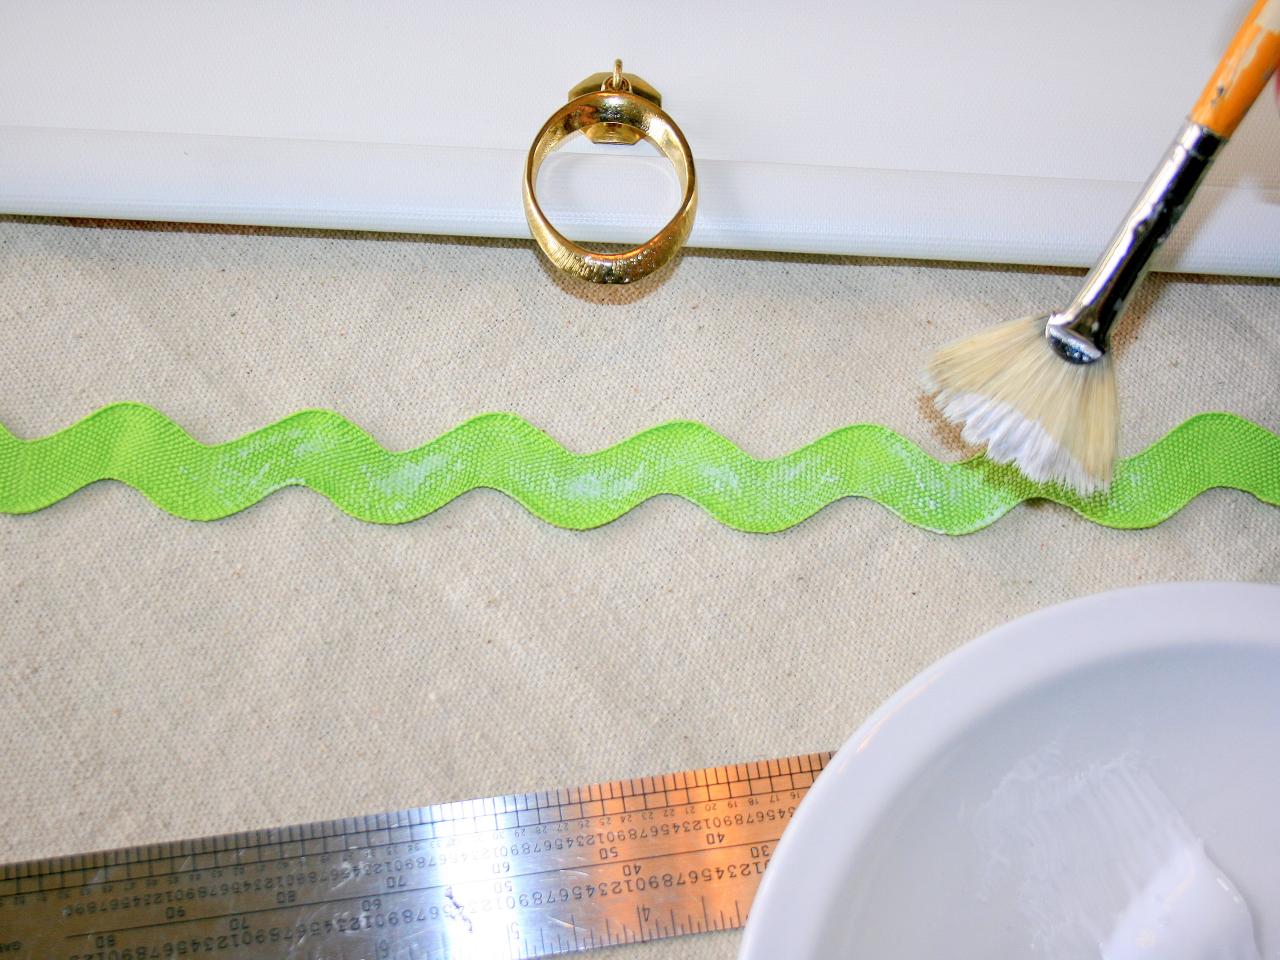
Apply Fabric Glue
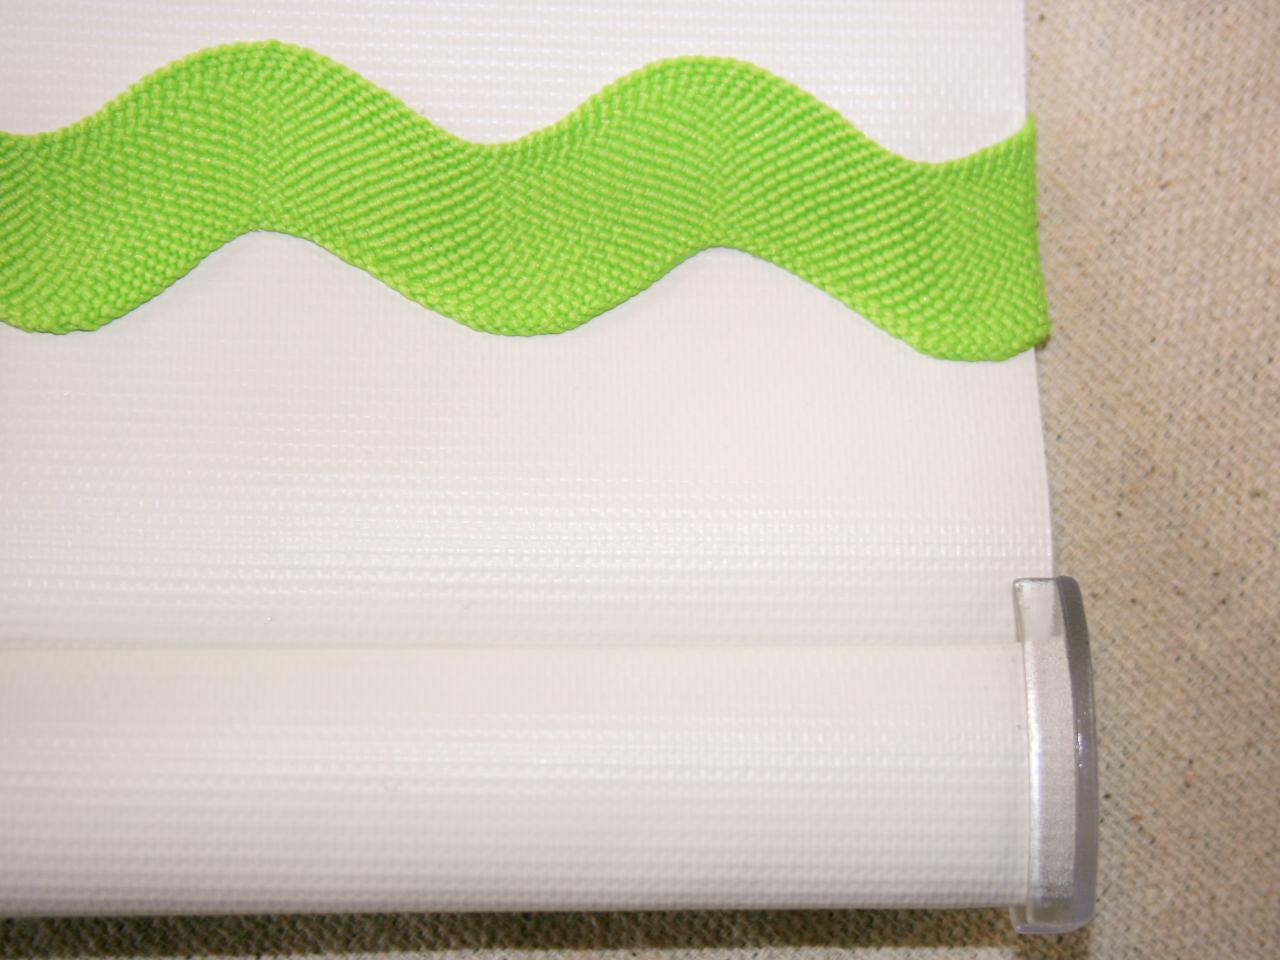
Brush fabric glue onto back side of upholstery trim. Tip: We used rick-rack but any similarly lightweight trim would work.

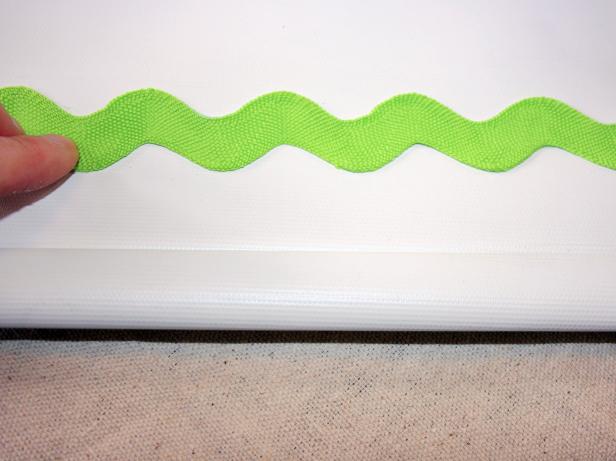
Attach Trim to Shade
Position trim at desired height along bottom edge of shade, brush glue on remaining length of trim and attach to shade.

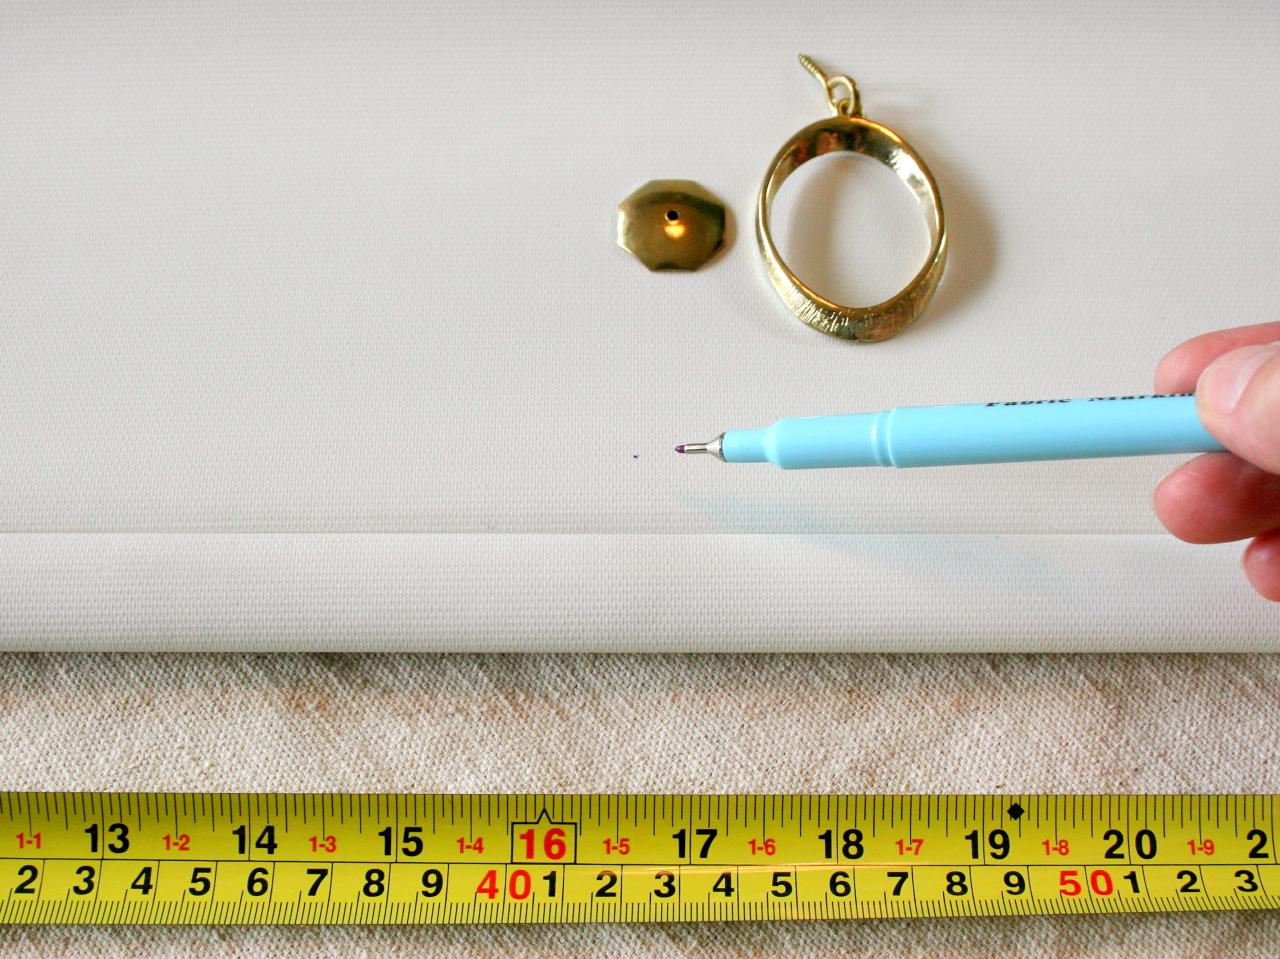
Measure Trim Placement
Check distance of trim from bottom edge of shade to ensure level placement before glue dries. Once you're satisfied with placement, press trim firmly onto shade to ensure glue adheres properly.
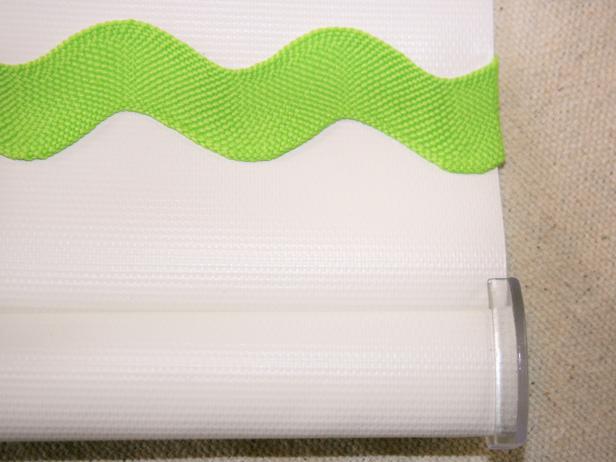
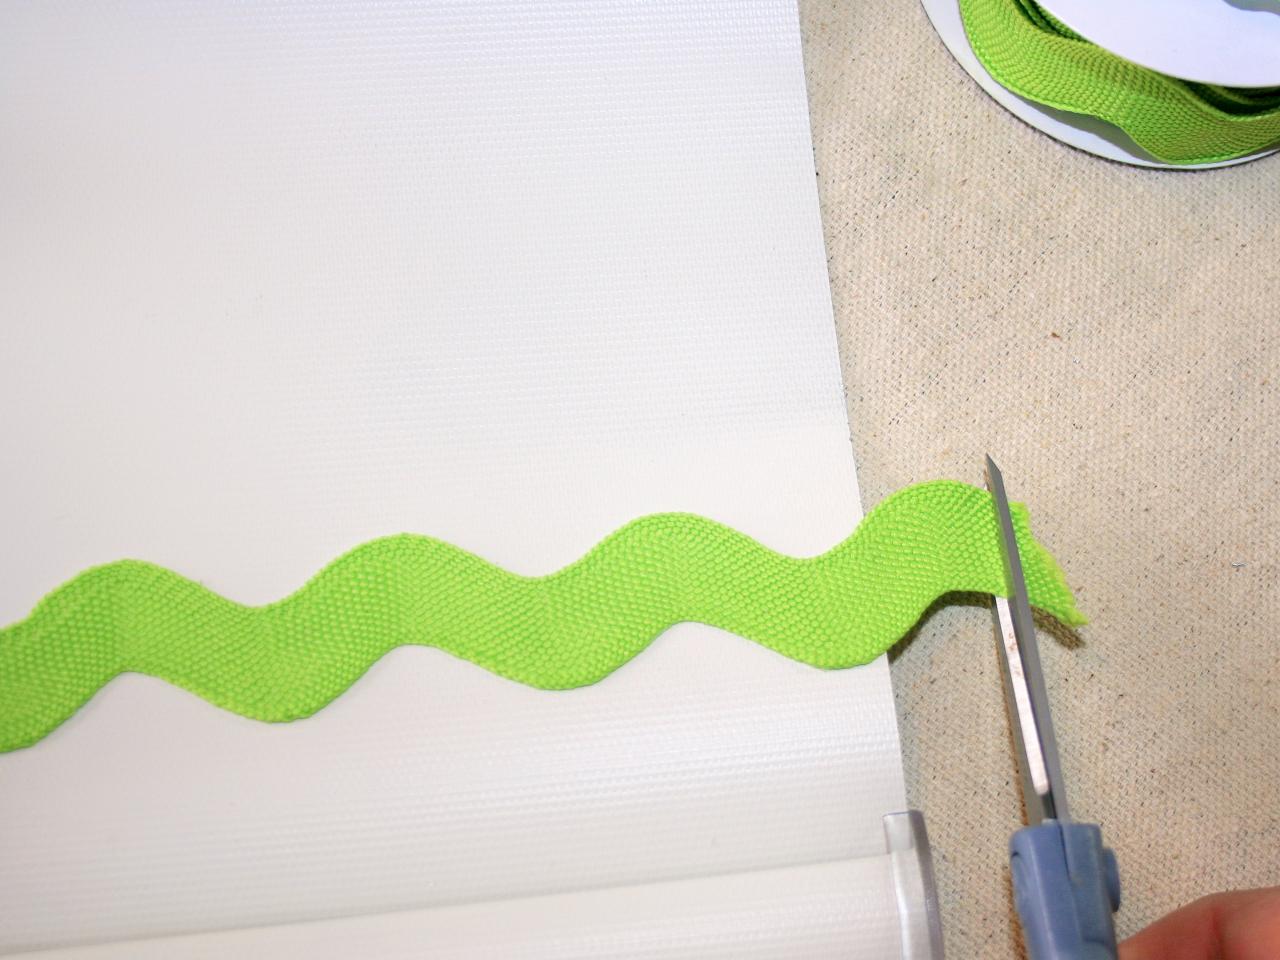
Remove Excess and Glue Down Edges
Cut off excess trim leaving approximately 1/2-inch selvage at each side of shade. Apply glue to back side of trim selvage; turn under and press selvage firmly onto reverse side of shade.

Add a Second Layer of Trim
Repeat above steps to apply additional layers of trim. Tip: Consider using more than one style and color of trim for a creative, custom look.

Install Shades
Using a screwdriver, attach hardware included with roller shades to window frame and hang shades.


