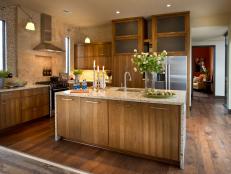
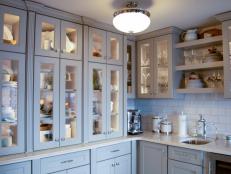
Distressed Kitchen Cabinets
Get all the info you need on distressed kitchen cabinets, and create a welcoming and casually chic design in your kitchen.
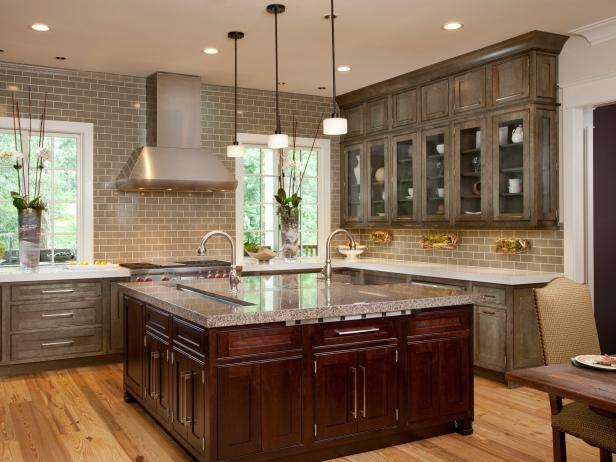
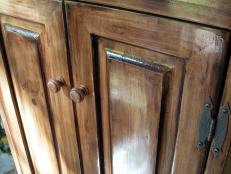
You can add a casual, somewhat rustic look to your kitchen design with distressed kitchen cabinets. This "laid-back-chic" approach is easy to do yourself, or in many cases you can even order your kitchen cabinets pre-distressed.
If you're going the DIY route, your first step will be to sand your cabinets with a sanding block. This will remove any original finish and make it easier for the antiquing glaze you'll use later to adhere to the surface. You'll want to remove all hardware before sanding, and you may also want to remove the cabinet doors to make the job easier. Be prepared for a good amount of paint and sanding dust.
Once you're done sanding, clean the cabinets with a tack cloth and a damp rag. Once they're clean and dry, apply your antiquing glaze or paint. If using a glaze, let it sit momentarily, then wipe with a damp cloth to remove excess. Let the cabinets dry for at least 24 hours before applying a top coat. Consider sanding between coats for a smooth finish. After another 24 hours, reinstall your hardware.
If you painted, you can now do any additional distressing with a sanding block or gentle wire brush—common areas to distress are cabinet corners and door frames.


