


Restaining Kitchen Cabinets
Explore your options for restaining kitchen cabinets, and get all the info you'll need to give your kitchen a stylish facelift.

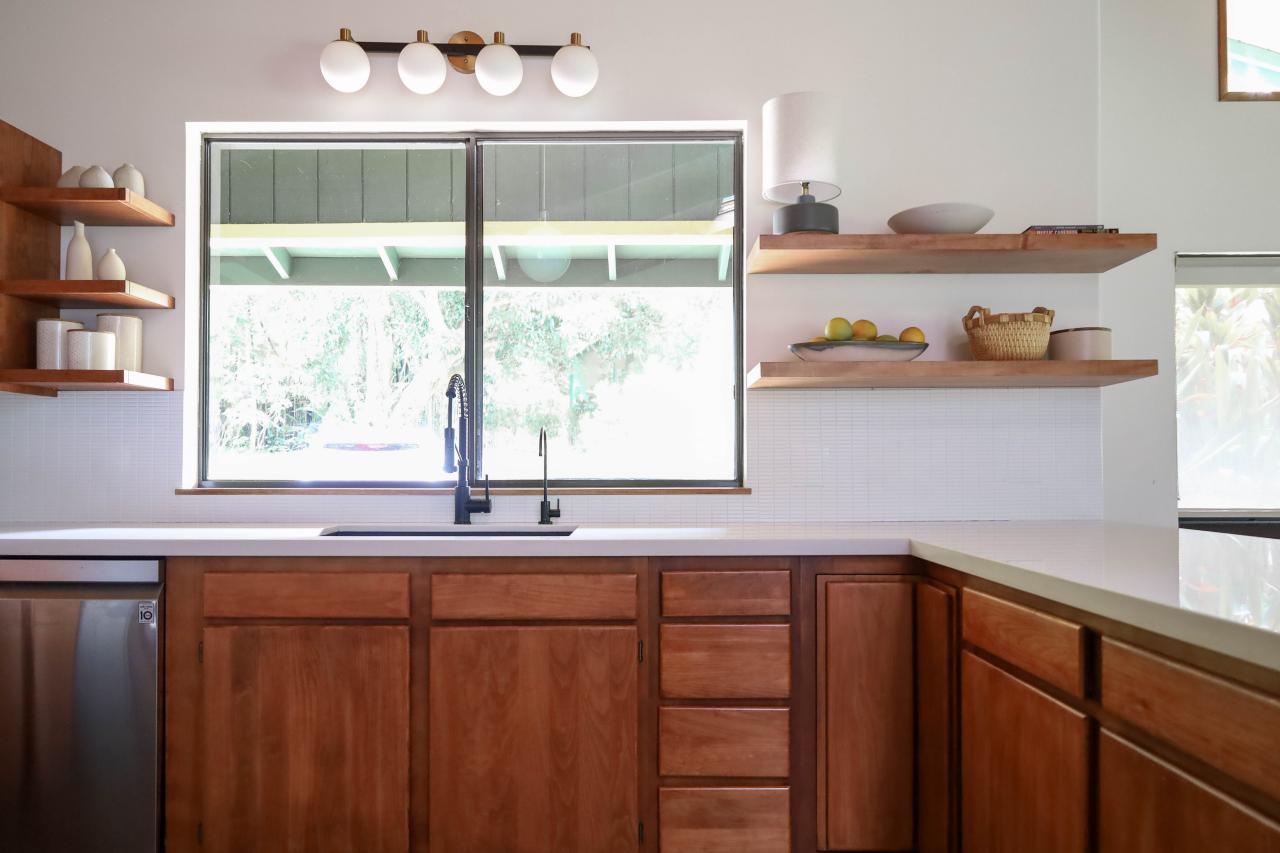
Neutral Kitchen With Custom Oak Cabinets
This classic, neutral kitchen features custom oak cabinets to fit around appliances while providing plenty of storage space.
Photo by: Ryan Garvin Photography, Architect: Scape Design Studio, Inc.
Ryan Garvin Photography, Architect: Scape Design Studio, Inc.
Restaining kitchen cabinets takes some DIY knowledge and a bit of sweat equity, but it can be a great way to give your kitchen a simple, cost-effective makeover.

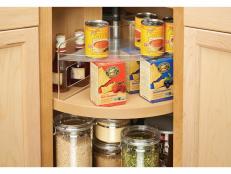
Kitchen Cabinet Refacing
Get all the info you'll need on kitchen cabinet refacing, and ensure your kitchen cabinet makeover will be a stylish success.
Step 1. Disassemble and Label Cabinets
The first step in restaining kitchen cabinets is to remove the doors from the cabinets and the cabinets from the wall. Before removing, be sure to label all cabinets and doors so that you will be able to re-install them in the correct locations and in the right order.
Step 2. Remove All Hardware
Next up, unscrew all hardware, including hinges, knobs and pulls, and keep them together in a bag or container.
Step 3. Strip the Finish
The next step is to strip the old finish from your cabinets and doors. Apply gel stripper with a paintbrush to one or two cabinet/door sets at a time (any more and the gel will dry out). Let the gel sit for 10 minutes or so until you see that the surface has bubbled and softened.


Step 4. Scrape the Cabinet Surface
Next, scrape the old surface with a scraper, in the direction of the grain. Scrape the old varnish into a container, and be sure to wear gloves and work in a well-ventilated area. Scrub any stubborn spots with steel wool. Wipe down the stripped surface with a rag dipped in mineral spirits to remove any stripper residue, and wipe everything clean with a tack rag.

Kaila Edwards
Step 5. Paint on the New Finish
When the doors and cabinets are fully dry, paint on the new finish in long, smooth strokes, then apply a second coat after six hours of drying. Next, apply at least two coats of protective polyurethane varnish to the cabinets, using a brush or paint sprayer. Apply one coat, let it dry for 24 hours, then apply another coat. Allow all surfaces to dry for 24 hours, then re-install the hardware.


