


How to Install a Shower Tile Wall
Update your bathroom by installing tile in the shower with these step-by-step instructions
Wade Works Creative

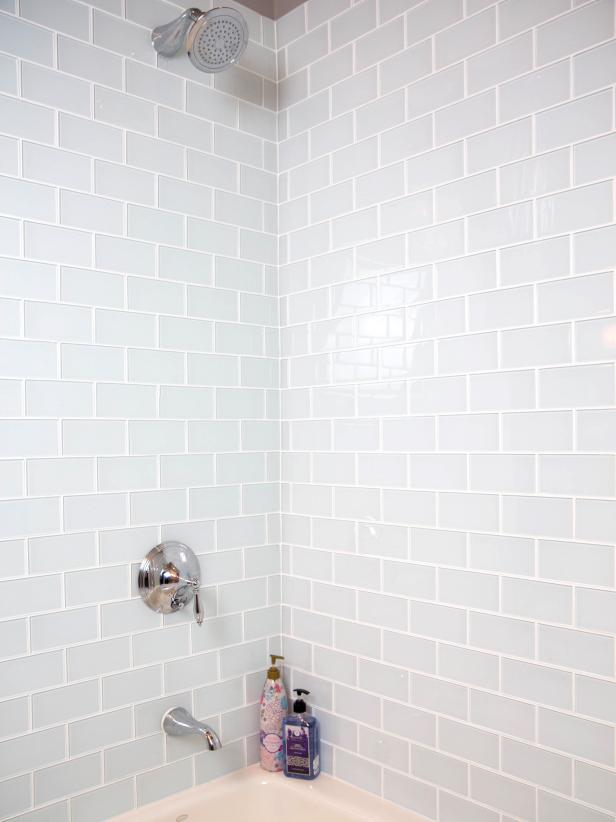
Give your bathroom a fresh look by tiling the shower walls. We can help with step-by-step instructions including how to apply grout between your tiles and a list of materials and tools you'll need to get a professional-looking result.
Materials and Tools:
- scrap piece of wood (as level guide)
- construction adhesive
- concrete backer board
- backer board screws
- fiber tape
- thinset mortar mix
- grout mix
- tile spacers
- wet saw or tile cutter
- mild soap
- sponges
- level
- tile nippers
- mortar mixer
- (2) large plastic buckets
- drill and bit
- notched trowel
- tile float
- cement board cutter
- towels
- disposable gloves
- chalk line
- caulk gun
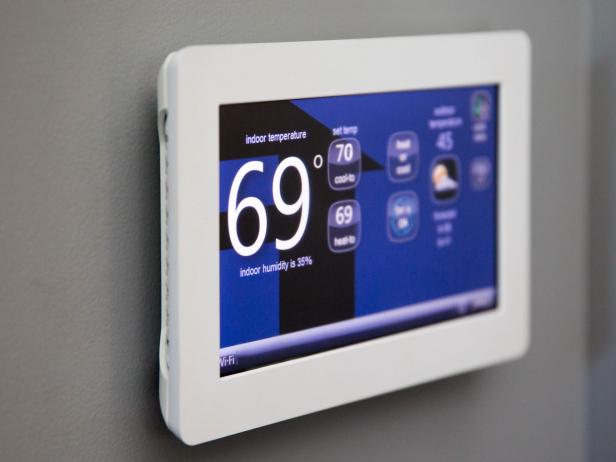
Check Temperature
Ensure temperature of the room, adhesive and tiling materials are between 50 to 70 degrees F for 24 hours before and after installation.
Wade Works Creative
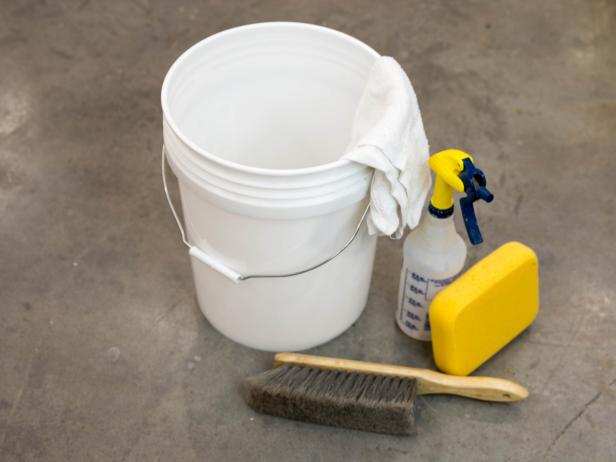
Clean Surface
Be sure your surface is flat, dry and structurally sound. Clean walls with mild soap and a sponge before installation.
Wade Works Creative
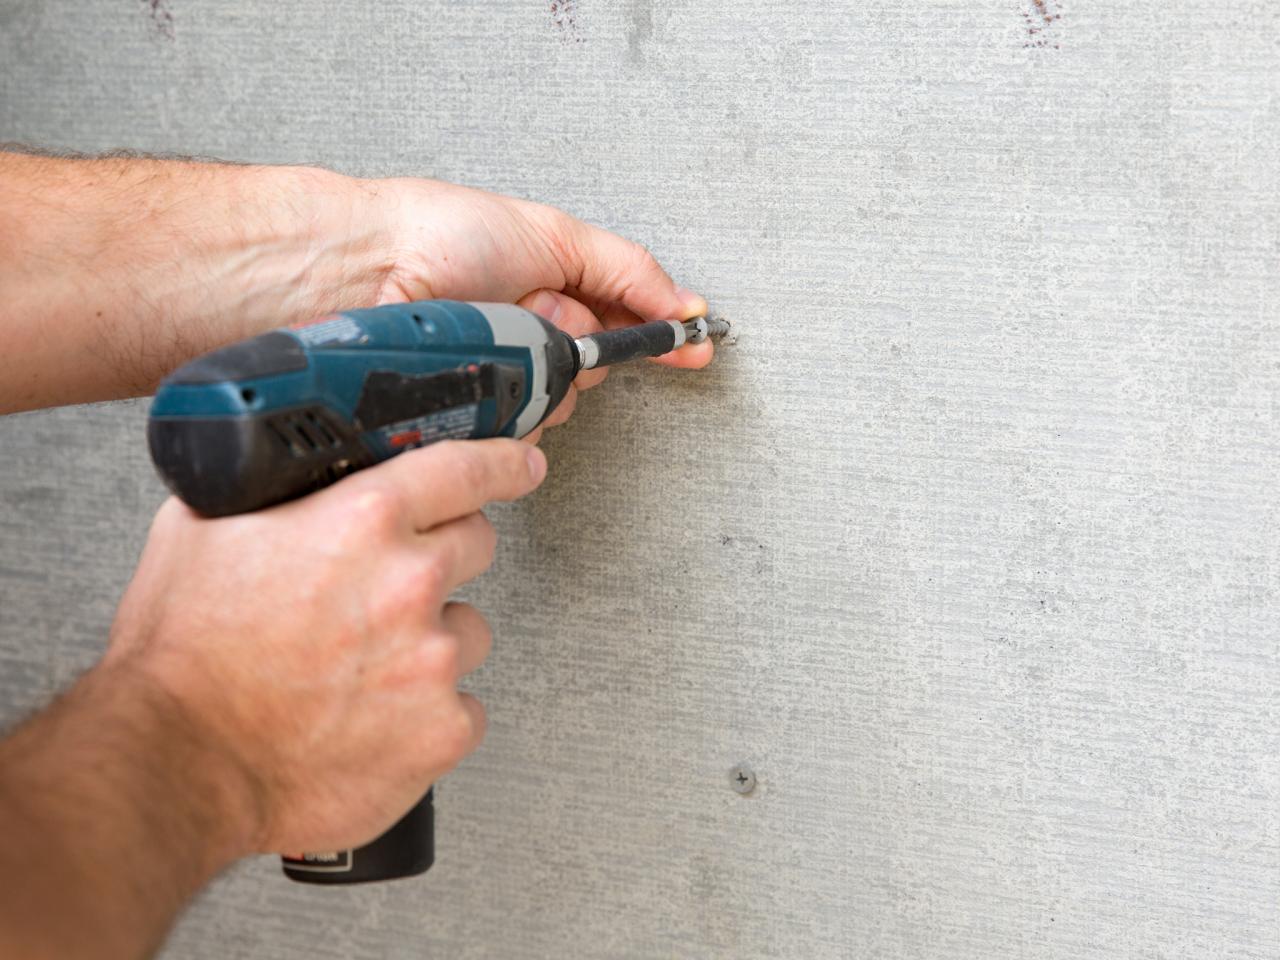
Waterproof Area
Attach a waterproof board (a GreenBoard or cement board) with a drill and screws. Apply fiber tape to cover all seams. For more protection, apply a waterproof sealer to the concrete backer board (Images 1 and 2).

Wade Works Creative

Wade Works Creative
Image 2
Prep for First Row
For your first row of tile, use a long board (just shorter than the length of the wall you are tiling) as a temporary guide and rest. Ensure the board is level, within one tile height of the wall base.

Wade Works Creative
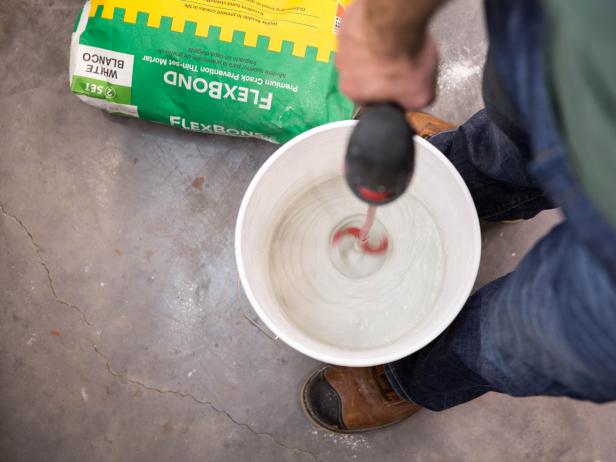
Prep Mortar
Prep mortar in a large bucket, and combine thinset mortar and water according to package instructions. Only mix what you can use in 20 minutes time.
Wade Works Creative
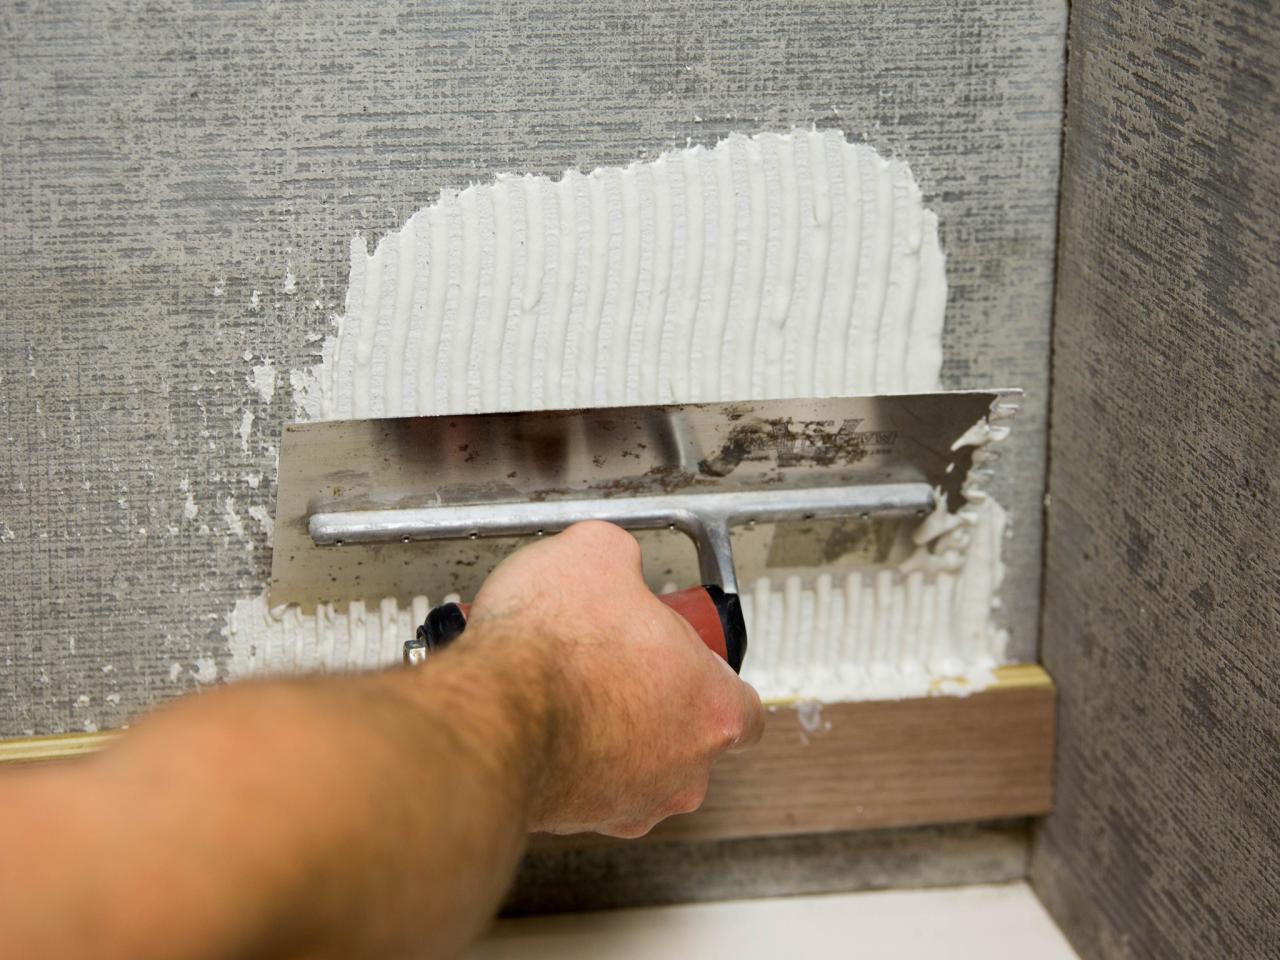
Apply Mortar
Apply thinset mortar mix to the waterproof board along the temporary guide board using a notched trowel. Only apply two to three horizontal rows at a time.

Wade Works Creative
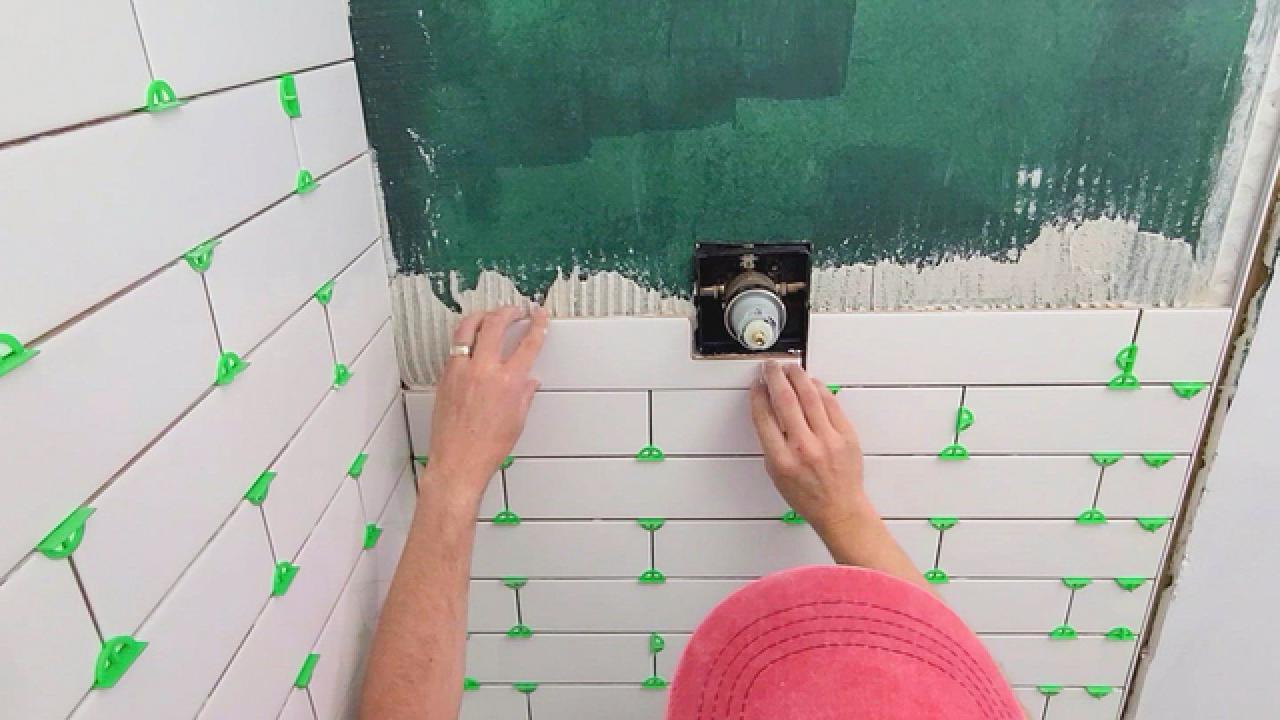
Install Tile
Before applying your tile to the wall, decide on the layout and orientation of your tile by positioning the tiles on the floor. Install full-piece tiles first, and fill in with cut pieces as you go or install them at the end. If you wait to install the cut pieces, use a notched trowel to scrape the thinset from the wall so it doesn't dry before installation. When installing cut pieces, apply the thinset to the back of each tile.

Wade Works Creative
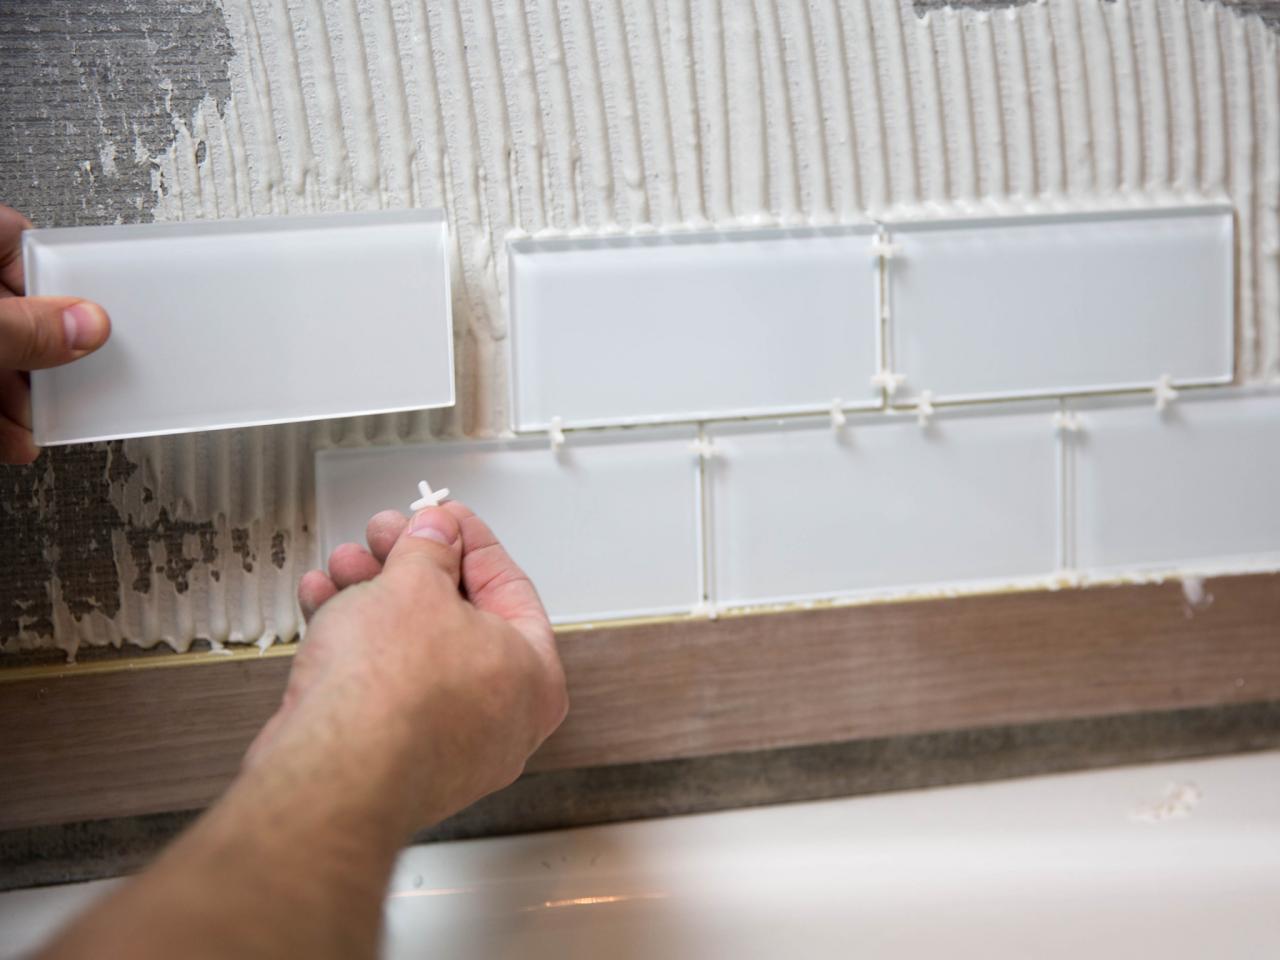
Evenly Space Tiles
Continue installing tile in horizontal rows, placing spacers of choice in between tiles. Once the thinset dries (at least 12 hours), remove the temporary wood board, and install tile on the bottom row. Let dry for 24 hours, and remove spacers.

Wade Works Creative
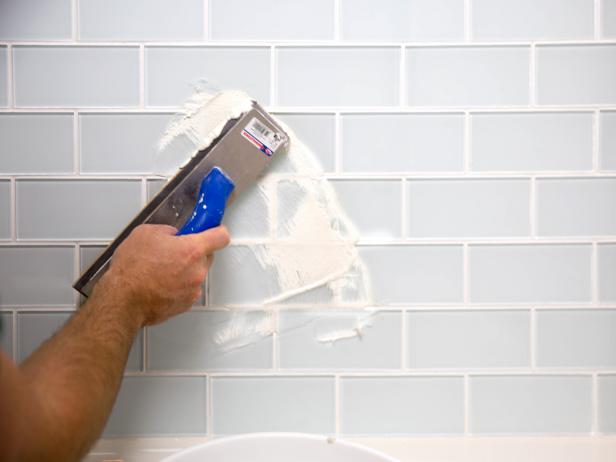
Apply Grout
Mix grout in a large bucket according to package instructions. Apply grout with a rubber float at a 45-degree angle. Use pressure to push the grout evenly and fully into all joints.
Wade Works Creative
Wipe Away Excess
Before grout stiffens, use a wet sponge to wipe away excess grout off tiles. Don't wipe in the direction of the grout lines, but instead at an angle to avoid wiping away the grout between the tiles. Once dry, buff tile surface with a dry towel.

Wade Works Creative

Wade Works Creative
Watch How to Tile a Bathroom Shower Wall


