


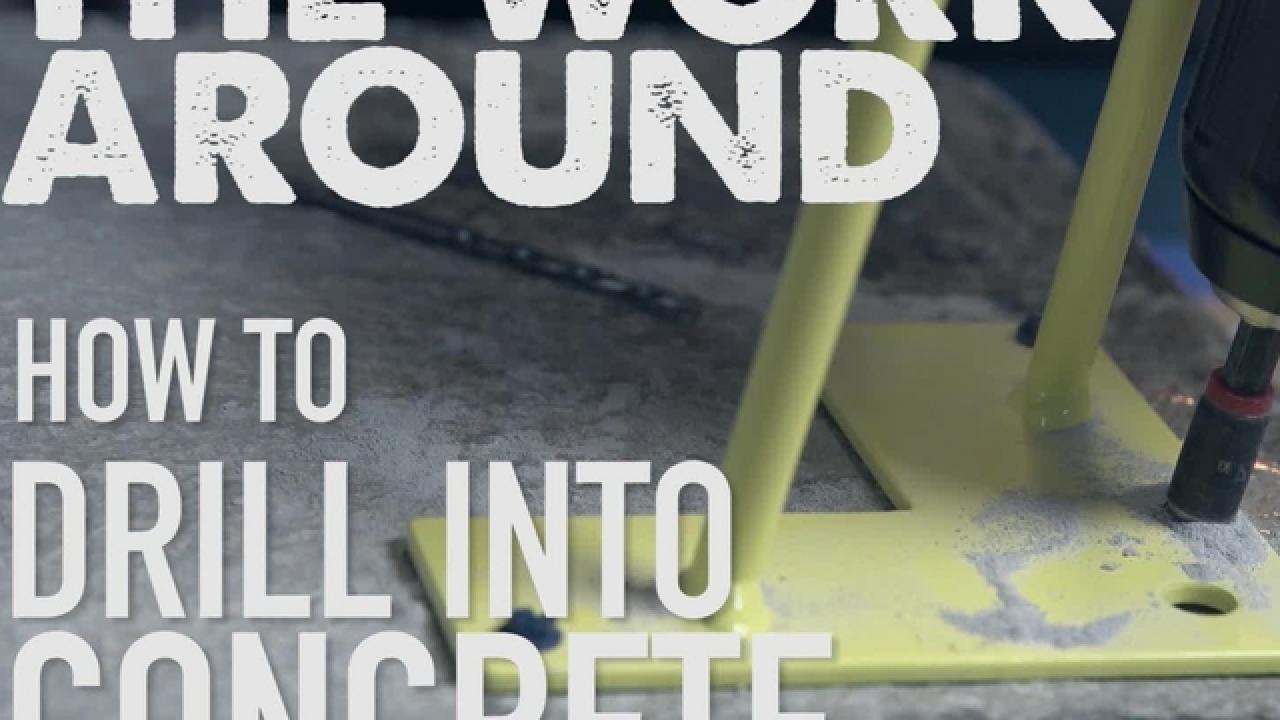
How to Drill Into Brick or Concrete
Drilling into tough materials can be challenging, but using the proper equipment takes the effort out of anchoring into brick and concrete.

Concrete and brick are similarly dense, durable and difficult to penetrate. Anchoring objects into these materials takes a little extra planning, but choosing the right equipment makes it radically easier.

Getty Images/AleksandarNakic
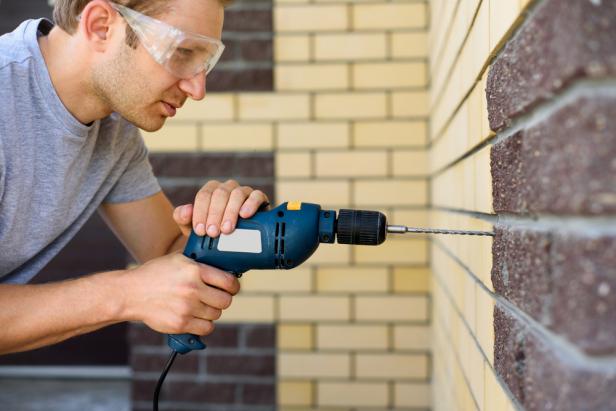
Can you use a regular drill for brick or concrete?
For small projects requiring only one or two small holes, a homeowner can usually make do with a trusty power drill. It’s always best to use masonry drill bits or concrete diamond point screws. Both are designed to grind and bite into the material. A regular drill will require more force to push through the concrete or brick and all-purpose drill bits are more prone to snap under that pressure.
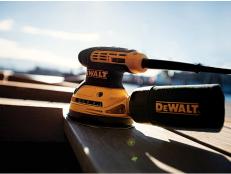
If you’re tackling a bigger project or want to rely on the strength of the tool to get the job done, consider upgrading to a hammer drill (also known as a rotary hammer or impact driver). These drills range from 450 to 1,500 watts of power and with higher wattage comes ease of use when drilling into hard materials. If you compare a hammer drill with an ordinary drill, you’ll feel the difference. The percussion hammering mechanism interacts with the rotating drill bit. The impact of the interaction “hammers” the drill bit into the material as it spins at a high velocity.
Plan to rent, borrow or purchase a hammer drill to make your next project more efficient.
Shutterstock/Only_NewPhoto
Tools and Materials:
- protective eyewear
- respirator
- safety gloves
- masking tape
- hammer drill
- masonry drill bits
- wall anchors or screws
- hammer
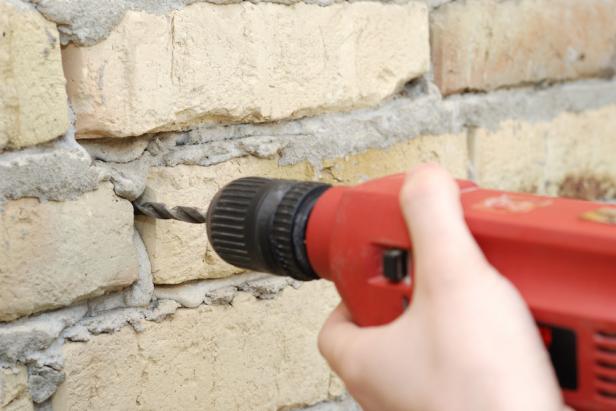
Step 1: Measure and Mark Your Spot
Start by marking the exact location you need to drill. If you’re measuring on concrete, you should be able to select a uniform surface. If you’re drilling into brick, you might find that your measurement lands on either solid brick or between bricks, in the mortar. In any material, it’s important to consider how the size of your anchor might influence placement. For example, many anchors cannot be placed close to the edge of a concrete surface.
Shutterstock/Flegere
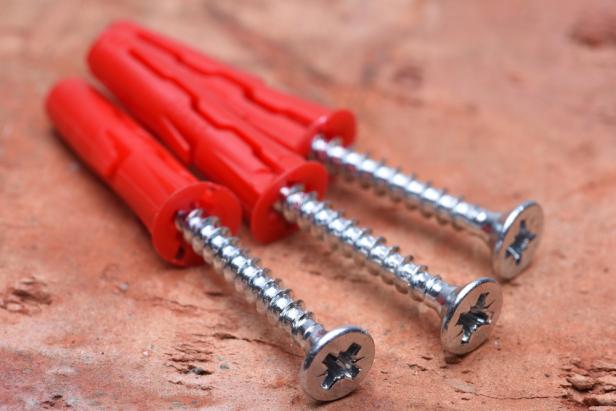
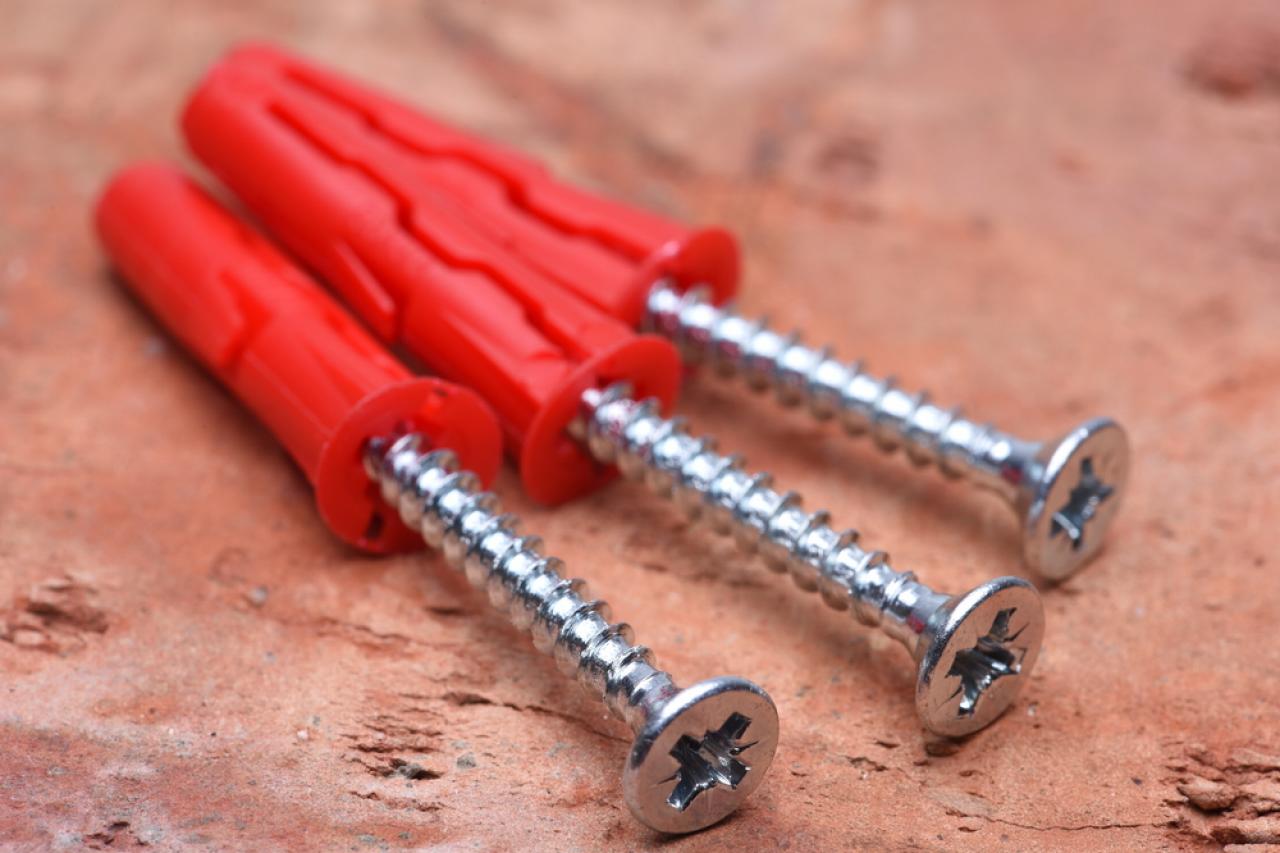
Step 2: Select Your Anchor
Depending on where you are going to drill, choose your anchor. If you’re predrilling a hole for a large anchor, the size of the anchor influences the drill bit size you’ll use to get the job done. If you’re using a concrete diamond point screw for lighter installations, the tip of the screw itself will predrill as the screw works its way into the material. Anchors require a tight fit in order to properly secure or support weight.
Common concrete and brick anchors include concrete screws, hammer-set anchors, lead screw anchors, plastic wall plugs, lag shields and anchor bolts.
- light-duty anchors, like plastic wall plugs, will support up to 50 pounds
- medium-duty anchors are better for wall hangings that weigh up to 200 pounds
- heavy-duty anchors are structural and can support 200+ pounds
Step 3: If Necessary, Choose Your Drill Bit
Follow the manufacturer’s instructions if you need to predrill a hole. Select a masonry drill bit the appropriate width for your anchor. Set the bit into the drill and tighten it for use.
If you only plan on predrilling a hole of a specific depth, many hammer drills come with an attached depth stop. If not, you can create your own as a visual cue to measure the depth of your hole. To DIY your depth stop, wrap the drill bit with a small piece of tape.
Let’s say that you’re trying to predrill a hole 1” deep. If you measure the drill bit 1” in from the pointed end and align the edge of the tape with that spot, you will be able to see when you’ve drilled 1” into the material. The depth stop is usually recommended to be 1/4” deeper than necessary for your anchor.
Shutterstock/Alexander Penyushkin
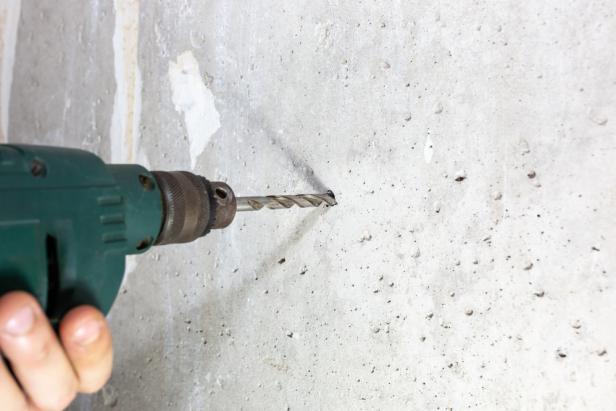
Step 4: Begin to Drill
Align the end of the drill bit or concrete screw with the mark you’ve measured. Begin setting into the concrete or brick by activating the drill slowly to control it until a crevice has been created on the targeted spot. Apply firm pressure to the drill, even if you’re using a heavy-duty hammer drill. Drills are prone to slip on dense surfaces.
If the drill spins off the spot, pause and reset it. Continue doing this until you have a divot in the material that will hold the drill bit securely in place.
Shutterstock/Randall Skeffington
Step 5: Complete the Hole
Once you’ve established that divot for the drill bit, it’s easy to stay on track. Hold the drill level and continue to apply pressure, operating the drill until you’ve reached the desired depth.
You won’t want to inhale concrete dust, which is why it’s encouraged to wear a respirator when drilling into concrete and brick. Collect the dust and discard it.

Shain Rievley
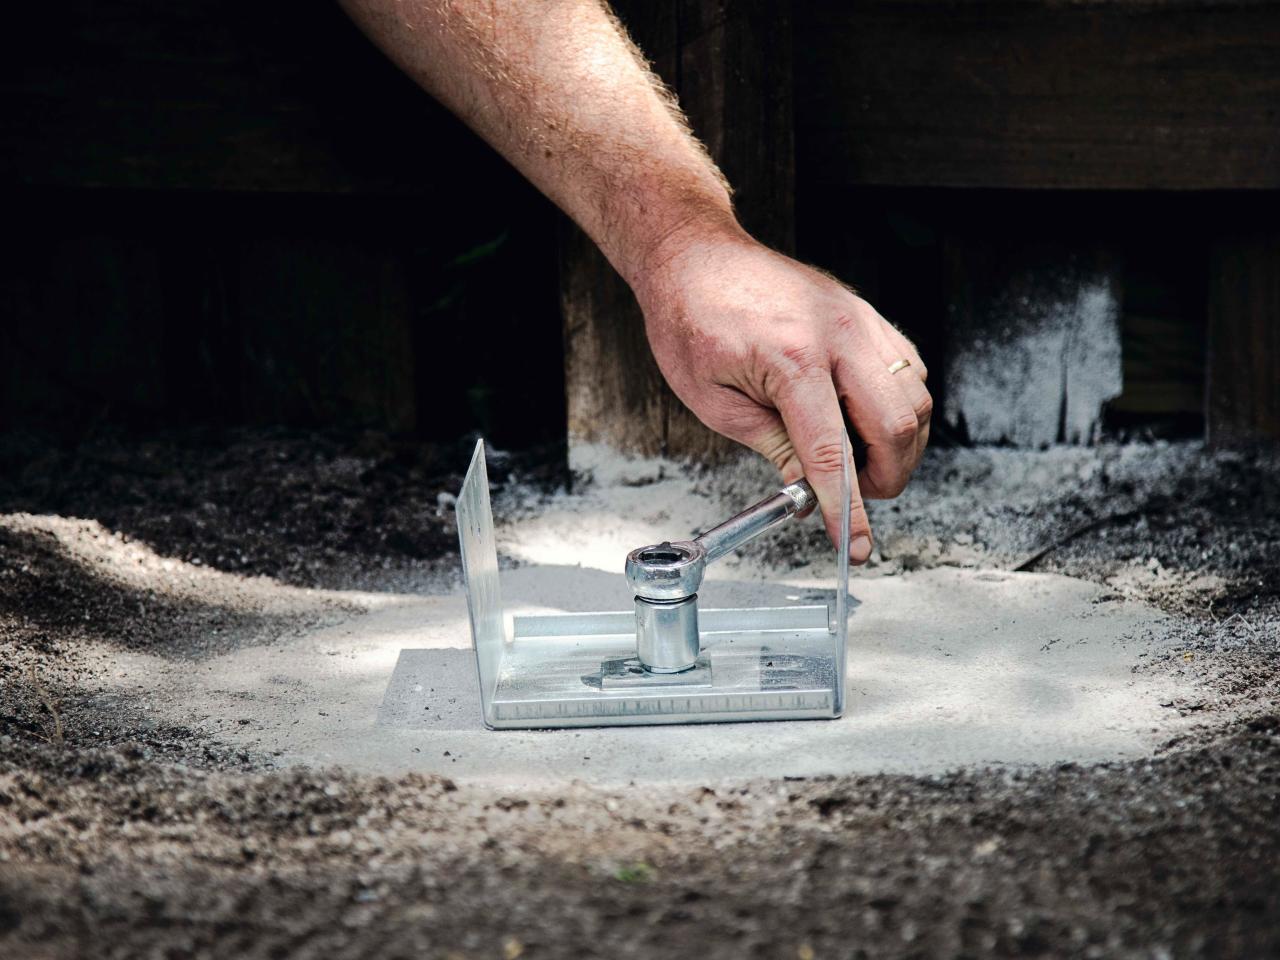
Step 6: Install Your Anchor and Complete the Job
If you’re using additional anchors for reinforcement, follow the manufacturer’s instructions. Use a hammer or a drill to install the bolts or other hardware per direction. If there’s any doubt that the hole you drilled is the wrong size, you can still widen the existing hole with a larger bit, but you can’t make it smaller. If you need to start from scratch, follow the directions so that the centers of both holes are distanced enough to allow for expansion without compromising the integrity of the concrete or brick.


