


DIY Sticky Note Calendar
Start your year off with a bang! Create a customizable sticky note calendar that will be sure to brighten your life while keeping you on track.

The quintessential calendar can be difficult to find in stores. So why not create your own colorful calendar that perfectly suits you and your life? Leave the always stained, constantly smudged whiteboard behind, and step into the new year with a sticky note calendar that can be easily adjusted as often as your schedule changes. If you appreciate order, but still want a calendar that has some zing, this is the perfect DIY for you.

Cassidy Garcia
Materials Needed
- corkboard
- white paint
- paintbrush
- ruler
- washi tape
- scissors
- alphabet stickers
- sticky notes
- marker
Prep Corkboard
To create a fresh and clean backdrop, cover the entire corkboard surface with a layer of white paint. Although another color could be used, a simple background allows the sticky notes to pop. Let the corkboard dry completely.
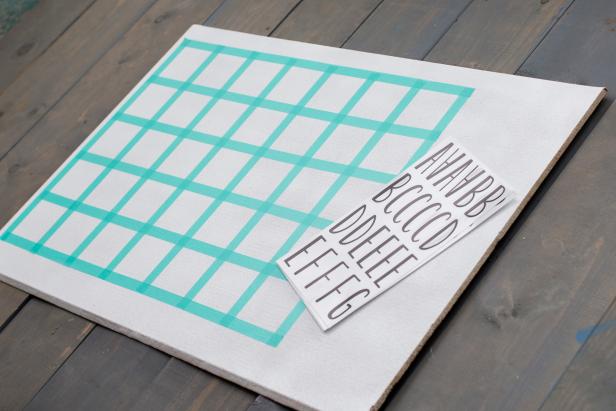
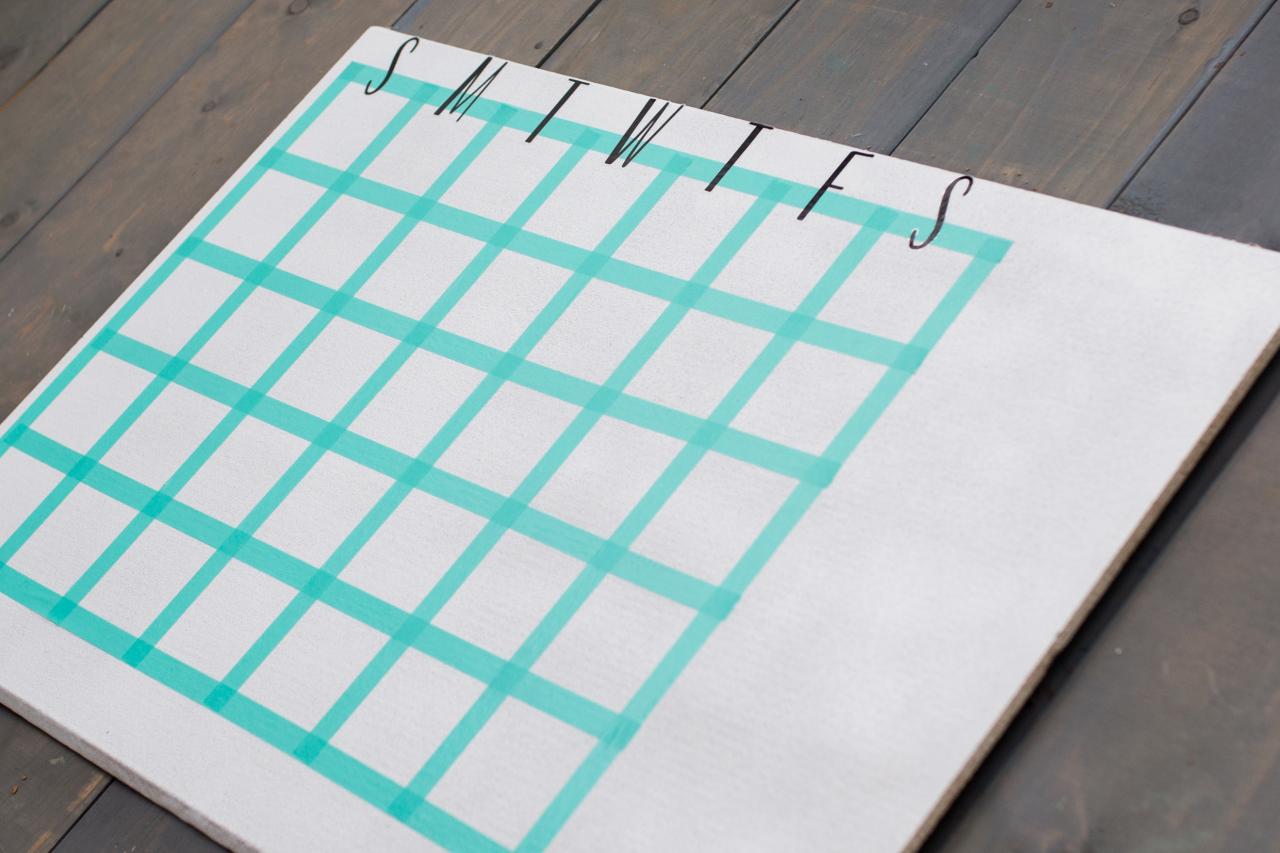
Create Calendar Grid

Cassidy Garcia
Cassidy Garcia
Cassidy Garcia
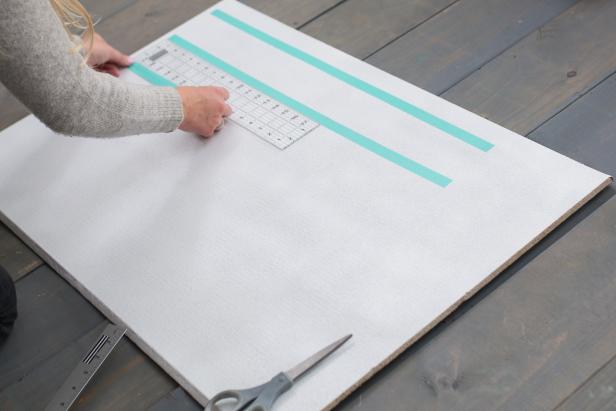
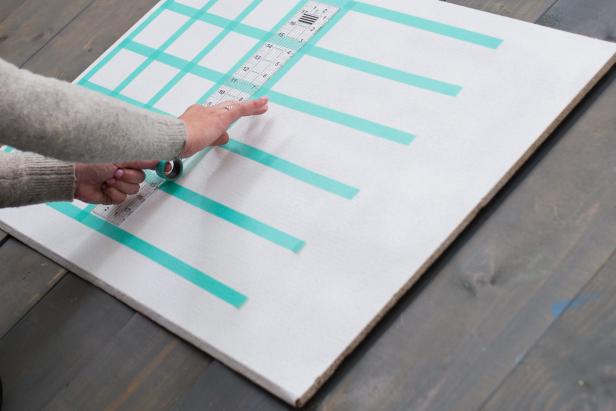
Beginning one inch from the left side of the corkboard and 2 1/2 inches from the top, stick a continuous 28 1/4-inch piece of washi tape across the length of the corkboard. Separating each strand of washi tape by three inches, repeat five times until you have a total of six pieces of tape running horizontally across the board. To complete the grid pattern, connect the horizontal tape strips with eight vertical pieces of tape. Space these three inches apart.
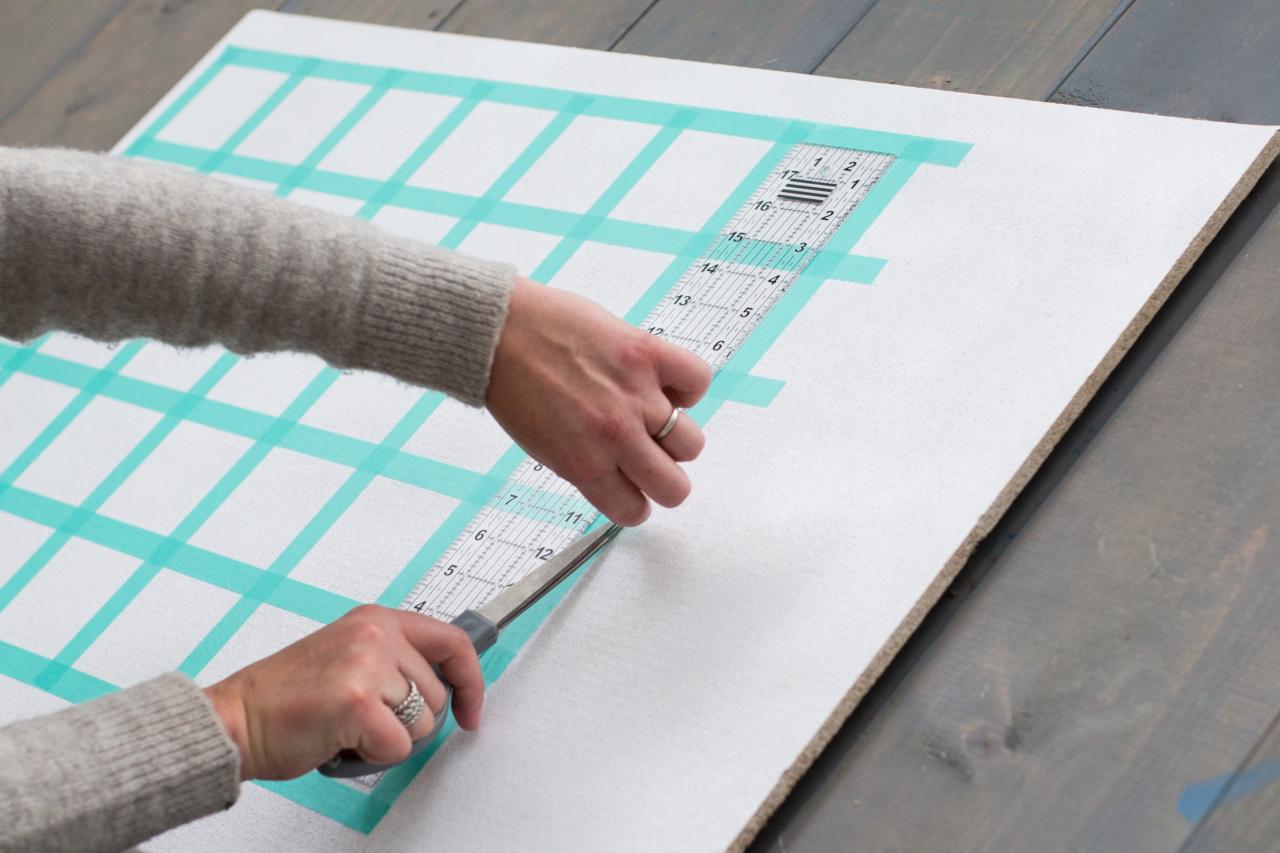
Polish Calendar
Cassidy Garcia
Cassidy Garcia

Cassidy Garcia
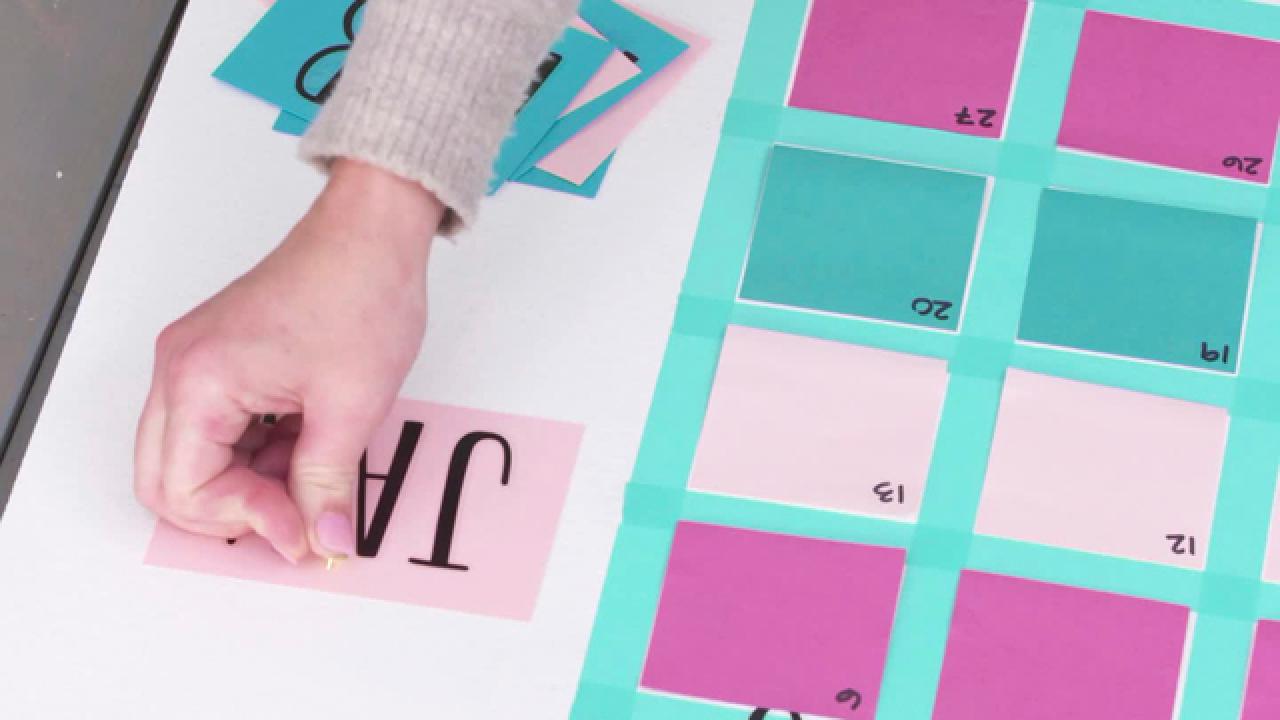
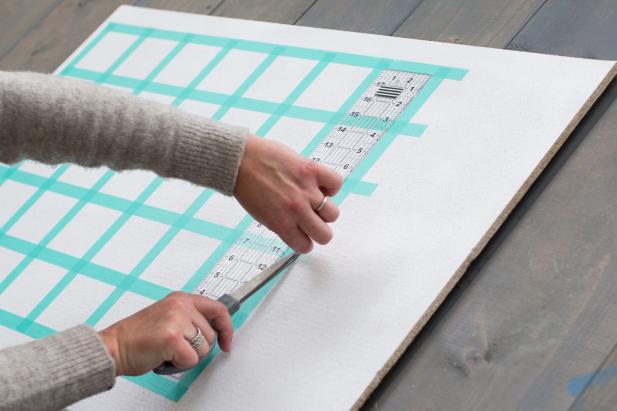
Trim off any excess tape on the right side of the grid. All boxes within the calendar grid should measure 3-x-3 inches. Add letter stickers to the top of the grid that correspond with the days of the week.
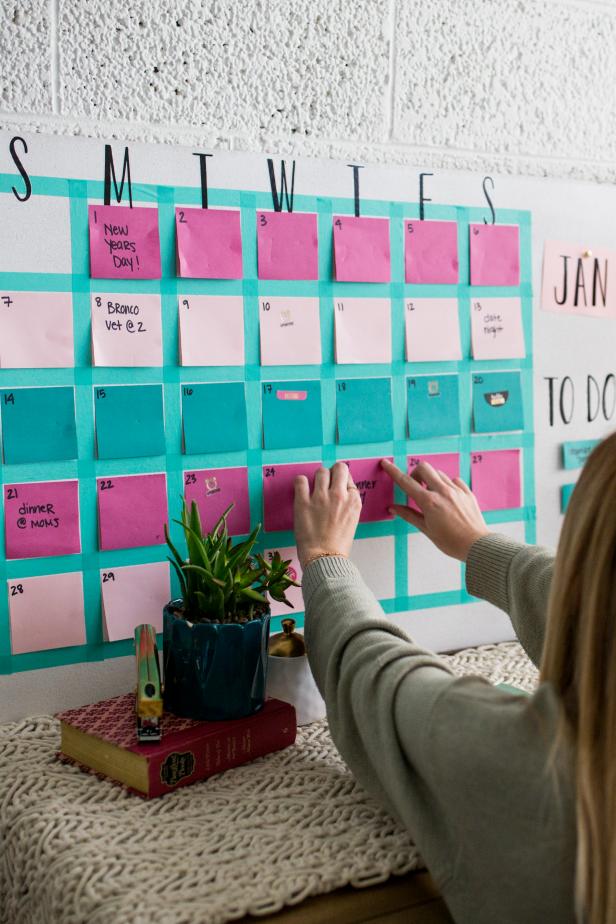
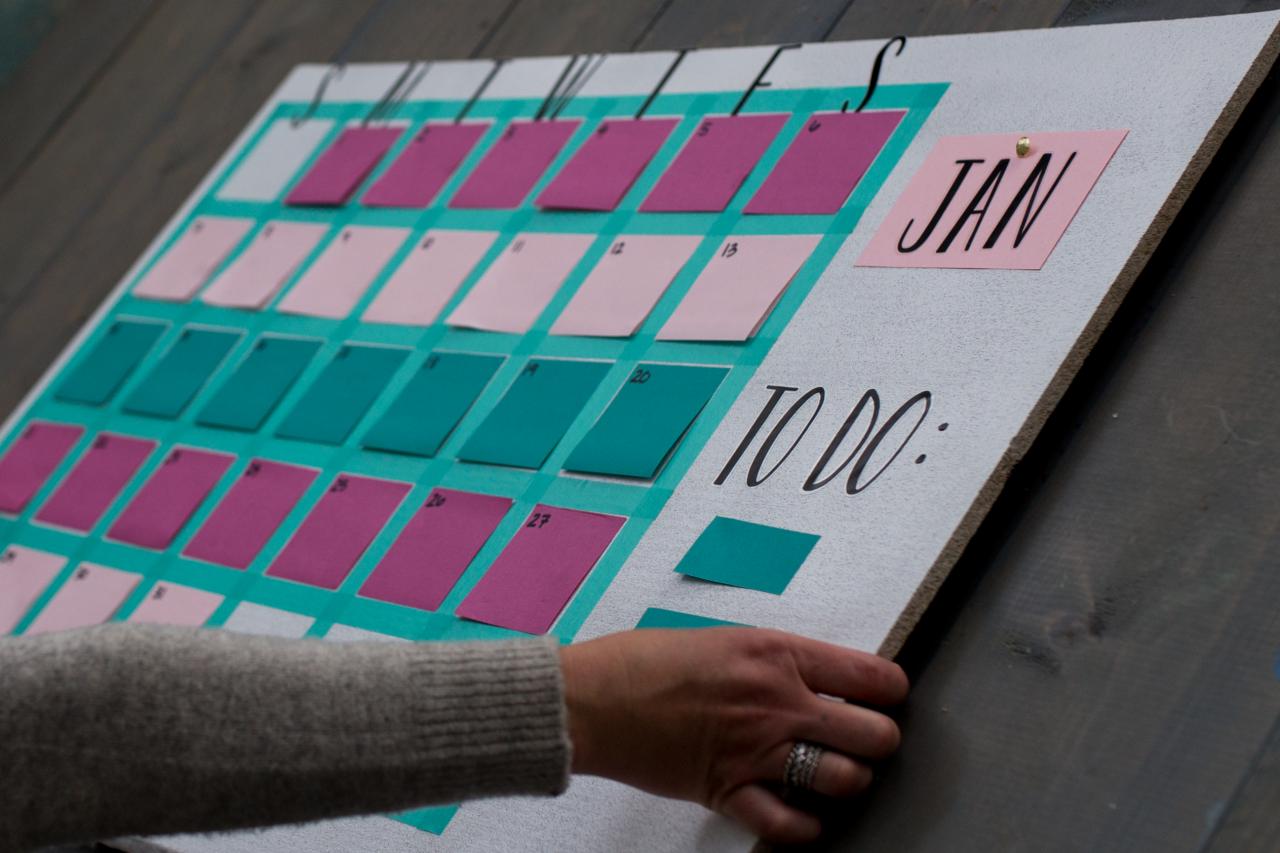
Attach Sticky Notes

Cassidy Garcia
Fill each square with a sticky note, and write in the days according to the current month. Using a piece of construction paper, create a tag with the month name on it and display it in the empty space to the right of the calendar grid. Use any extra space on the right to add monthly to-dos, goals or special events.
Fill It Up!
Cassidy Garcia
Now that the calendar is complete, fill your days with fun! Whether it’s lunch dates or play dates, you now have the perfect place to keep track of everything in your life. If the outing gets rescheduled, not to worry! Just peel and press another sticky note, and you have a fresh canvas to work with.


