


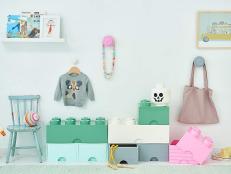
How to Make a Mobile Toy Box
Keep the entire house tidy with a toy basket that moves easily from room to room. No. More. Messes!

© Rustic White Photography; LLC

Materials Needed
- tall, woven hamper
- wheels from a used baby buggy or kid's bicycle
- drill
- 3/4" drill bit
- 1/2" threaded steel rod
- hacksaw
- large industrial coat hook
- 1" flat stainless steel washers
- 1" metal screws
- 1" wood screws
- hammer
- 3" wood trim
- quart of latex paint
- mini paint roller handle
- mini paint roller sleeve
- mini paint pan
- kraft paper
Choose the Right Hamper

For maximum storage capacity, a tall, lightweight woven hamper works best for this application. Stick with a height around 24 inches to ensure the mobile basket is just as easy for kids to use as parents. If a hamper is too tall, it will be difficult for children to move it around.
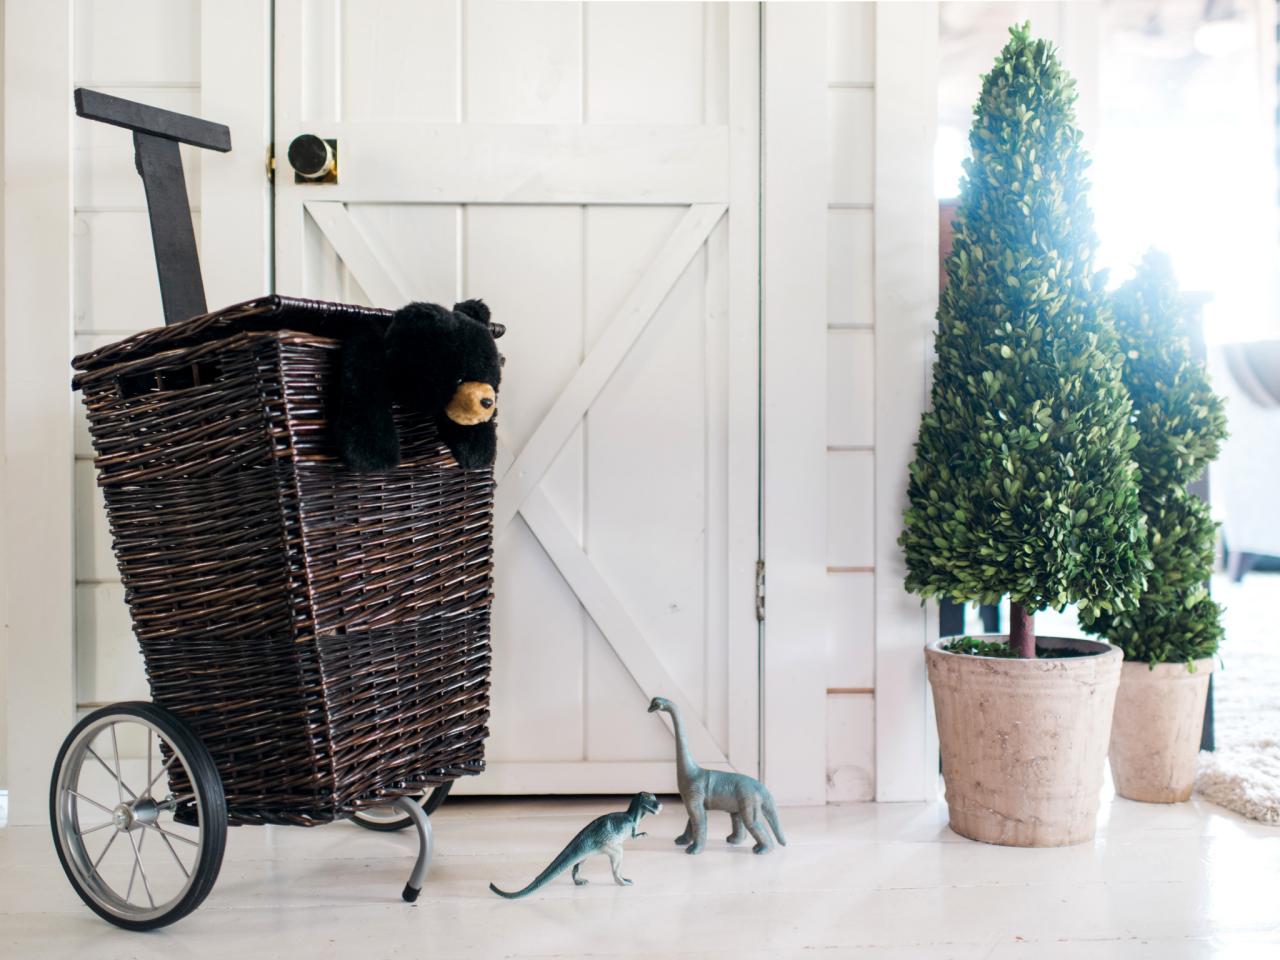
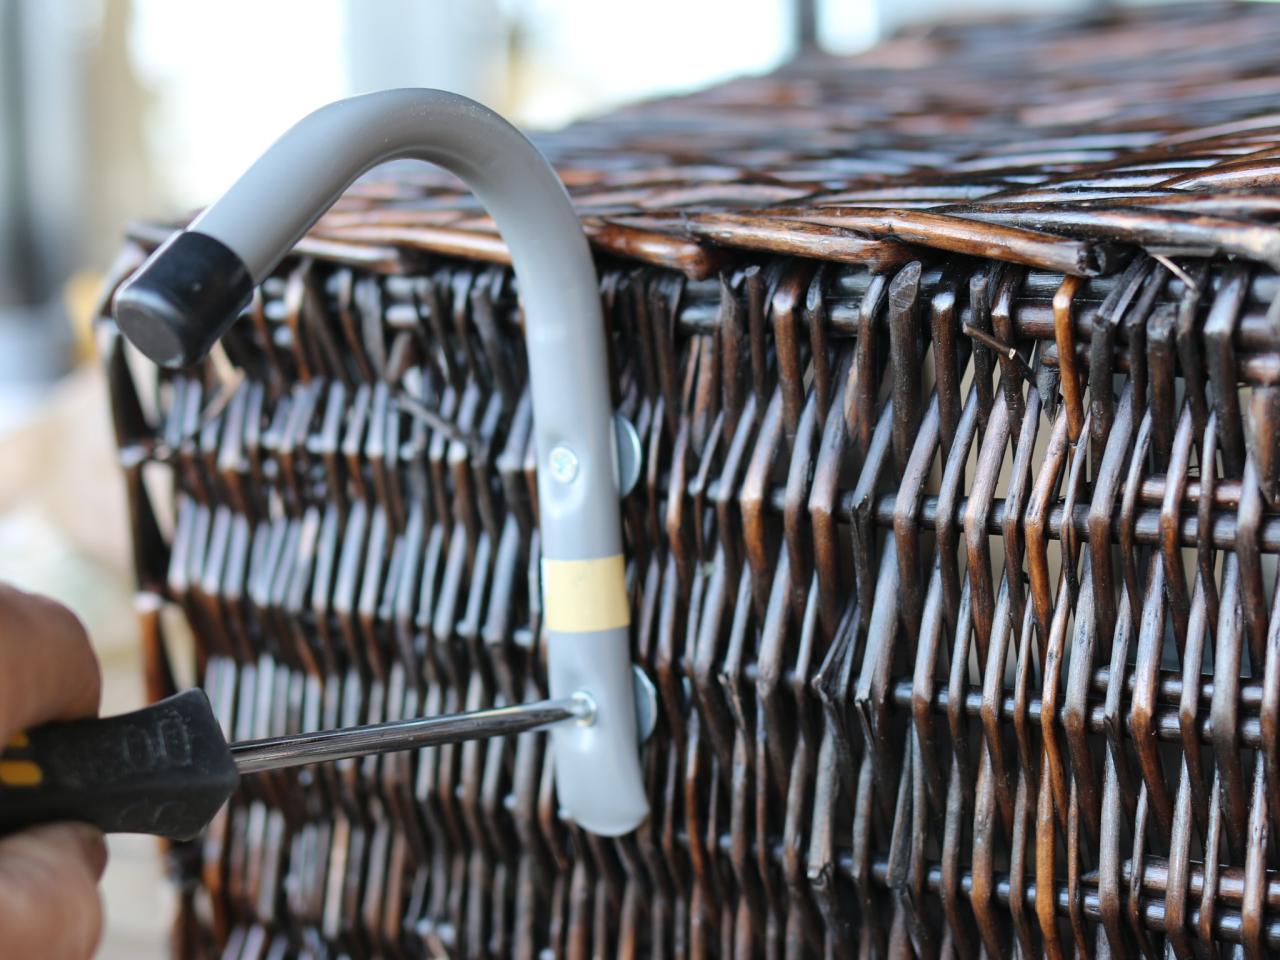
Add a Back Stand

Once wheels are added to the front of the hamper, you'll need to add some height along the back of the hamper in order for it to stand upright when not in use. An excellent makeshift back stand can be made by adding a large industrial coat hook to the bottom of the hamper, centered along the back. Secure in place using 1-inch metal screws and 1-inch flat stainless steel washers.
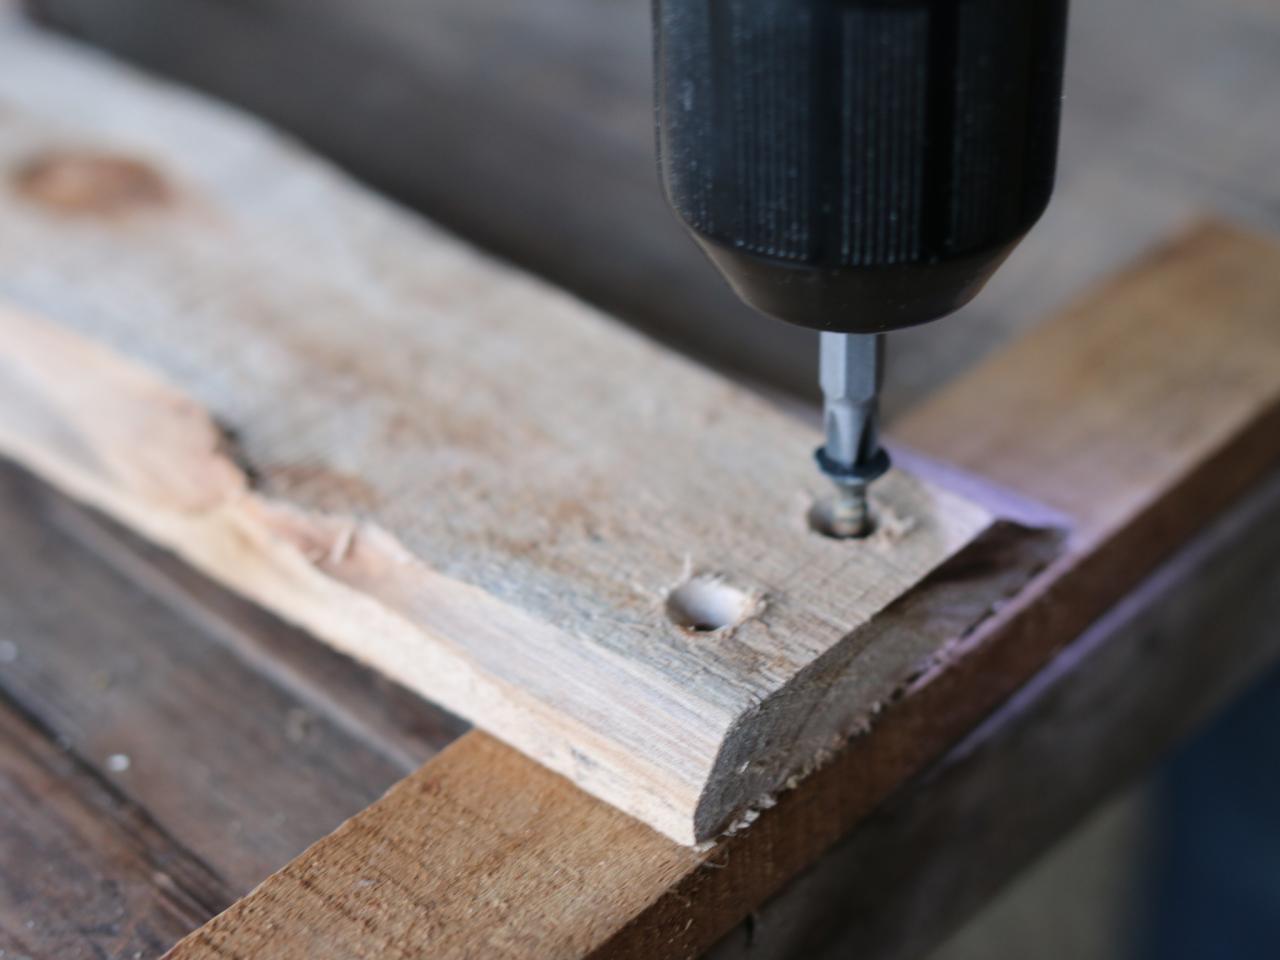
Drill Holes in Sides

Use the drill bit to add holes approximately 1/2-inch in from the front of the hamper, approximately 1 inch from the bottom.
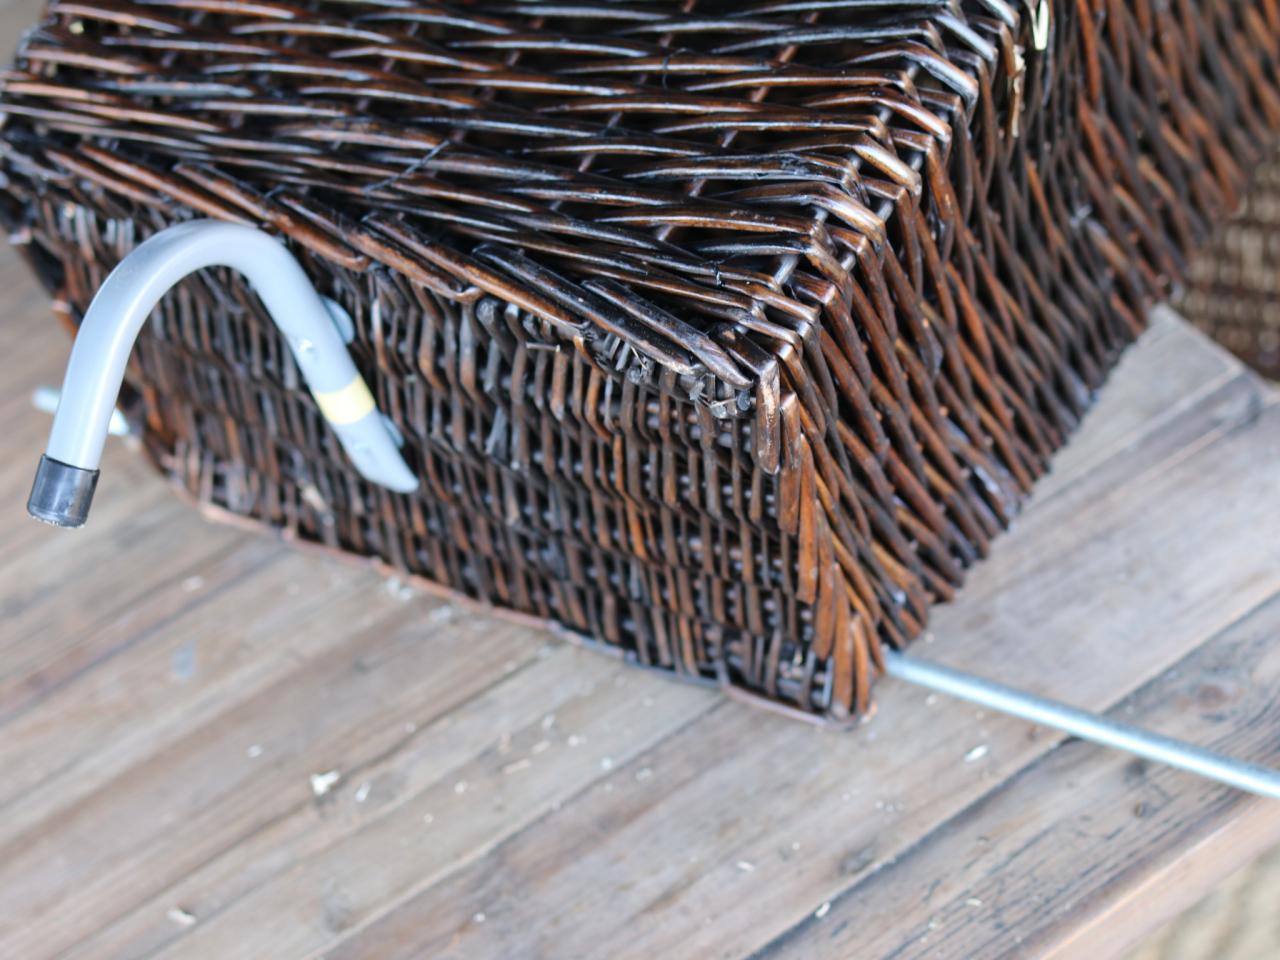
Insert Steel Rod

Once holes are drilled into each side of the hamper, insert the threaded steel rod all the way through.
Cut Rod to Size

With 4 inches of rod protruding from each side of the basket, cut the rod to size using hacksaw. This extra section of rod is what the wheel will be fastened to along with caps and washers.
Add Washers

Add one washer directly up against the portion of the rod that touches the side of the hamper. Next, add a second washer 2 inches from it, closer to the end of the steel rod.
Add Wheels

Slide wheels onto the rod, then secure in place using wheel cap hardware.
Create a Handle

Make a rustic handle for the hamper by cutting one piece of 3-inch wood trim approximately 10 inches taller than the hamper itself and another approximately 8 inches in length. Piece these two together to create a T shape, fastening them to one another with 1-inch wood screws using a drill. This creates the handle.
Paint + Attach Handle

Use a mini roller to update the wooden handle with latex paint. Once dry, attach the handle along the top of the back of the hamper using 1-inch flat stainless steel washers and 1-inch metal screws.
Play Cleanup!

© Rustic White Photography; LLC
Once your handle is attached, your little one is ready to roll this baby all around town. Or, just around the house.


