


Make a Vintage-Inspired Halloween Banner

Hand-Painted Banner
Add a sophisticated touch to your Halloween decorations with this inexpensive hand-painted banner. Get crafting to make your own.

Materials Needed:
- 1/2 yard cream canvas fabric
- pencil
- permanent marker
- ruler
- pinking shears or sharp scissors
- computer with Word processor
- printer
- paper
- burnt umber acrylic paint
- No. 2 liner brush
- hemp twine
- hot glue gun and glue sticks
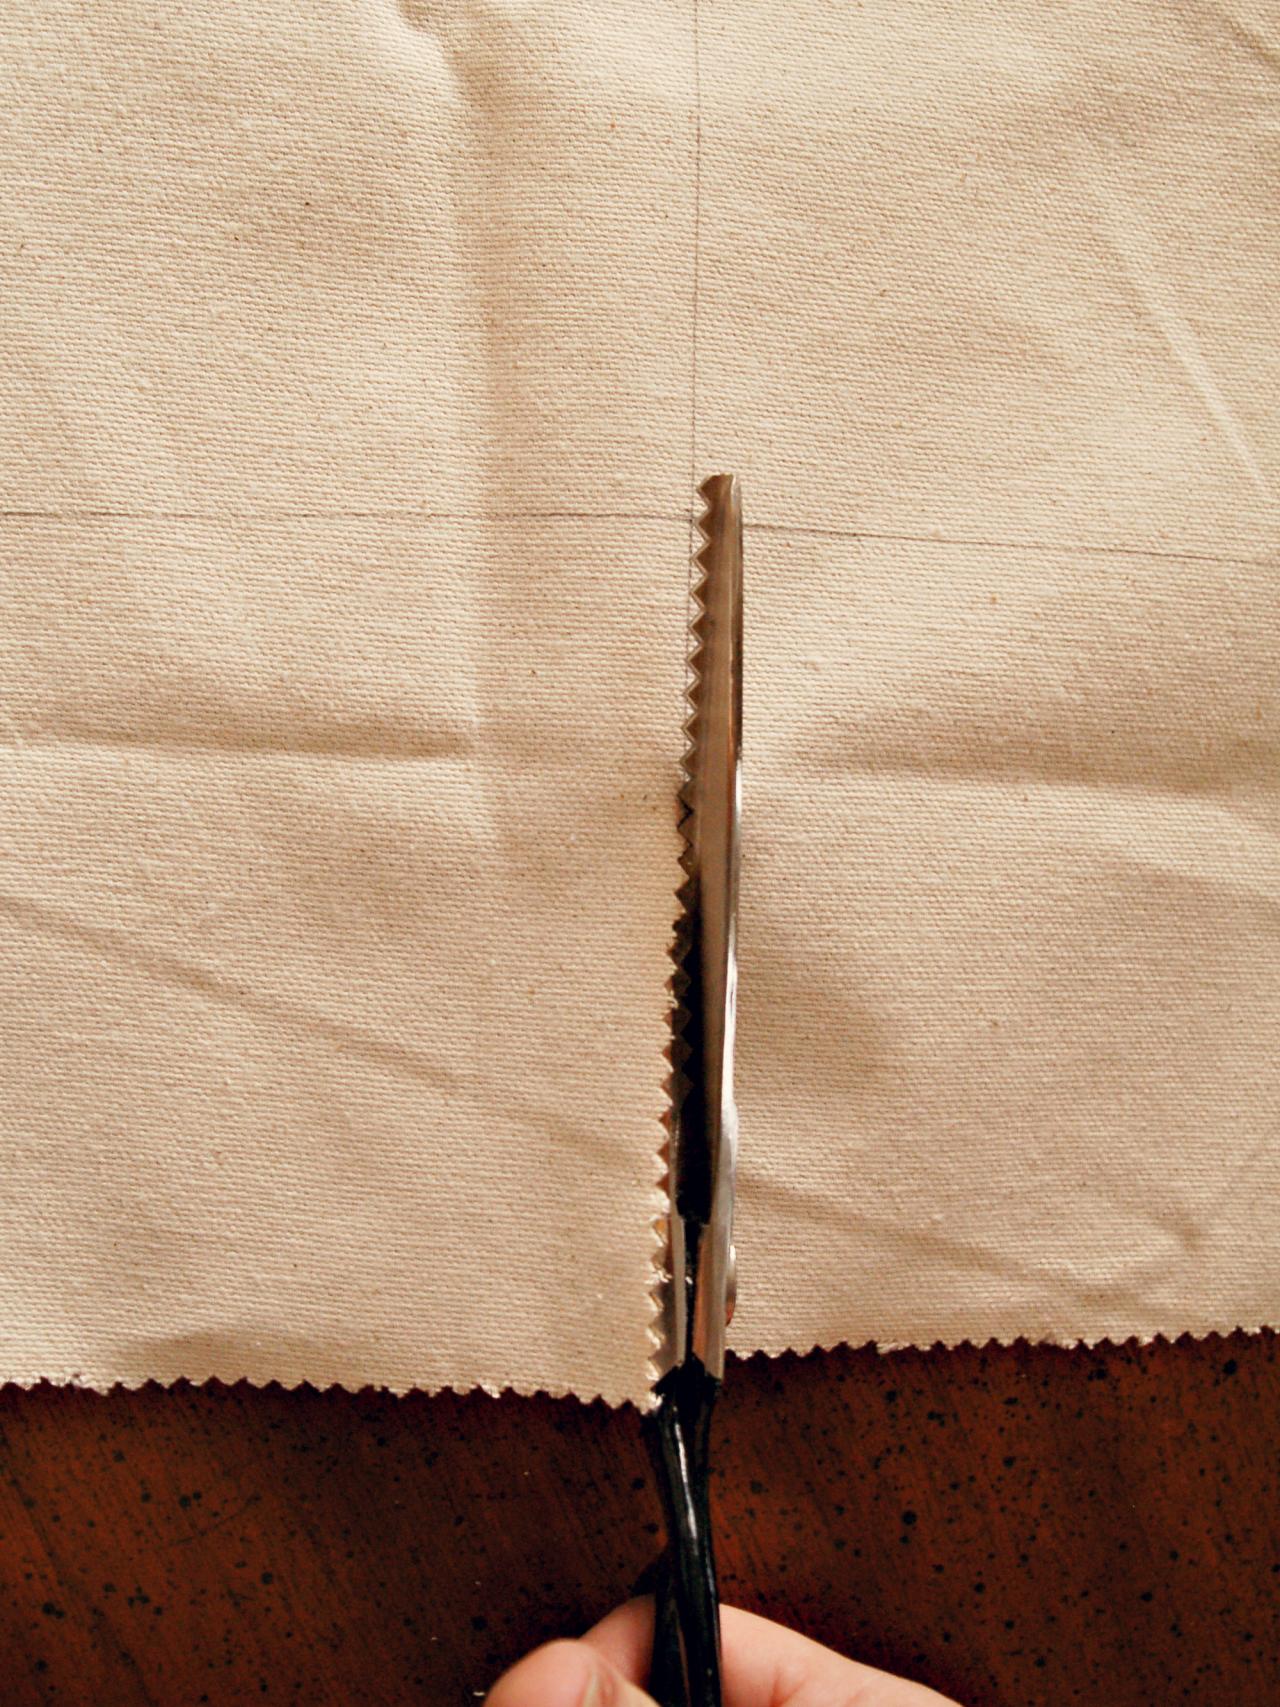
Measure and Cut Fabric
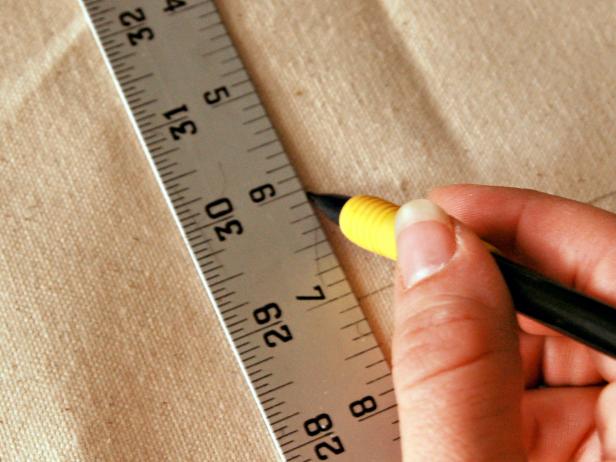
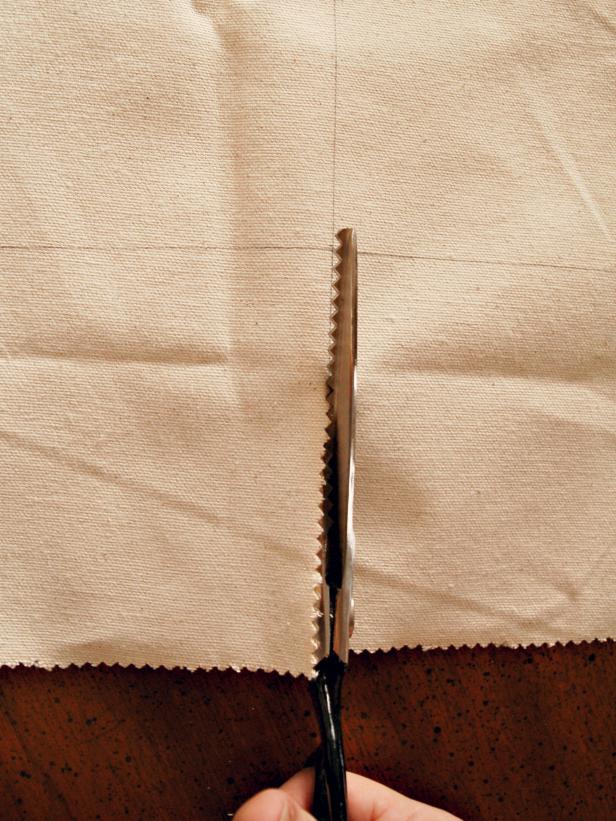
Using a ruler and pencil, measure and mark six 5" x 7" pieces of canvas fabric (Image 1). Cut along pencil lines with pinking shears or a sharp pair of scissors (Image 2).
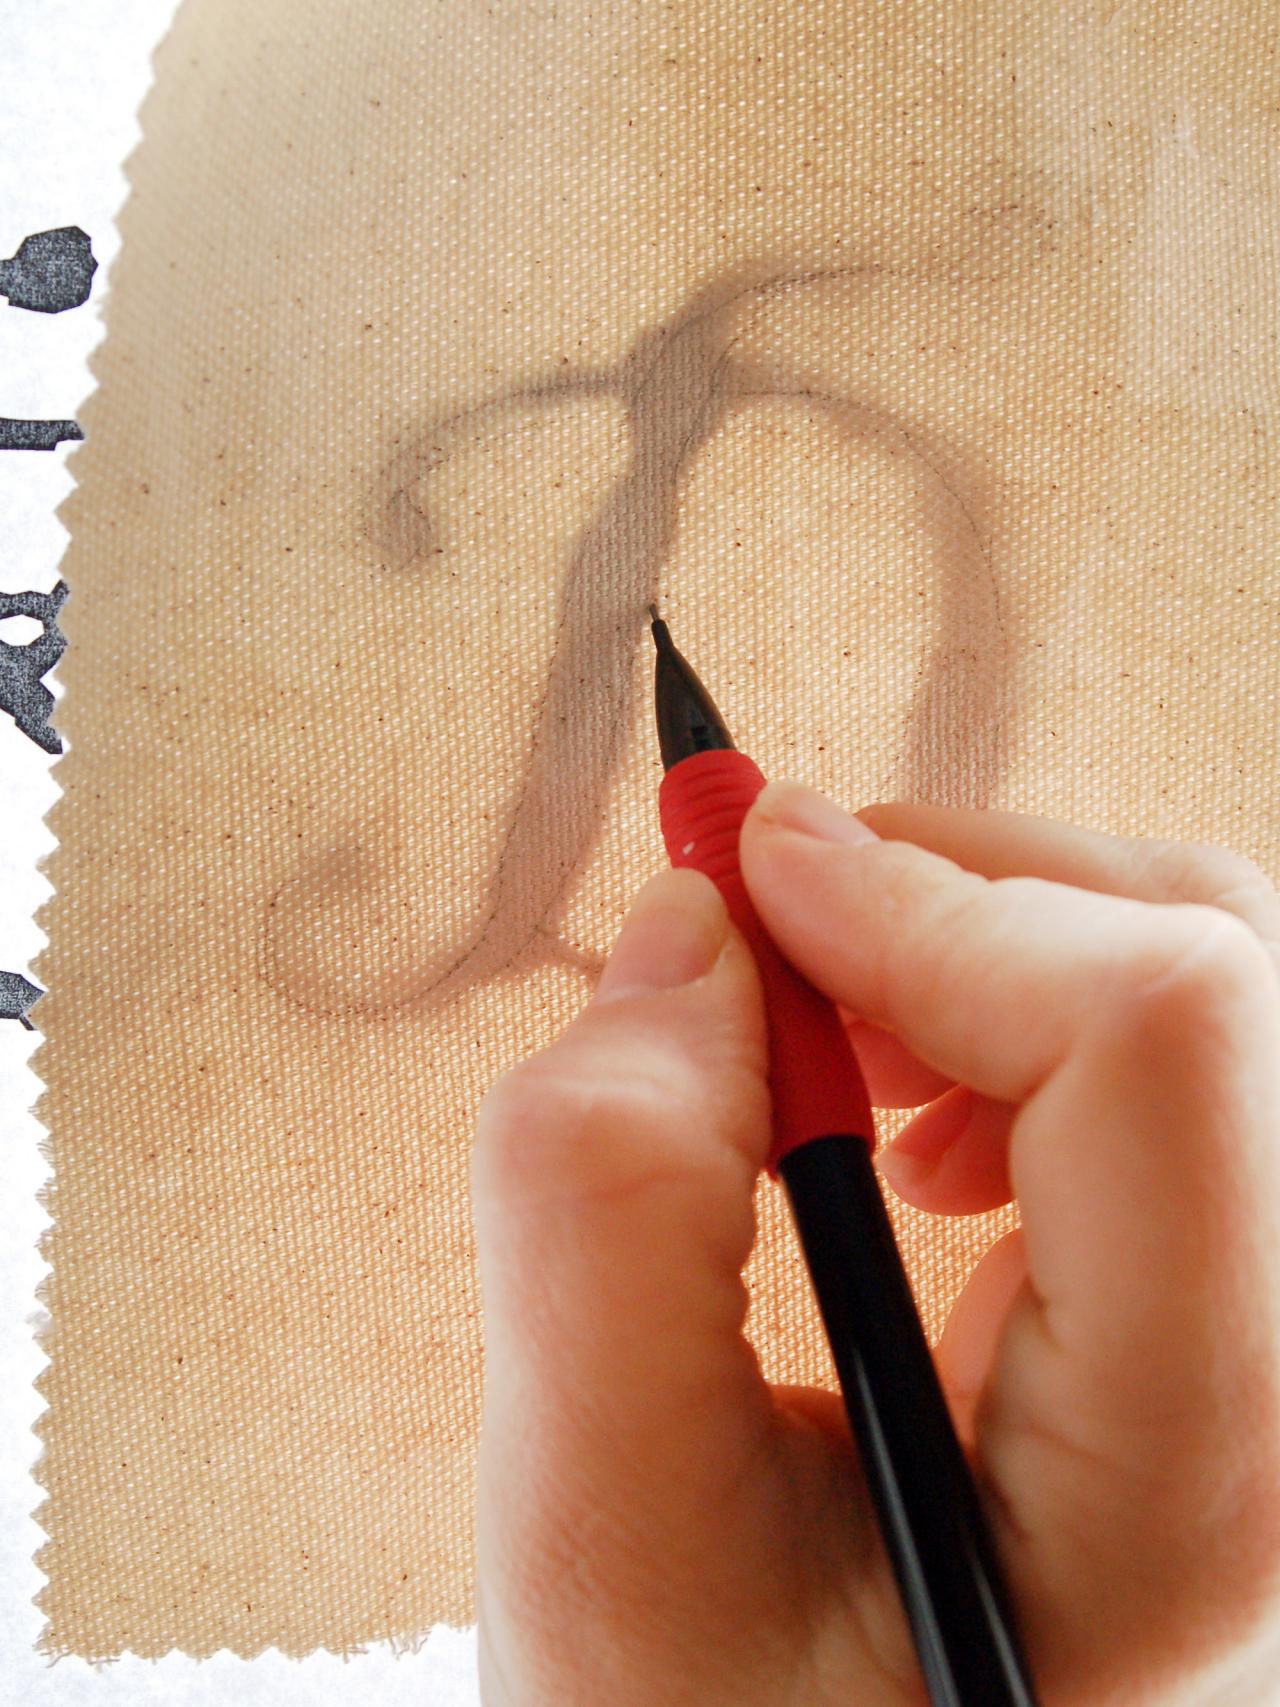
Design, Print and Trace Letters
Choose desired font for banner in Word processor on computer (275 point Blackadder ITC is used in this project). Print text, center fabric over printed text, and tape both paper and fabric to window so font is visible through canvas. Trace the letters' outlines onto canvas with a pencil. Repeat the process with remaining letters and canvas pieces.

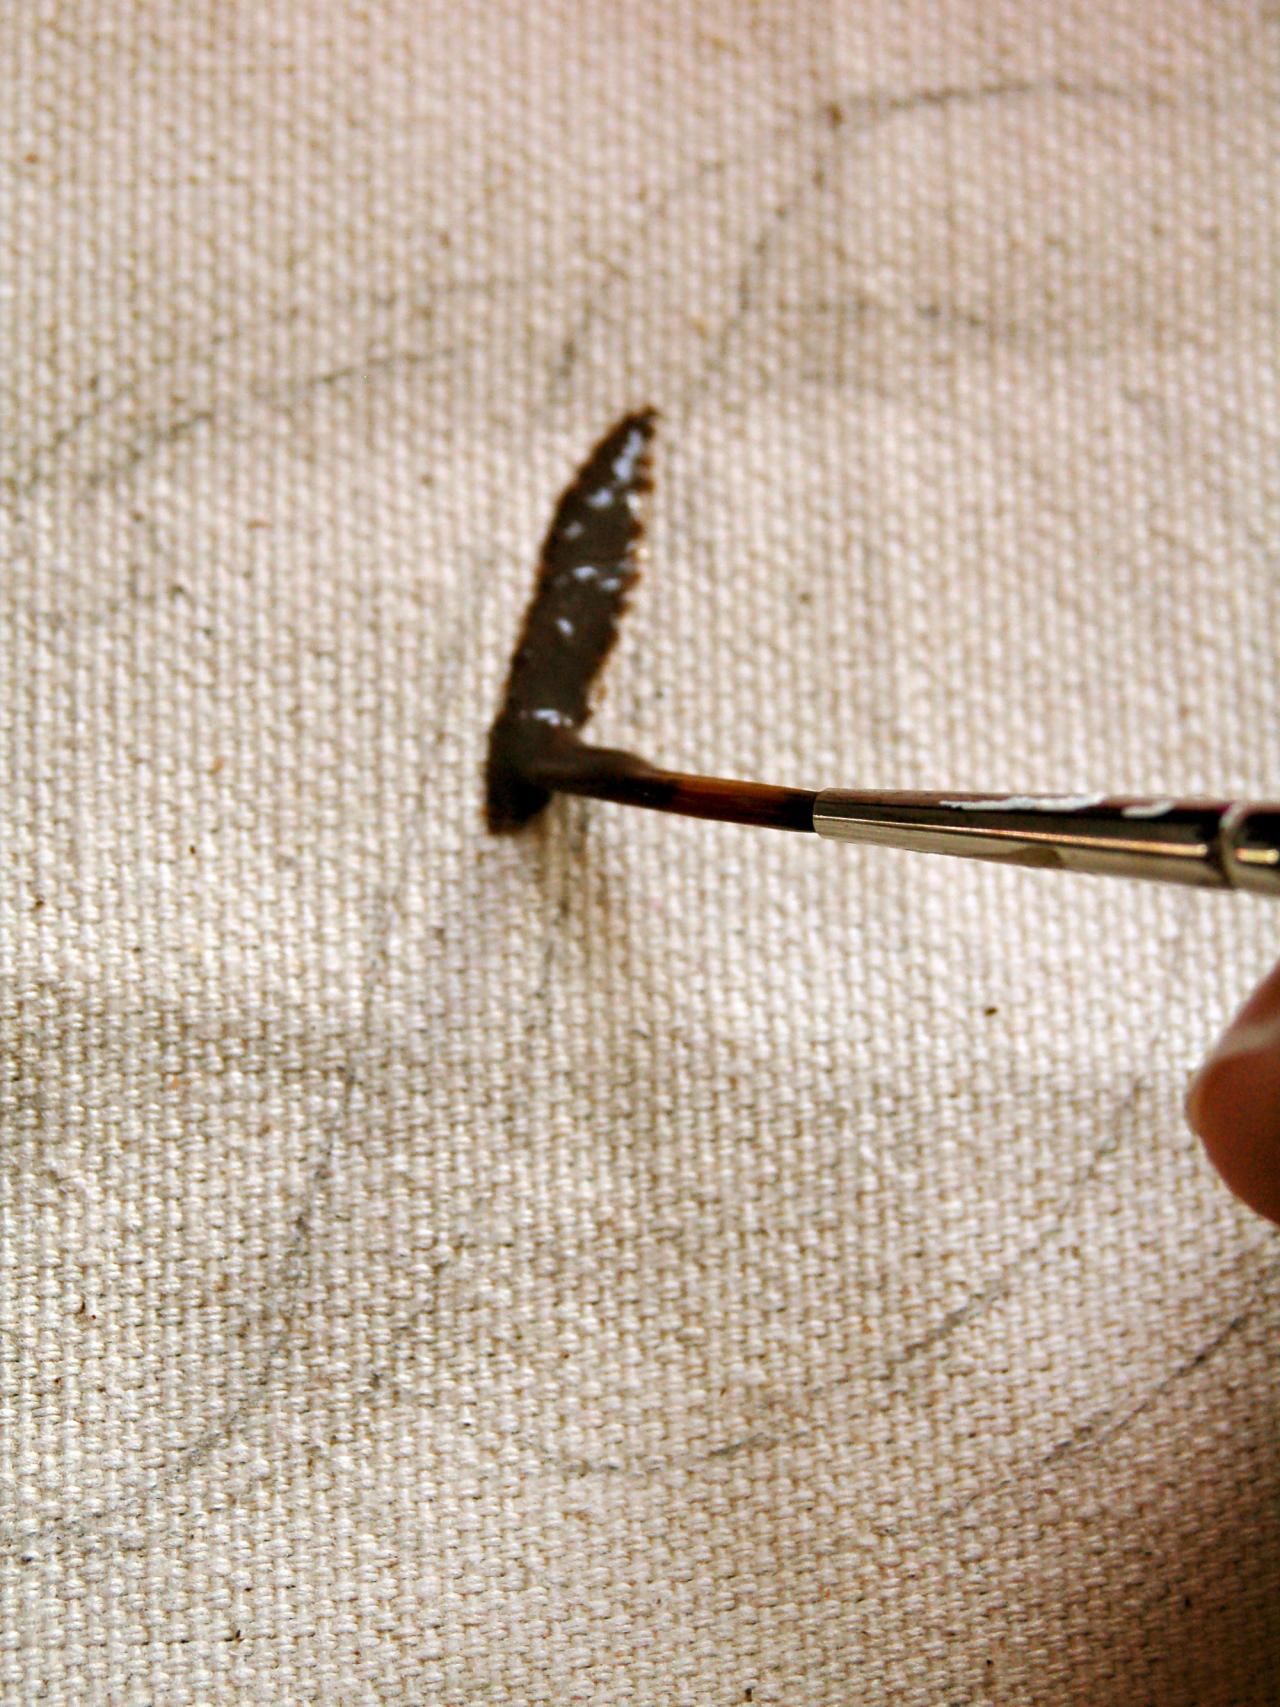
Paint Letters
Mix two parts burnt umber acrylic paint with one part water. Following traced pencil lines, paint letters with a No. 2 liner brush. Allow paint to fully dry. Tip: If you don't trust your hand with painting letters, a dark brown paint pen or permanent marker can alternately be used.

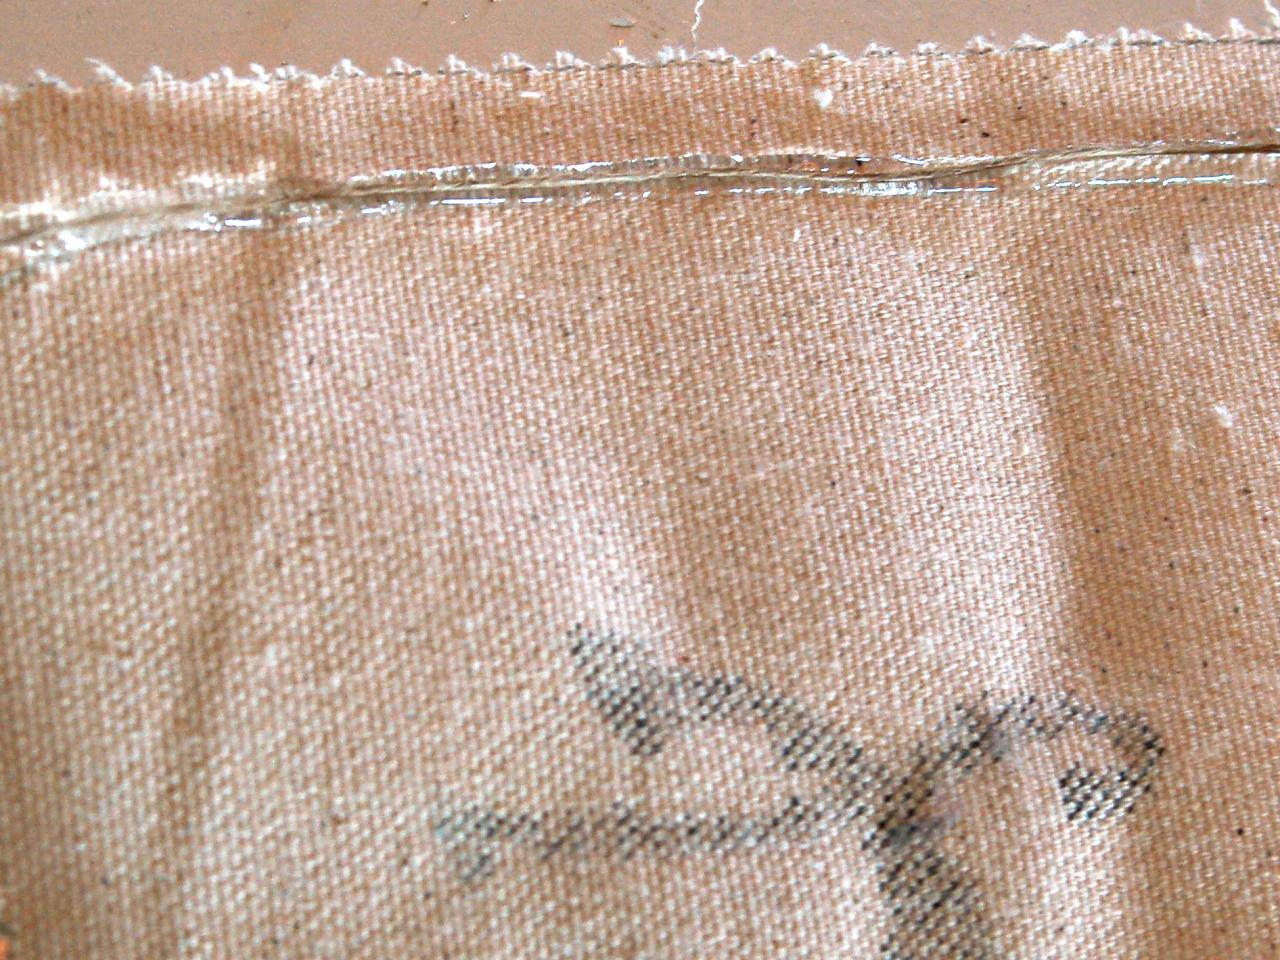
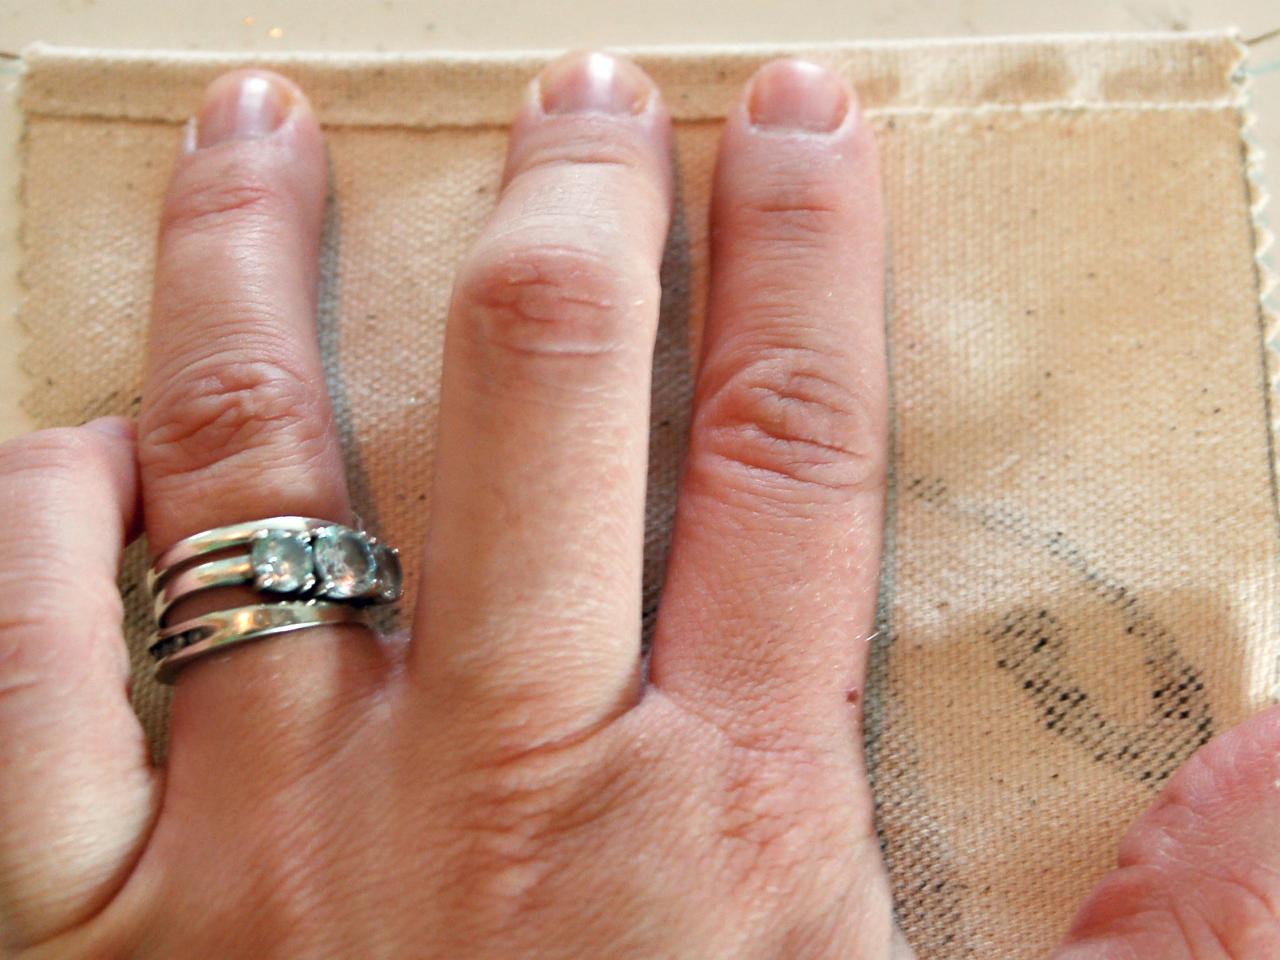
Glue Fabric to Twine
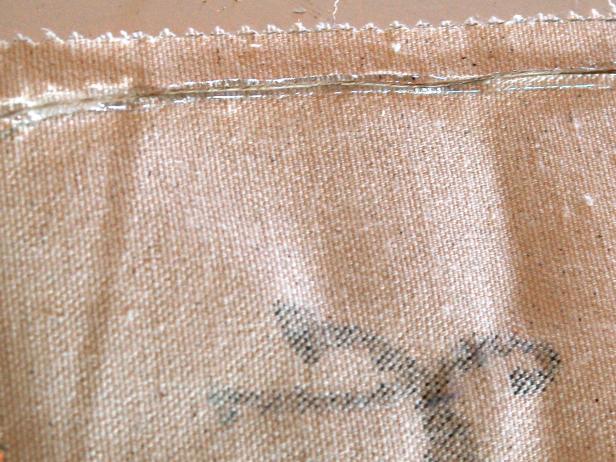
Unroll hemp twine and cut to desired length. Turn canvas pieces upside down and in reverse order. Example: For the word "Wicked" the "W" should be on the far right with "I" to the right of it. Run a bead of hot glue along top edge of one canvas piece (Image 1). Apply hemp twine to hot glue and fold fabric over. Hold in place until glue has set (Image 2). Repeat with remaining pieces of canvas, leaving two inches of twine between each piece. Hang banner on mantel or porch rail.


