


How to Transfer Photos and Graphics Onto Fabric
Personalize fabric accessories with your own handcrafted designs.


Debbie Wolfe
There are several ways to transfer images to fabric without the use of a silk screen or other fancy equipment. Although there are pros and cons to the different photo transfer methods, transferring your own photos to accessories is a fun way make something unique.
Materials
- fabric accessory (bag, t-shirt, pillow case, etc)
- iron-on fabric transfer paper
- inkjet printer
- iron
- a hard, heat-resistant surface

Debbie Wolfe
After trying numerous methods of image transferring, we discovered that photo transfer paper has the most consistent result and laundered well. Because there are many brands of photo transfer available to purchase, be sure to read the instructions for what type of fabric works best with the brand before you purchase.
Create & Print Your Design

Debbie Wolfe
Photo transfer paper works with inkjet printers — that's what makes it a top choice for this type of project. You can use a word processing or photo editing software to create a custom graphic. If you plan to use words in your design, it needs to be "mirrored" or flipped before being printed. Flipping the words will make them appear the right way when transferred onto the fabric.
Prep Fabric

Debbie Wolfe
Set your iron to medium heat with the steam off. Place a hard, heat-resistant surface (like a spare piece of wood or sturdy cardboard) underneath the surface of the fabric. If you are transferring the graphic onto a bag, place the hard surface in between the layers.

Debbie Wolfe
Image 1

Debbie Wolfe
Image 2
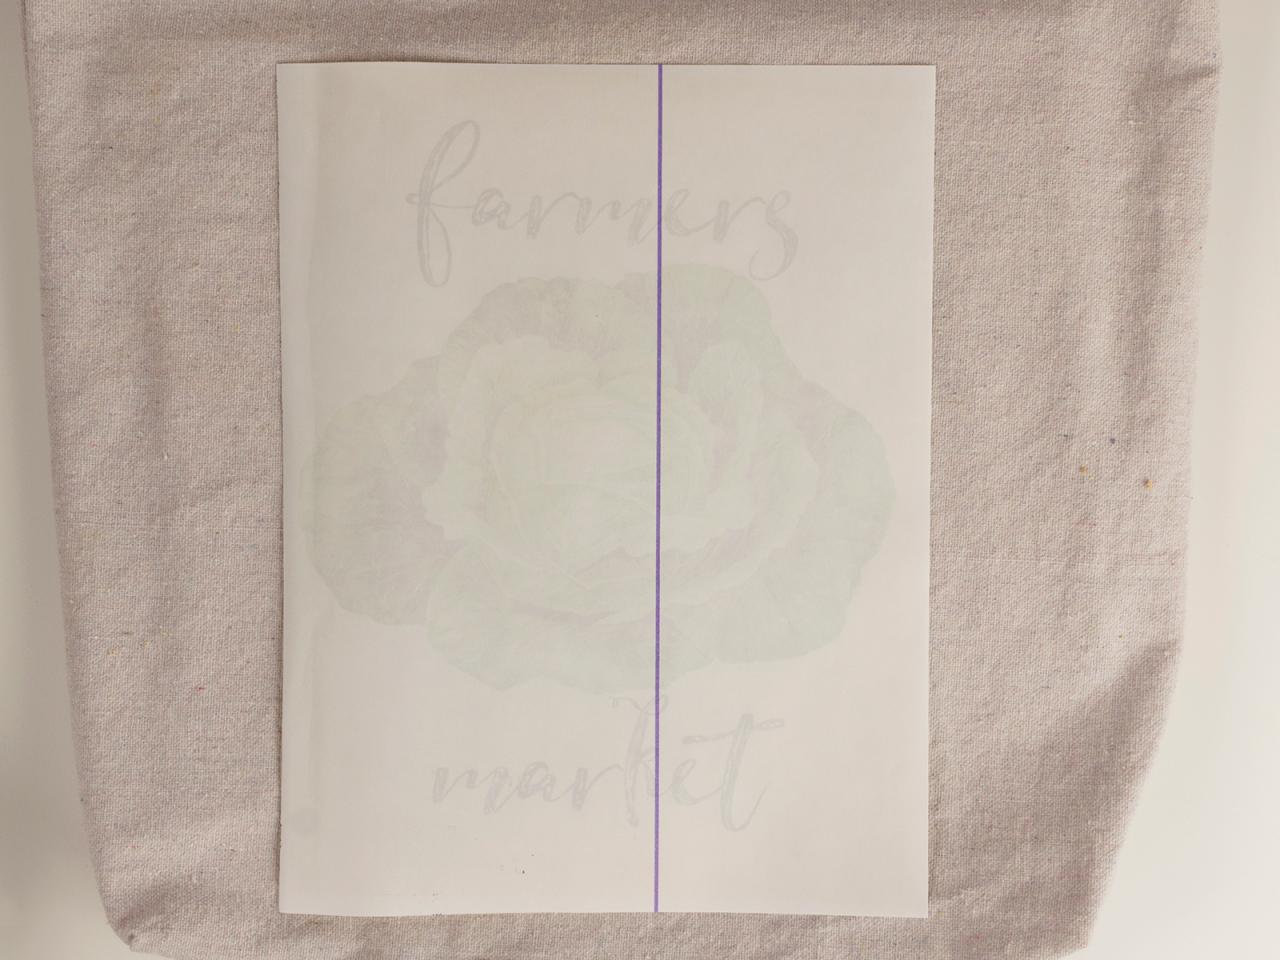
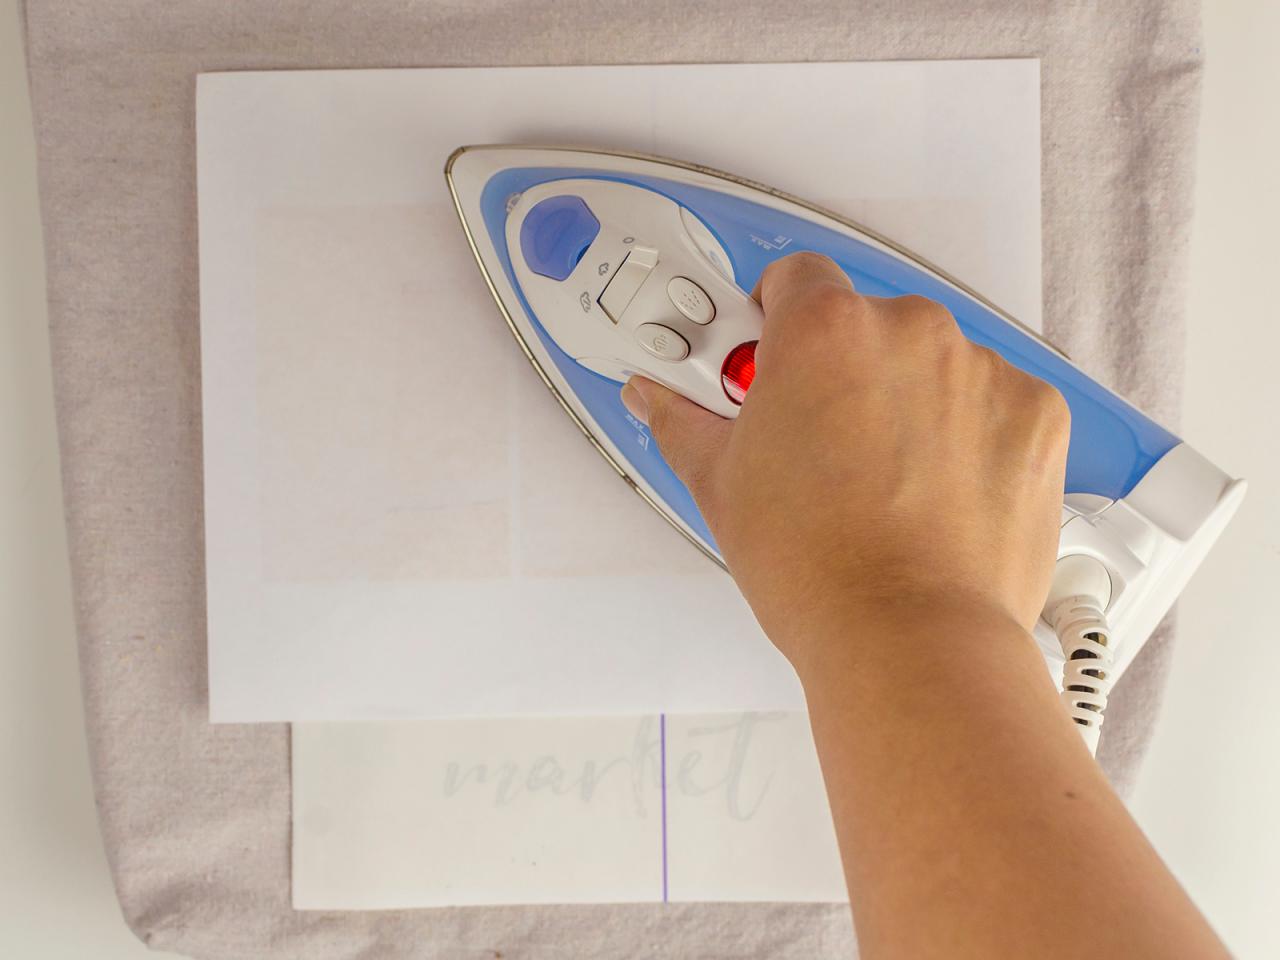
Center the transfer paper, design-side down, onto the fabric surface. Place a sheet of paper onto the backside of the transfer paper, between the iron and transfer sheet. Iron firmly in small circles, not stopping for more than a couple of seconds in any spot, until the whole surface has been ironed.
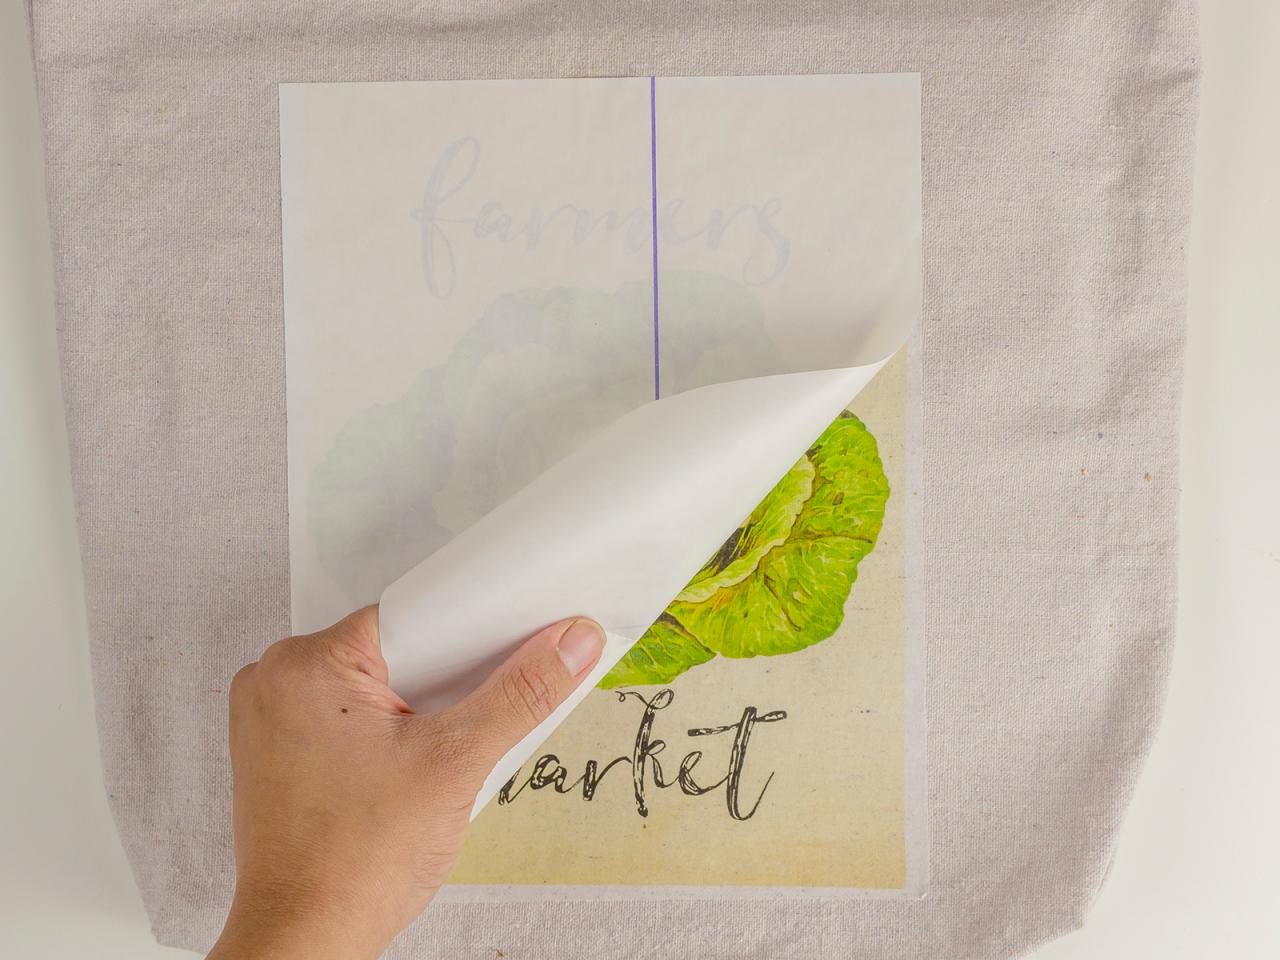
Reveal Design

Debbie Wolfe
Let the transfer paper cool for a few seconds, then carefully remove the backing of the paper. If some places do not release, DO NOT attempt to iron that spot. It will result in the transfer sticking back to the paper and your design will be ruined. Instead, try to carefully pull the rest of the design off the fabric and settle for a slightly "distressed look."
Laundering Tips

Debbie Wolfe
Wait 24 hours before laundering the fabric. When you are ready to wash it, turn the bag, pillow case, shirt (whatever you transferred onto) inside-out before tossing in the washing machine.


