


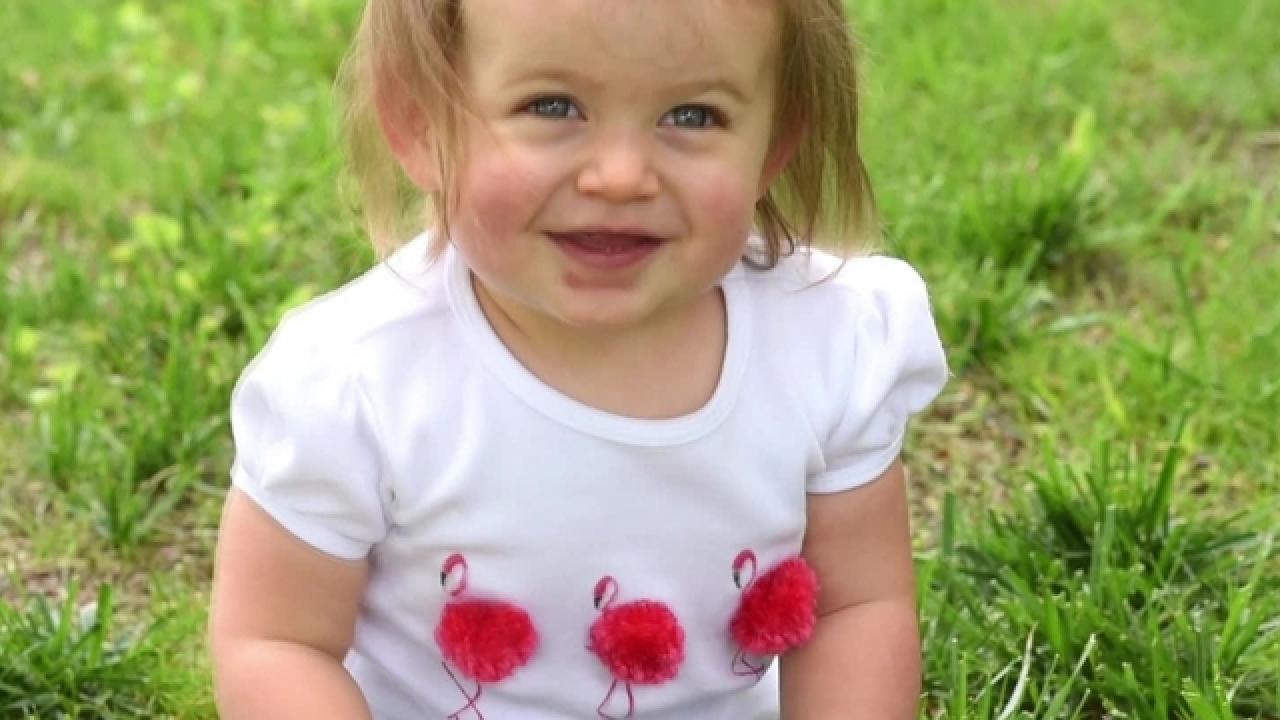
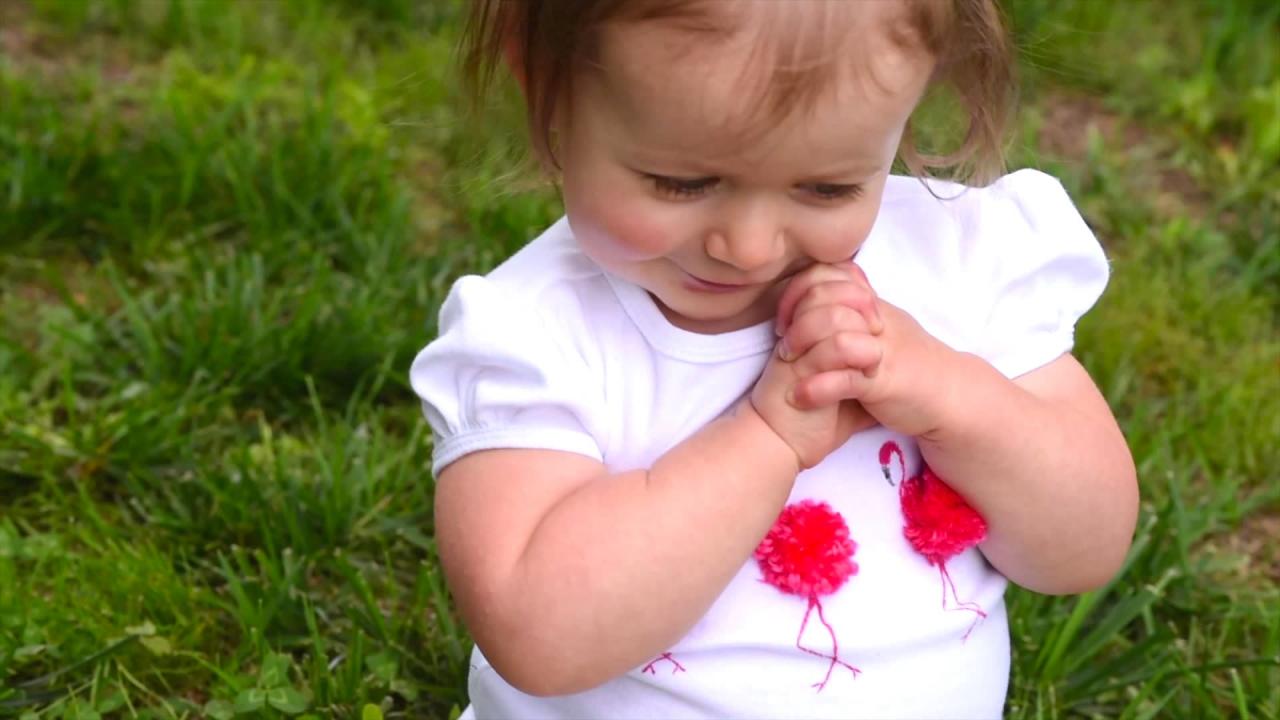
DIY Kid's Flamingo T-Shirt
Plain white tee no more! Sass up any run-of-the-mill top with a little paint and 3D pompom magic.


Materials Needed
- pink yarn
- fork
- hot glue gun and glue
- white T-shirt
- cardboard
- fabric glue
- pink and black acrylic paint
- fabric paint medium
- paint brush
Create Pompoms
Wrap yarn around the prongs of your fork 10 times, and add a dot of hot glue for extra durability. Repeat this step once more, and finish off by taking a small piece of yarn and knotting it around the entirety of the wrapped yarn. To complete the pompom, wrap yarn around the fork another 20 times, and secure with a small dot of hot glue. Tie another knot around the entire bundle of yarn.
Cut and Shape Pompoms
Slide the yarn off the fork, and cut each loop. Trim and shape the edges as needed while forming your pompom. Repeat until you have a total of three pompoms.
Prep Shirt
With the white T-shirt on a flat surface, slide a piece of cardboard between the front and the back of the shirt to ensure that no paint or glue residue bleeds through the tee.
Attach Pompoms to Tee
Secure the three pompoms across the front of the shirt by placing three dots of fabric glue directly to the shirt and a dot of hot glue to each pompom. Press together, and let dry.
Paint Flamingo
To keep your paint from fading in the wash, add fabric paint medium to both colors of acrylic paint. Use pink for the neck, head and legs and black for the beak of each flamingo.
Let Dry + Style
Once the tiny tee has dried completely, gift to your favorite little bird. And for those kids at heart — no one's stopping you from matching your mini!


