3 DIY Graduation Cap Decorating Ideas You Can Make During Finals
Whether you're celebrating virtually or in person, these adorable graduation cap designs are easy to make with only a handful of supplies.

Cassidy Garcia

Graduation is the perfect opportunity to stand out from the crowd. Decorate your graduation cap with one of these adorable designs by HGTV Handmade's Gabriela Hardan.

I Did It for My Cat

Cassidy Garcia
Materials + Supplies
- graduation cap
- blue glitter card stock
- a plate, bowl or any object to trace a circle
- stick-on letters
- wire
- low-temp hot glue gun
- wire cutters
- scissors or craft knife
Make the Cat’s Head
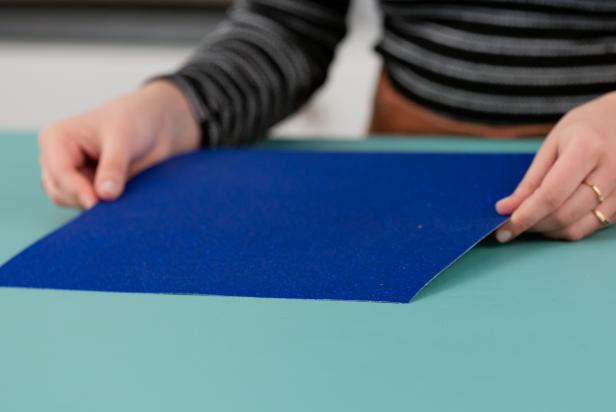
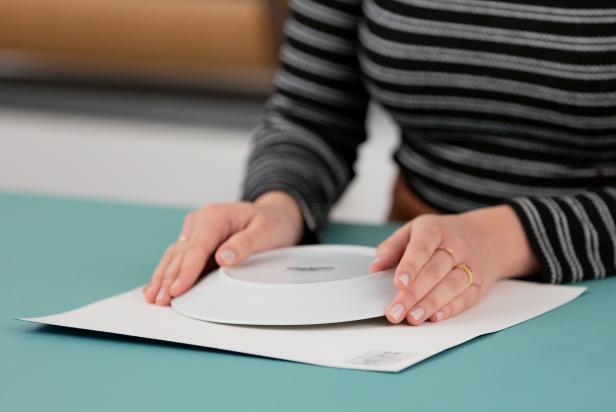
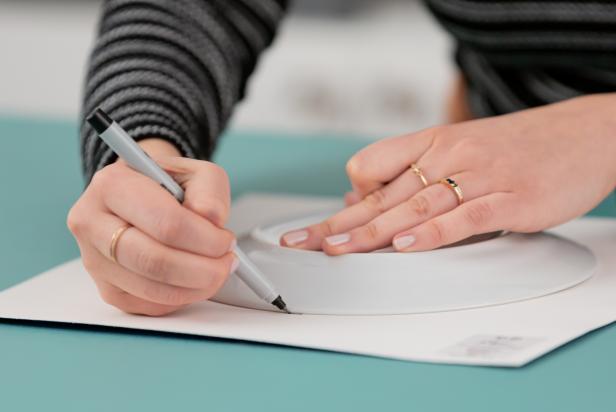
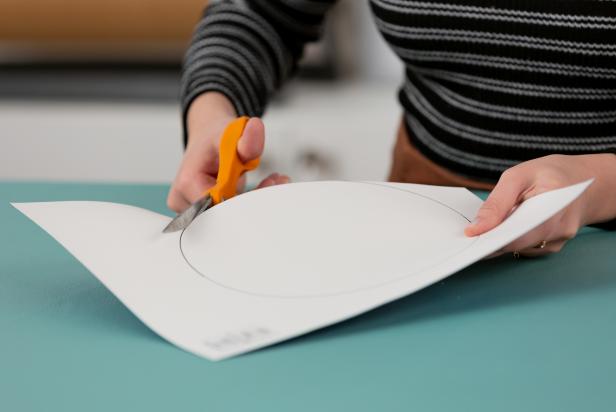
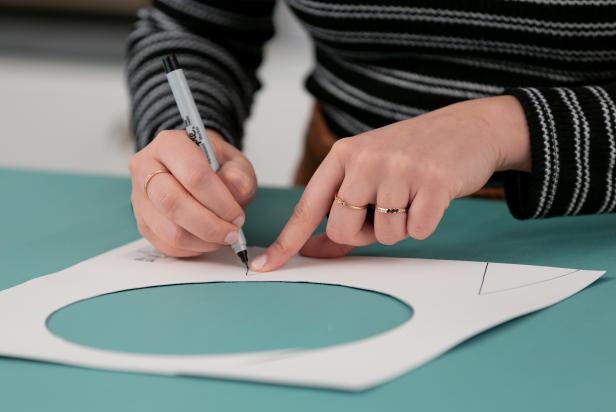
The first step to pounce on is creating the cat’s head. Start with the piece of blue glittery card stock (Image 1). Next, use a plate or another round object to trace out a big circle (measure size to correspond with your hat) on blue glitter card stock (Images 2 and 3). Cut out the circle (Image 4).
Cassidy Garcia
Cassidy Garcia
Cassidy Garcia
Make the Cat’s Ears
Next, draw two small triangles on the card stock for the cat’s ears (Image 1) and cut them out (Image 2).

Cassidy Garcia
Add Cat’s Head to Your Cap
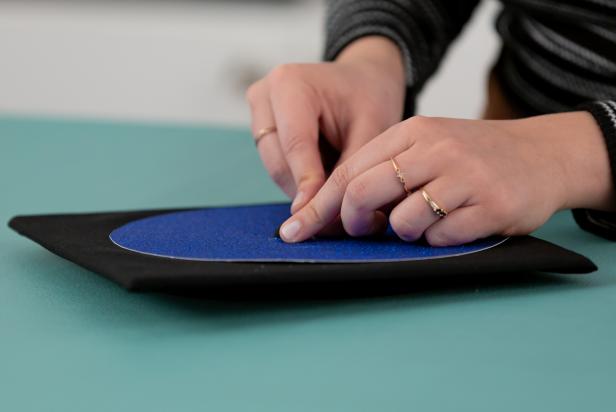
Find the center point of the large card stock circle. Using a craft knife, cut a small cross shape through the center point of the card stock (Image 1) so you can push the card stock down onto the button of the graduation cap (Image 2 and 3). It should fit snugly, so start with a very small cross and then make any adjustments to the scored flaps if necessary.

Cassidy Garcia
Cassidy Garcia

Cassidy Garcia
Glue Down All the Pieces
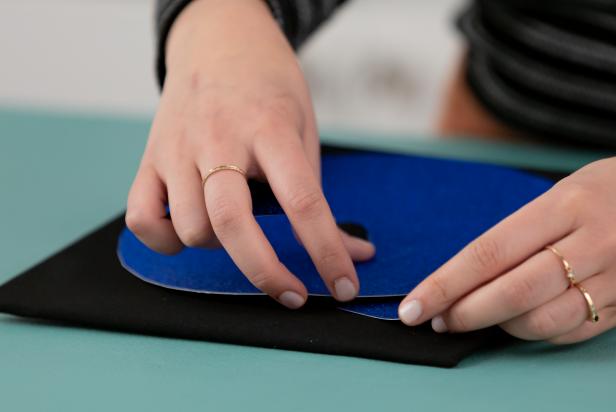
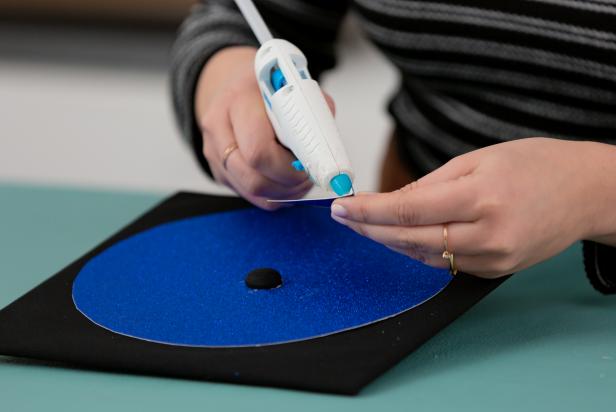
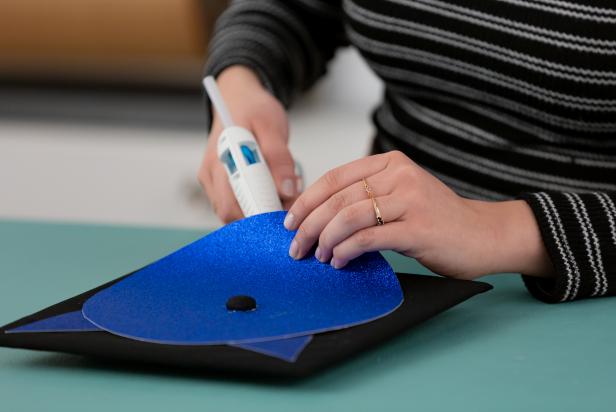
Position the cat's ears (Image 1) and then use a low-temp hot glue gun to add the ears (Images 2 & 3). Then, add a few dabs of glue the back of the card stock circle to secure the cat's head onto the cap (Image 4).

Cassidy Garcia
Cassidy Garcia
Make a Statement
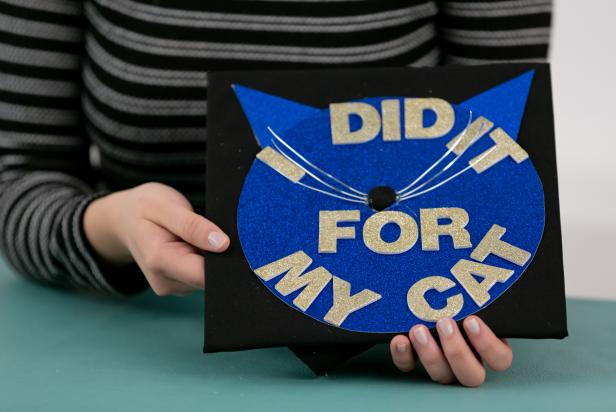
Optionally, arrange the stick-on letters to say, “I Did It for My Cat!” or another feline-friendly phrase of your choosing.

Cassidy Garcia
Add Whiskers
Cut a few small pieces of wire to create the cat's whiskers, positioning them around the graduation cap button (Image 1); this will be the cat's nose. Hot glue the whiskers, holding them in place until the glue dries (Image 2). Continue adding whiskers to complete the cat's nose (Image 3).

Cassidy Garcia


Cassidy Garcia
Purrfect Cap
It's the perfect way to honor your biggest inspiration on your special day.
Cassidy Garcia
Floral Cap
Cassidy Garcia
Materials + Supplies
- faux flowers
- hot glue skillet or low-temp hot glue gun
- wire cutters
- graduation cap
Prepare the Flowers
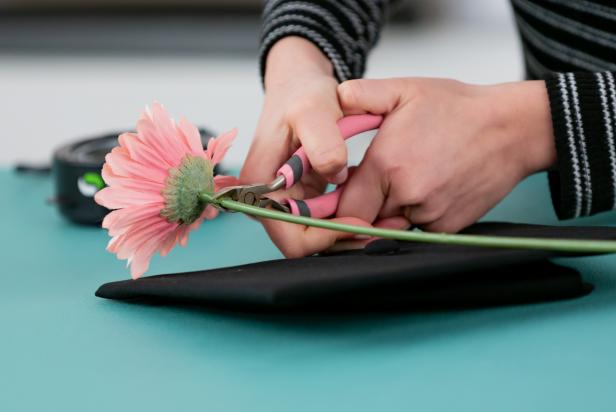
Prepare the faux flowers by cutting off the stems using wire cutters (Image 1). Cut as close to the base of the flowers as possible so they're flush with the top of the cap when gluing (Image 2). Repeat until all flowers are cut.
Cassidy Garcia
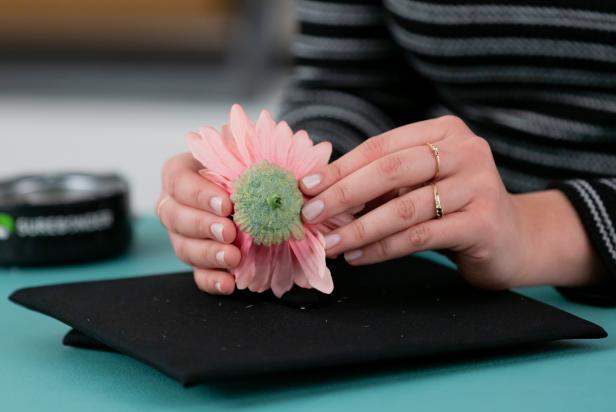
Cassidy Garcia
Add Flowers to Cap
One by one, dip the base of a faux flower into a glue skillet (Image 1). Tip: You can also use dots of hot glue for this. Then, place the flower flush to the cap (Image 2). Repeat the steps until the cap is completely covered (Images 3-5).
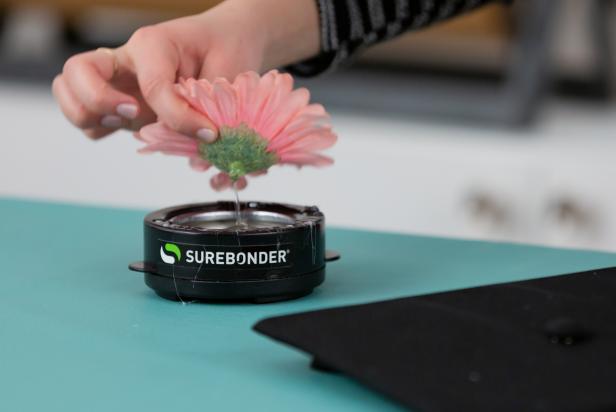

Cassidy Garcia

Cassidy Garcia

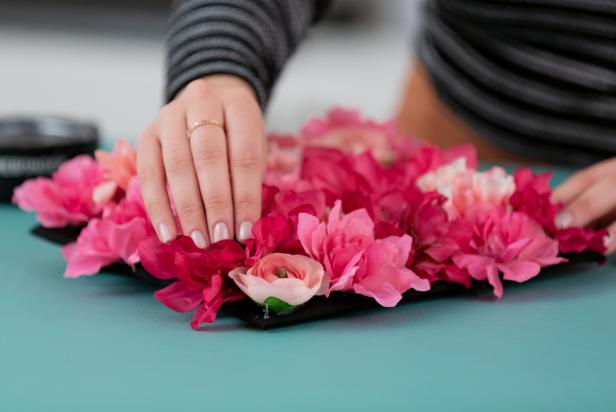
Cassidy Garcia
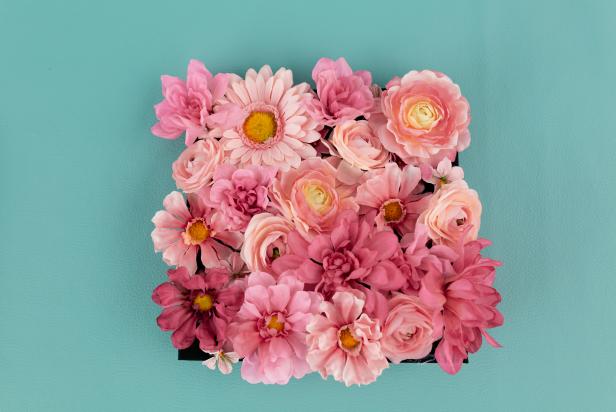
Pretty In Pink
A vibrant pink floral cap will definitely help you stand out from the crowd.
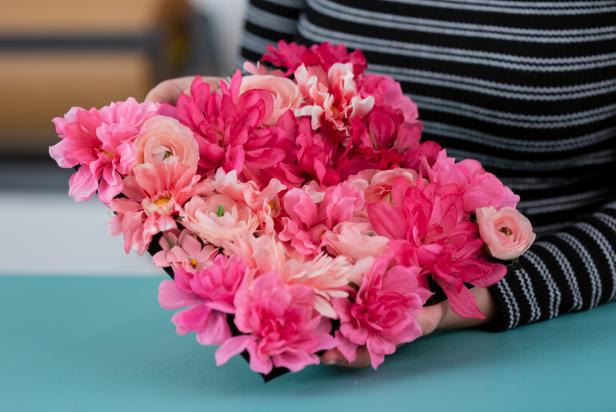
Cassidy Garcia
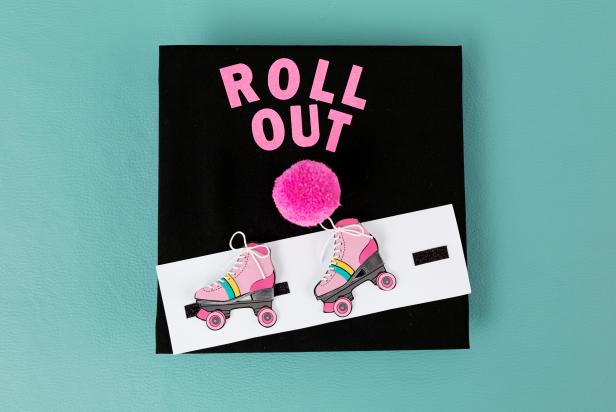
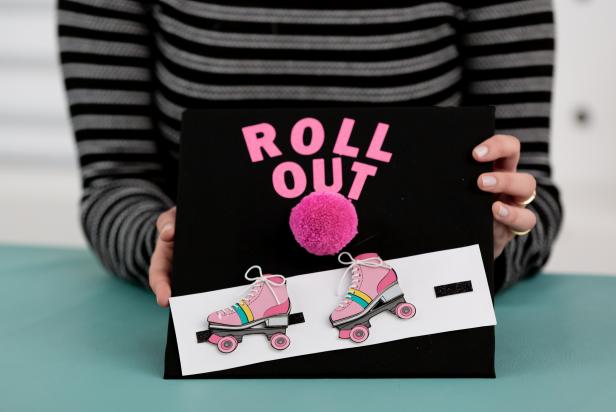
Time to Roll Out!
Cassidy Garcia
Materials + Supplies
- graduation cap
- white & black paper or card stock
- stick-on letters
- roller blade 3D stickers
- yarn
- pom-poms
- low-temp hot glue gun
- scissors
Make the Road
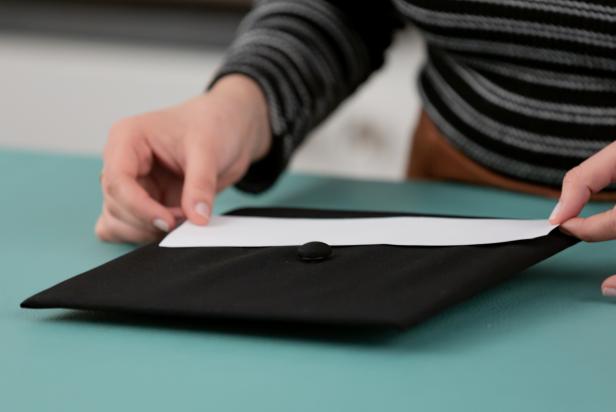
Start by making the road. Cut out a rectangle shape on a white piece of paper. Add glue to the white piece (Image 1) and glue it on the hat (Image 2).

Cassidy Garcia
Cassidy Garcia
Make Road Markers
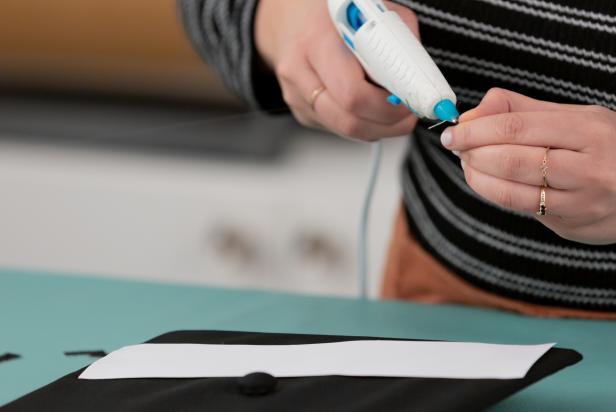
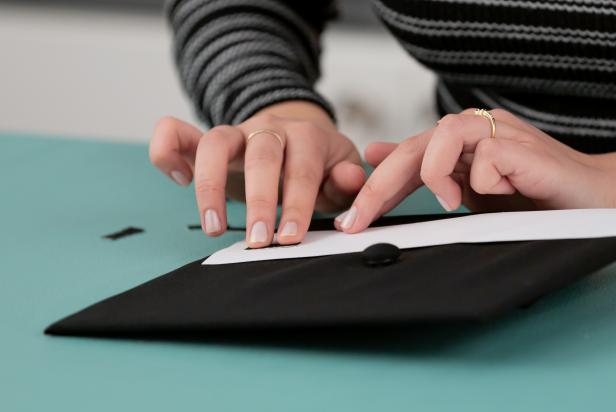
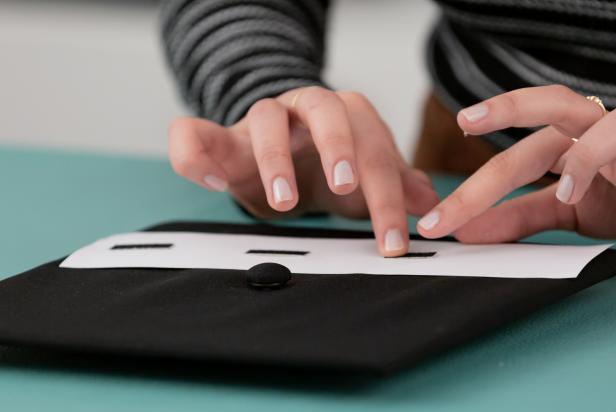
Cut out small rectangles from black paper, then add a dab of glue to each (Image 1) before pressing them onto the white rectangle in a line to create the road markers (Images 2 and 3).
Cassidy Garcia
Cassidy Garcia
Cassidy Garcia
Add a Phrase
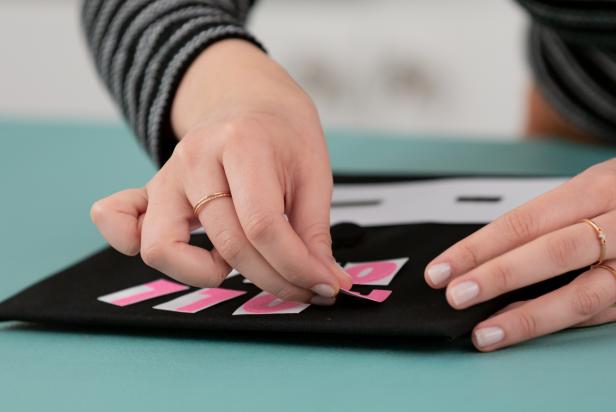
Use stick-on letters to adhere the phrase "Roll Out" to the cap or another phrase of your choice.
Cassidy Garcia
Add Pom-Pom
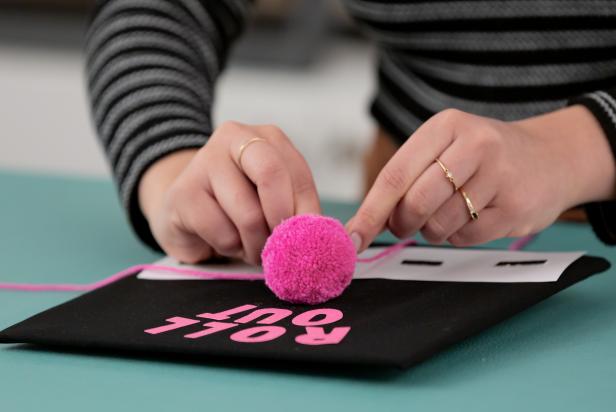
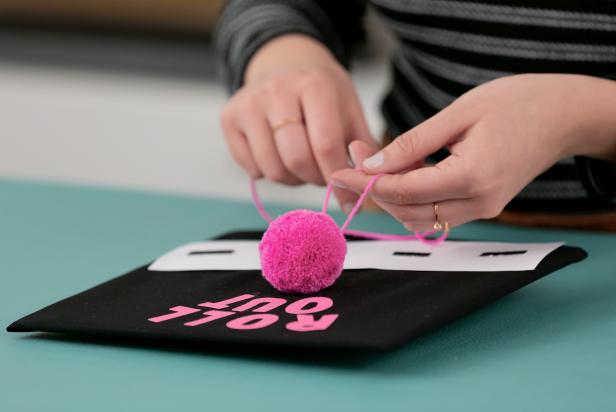
Attach a pom-pom to the button of the hat with hot glue (Image 1). Tie a piece of yarn around the pom-pom and button (Image 2). Hot glue the yarn in place if necessary.
Cassidy Garcia
Cassidy Garcia
Add Stickers
Add the 3D roller blade stickers on the cap’s road.

Cassidy Garcia
See Ya on the Flip Side
Now you're ready to roll out!
Cassidy Garcia
Graduation Gifts and DIYs
20 DIY Gifts Your Grad Will Love 20 Photos
Browse through these clever DIY projects that high school and college graduates alike will love and appreciate.
5 Ways to Wrap Money
Gift money to your favorite grad with one of our fun and clever DIYs. Because who doesn't love money, right?
15 Graduation Gift Ideas Under $50
Shop our curated gift list to celebrate your graduate in style and under budget.


