


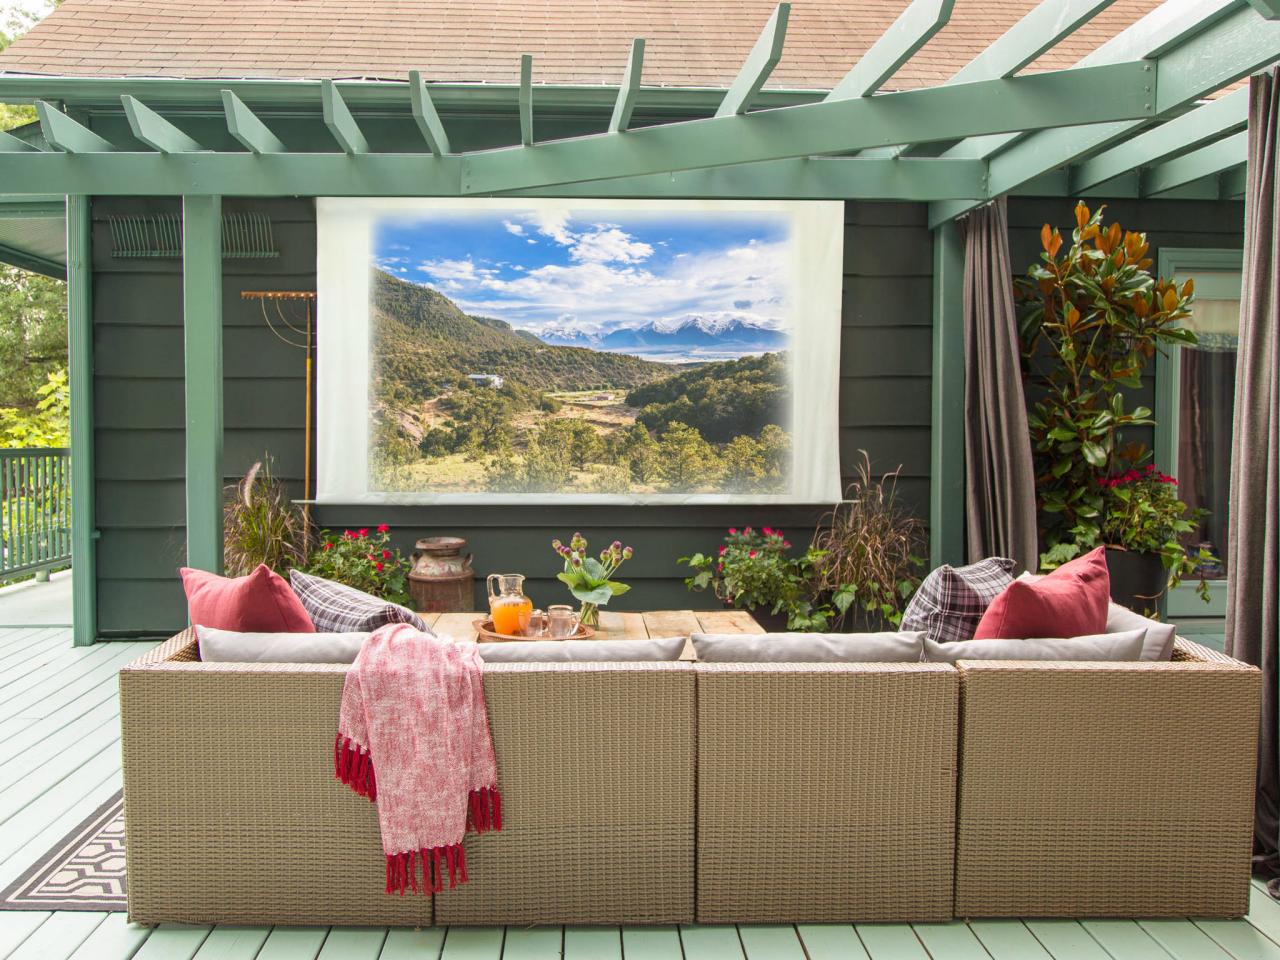
How to Make Your Own Movie Screen

Brian Patrick Flynn

Materials Needed
9 x
(2) 3/4" x 10' metal EMT conduit
1" industrial-strength indoor/outdoor hook and loop tape
(2) 3 5/8 x 3/4" eye screws
utility scissors
chop saw
safety goggles
cordless drill with 1/2" bit
pencil
measuring tape
straight edge
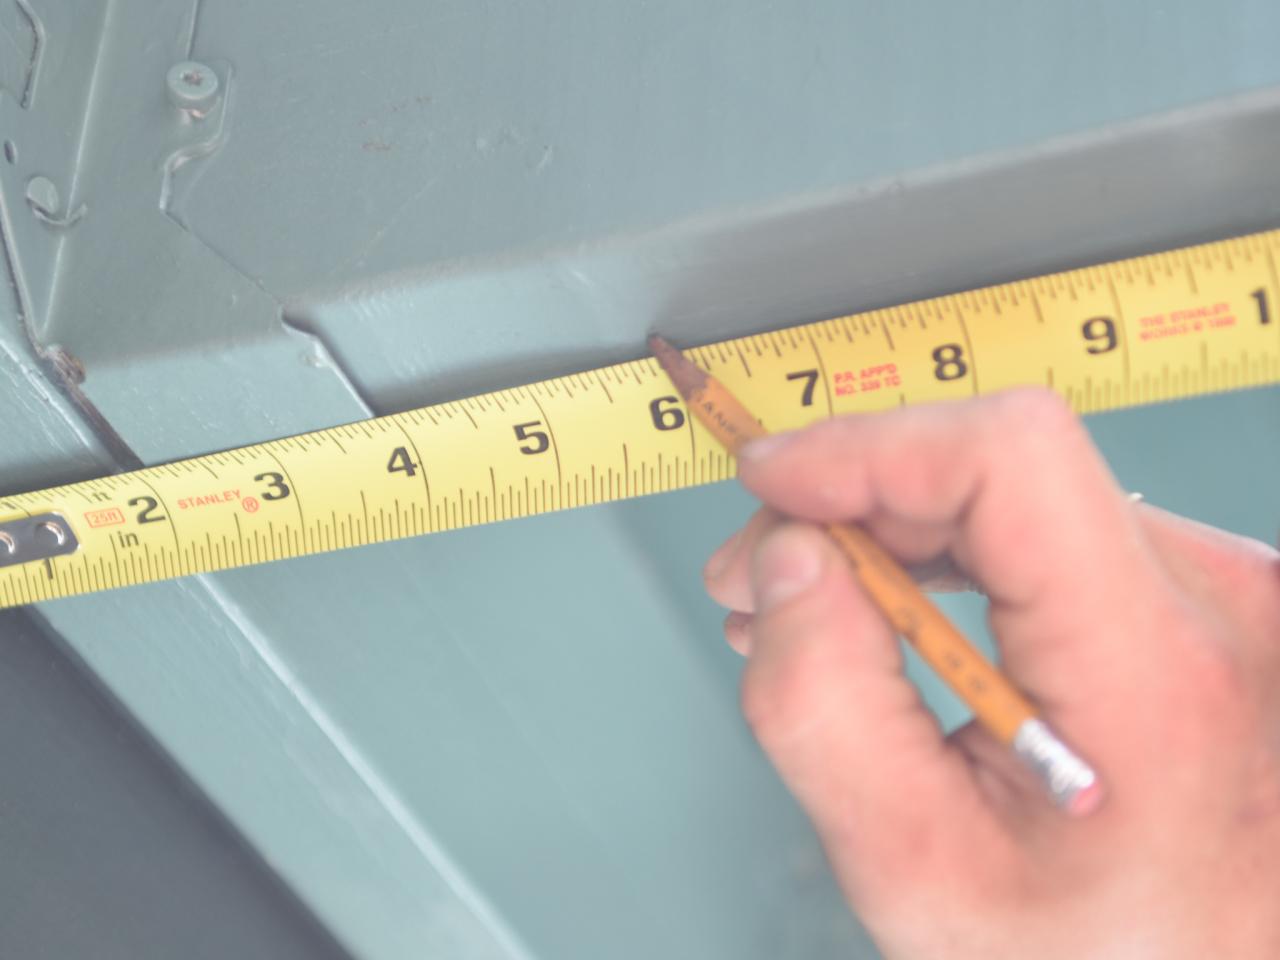
Plan Screen Placement
Using a tape measure and pencil, mark where you would like to hang the screen based on your outdoor space, available seating and where the projector will be placed.

Brian Patrick Flynn
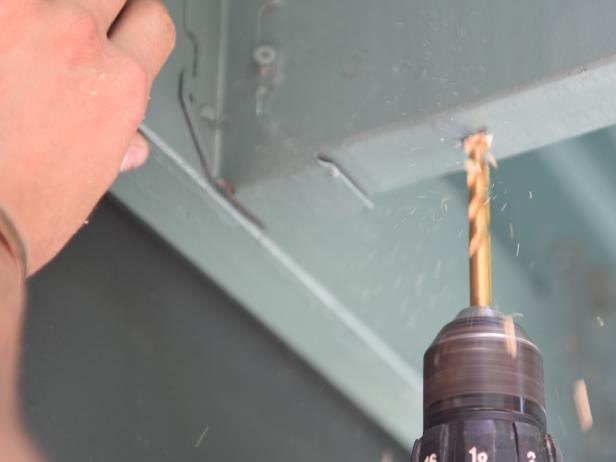
Install Eye Hooks
Pre-drill holes using the drill bit (Image 1), then install the eye screws 9 1/2 feet apart so that the conduit pipe will sit securely (Image 2).
Brian Patrick Flynn
IMAGE 1

Brian Patrick Flynn
IMAGE 2
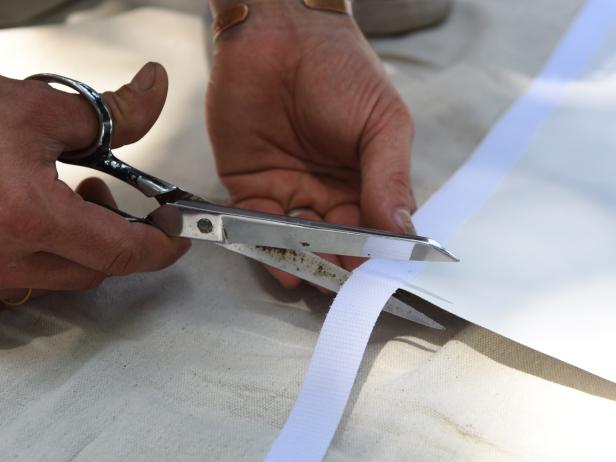
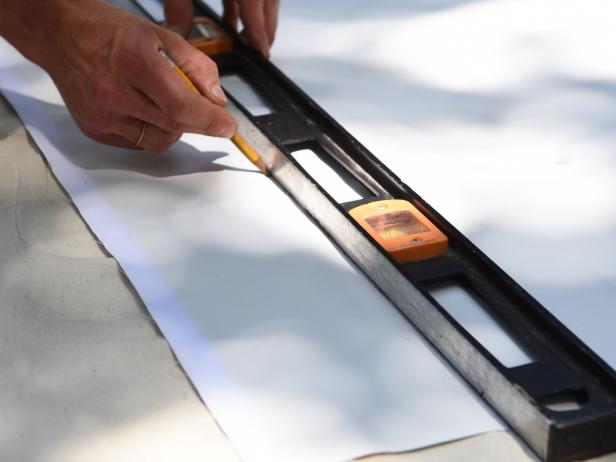
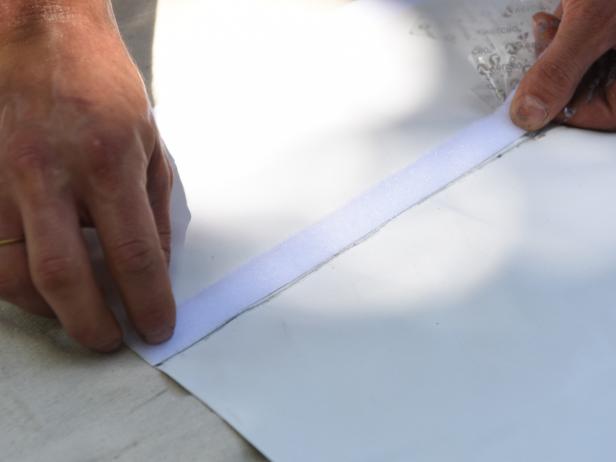
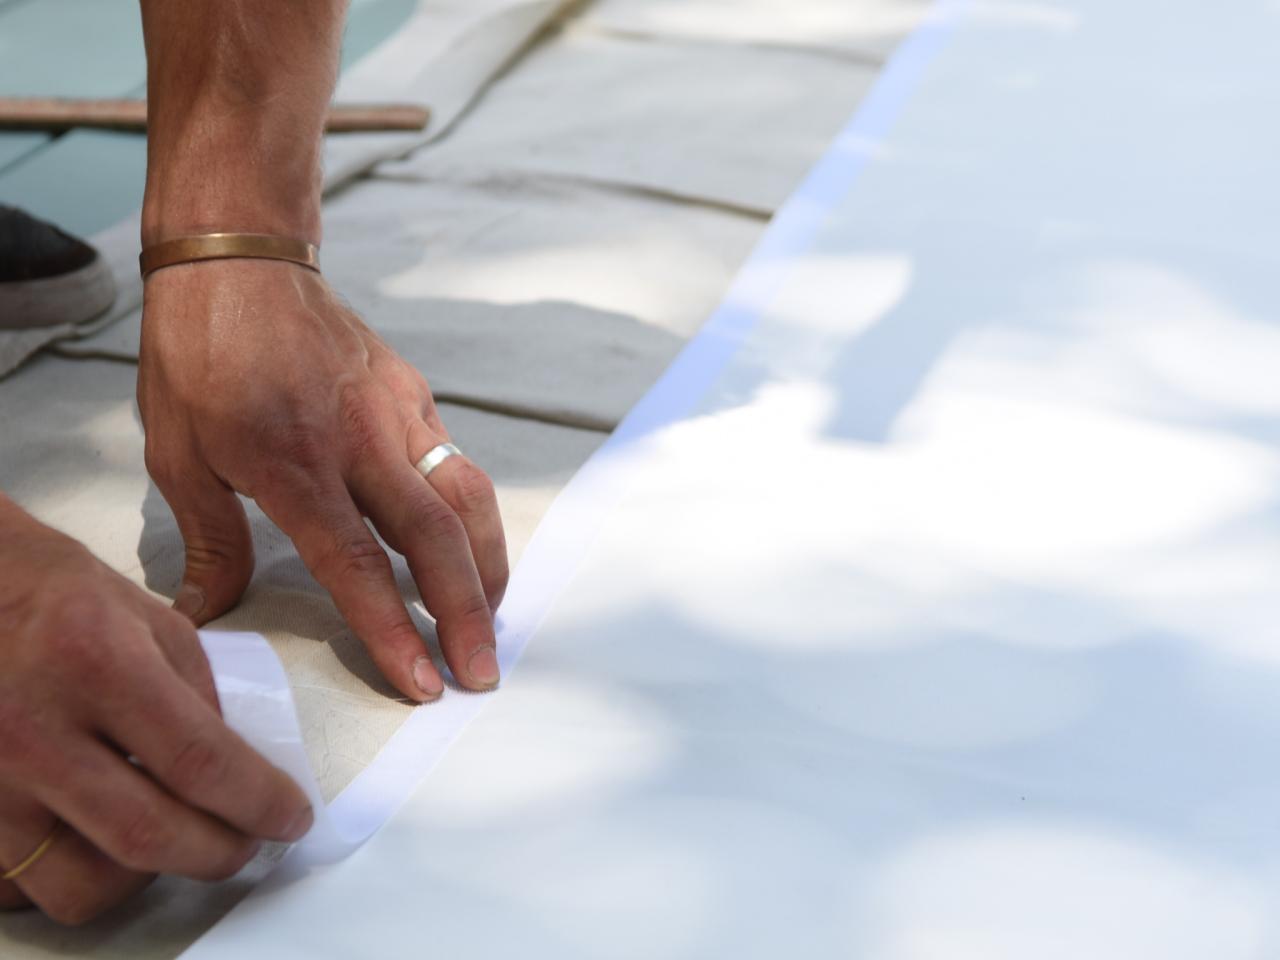
Add Hook and Loop Tape
Lay the projection screen face down on a clean, flat surface. Remove the adhesive backing and attach the hook side of the tape to the top edge of the screen (Image 1), then trim to size (Image 2). Repeat this along the bottom edge of the screen. Next, using a pencil and straight edge, measure and mark 5 1/2" from the top and bottom edge of the screen, making a light line across the screen (Image 3). Using this line as a guide, add the loop tape to the top and bottom, then trim to size (Image 4).

Brian Patrick Flynn
IMAGE 1
Brian Patrick Flynn
IMAGE 2
Brian Patrick Flynn
IMAGE 3
Brian Patrick Flynn
IMAGE 4
Add Pipe and Fold Over
Place one pipe at the top of the screen between the hook and loop tapes, then fold the top of the screen over and press the two sides of tape together firmly. Repeat this process along the bottom with the other pipe. Tip: For extra strength, use a heavy-duty adhesive or glue along the seam, too.

Brian Patrick Flynn
Hang Screen
To hang the screen, slip the top pipe into the eye hooks one at a time. The pipe along the bottom will help weigh the screen down and minimize it blowing around on breezy nights. Remember, when not in use, take the screen down, roll it up and store in a dry place.

Brian Patrick Flynn


