


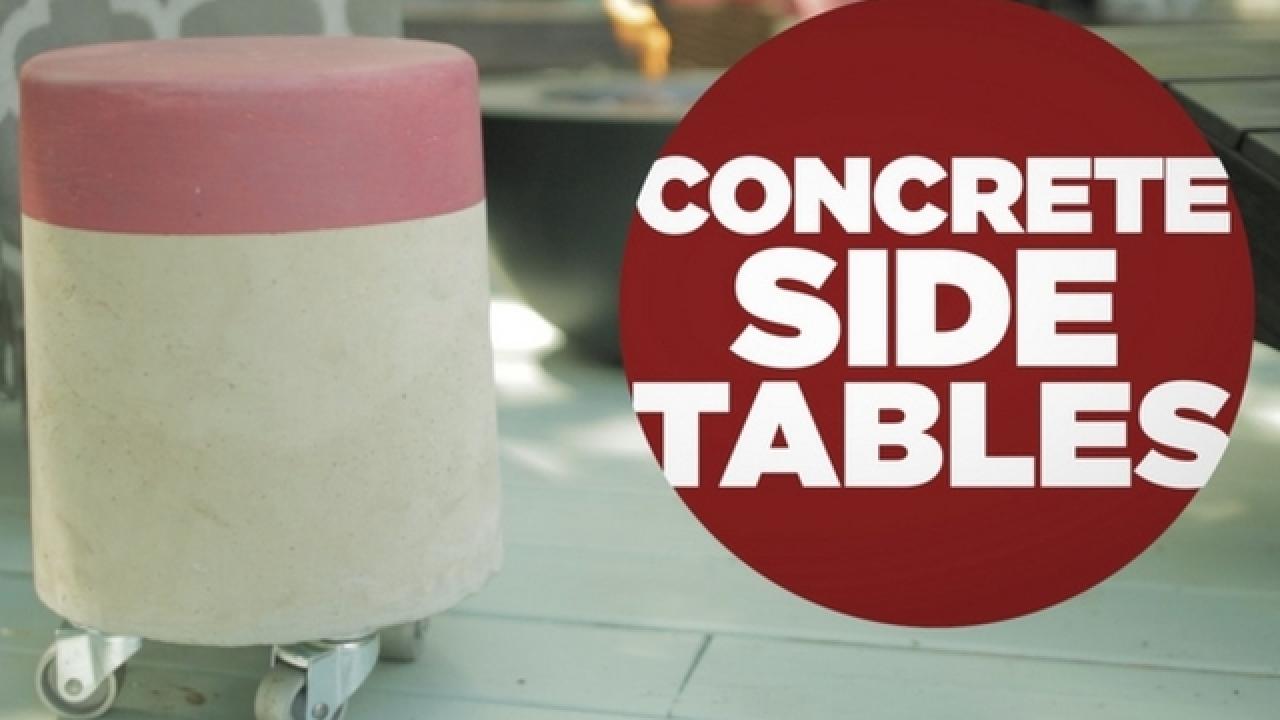
Make a Chic Concrete Side Table That Doubles as a Stool

Materials Needed
- (1) 50-pound bag fast-setting concrete mix
- (2) 5-gallon plastic buckets
- (1) 2'x4'x8' lumber
- 8"x4' concrete tube form
- 3/4"x4'x4' plywood
- duct tape
- (4) 2 1/2" exterior-rated wood screws
- miter or chop saw
- rotary cutting tool
- jigsaw
- utility knife
- measuring tape
- pencil
- safety goggles
- drill (optional)
- 1/8" masonry drill bit (optional)
- (4) 2" heavy-duty casters (optional)
- paint (exterior spray paint for concrete; sealer)(optional)
- paintbrush (optional)
- painter's tape (optional)
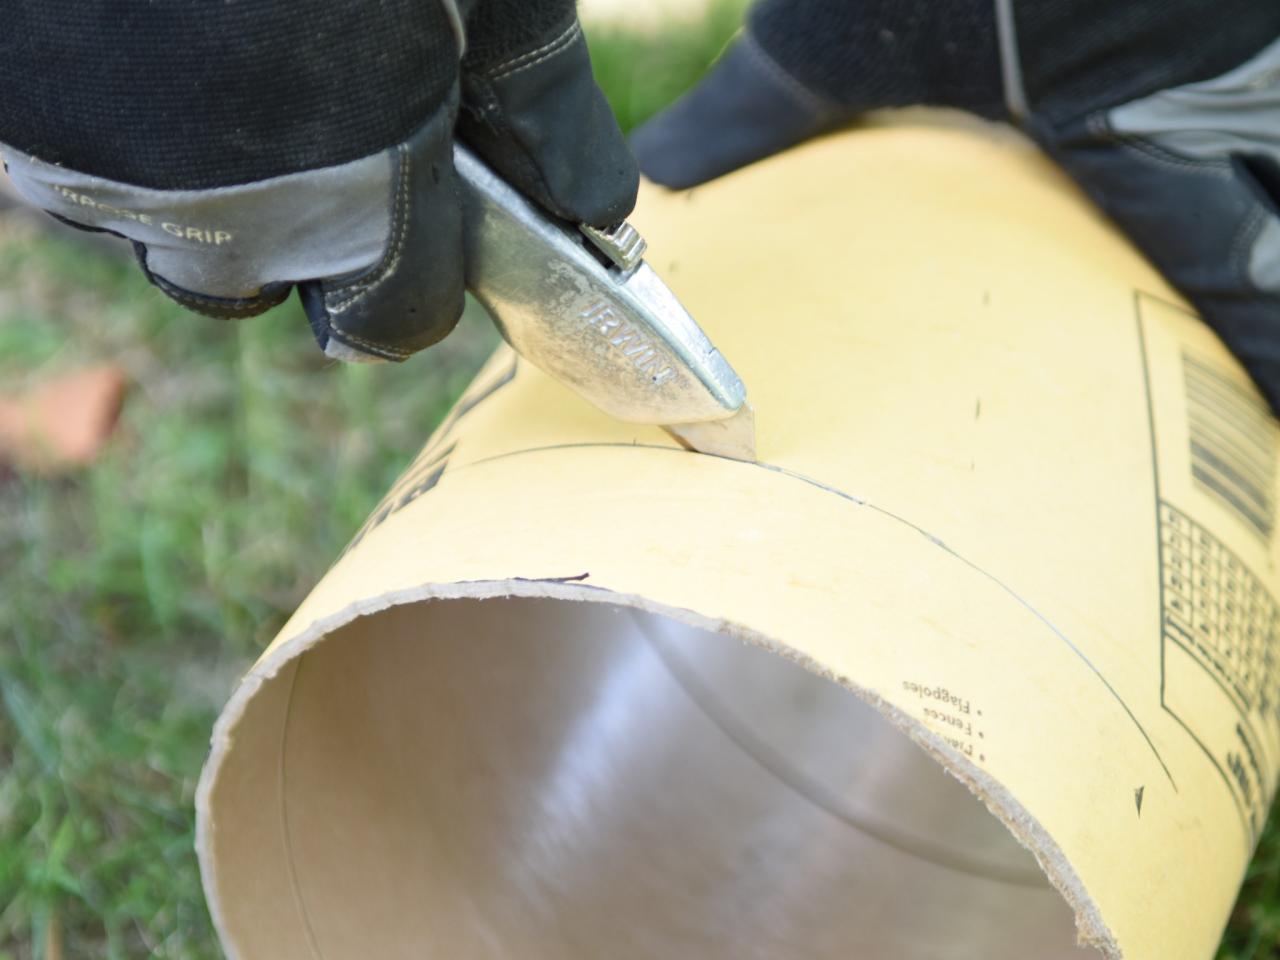
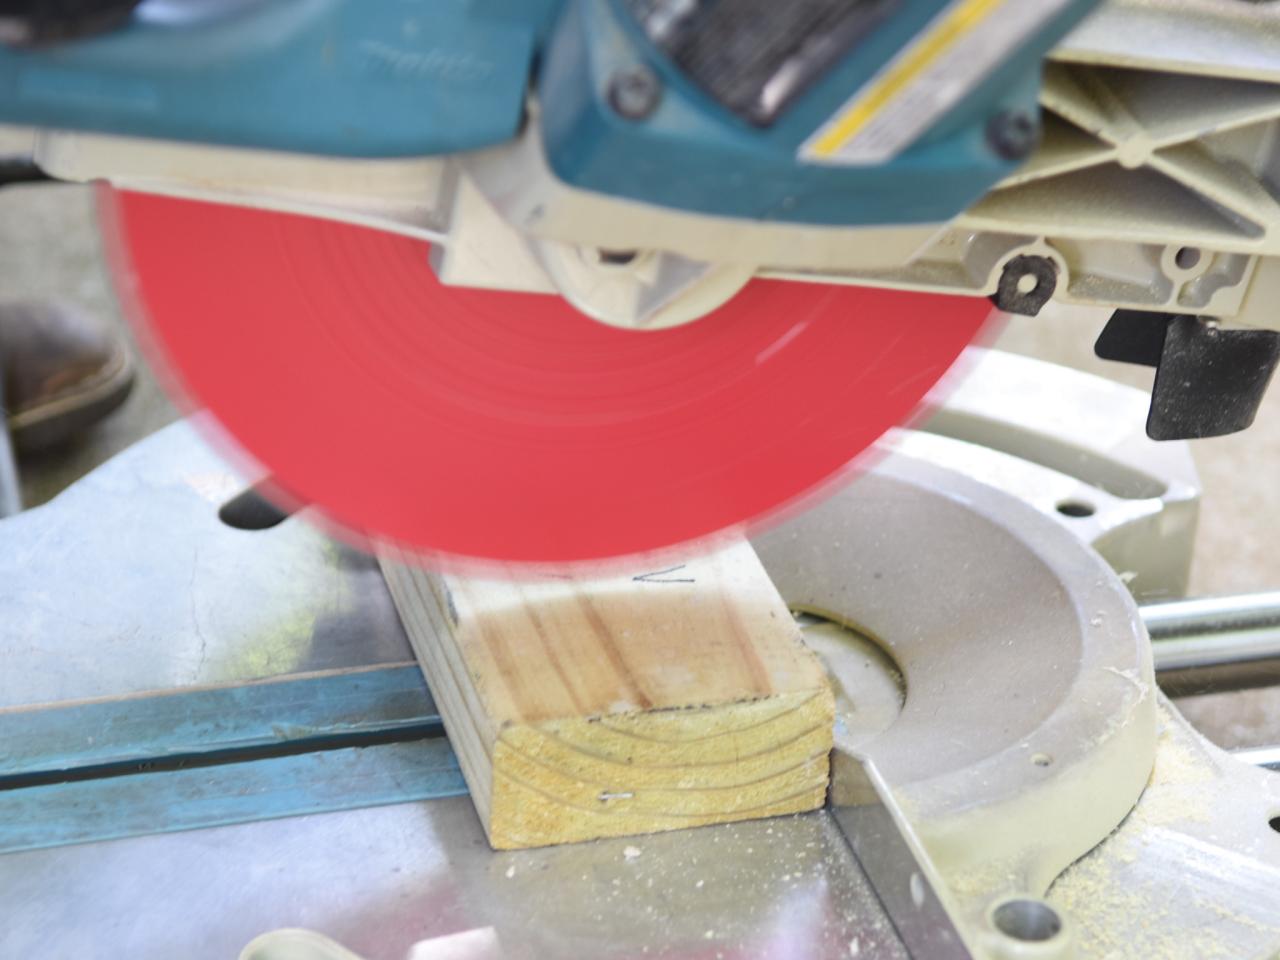
Cut Concrete Tube Form
Measure and mark the concrete tube 11 inches high (Image 1). Using a utility knife, cut the tube to size (Image 2).

Brian Patrick Flynn
IMAGE 1

Brian Patrick Flynn
IMAGE 2
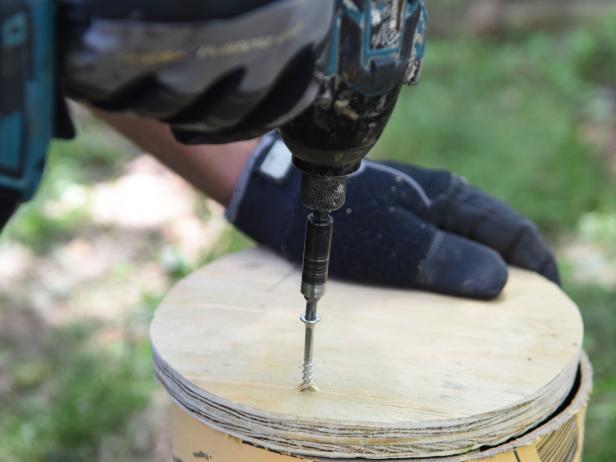
Add Bracing
Measure and mark two 2x4s each 11 inches high. Using the chop saw, cut both to size (Image 1). Place each opposite to one another on the inside of the tube and secure with wood screws (Image 2).

Brian Patrick Flynn
IMAGE 2

Brian Patrick Flynn
IMAGE 2
Assemble and Seal Tube Form
Using the concrete tube as your guide, draw a circle onto the plywood (Image 1). Use a jigsaw to cut the circle out (Image 2). Attach the plywood top to the bottom of the 2x4s with wood screws (Image 3). Add duct tape around the bottom plywood edge, flip over and add duct tape across the top of the open tube (Image 4). (This will keep the concrete mixture from seeping through.)

Brian Patrick Flynn
IMAGE 1

Brian Patrick Flynn
IMAGE 2
Brian Patrick Flynn
IMAGE 3

Brian Patrick Flynn
IMAGE 4
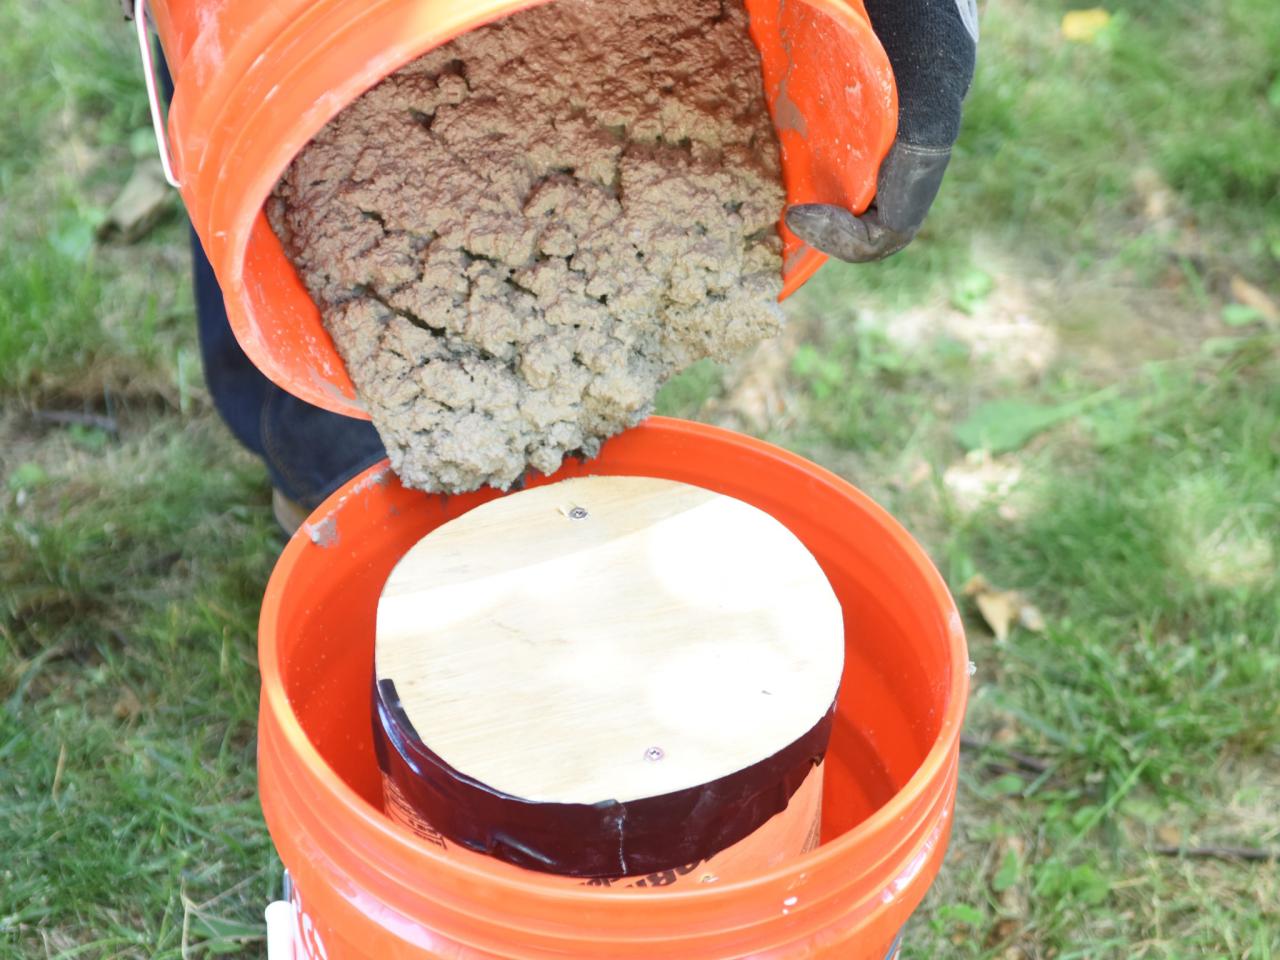
Mix and Pour Concrete
Mix the concrete with extra water for a more consistent, pourable blend. Once the concrete is ready, pour a 4-inch layer into the bottom of another bucket.

Brian Patrick Flynn
Place Tube Form in Bucket
Lower the tube form down into the bucket, so that it's resting on top of the 4-inch layer of concrete. Press down or place something heavy on top to limit movement while you finish pouring the concrete.

Brian Patrick Flynn
Add More Concrete
Continue adding concrete around the edges and shake the bucket to agitate the concrete; this will help remove any bubbles from the mixture. Run a scrap 2x4 or trowel along the top of the bucket to smooth the mixture. Let set for at least 24 hours.

Brian Patrick Flynn
Remove Bucket
After 24 hours, use a rotary cutting tool to make one vertical cut along the side of the bucket (Image 1). Peel the plastic away to reveal the concrete table (Image 2).

Brian Patrick Flynn
IMAGE 1

Brian Patrick Flynn
IMAGE 2
Attach Casters (Optional)
Using a masonry bit, pre-drill holes for your caster hardware. Then using the screws supplied, install the casters into the plywood bottom.

Brian Patrick Flynn
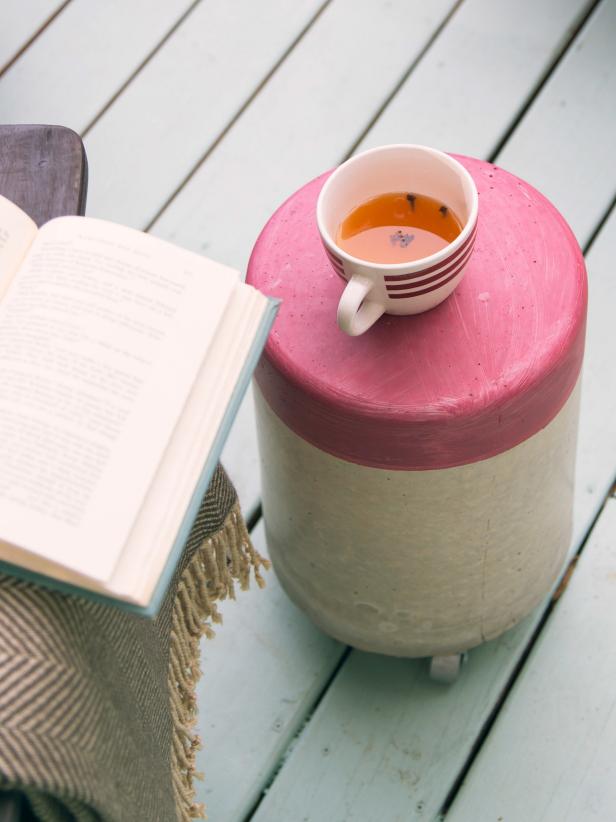
Paint Table (Optional)
Carefully flip the table over and add a splash of color. Use an exterior-grade paint in your favorite shade and top with a sealer. Just make sure it's okay to use on concrete surfaces so it will hold up well over time.

Brian Patrick Flynn
Brian Patrick Flynn


