


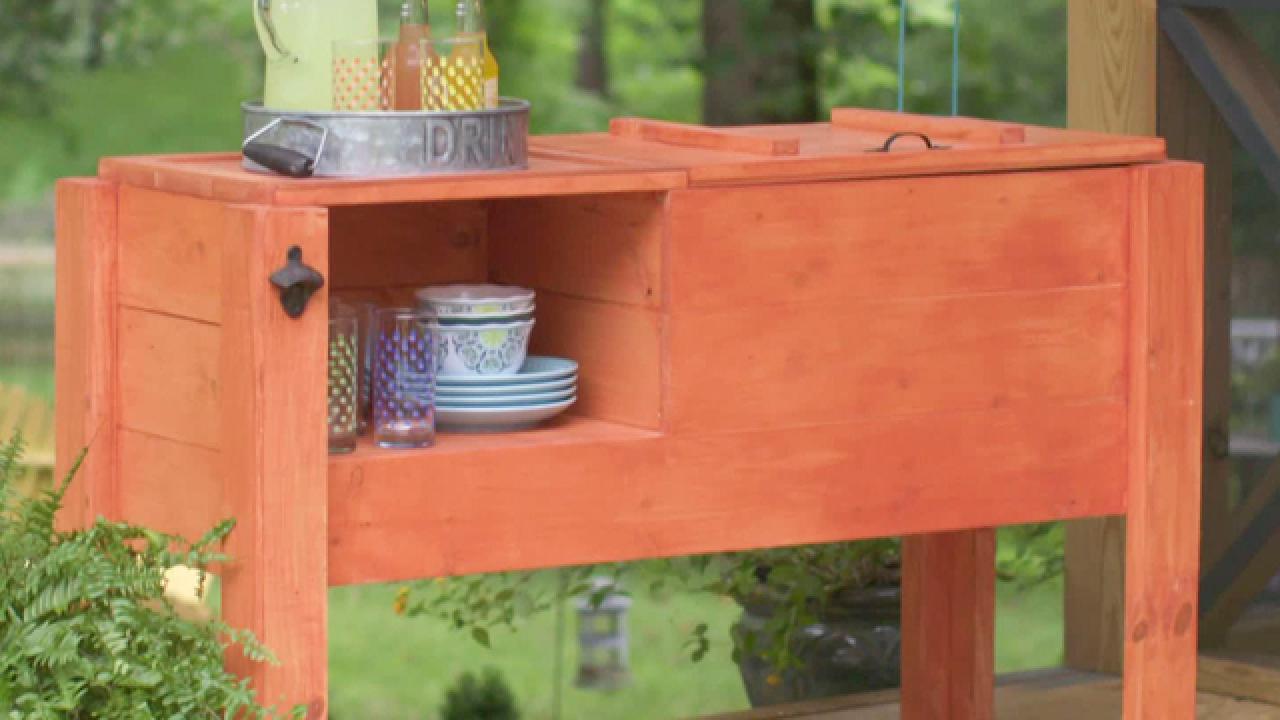
Upgrade Your Old Cooler With This Clever DIY
Your patio's beverage game will be on point with this sturdy and functional stand for your old plastic cooler.


Sarah Busby
Tools and Materials
- (1) 4x4 x 10' post
- (1) 2x3 x 1/4" trim
- (6) 1x2 x 6' boards
- (7) 1x6 x 8' boards
- (1) stainless piano hinge
- 1 box of 1-1/4" #8 exterior screws
- 1 box of 1-5/8" #8 exterior screws
- 1 pack of 4D 3/4" finish nails
- 1 bottle heavy-duty adhesive
- 32-quart cooler w/ flat lid
- circular saw
- drill with bits and drivers
- (4) hand clamps
- hammer or finish nailer
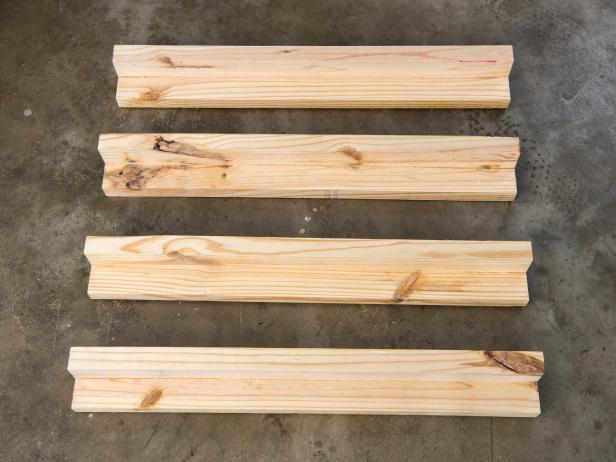
Start With the Legs
Clara MacClellan
Cut your 4x4 post into four 30" pieces to make the legs. It’s critical to cut them evenly to keep your cooler box from wobbling.
Set the depth gauge on your circular saw for 2" deep and set the rip fence for 2" wide. This is how you’ll cut out the channels in the legs that support the frame of the cooler. Rip a 2" x 2" corner off of each post. You should end up with four L-shaped legs for your project.
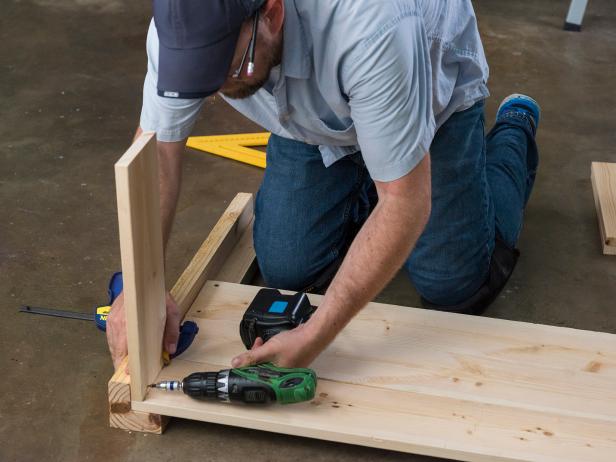
Build the Back and Side Panels
Clara MacClellan
Clara MacClellan
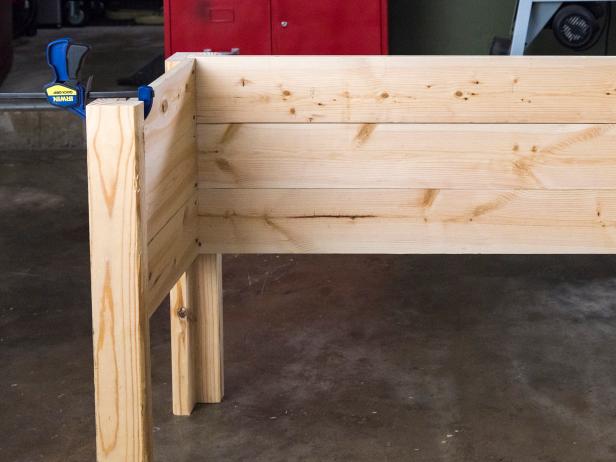
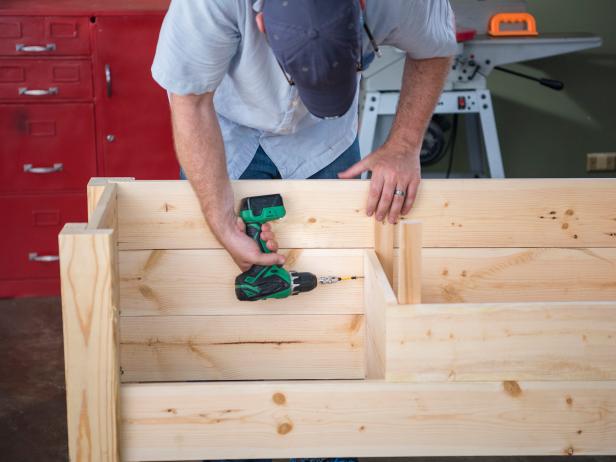
Cut three 1x6 x 8' boards into 4' lengths. These will form the back panel for your project. Pre-drill and screw those 1x6 x 4' boards to the 4x4 legs you just cut (as shown). This forms the back of the project. Use 1-5/8” #8 outdoor-grade screws, and make sure to keep the distance between the two legs equal and square.
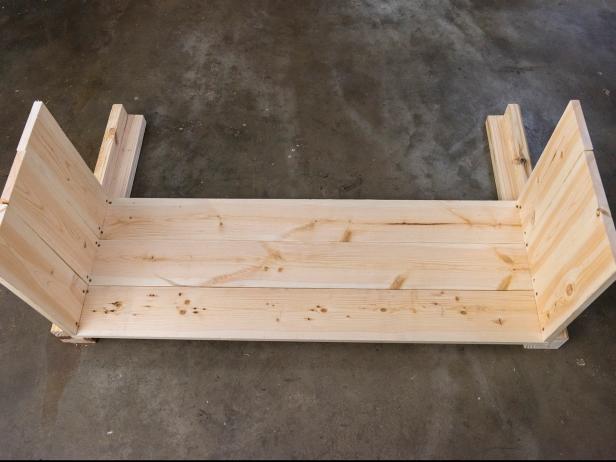
Next, cut a 1x6 x 8' board into six 16" sections to form the sides of your box. Attach these sections to the opposing sides of the rear legs. Use a few clamps and a framing square to help you attach the sides if you don’t have a helper. Keep your side sections as close to 90 degrees as possible. You’re trying to keep the corners of your box as square as possible. Don’t fully tighten your screws yet so you can have a little flexibility. We’ll tighten everything up in the next step.
Attach the Front Legs
Clara MacClellan
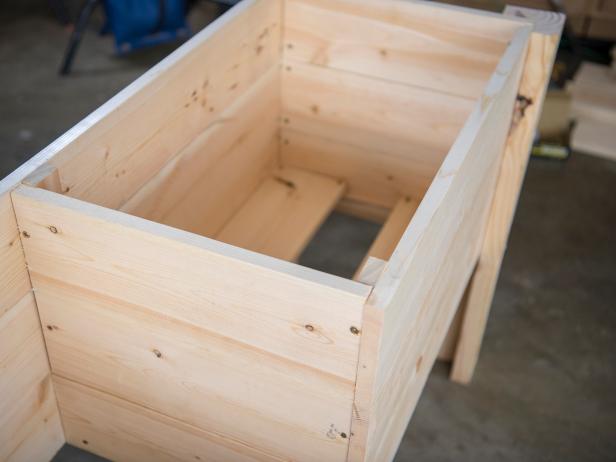
Stand your three-sided box up and attach the two front legs. Get a friend to help or use a framing square and some clamps again to assist you in keeping things square. Your goal is a box with four 90-degree corners once everything is attached.
Install the Front Rail

Clara MacClellan
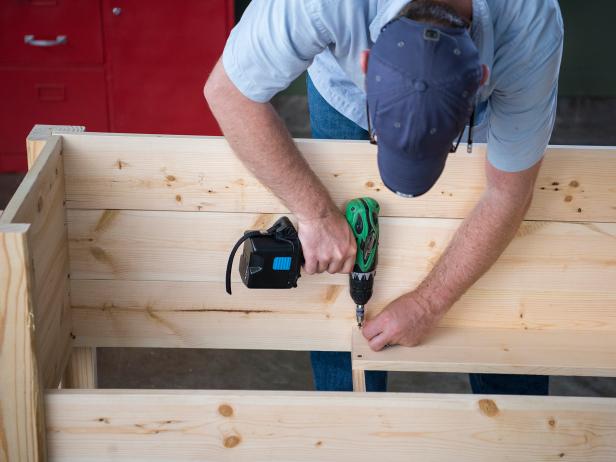
Cut a 1x6 to fit the width of the front so that your box will stay square. Measure carefully and secure it with screws. Once you’ve got the front piece secured, double check that all of your corners are still square, and then you can tighten all of your screws fully.
Frame Up the Cooler Shelf
Clara MacClellan
Clara MacClellan
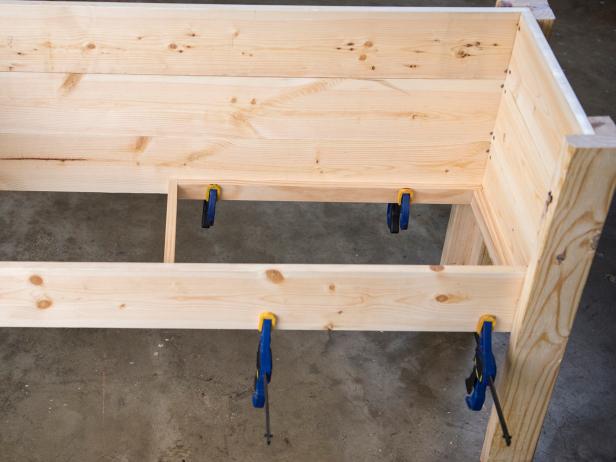
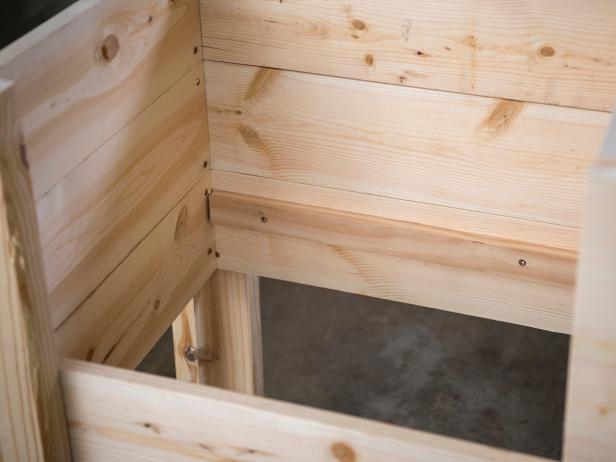
Use 1x2s cut to the width of your cooler, with an inch or so extra on each side, to build a frame in the bottom of the box. Make sure that your cooler will fit in such a way that the lid of the cooler is perfectly flush with the top edge of your box. It’s okay to leave a little wiggle room here. You don’t want your cooler in there too tight. Use a pair of 1x6s cut to fit as shown to build the floor of the cooler frame.
Note: Make sure to leave a gap in the base to allow access to your cooler's drain.

Clara MacClellan
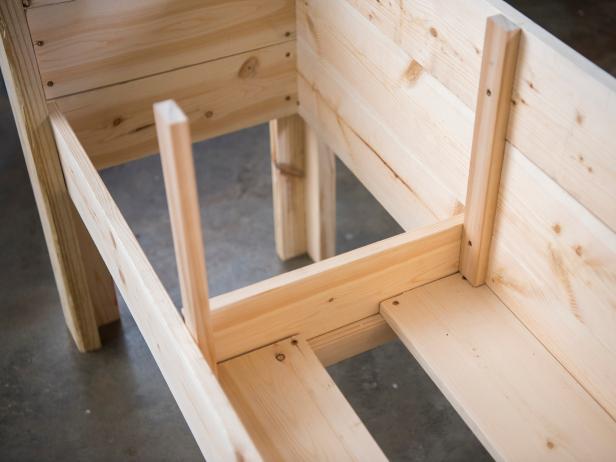
Cut two more 1x2s to act as the opposite corners for your cooler frame. Make sure to use your speed square to ensure your corners are aligned and parallel. It’s a good idea to test fit your cooler through this process to ensure that it fits and that the lid is level with the top.
Enclose the Cooler Area
Clara MacClellan
Clara MacClellan
Clara MacClellan
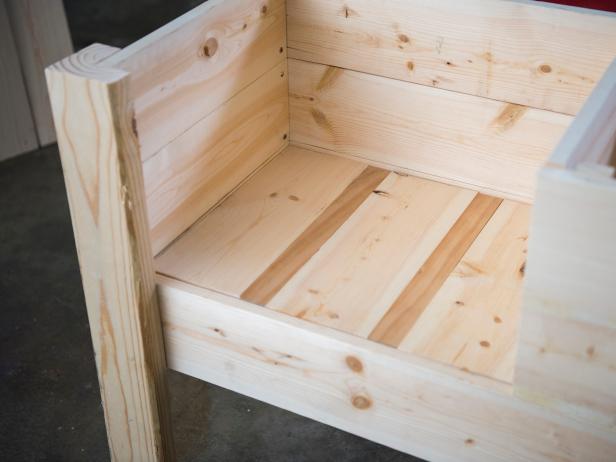
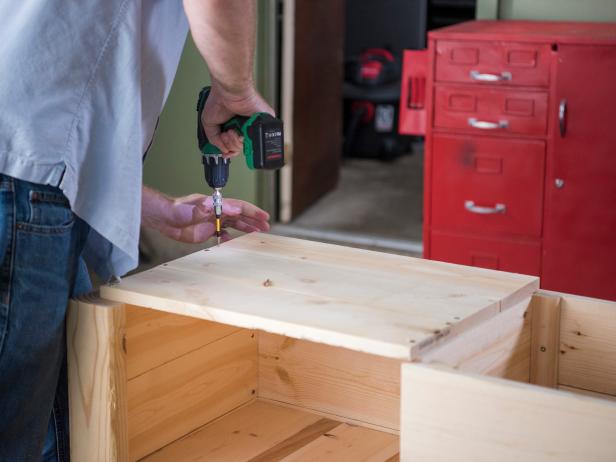
Measure and cut more 1x6s to construct the walls of your cooler frame. Remember to keep everything square as you work.
Next Comes the Shelf
Clara MacClellan
Use more 1x2s to frame out the shelf area in the same manner. Leave 3/4" for the shelf boards to fit flush with the front runner board.
Clara MacClellan
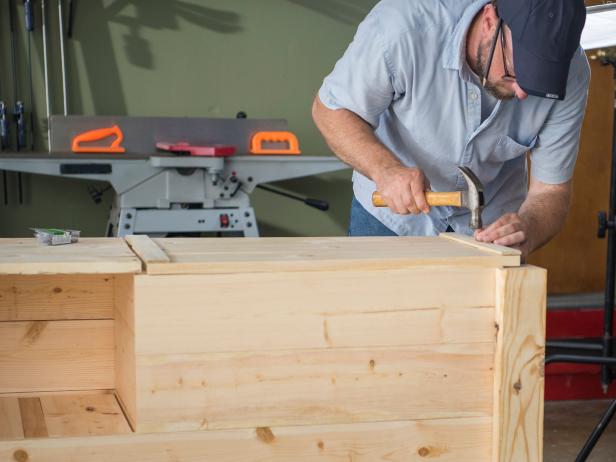
Using a combination of 1x6s and 1x2s, cut your shelf pieces to fit. They should not need any nails or screws to hold them in place, but feel free to nail them in if you want.
Build the Bar Top
Clara MacClellan
Using more 1x6s, cut pieces to fit across the top of the shelf area. This will also give you a working surface to set barware and garnishes on. Make sure to leave enough room on the cooler side for the other lid to open and close smoothly.
Remove Cooler Lid
At this point, we need to disable the cooler lid. You’ll want to remove the cooler lid from its hinges and make sure that it stays disconnected from the cooler freely. It’s going to be permanently attached to the box lid, so make sure that this cooler is worthy of the sacrifice. It’s not going to come out of here ever again.
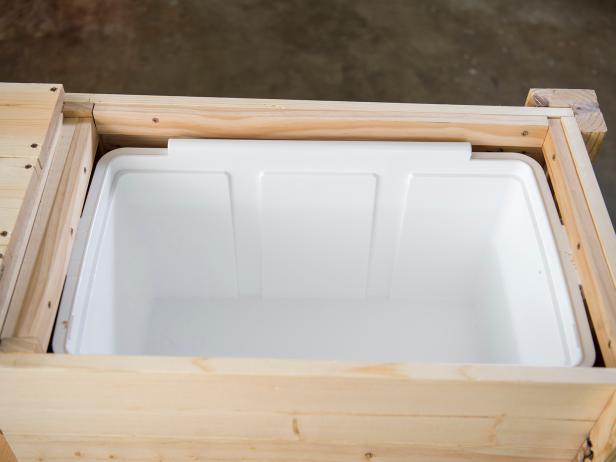
Wedge the Cooler in Place
Clara MacClellan
Use a combination of 1x2s to wedge the bottom half of your cooler into the box. You can place carefully cut pieces around the handles and across the top to keep the cooler in position. Slide the cooler toward the front of the box, leaving a small gap in the rear. Use those 1x2s to secure the bottom of the cooler in place so that it won’t move in any direction. If your cooler moves, the lid won’t line up properly, so take your time and get this part right and tight.
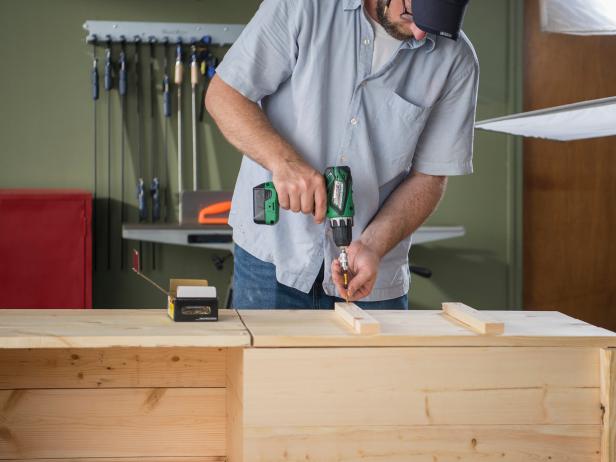
Build the Cooler Cover
Clara MacClellan
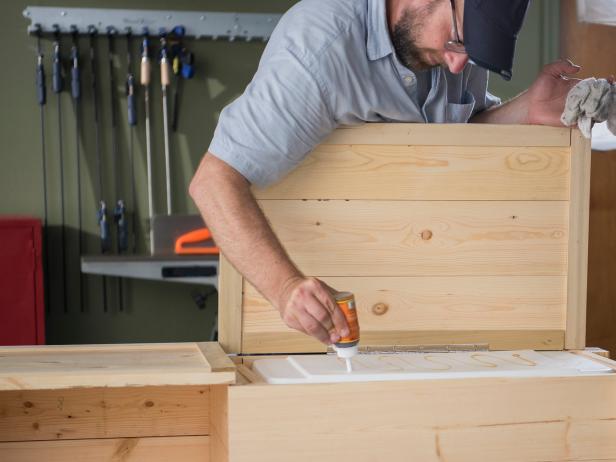
Next use a combination of 1x6s and 1x2s to construct your cooler cover. Make sure that you’ve left about a 1/16” gap between the shelf top and the box lid so that it will open and close smoothly. Drive screws through the 1x2s into the 1x6s to hold everything together. Then, flip the lid over so that you can add your 1/4” trim pieces to the underside as shown. Glue and screw the trim pieces in place for a sturdy lid.
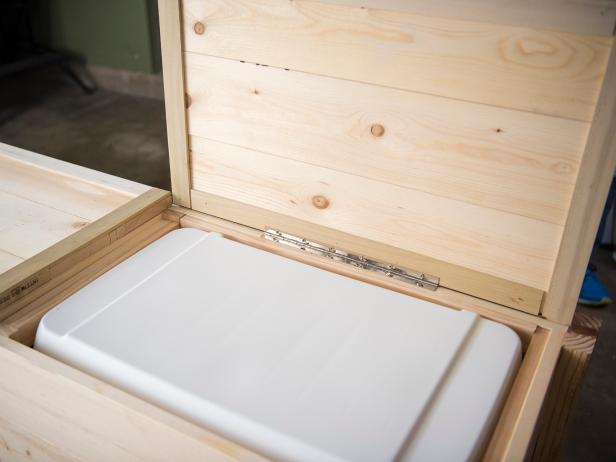
Attach the Cover to the Frame
Clara MacClellan
Secure your piano hinge to the cover, then align it with your cooler box and mark its location on the rear of the box with a pencil. Have a friend hold the lid open on those marks and screw the other half of the hinge in place.
Attach the Cover to the Cooler Lid
Clara MacClellan
Clara MacClellan
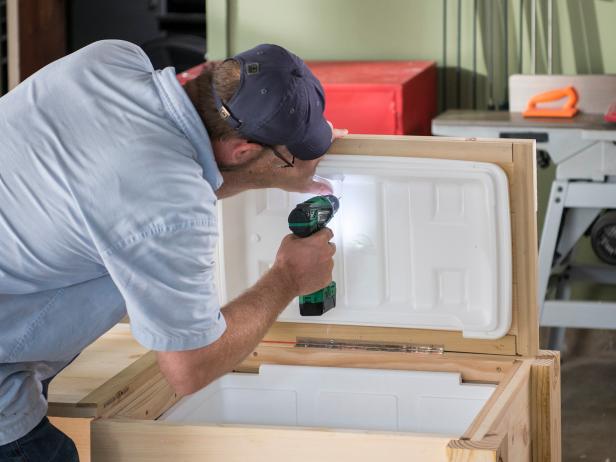
Now that you have the box lid in place, it’s time to attach the cooler lid to the cover. Place the plastic cooler lid onto the bottom half of the cooler securely. Spread a generous amount of Gorilla Glue or another expanding adhesive to the lid and close the box top. Place paint cans or other heavy objects onto the lid so that it contacts the cooler top until the glue dries. After the glue is dry, open the lid and the cooler top should be stuck to it. Drive four screws through the cooler lid into the wooden box lid to make sure it stays put.
Add Trim, Apply Finish and Accesories
Clara MacClellan
Clara MacClellan
Sarah Busby
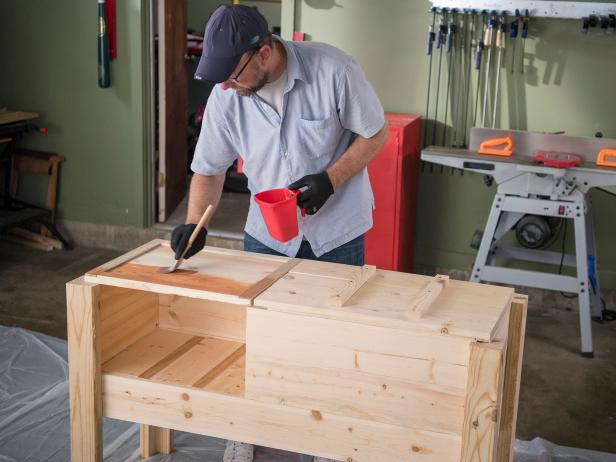
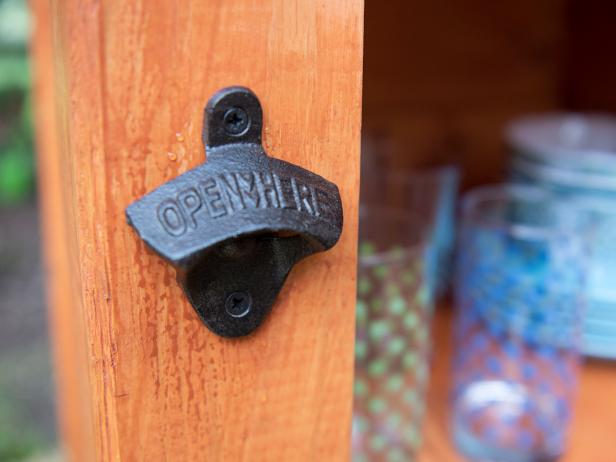
Cut and apply trim pieces to the shelf side to make sure that your lid and table are at the same level. Sand your cooler box, apply finish as needed, then add any hardware to your project. After that, fill it with ice and beverages and enjoy.


