


How to Make a Stenciled Fall Welcome Mat
Ready to spruce up your front porch for fall? Get creative with this DIY doormat. It's fun to make, and your design options are endless.

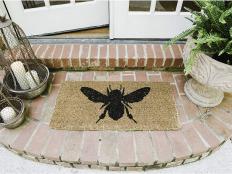
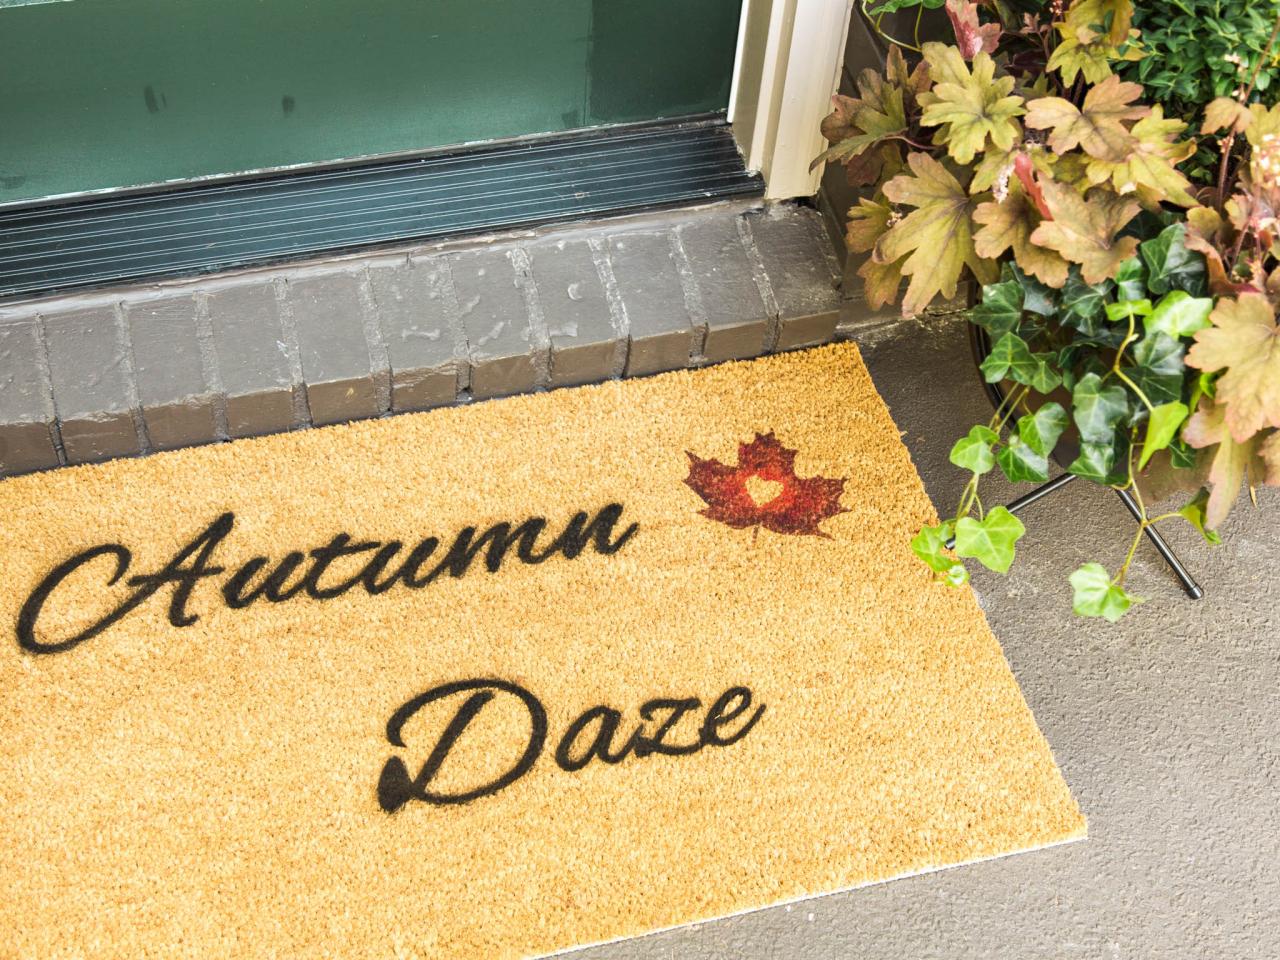
Greet Guests With a Fall-Friendly DIY Doormat
Guests will appreciate a clever greeting on a fall-friendly doormat. We made this one with some craft paint and stencils!

Photo by: Flynnside Out Productions
Flynnside Out Productions
Materials Needed
- plain doormat
- craft paper
- scissors
- adhesive spray
- stencil blanks
- spray paint, in desired color (we used black)
- acrylic craft paint, in desired colors (we used red, plum, brown)
- paint palette
- foam paintbrush
- stencil paintbrush
- masking tape
- utility knife
- cutting mat
- pencil
- painter’s tape
- measuring tape
- dropcloth
- Autumn Daze + Leaf Printable
Lay Out Design
Print out your design, then cut it out and lay it on the doormat. (You can download our Autumn Daze printable or design your own.) Play with spacing and tweak it until you’re happy with the design. Tape the papers together to get the spacing just right between the letters.

Step 1- Lay Out Design
Print out the greeting and/or design. Cut it out and lay it on the door mat- play with spacing and tweak until you’re happy with the design. Tape the papers together to get spacing just right between letters. Use a measuring tape and yard stick as a straight edge.
Photo by: Flynnside Out Productions
Flynnside Out Productions
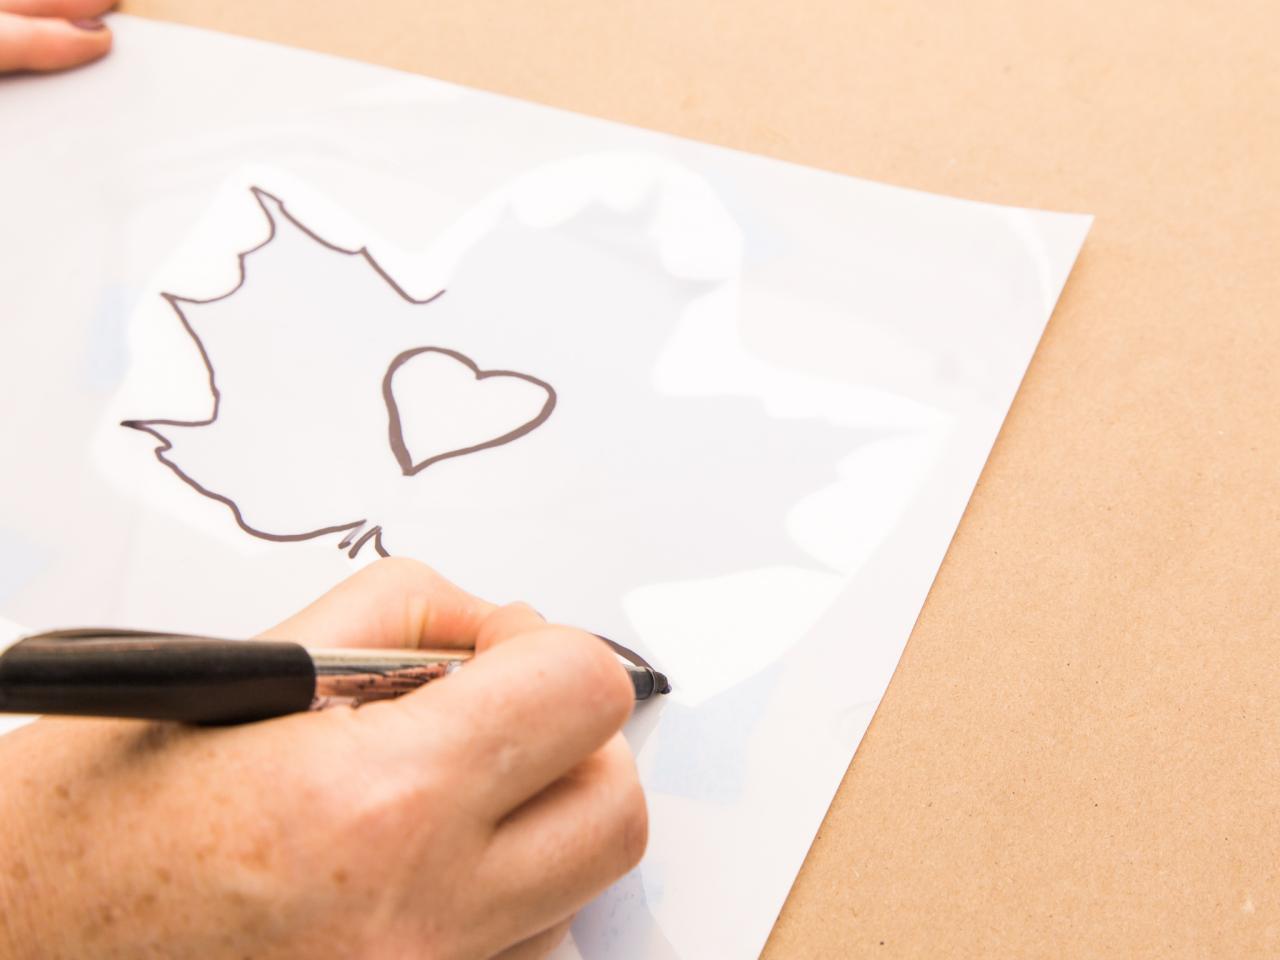
Trace Onto Stencil Blank
Once layout is determined, place a stencil blank on top and trace lettering and any artwork with a pencil. (Secure the printout to the stencil paper using painter’s tape.)

Step 2- Trace onto Stencil Blank
Once lay out is determined, place a stencil blank on top and trace lettering and any artwork with a pen. HINT- Secure the printout to the stencil paper using painter’s tape.
Photo by: Flynnside Out Productions
Flynnside Out Productions
Cut Out Stencil
Using a utility knife on the cutting mat, carefully cut out the stencil. Keep the smaller pieces together to use them in the next step.

Step 3- Cut Out Stencil
Using a craft knife on the cutting matte, carefully cut out the stencil. Keep the smaller pieces together to use them in the next step.
Photo by: Flynnside Out Productions
Flynnside Out Productions
Secure Stencil
Lightly spray adhesive to the backside of your stencils (Image A), then press firmly into place. For smaller areas, like the interior of an "A" use masking tape to ensure clean edges. Trace the shape onto the tape, then cut it out (Image B, C).


Mask With Craft Paper
Mask off area around edges of your design and between lettering with craft paper. Secure with painter’s tape to the table you’re working on.

Step 5- Mask with Craft Paper
Mask off area around edges of your design and between lettering with craft paper. Secure with painter’s tape to the table you’re working on.
Photo by: Flynnside Out Productions
Flynnside Out Productions
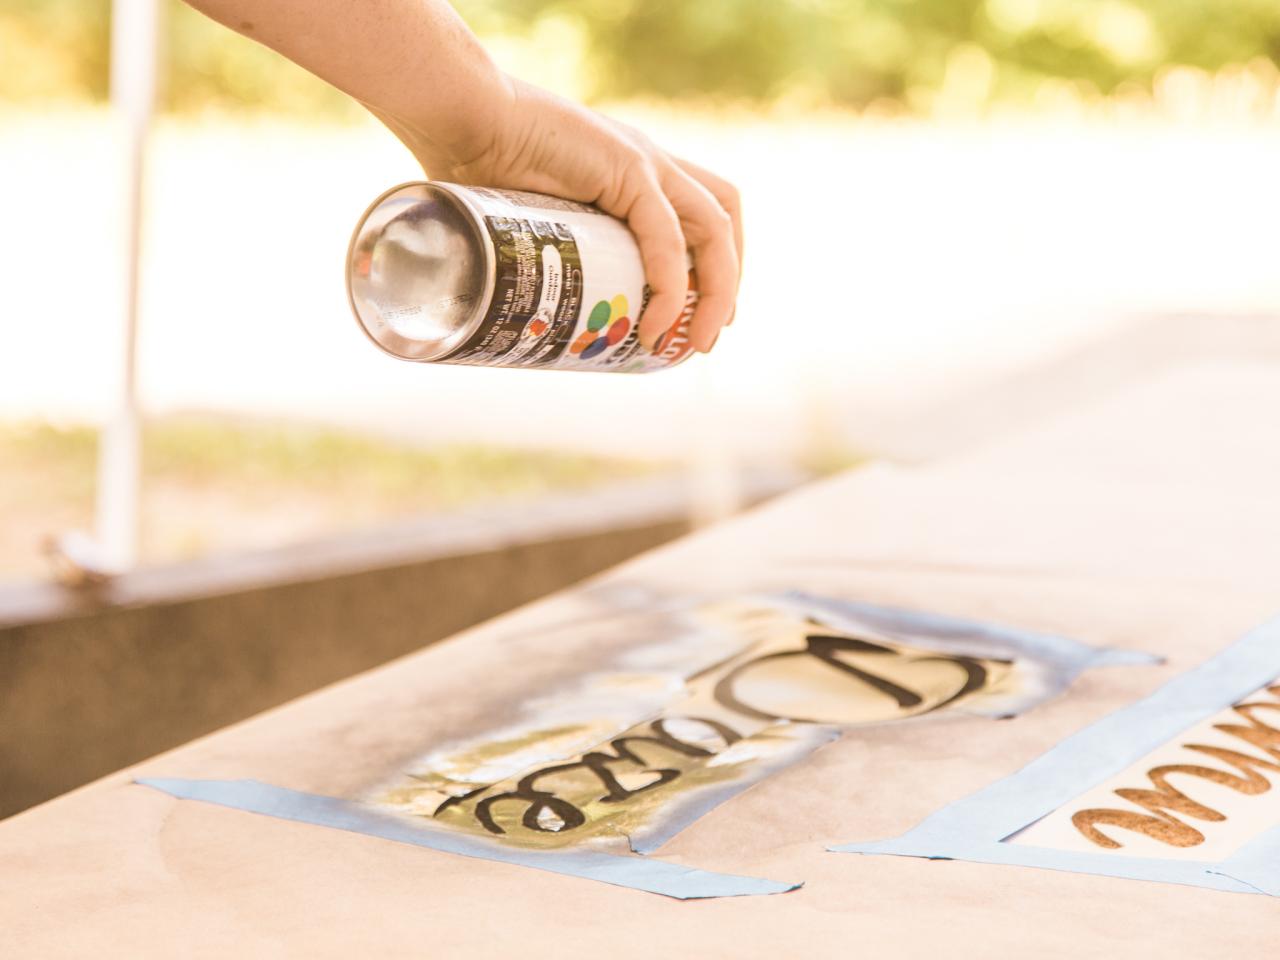
Spray-Paint Text
Spray-paint the letters. Avoid painting at an angle, as the paint may seep under the stencil paper. Allow to dry for a few minutes before moving on to the detail work.

Step 6- Spray Paint Text
Spray paint the letters about 8 inches away with a light, sweeping motion directly overhead. Avoid painting at an angle, as the paint may seep under the stencil paper and muddy up that crisp, clean edge you’re going for. Allow this to dry for a few minutes before moving on to the detail work to avoid any smudging.
Photo by: Flynnside Out Productions
Flynnside Out Productions
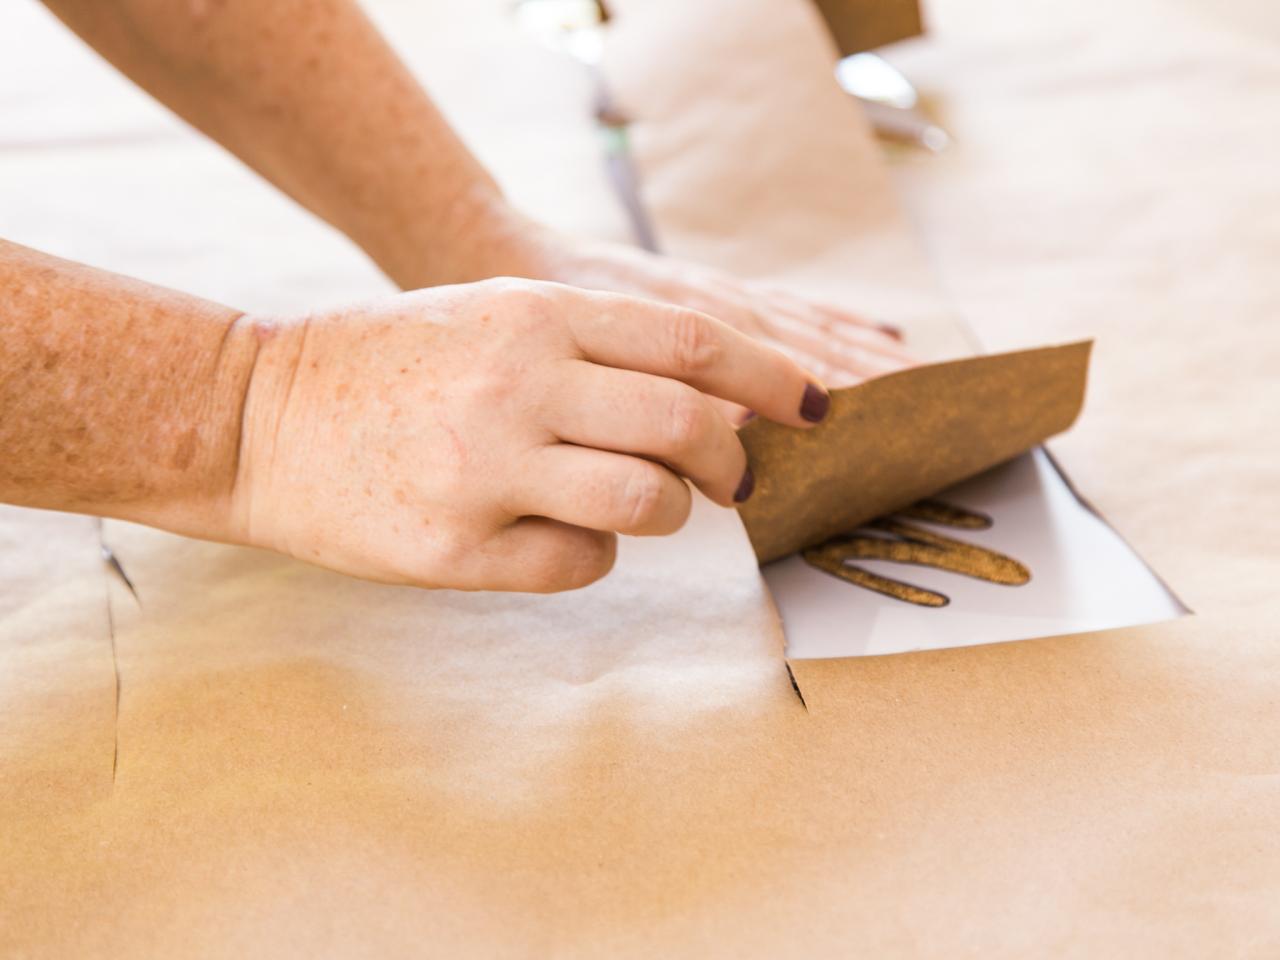
Finishing Touches
Cut away craft paper to reveal other parts of the design ready to be painted with acrylics. Using a stencil brush, add color with acrylic craft paints (Image A). Blend colors to give your design more depth. Allow to dry fully before removing the craft paper and displaying your doormat (Image B).


