


Go Boho With a Metallic Magnolia Garland for Fall

Brian Patrick Flynn

Materials Needed
- thick jute twine
- 1/2" brown floral tape
- preserved magnolia leaves
- acrylic craft paint (copper, metallic brown, antique gold, gold)
- acorns
- seed pods
- craft feathers
- ribbon (1/4" satin brown, 1/2" sheer maroon)
- yarn (brown flecked, chunky ivory flecked)
- wooden beads
- yarn needle
- scissors
- hot glue gun
- hot glue sticks
- foam brush
- tape measure
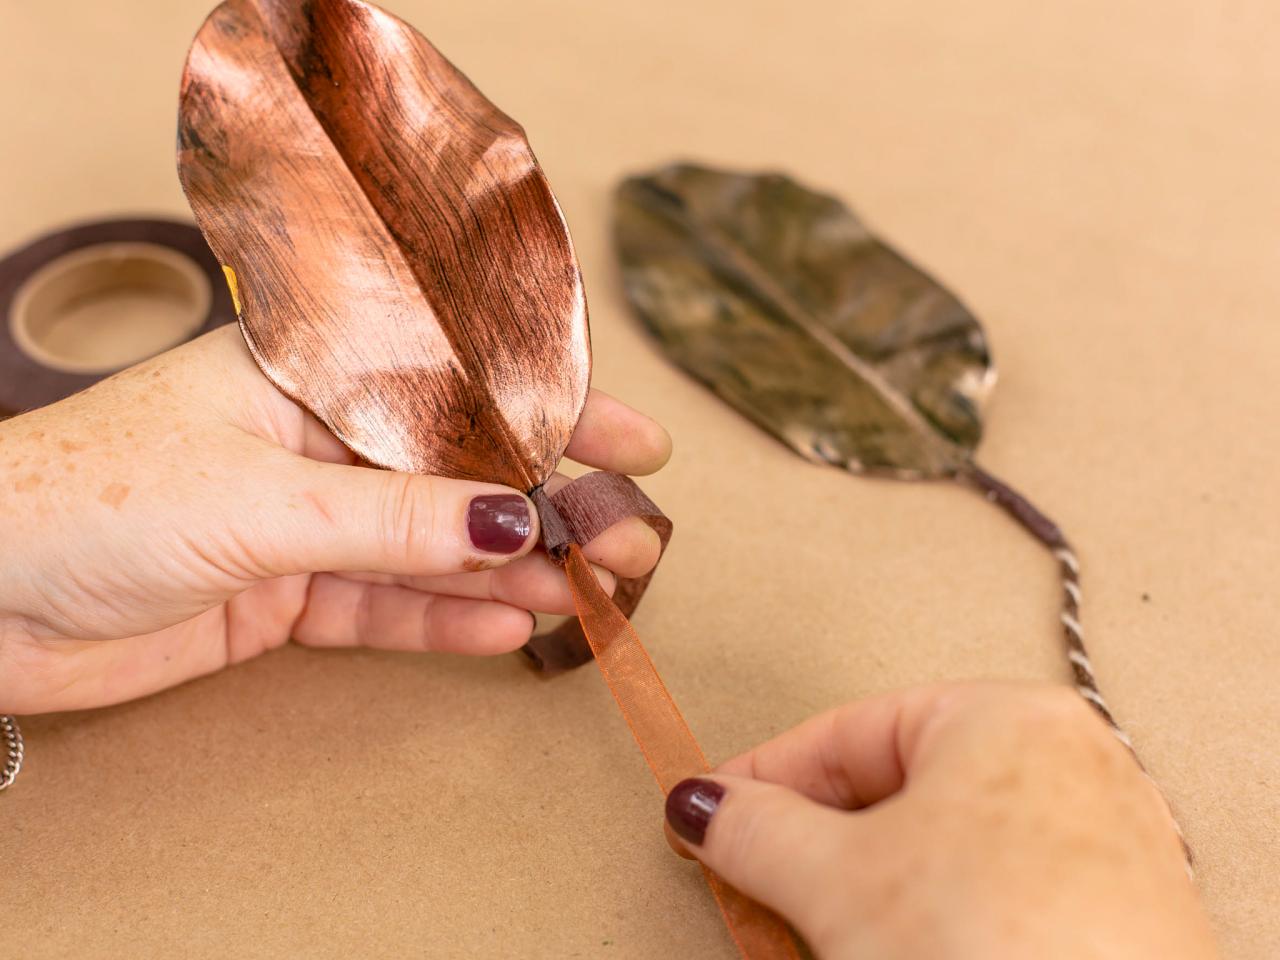
Prepare Leaves
Use a paper towel to gently remove some of the

Brian Patrick Flynn
IMAGE 1

Brian Patrick Flynn
IMAGE 2

Brian Patrick Flynn
IMAGE 3
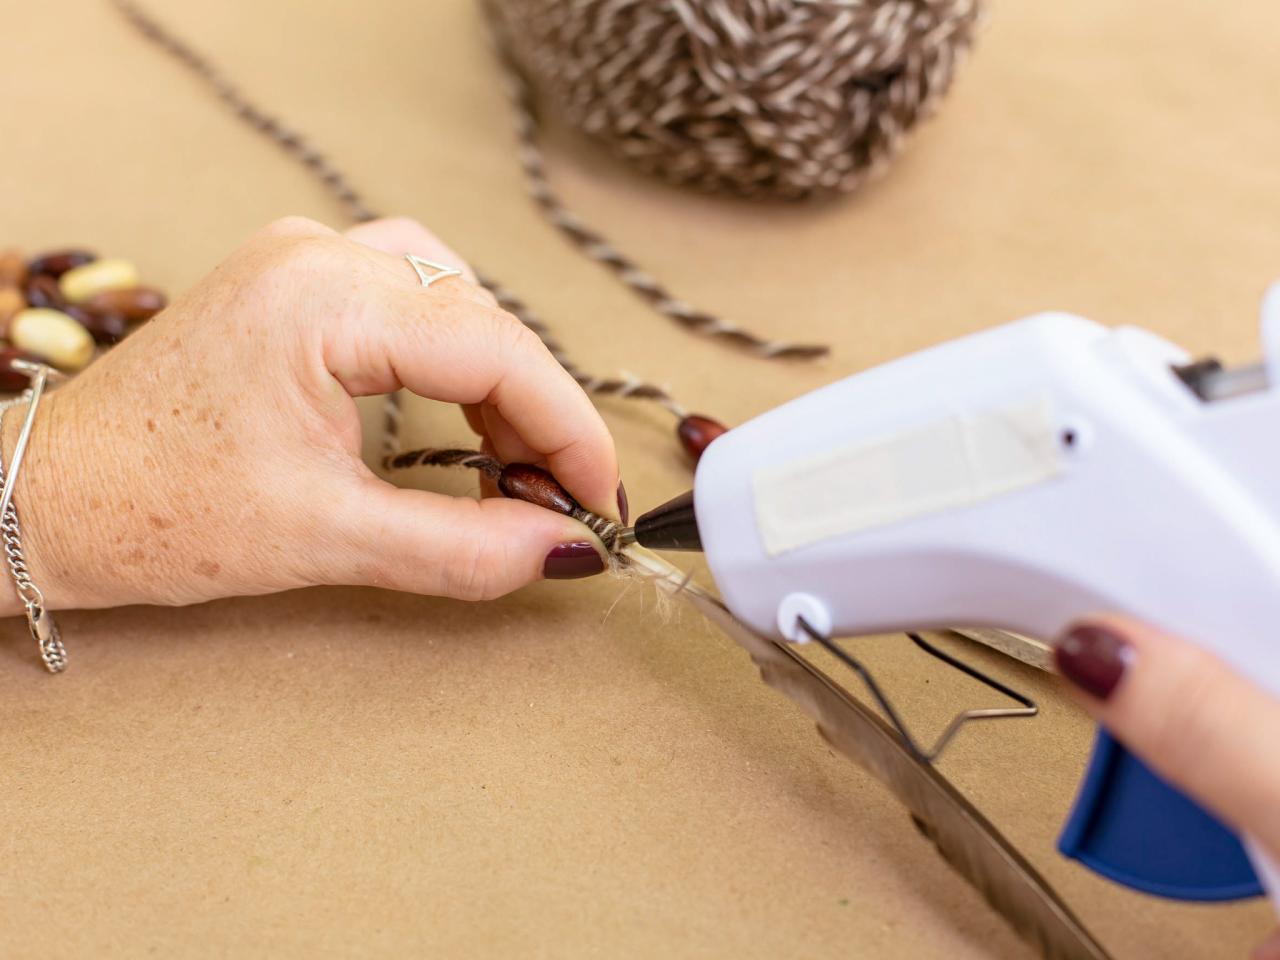
Prepare Feathers
You may want to use the scissors to snip the ends of the feathers to make them thinner to make this step a bit easier. Thread an 18" piece of yarn through a wooden bead using a yarn needle, if necessary (Image 1). (Leave about 3 inches at one end.) Push 3 inches of yarn and bead onto the quill with the short end of the yarn exposed near the feather. Tightly wrap the remaining yarn around the exposed quill and secure with hot glue (Image 2). Cut the yarn, and set the feathers aside (Image 3).

Brian Patrick Flynn
IMAGE 1

Brian Patrick Flynn
IMAGE 2

Brian Patrick Flynn
IMAGE 3
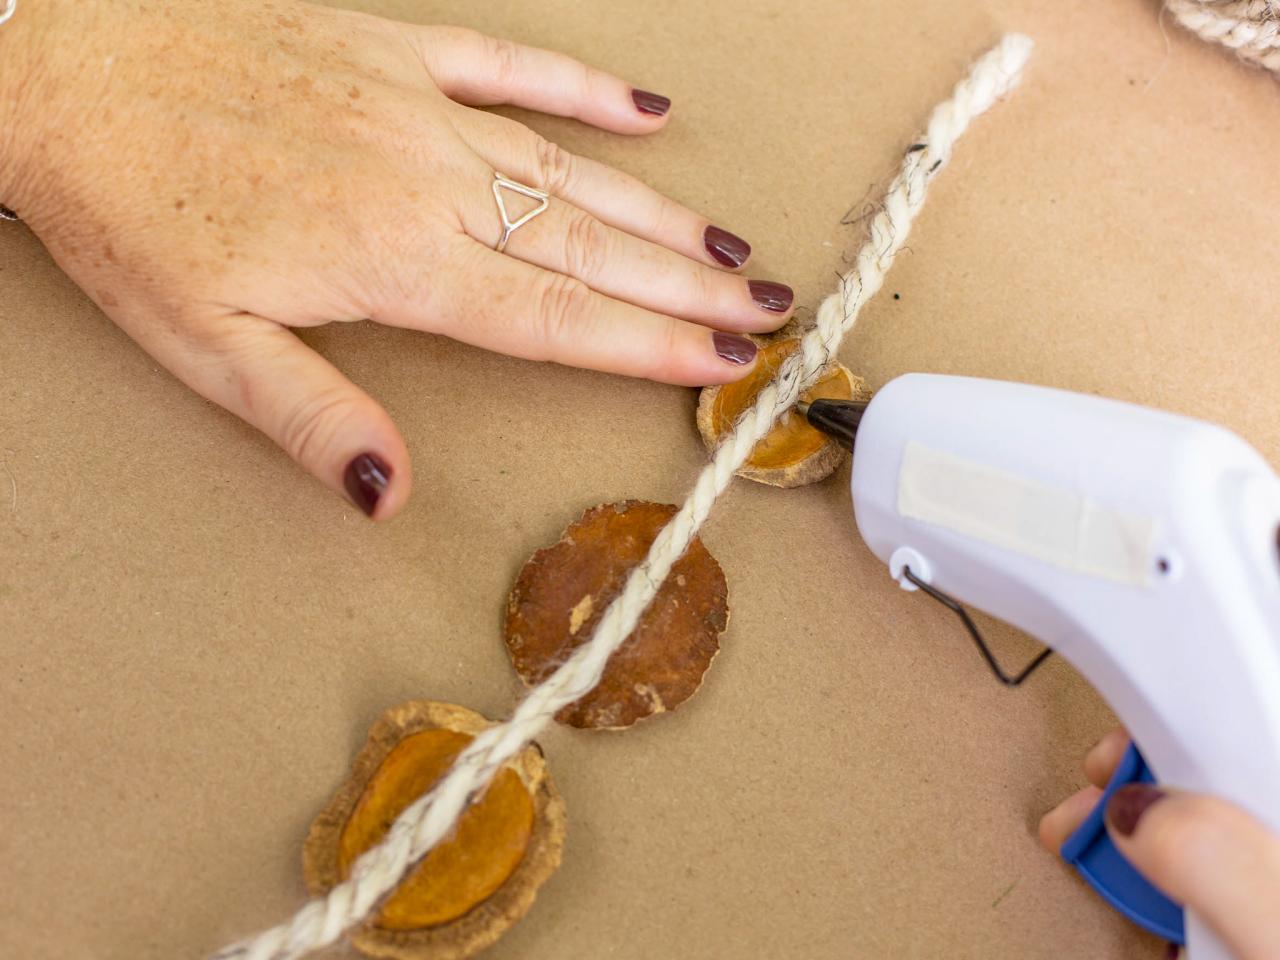
Prepare Seed Pods
Cut a 9" piece of yarn and lay it on a work surface. Hot-glue the seed pods to the yarn, alternating pod sizes and direction. Once cool, set the seed pods aside.

Brian Patrick Flynn
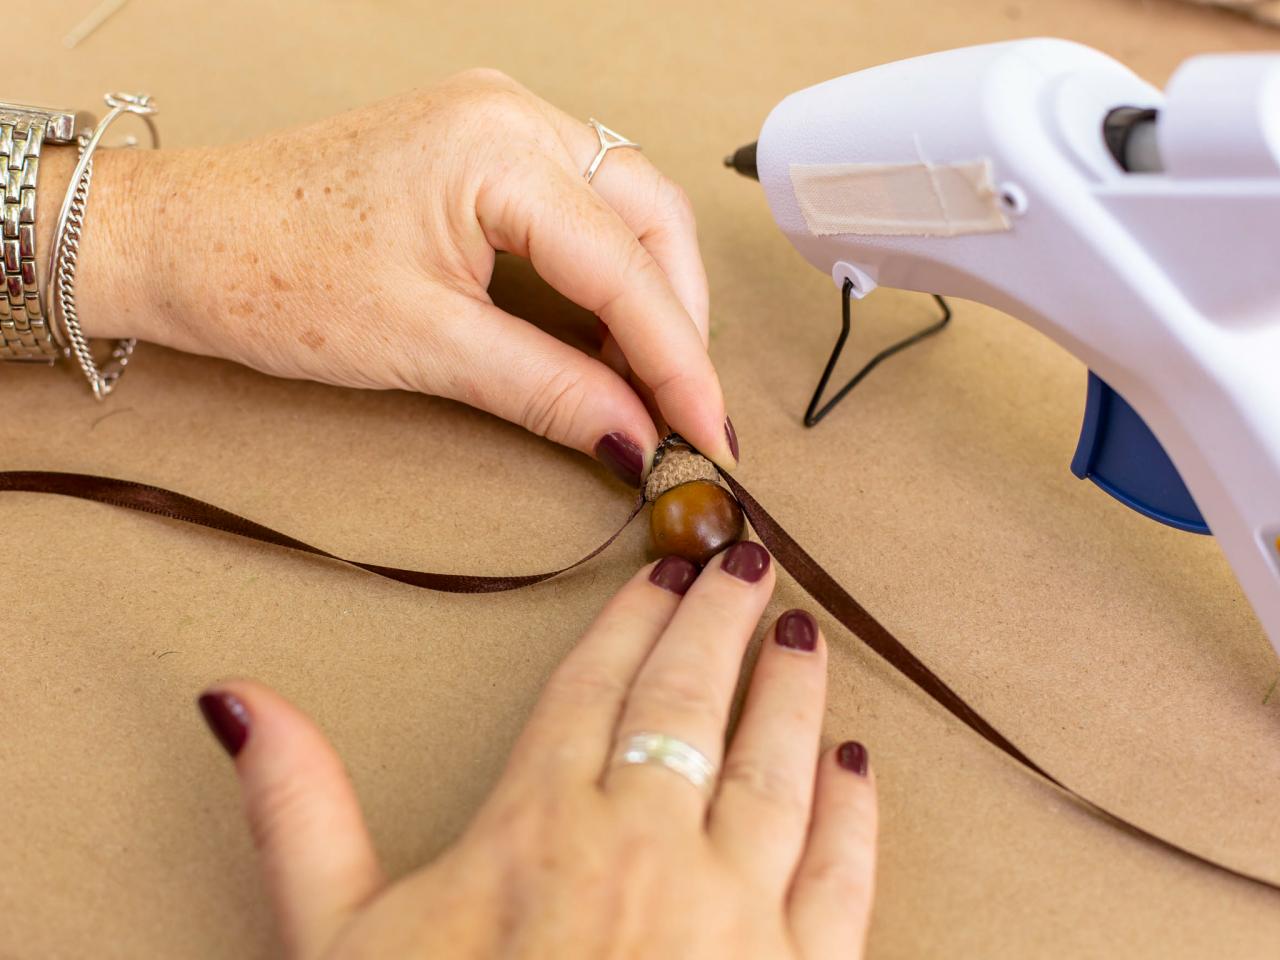
Prepare Acorns
Cut a 9" piece of satin ribbon and fold in half. Place a dab of hot glue directly onto the acorn cap and attach a ribbon at the fold. Press gently and let cool. Set acorns aside.

Brian Patrick Flynn
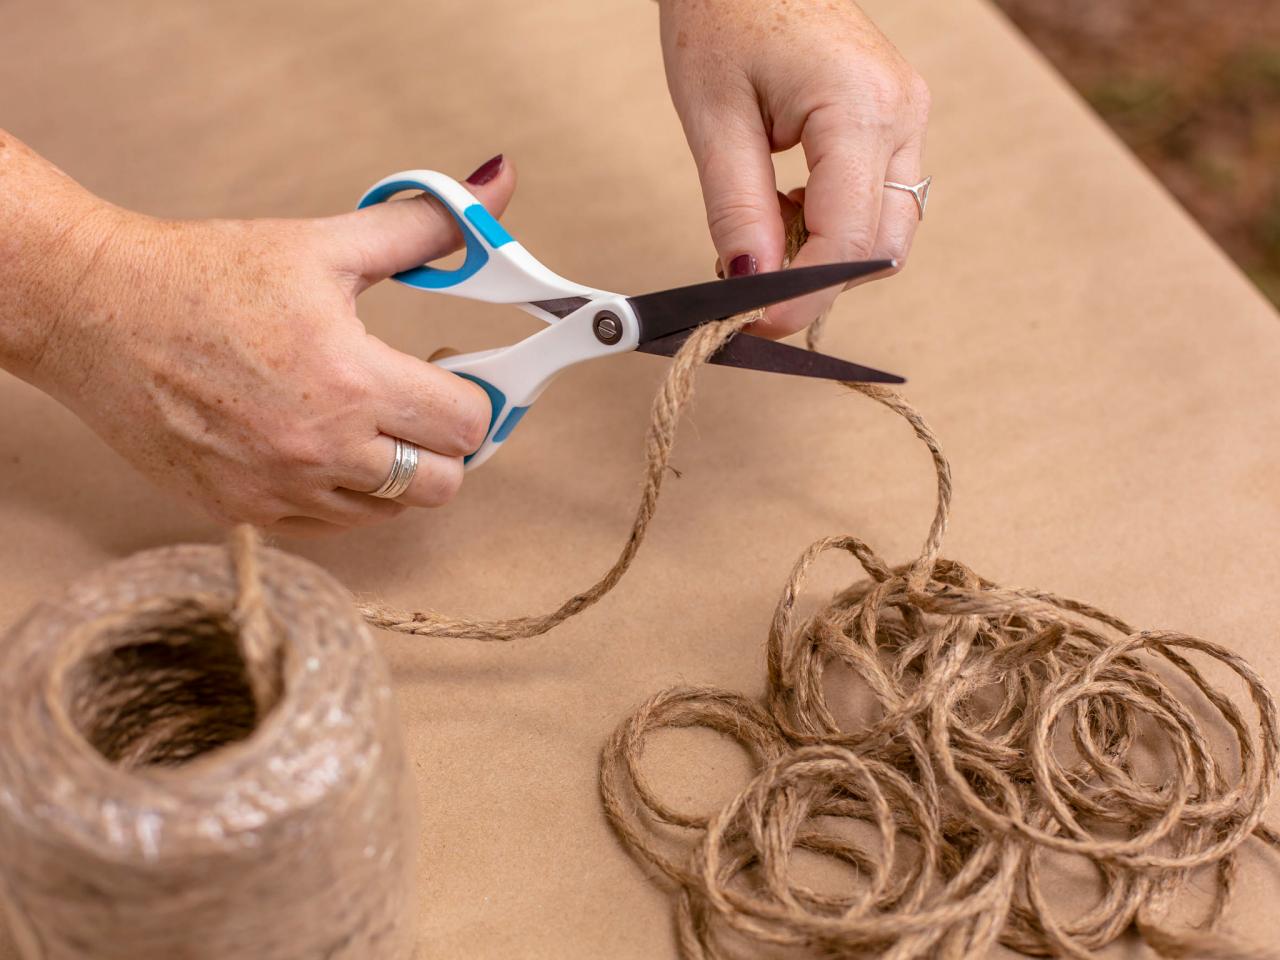
Cut Jute
Once you determine how long you would like the garland to be, measure out the length and cut with scissors. Tip: Allow a few extra inches of

Brian Patrick Flynn
Tie on Decorations
Lay the jute across a flat work surface so you can easily space, then tie on the decorative items one by one (Image 1). Fill in any negative space by tying smaller pieces of yarn or ribbon directly to the jute (Image 2). Display on your deck before a seasonal soiree (Image 3), or hang on your mantel all season long.

Brian Patrick Flynn
IMAGE 1

Brian Patrick Flynn
IMAGE 2

Brian Patrick Flynn
IMAGE 3


