


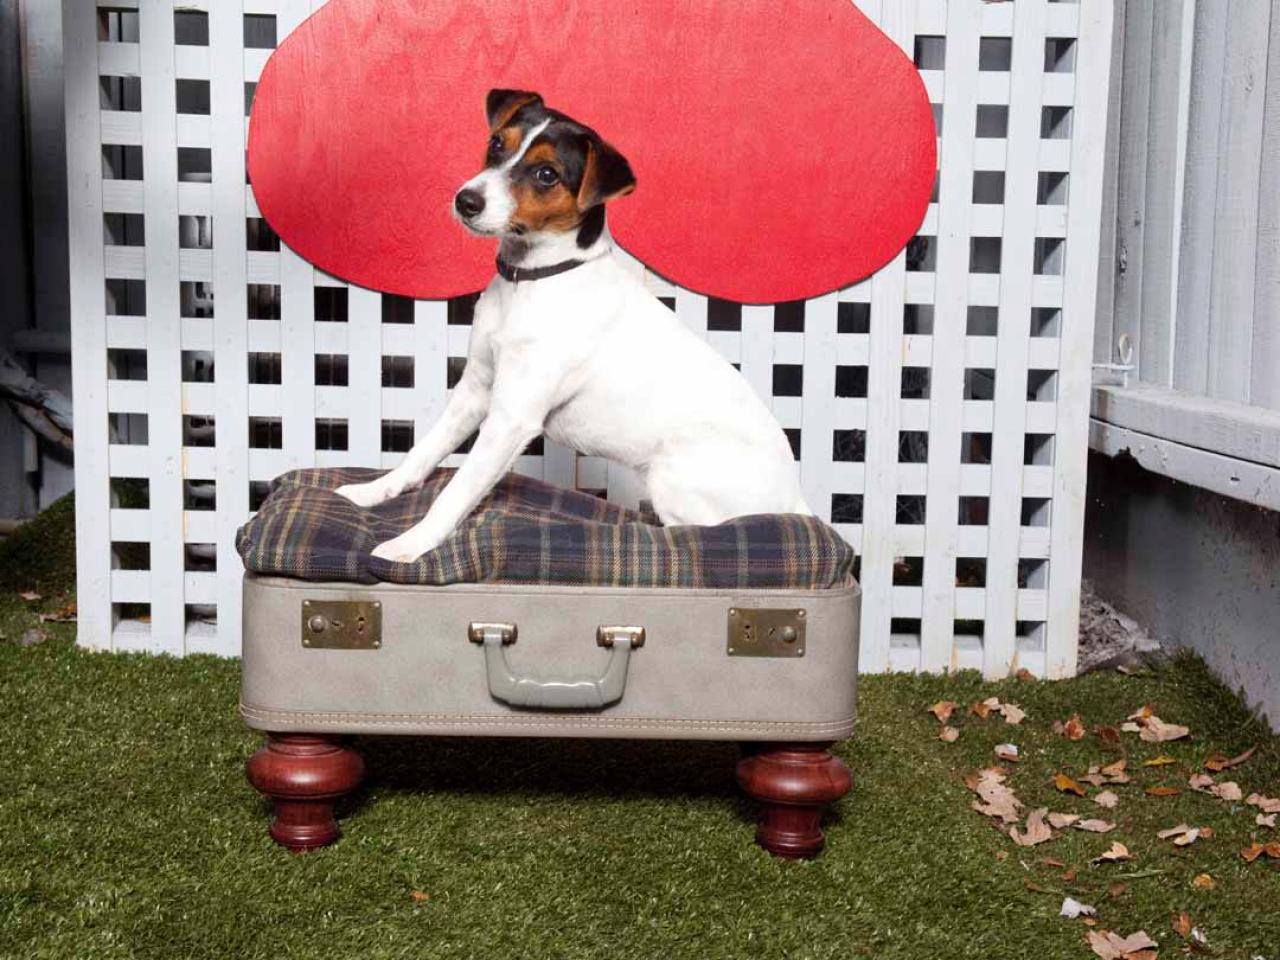
How to Make a Vintage Suitcase Pet Bed


Materials Needed:
- vintage plastic, metal, fiberglass or wooden suitcase
- 4 furniture legs
- screwdriver
- drill
- tape measure
- pliers
- marker
- lag bolt
- washer
- cushion
- notepad
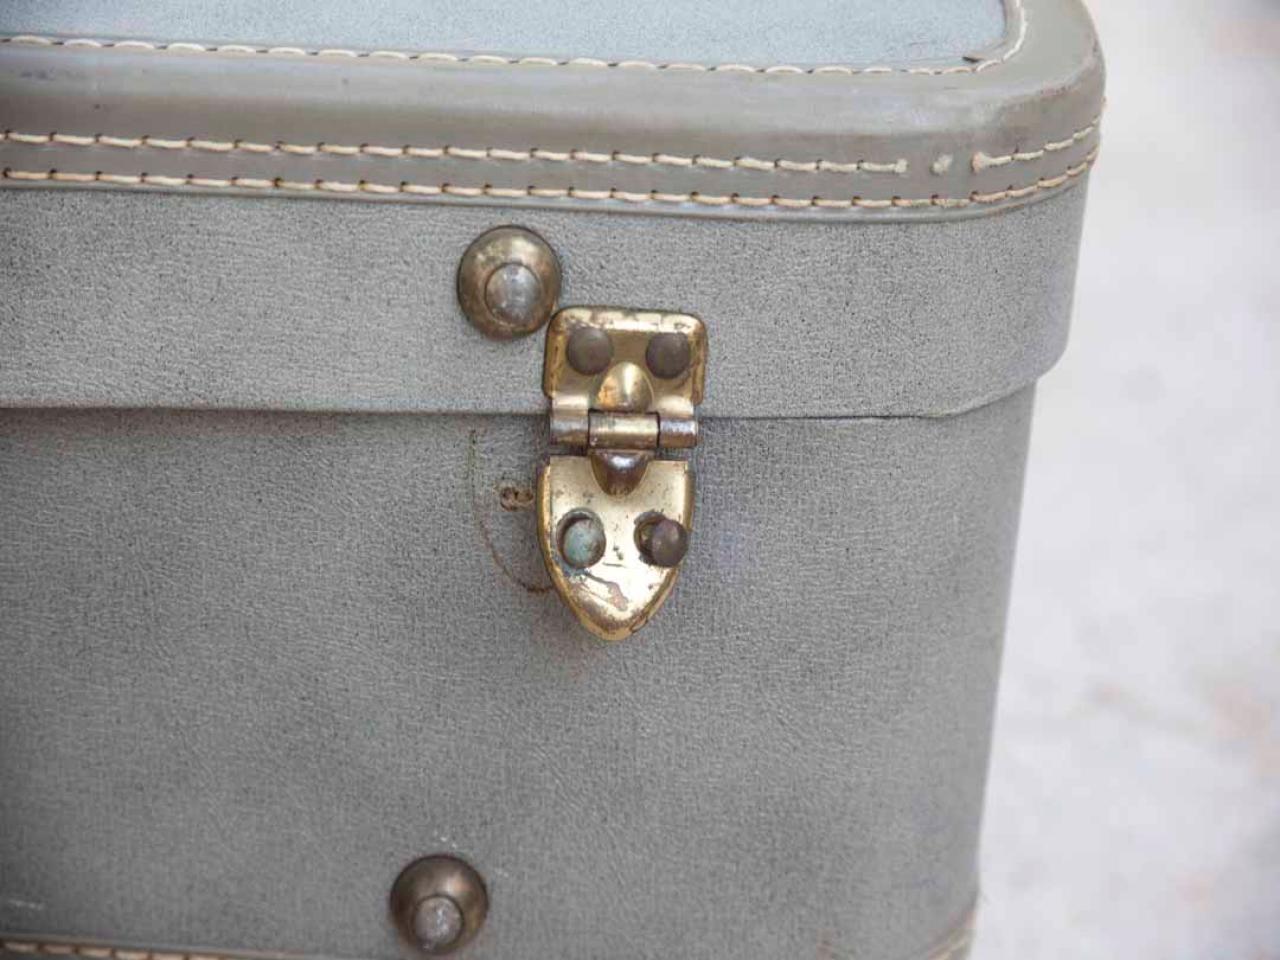
Loosen Top
Using screwdriver or drill, loosen rivets or screws from hinges which hold the top and bottom suitcase pieces together. TIP: If rivets prove problematic to loosen, try using a flat-head screwdriver tucked underneath the head of the rivet, then try to pop it off.

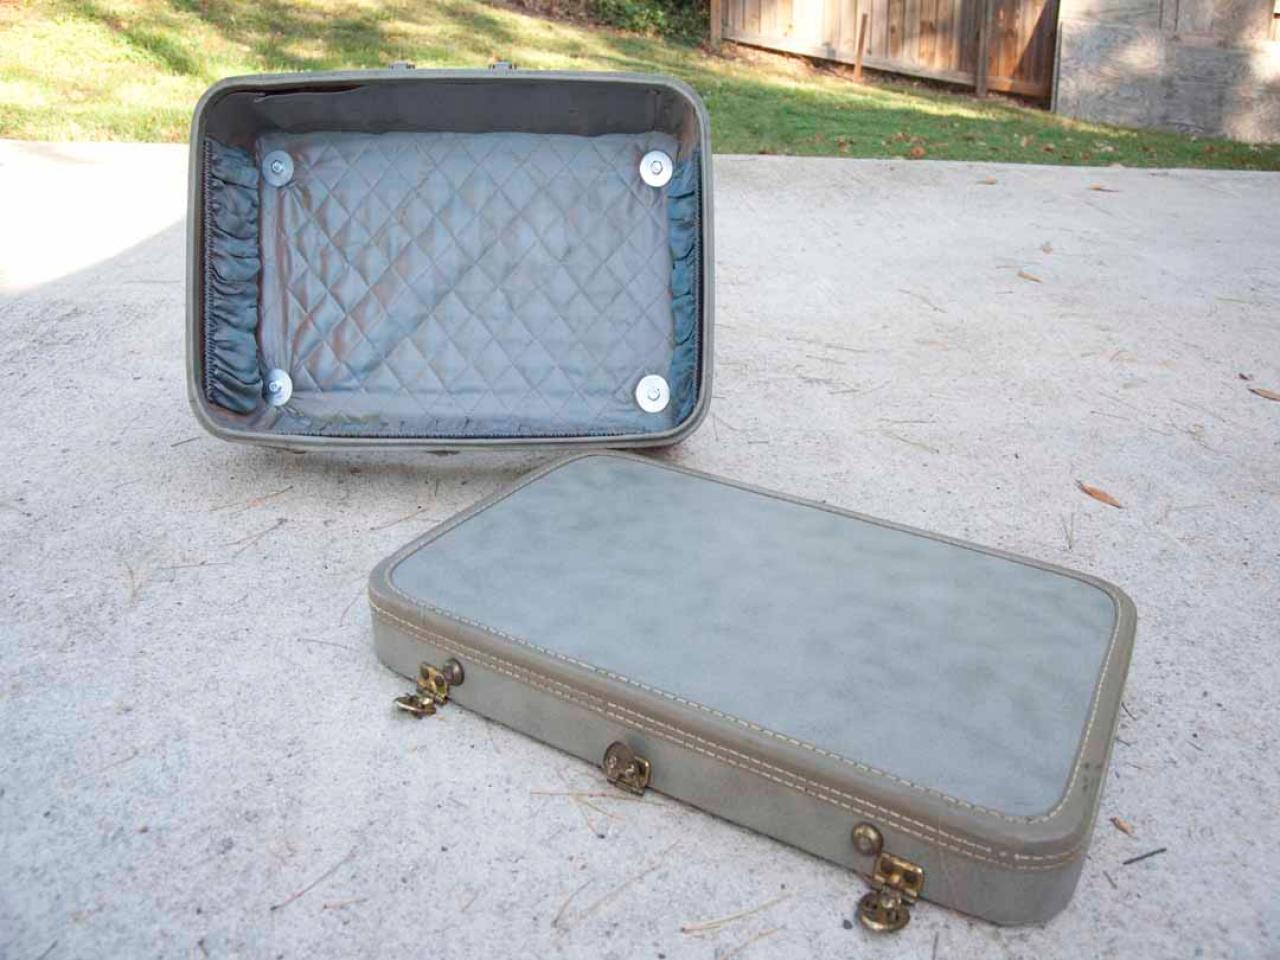
Remove Top
With rivets or screws loose and/or completely removed, carefully separate the top and bottom suitcase pieces from one another. TIP: Consider keeping the suitcase top to create an additional pet bed.

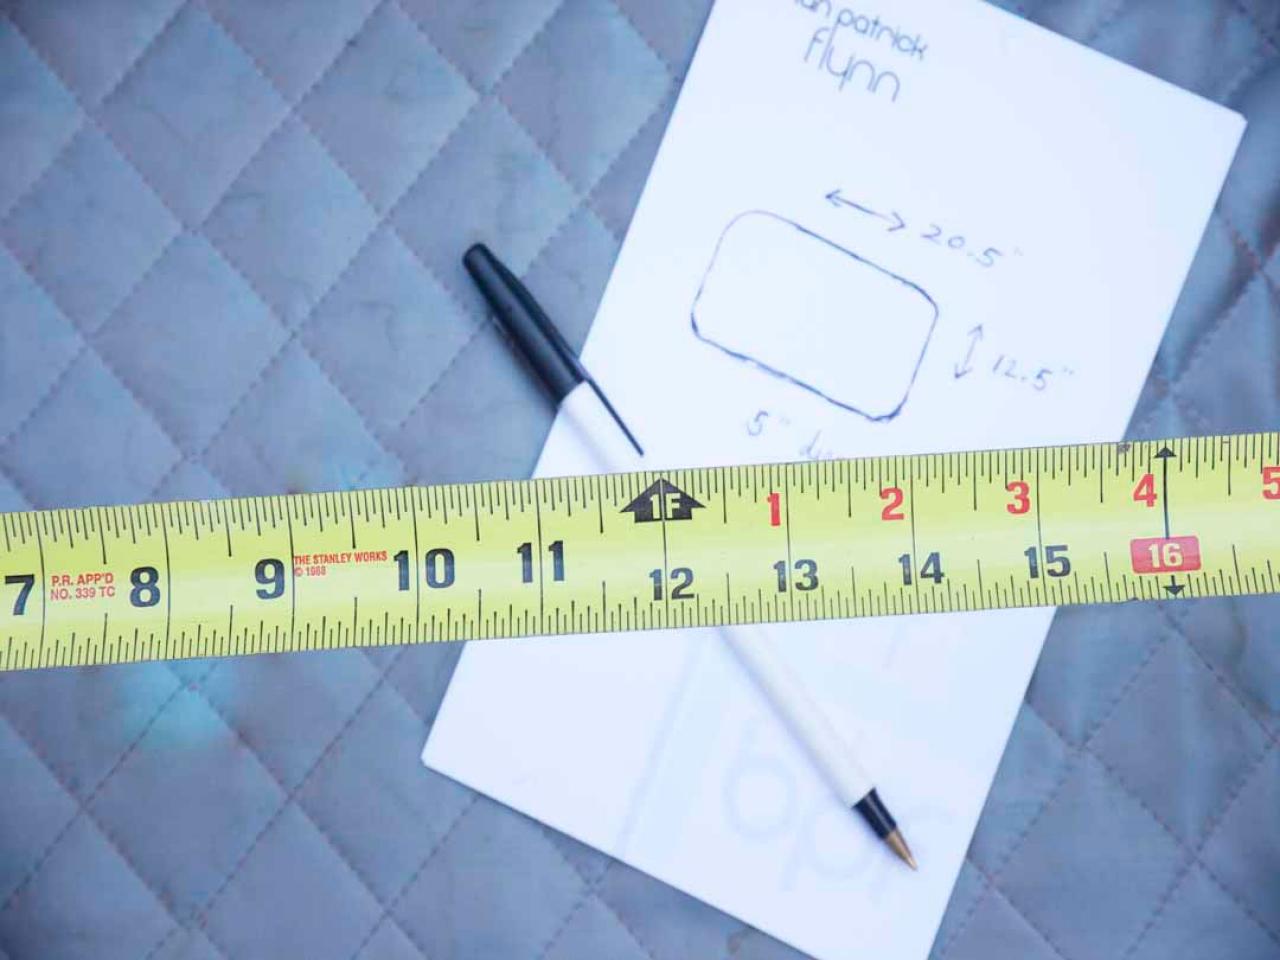
Measure Suitcase Interior
Use a tape measure to determine the interior dimensions of the suitcase bottom: width, length and height. Jot dimensions down on a notepad.

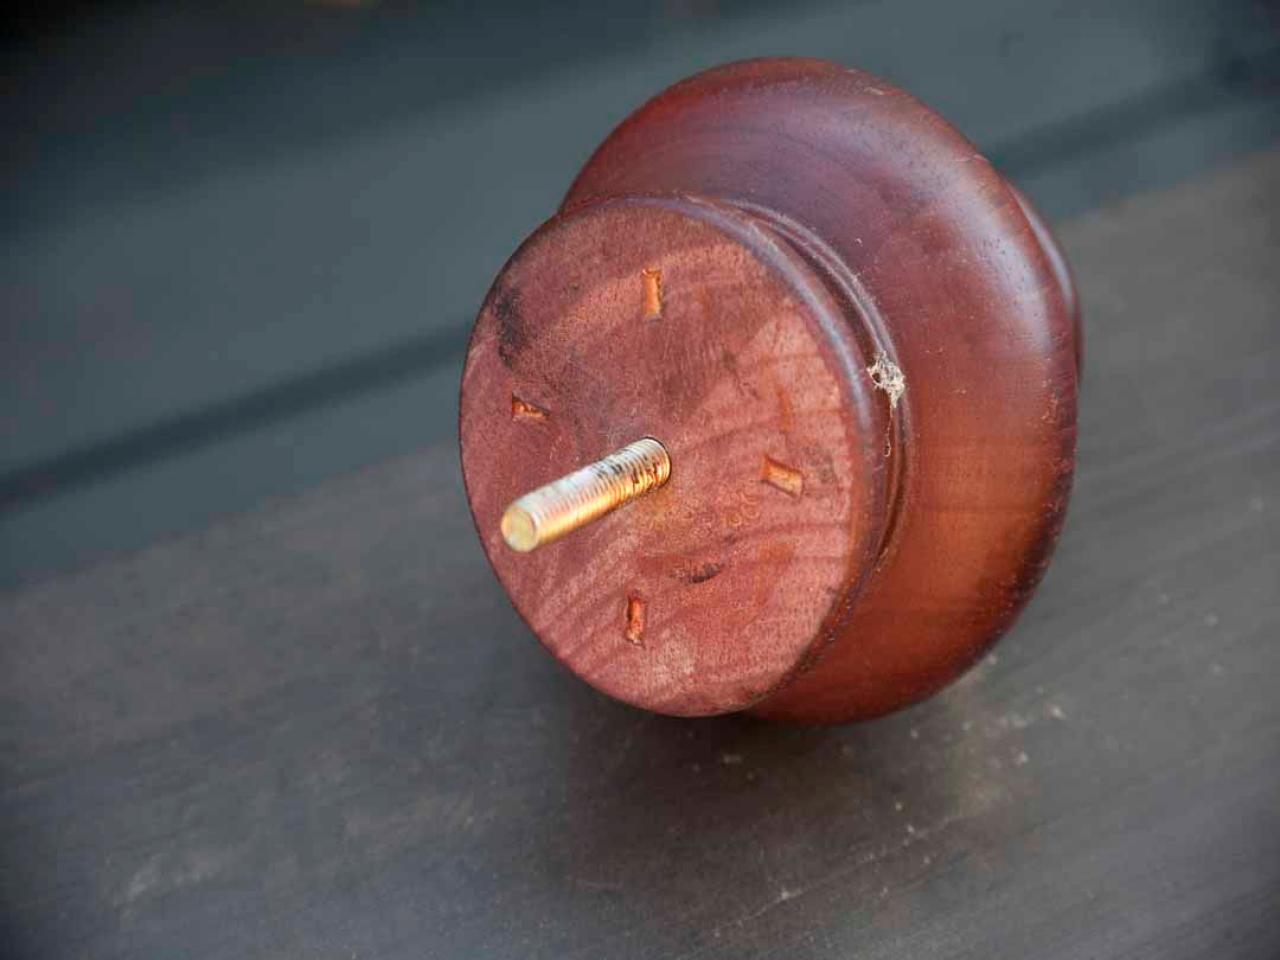
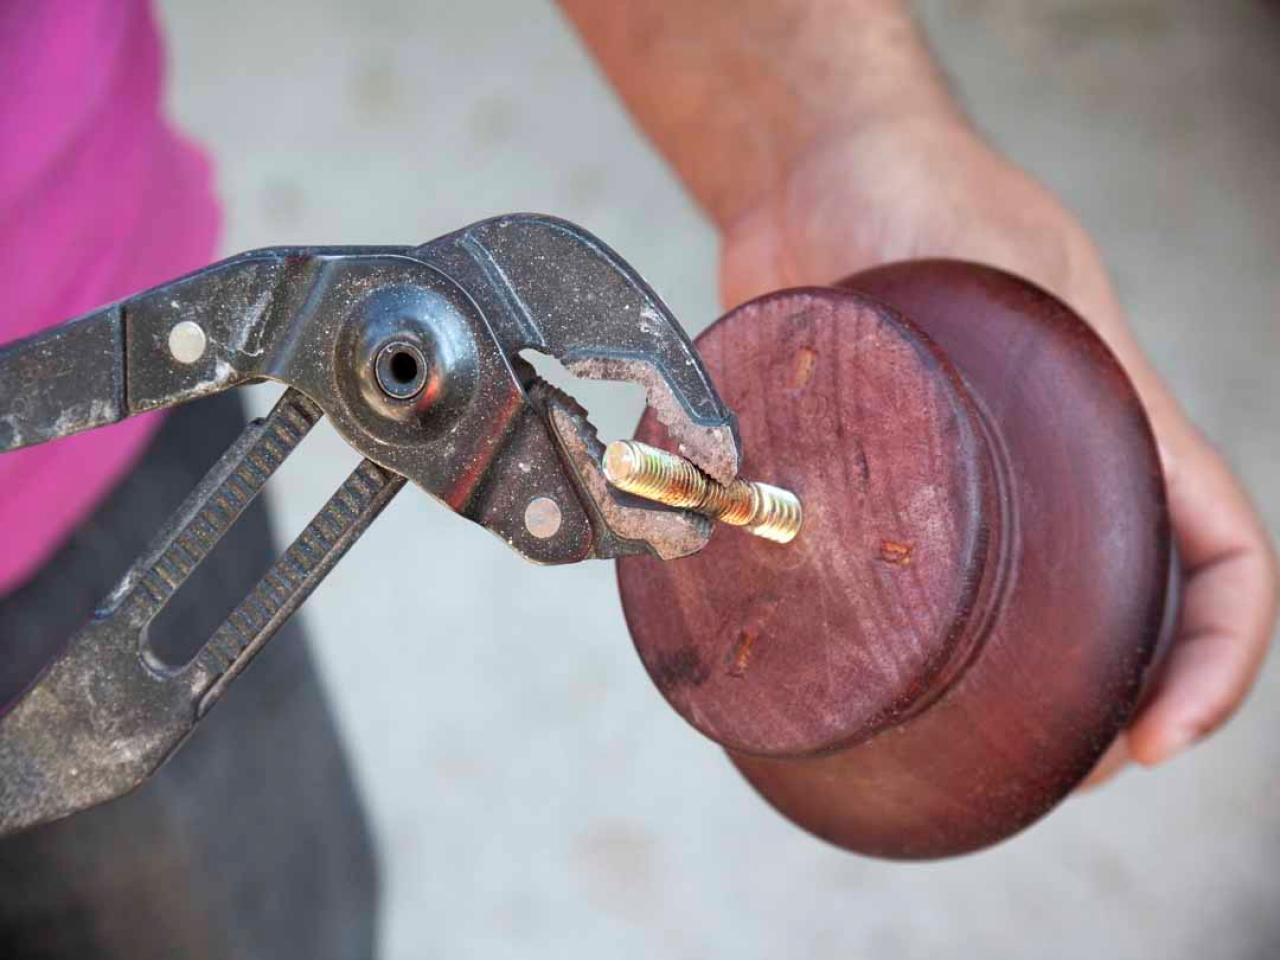
Remove Extra-Long, Double-Sided Studs
Most furniture legs come with double-sided studs which are too long and may poke through the cushion once put in place. To ensure the proper fit, remove double-sided stud from furniture leg with pliers.


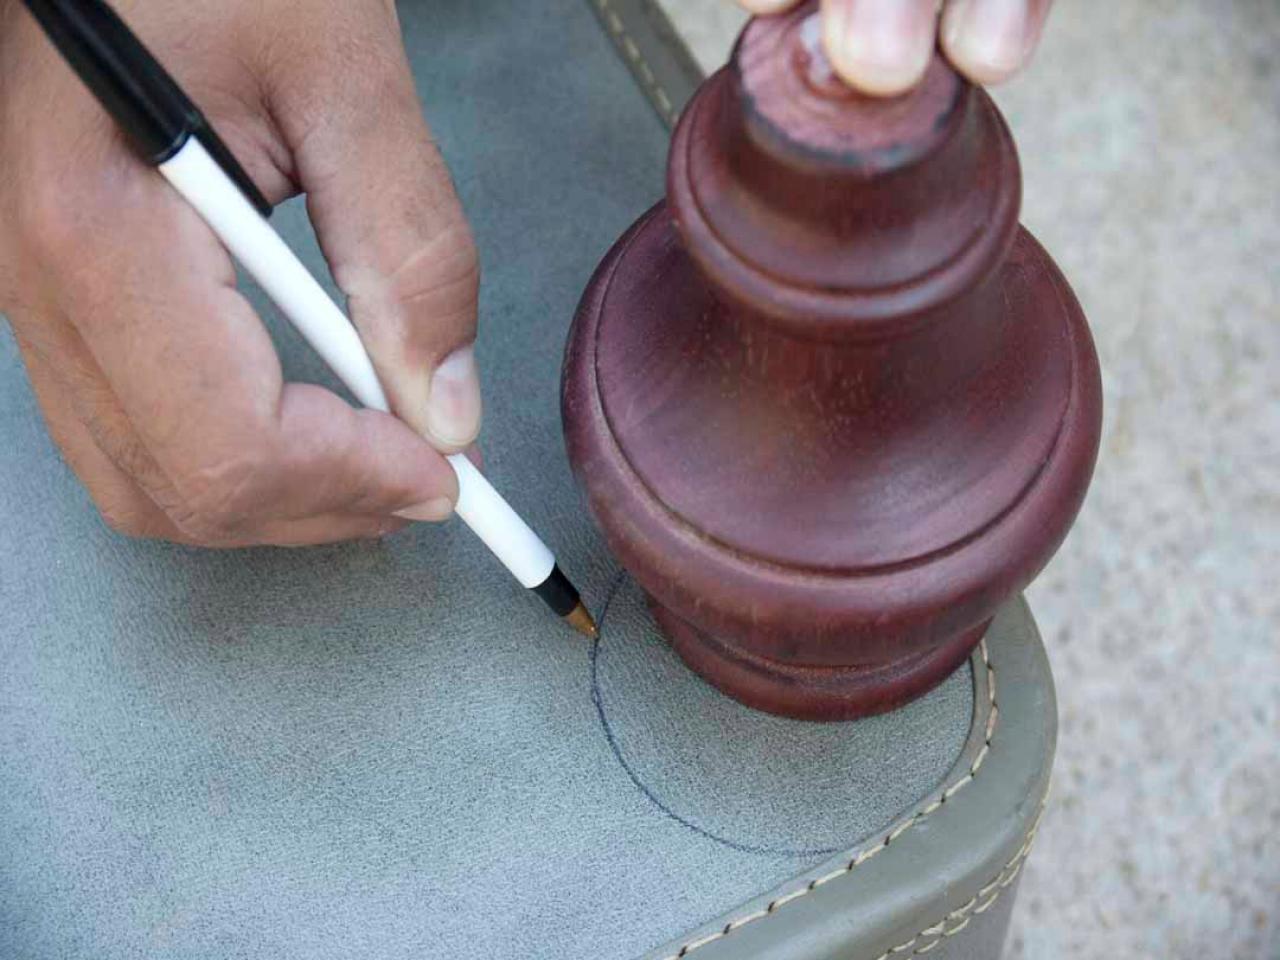
Position and Mark Leg Position
Turn suitcase bottom upside down, place furniture legs in proper positions, then trace or mark with marker.

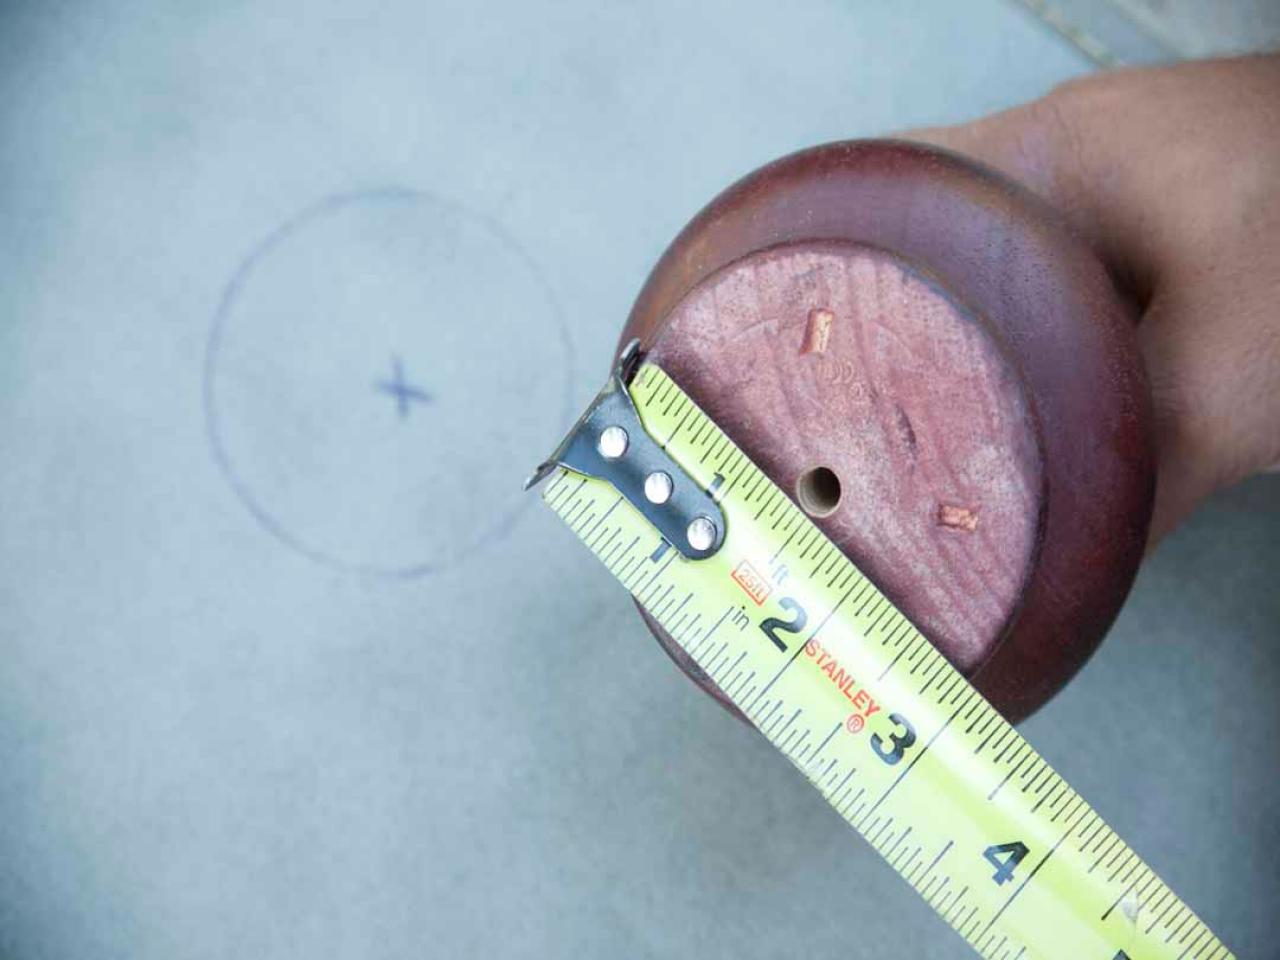
Mark Center Points of Legs
Use tape measure to determine the center point of each furniture leg, then mark with marker. TIP: The center point should be directly in the middle of the traced leg.

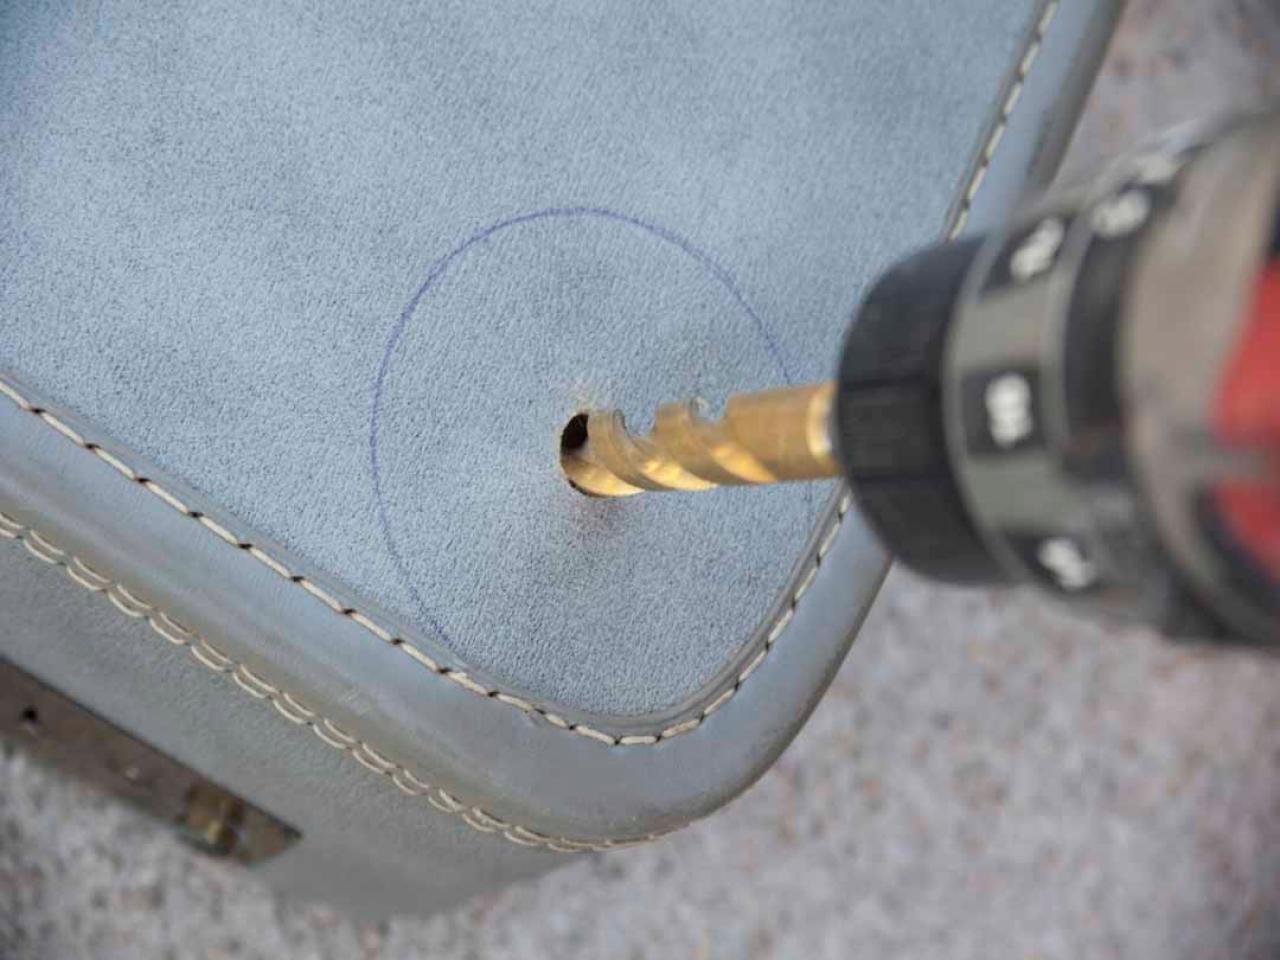
Drill Hole in Suitcase Bottom
Using marked center point of leg as a reference, drill hole directly through bottom of suitcase. Repeat as needed for all furniture legs.

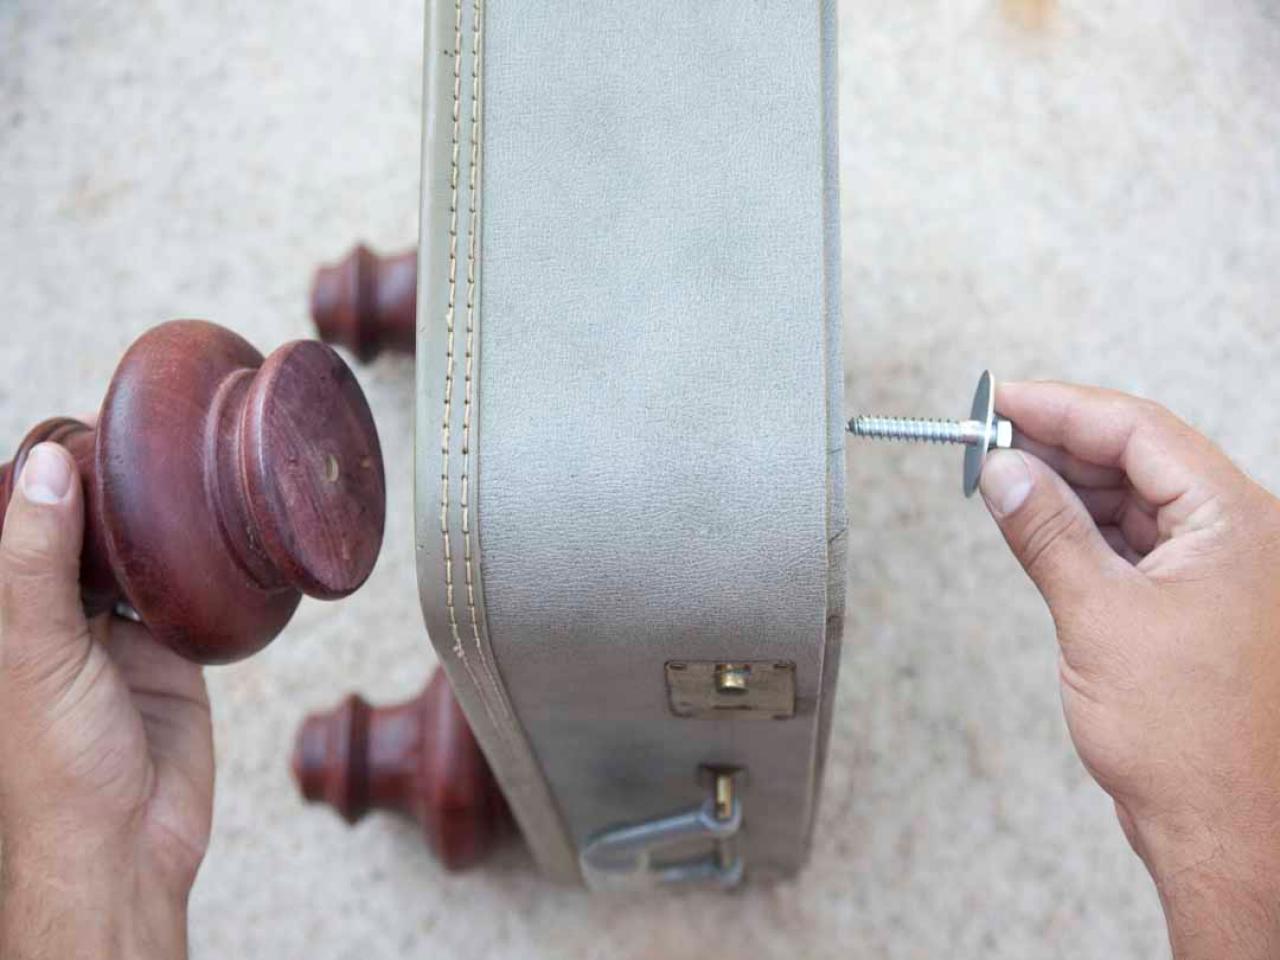
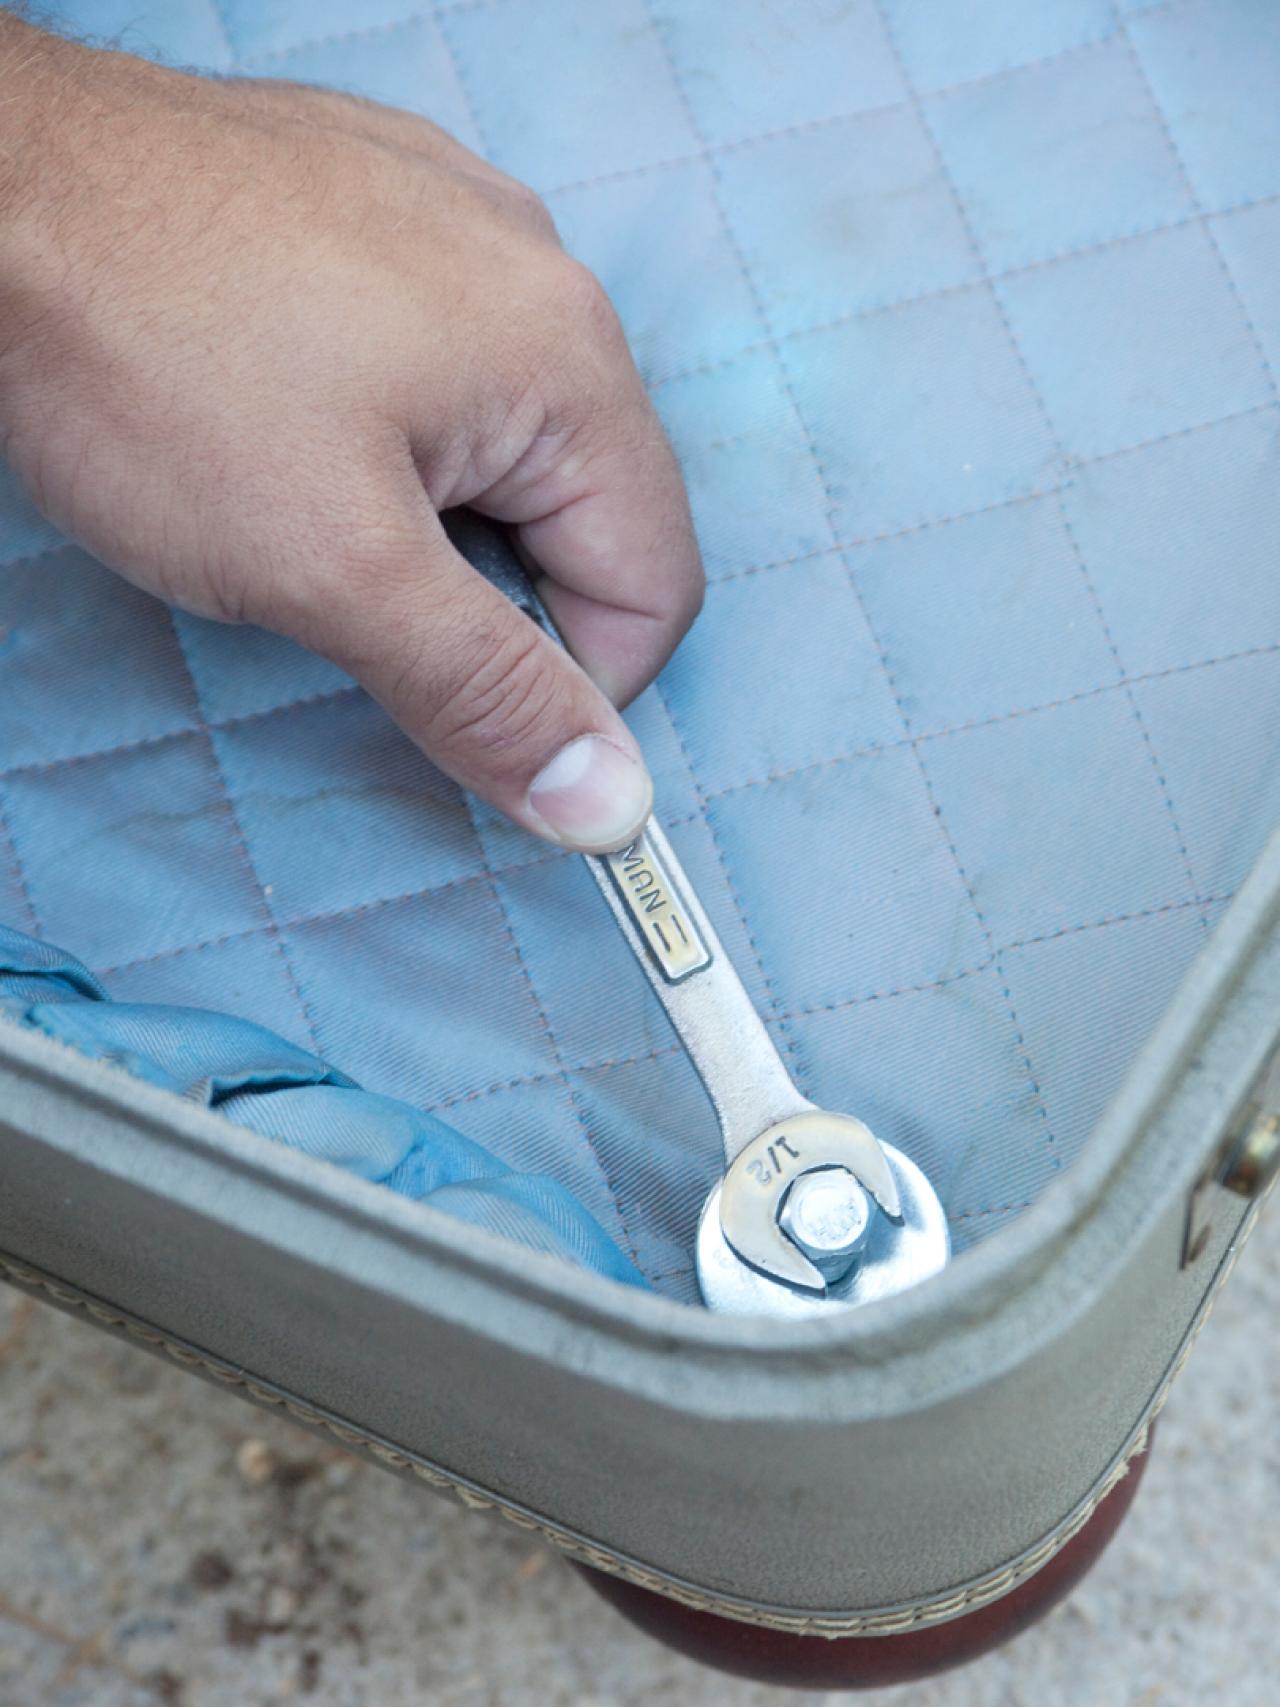
Add Lag Bolt
Hold furniture leg in place, insert lag bolt directly through suitcase bottom and into furniture leg, then slide on washer and tighten with pliers.

Place Cushion
Ensuring that all legs are tightly fastened and held sturdily in place, insert cushion. TIP: When choosing a cushion, opt for one slightly larger than the dimensions of the suitcase interior.


