


How to Turn a Dresser Into a Combination Pet Bed and Nightstand
We gave one old bureau two new purposes: stylish storage and sleeping space for pets.


Brian Patrick Flynn
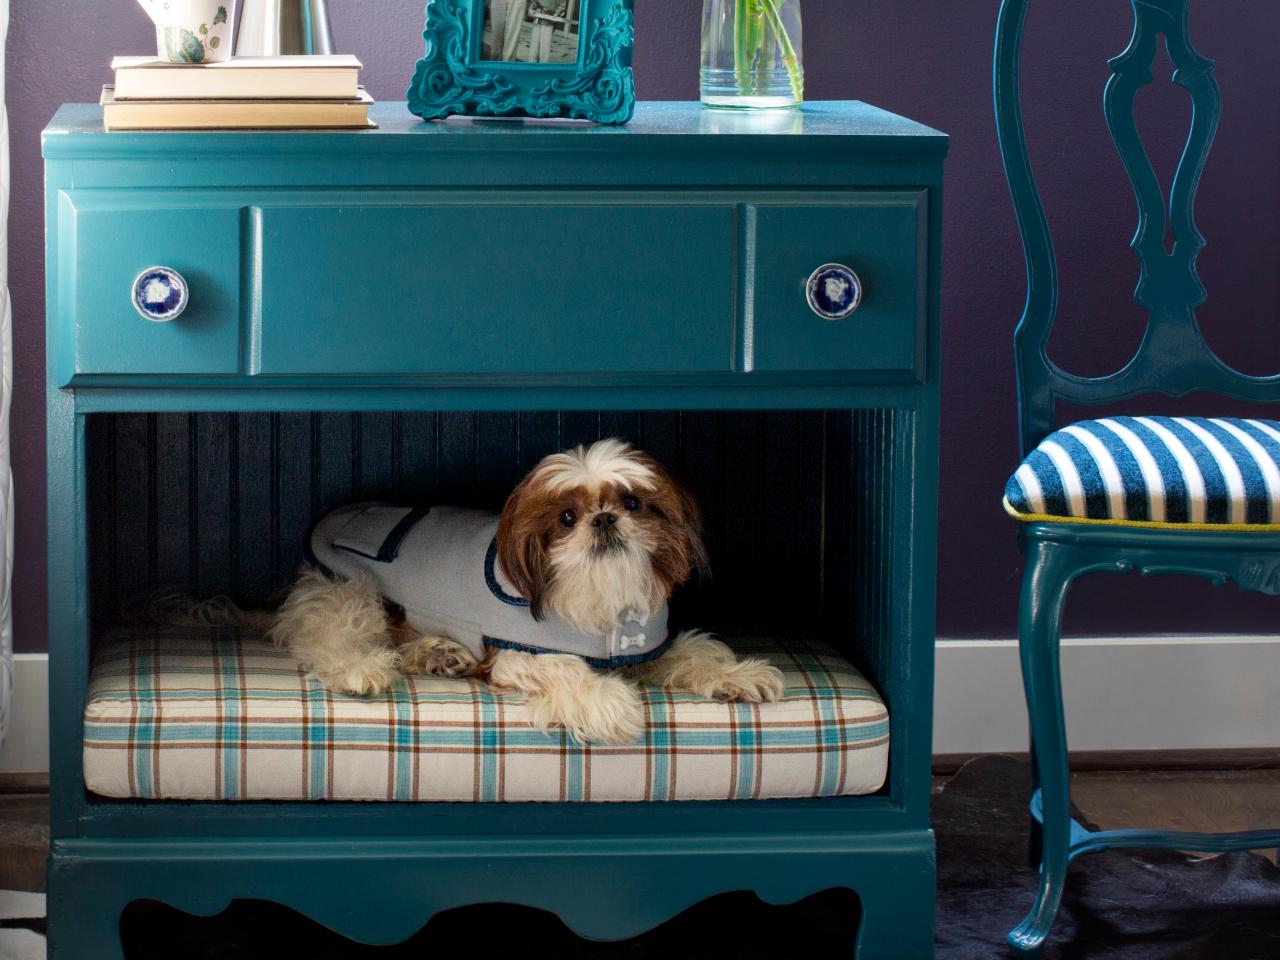
We reinvented an old three-drawer dresser, turning it into a combination bedside table and pet bed. We cut out the bottom two drawers, relined the inset with beadboard, then painted the entire unit a fun teal color. Finally, we added an inviting cushion, making it a perfect hideaway for a small dog or cat.
Tools and Materials
- sandpaper or sanding block
- HVLP paint sprayer
- reciprocating saw
- drill
- screwdriver
- drop cloth
- tape measure
- circular saw
- nail gun and nails
- wooden dresser
- primer
- lacquer
- 3/4" thick plywood
- batting
- beadboard
- drawer hardware
Step 1: Remove Bottom Drawers
Remove bottom drawers from the dresser.

Step 2: Remove Drawer Supports
Use a screwdriver or drill to remove any hardware that holds drawer supports. A jigsaw or reciprocating saw works well if you need to cut out the supports.

Step 3: Measure Interior
Use a tape measure to determine the proper height, width and depth of the new interior opening (ped bed area).

Step 4: Add Interior Bottom
Cut a piece of plywood to sit in the bottom of the opening. To accommodate the beadboard that will line the back and sides of the opening, cut the plywood bottom 3/4" shorter in length and width than the opening's dimensions. Then place it along the bottom of the opening. Don't fasten it in place yet.

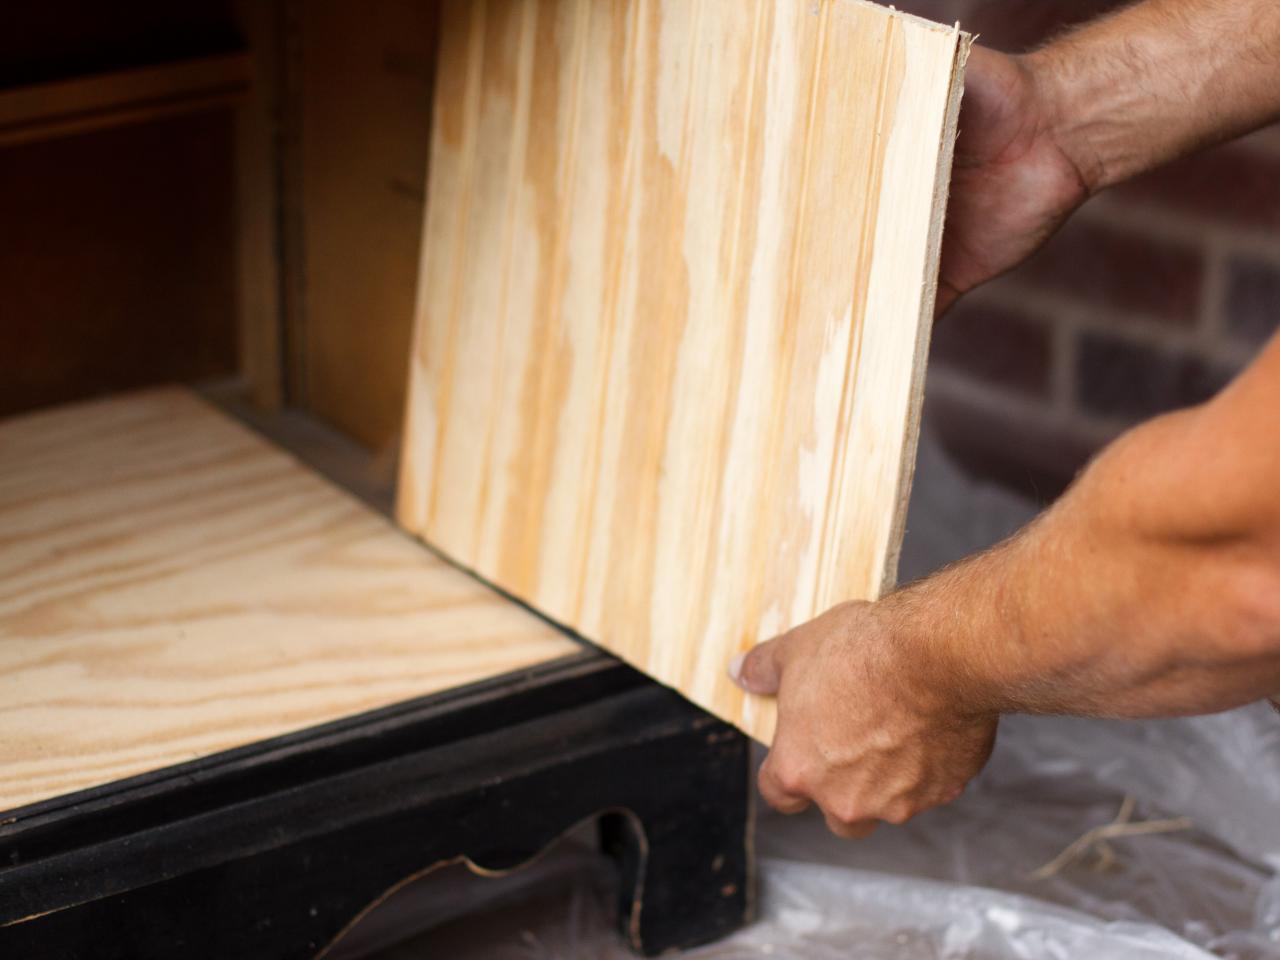
Step 5: Add Interior Sides and Back
Use a circular saw to cut beadboard to fit the sides and back of the interior opening. Because you cut the plywood a little shorter than the dimensions of the opening, the beadboard should slide behind it. If not, you may have to cut the plywood a bit shorter. Use sandpaper or sanding block to remove rough spots of beadboard. Hold each strip of beadboard into place, then secure them with a nail gun or screws. Then secure the bottom piece of plywood.
Pro Tip: If you don't have a circular saw to cut the plywood and beadboard, home improvement and hardware stores will often cut it to size for you for a small charge.

Step 6: Remove Hardware
Use a screwdriver to remove existing drawer hardware.

Step 7: Prep for Paint
To get the dresser ready for paint, use sandpaper or a sanding block to smooth out rough spots from the dresser's surface. Remove any dust with a damp cloth.

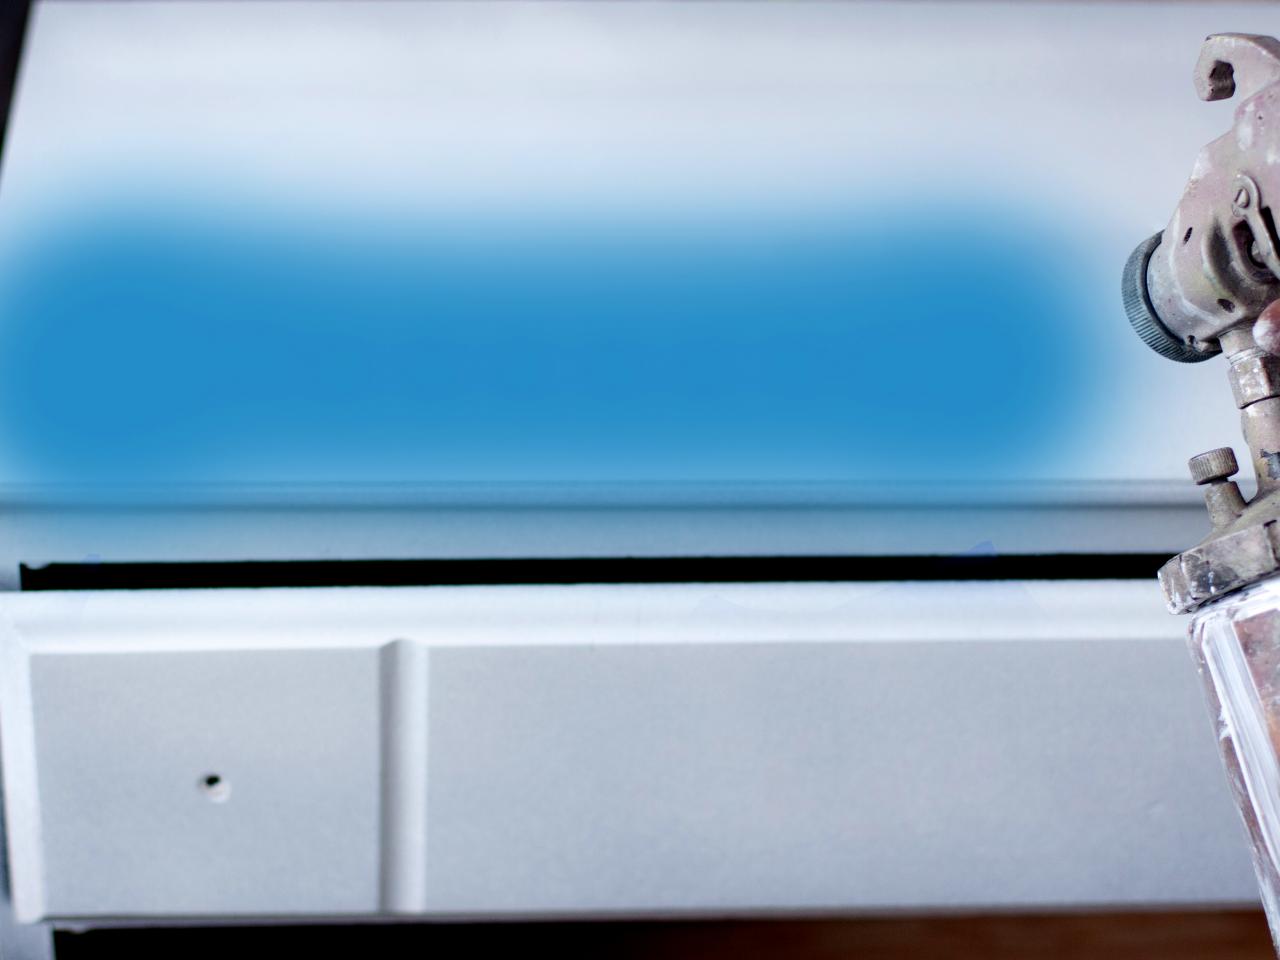
Step 8: Load Primer
Cover the floor surface of your workspace with a drop cloth. Shake and stir a can of primer, then slowly pour it into the HVLP paint sprayer.

Step 9: Spray Primer
Coat all surfaces of the dresser with an even, controlled, sprayed coat of primer. Allow it to dry thoroughly.

Step 10: Spray Finish Coat
Clean and rinse out the HVLP paint sprayer. Load it with your finish color, then spray two coats. Allow approximately 2 to 3 hours for the first coat of paint to dry before applying a second coat.

Step 11: Attach New Hardware and Cushion
Use a screwdriver or drill to attach new hardware. Place a cushion or pillow in the opening for your pet to enjoy.

Brian Patrick Flynn

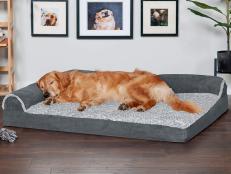
How to Turn an Old End Table Into a Pet Bed
See how we reinvented a 1970s thrift store find by turning it into a dual-purpose end table and pet bed.


