


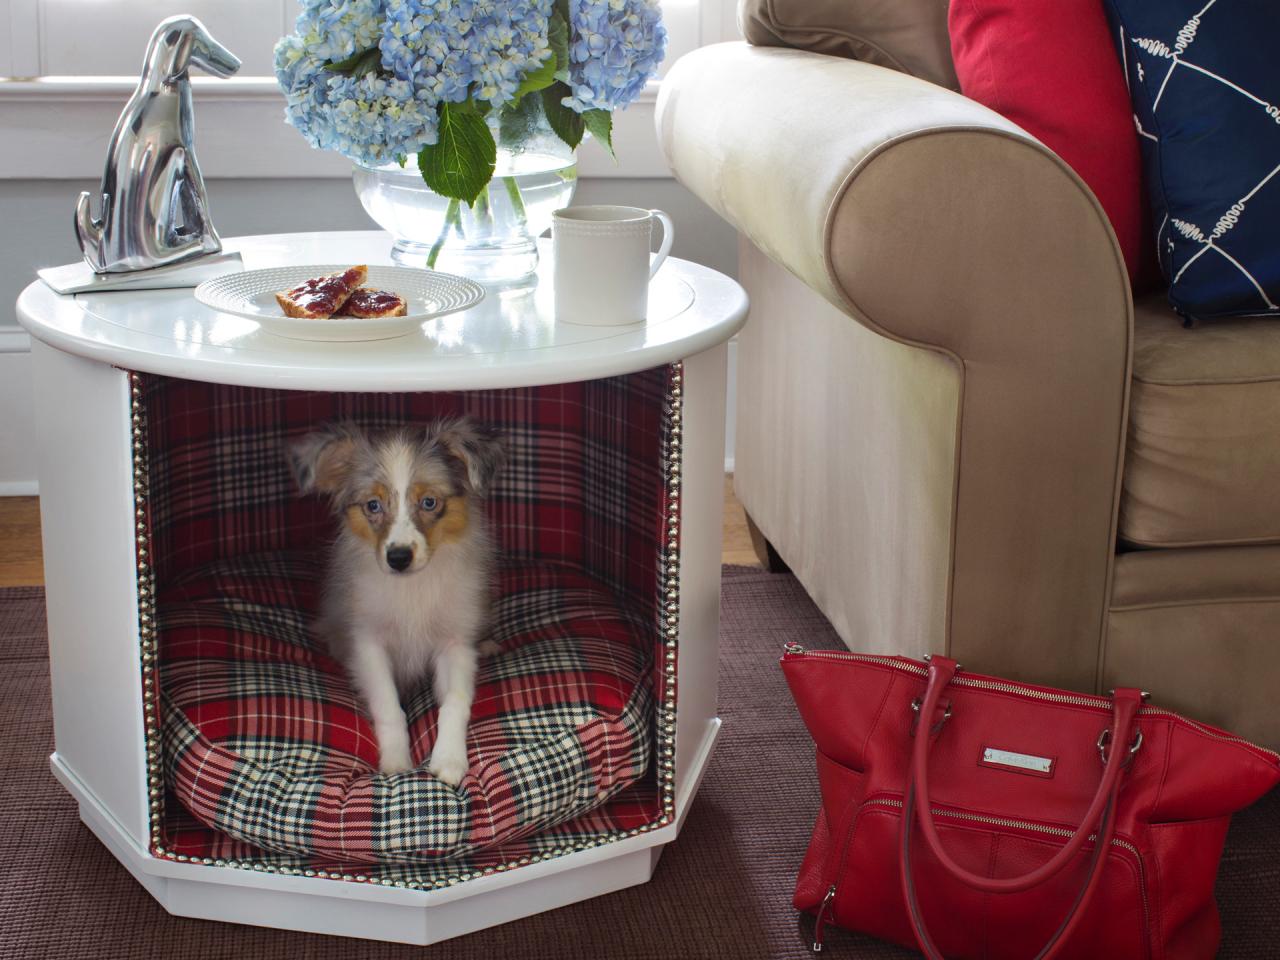
How to Turn an Old End Table Into a Pet Bed
See how we reinvented a 1970s thrift store find by turning it into a dual-purpose end table and pet bed.


Brian Patrick Flynn
Octagon tables were very popular in the 1960s and '70s; today you can find them at garage sales and flea markets for next to nothing. We updated this one by removing the door and giving the whole piece a fresh coat of paint. We used high-gloss latex paint, but chalk paint is another alternative. Then we made it pet-friendly by lining the inside with fabric and a fluffy cushion.
Tools and Materials
- solid wood table
- a pillow or cushion
- indoor/outdoor fabric or upholstery vinyl
- screwdriver
- wood filler
- putty knife
- sanding block or sandpaper
- staple gun and extra staples
- scissors
- nail-head trim
- rubber mallet
- tape measure
- drop cloth
- high-volume, low pressure (HVLP) paint sprayer
- primer
- high-gloss paint

Before
Step 1: Unscrew Hinges and Remove Door
Use a screwdriver or drill to completely remove the hinges from doors and/or drawers, then set them aside.


Step 2: Remove Fasteners
Use a screwdriver or drill to remove fasteners or magnetized door and/or drawer stops.

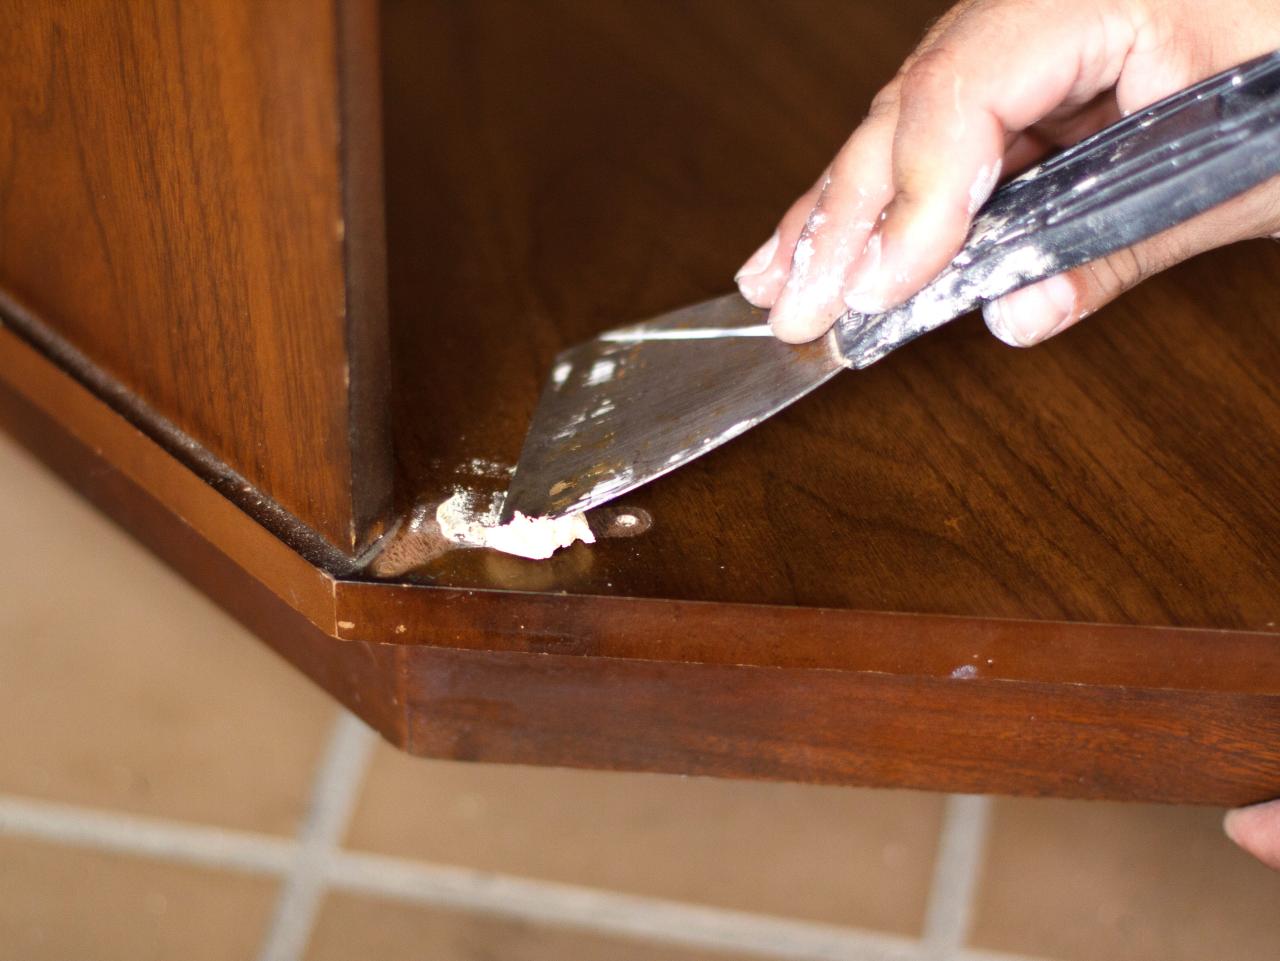
Step 3: Fill and Sand Holes
After the hinges, fasteners and door/drawer stops have been removed, use a putty knife to fill the screw holes with wood filler. After the wood filler has dried, use sandpaper or sanding block to smooth out the surface of the wood. Wipe away dust with a damp cloth.


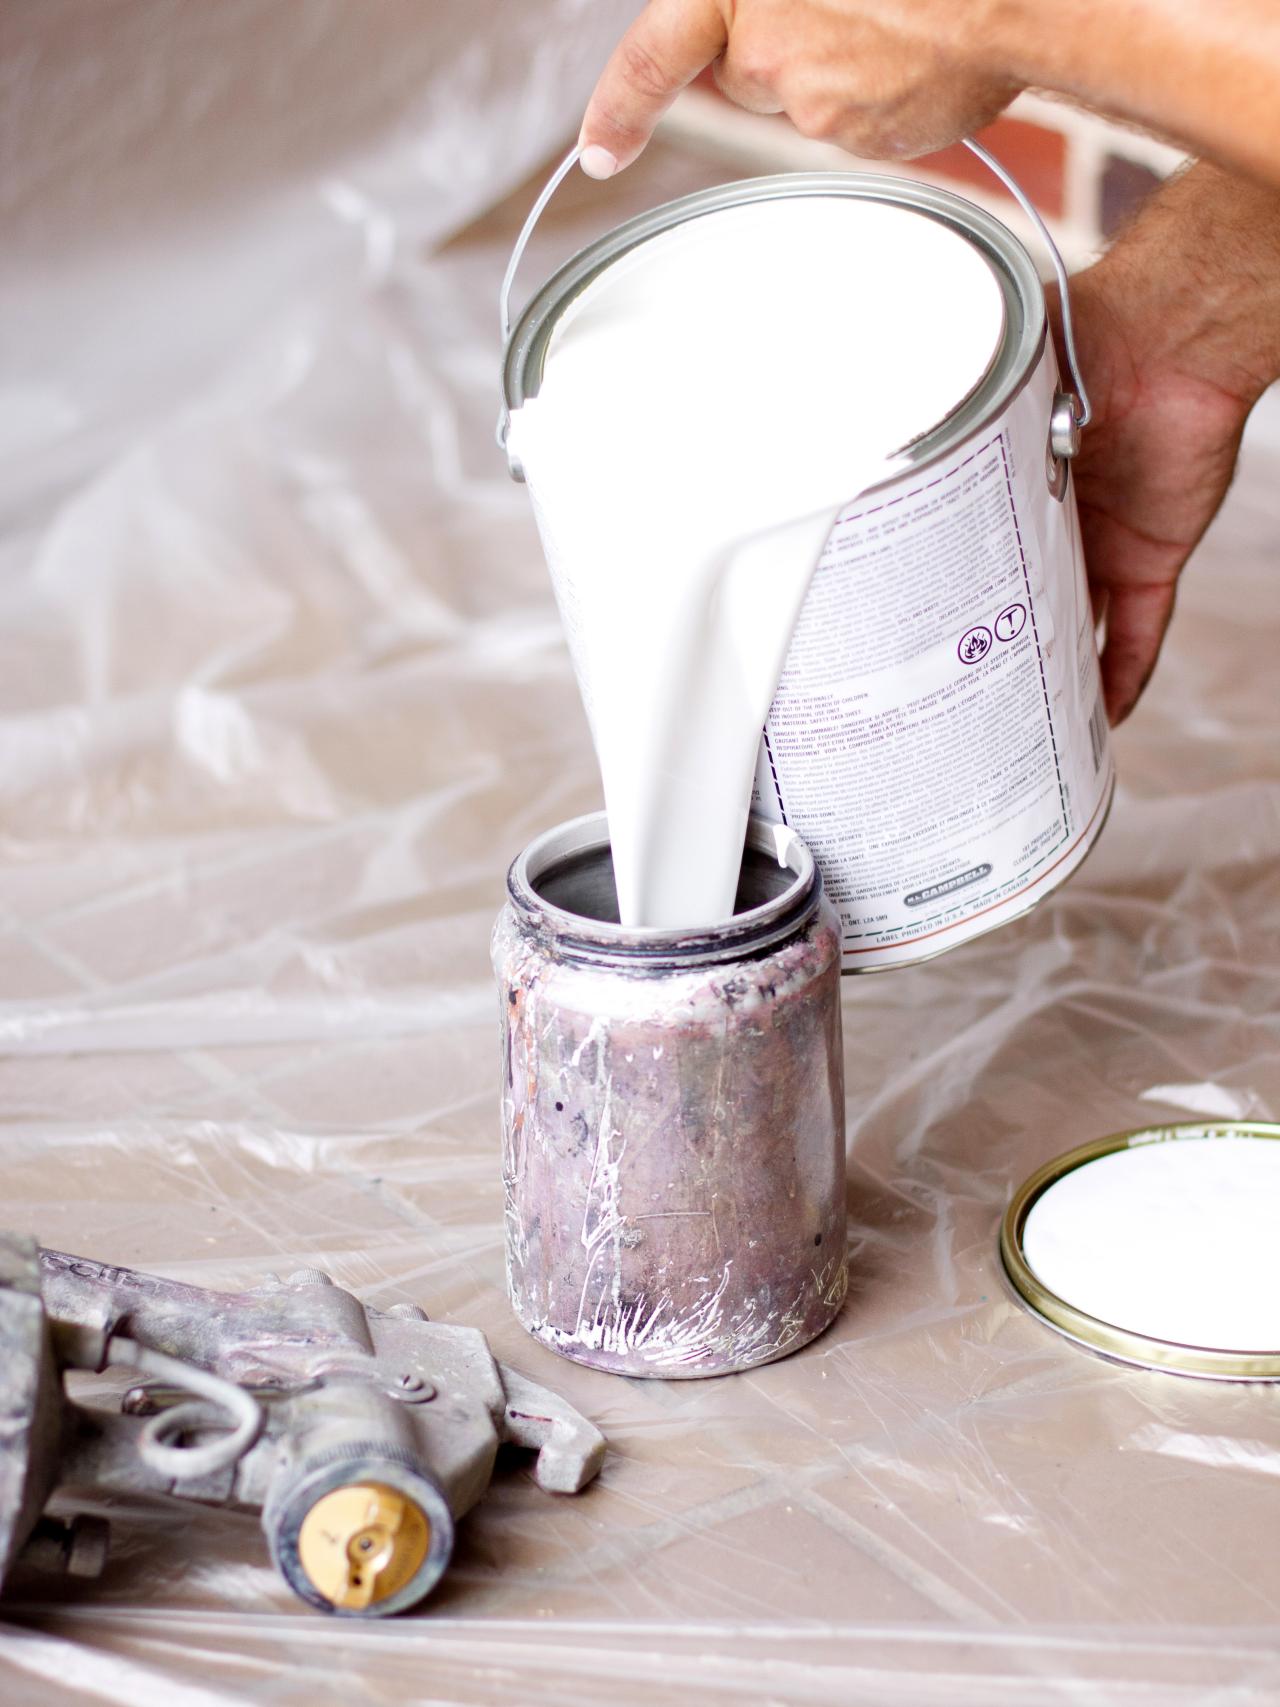
Step 4: Spray Primer
We used a high-velocity sprayer to apply the primer and paint because it allows for a professional-looking, even coat.
Cover your worktable or the floor of your workspace with a drop cloth. Stir a can of primer, then slowly pour it into the HVLP paint container. Coat all surfaces of the table with an even, controlled sprayed coat of primer.
You also can use spray paint or apply the paint with a paintbrush or roller, but keep in mind, high-gloss paint applied with a brush or roller can show streaks.


If the interior will be upholstered, it’s only necessary to spray the exterior; batting and fabric will cover the interior surface.
Step 5: Spray Finish Coat
Once the primer is dry to the touch and the HVLP paint container has been rinsed and thoroughly washed out, load, then spray two coats of finish color.
Pro Tip: Allow approximately 2 to 3 hours for the first coat of paint to dry before applying the second coat.
Step 6: Measure and Cut Batting and Fabric

Use a tape measure to determine the length and width for each portion of the table's interior. Refer to the measurements to cut the batting and fabric to size.
Step 7: Attach Batting and Fabric

After the finish coat is completely dry, add an even coat of spray adhesive to the table's interior, then fit batting snugly to each area. Use a staple gun to secure the edges of the batting directly to the interior of the table. Next, place each piece of fabric into its proper position, then secure it with a staple gun.
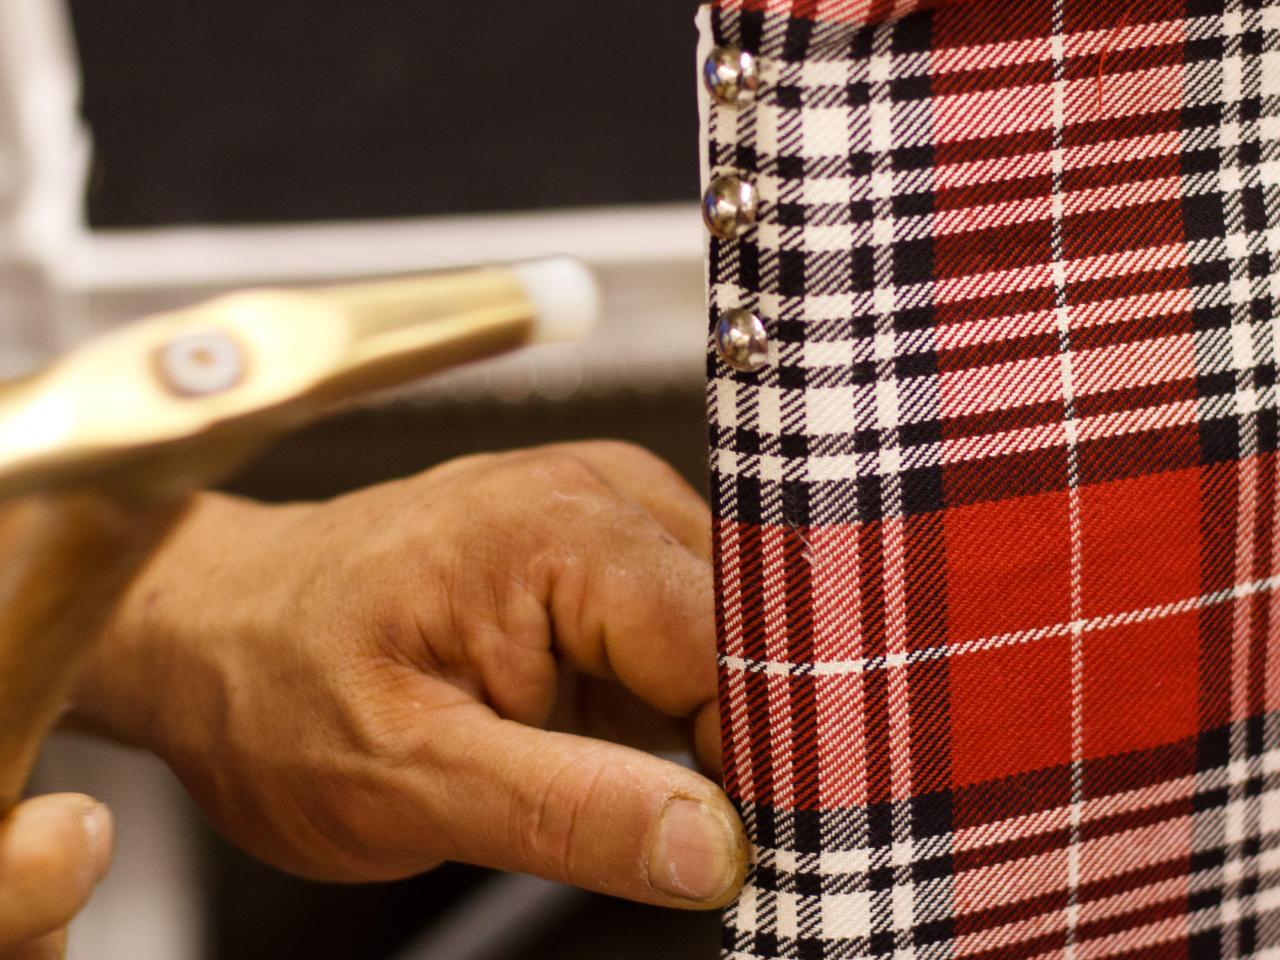
Step 8: Add Nail-Head Trim

Add graphic punch and cover up the staples by attaching nailheads all along the edges. Use a rubber mallet to hammer in the nailheads. Nailheads are also available in long strips making the installation quicker and easier.
Step 9: Add Pillow or Cushion

Place a pillow or cushion in the bottom of the table to give your pet a comfy, concealed place to nap.


