


How to Make a Chic, C-Shaped Side Table
Function meets fabulous in this easy, low-cost DIY.

DIY Faux Copper Air Planter
Don't let those plastic straws end up in a landfill! When you're done slurping up your iced coffee, save your straws to make a few of these gorgeous faux copper air planters. P.S. - they make great gifts.

Photo by: Shain Rievley
Shain Rievley
The C table (also known as a C-shaped table) is all the decor rage right now and there’s no question why. A simple solution for small space design, this little accent table can work as both an end table when parallel to your furniture or as a tray table when pushed over an armrest of a sofa or armchair. And you know that we love anything that works double duty in our homes — especially in smaller spaces where every square inch counts.

DIY Faux Copper Air Planter
Don't let those plastic straws end up in a landfill! When you're done slurping up your iced coffee, save your straws to make a few of these gorgeous faux copper air planters. P.S. - they make great gifts.
Photo by: Shain Rievley
Shain Rievley
For this particular table, we were inspired by minimalist modern style and wanted our natural wood to pop with accents of copper and marble. Let’s face it, a marble slab is expensive, so we got crafty and created a faux look by wrapping a piece of plywood with marble-print contact paper. Copper details came straight from the hardware store — plumbing joints and electrical tape go from industrial to imaginative when tastefully paired together in this sleek design.
One key trick to making this DIY a success is to arm yourself with 90-degree copper elbows. You’d be surprised how many different sizes and shapes of copper elbows there are out there and we tried them all. I’d recommend taking your dowels to the hardware store and try a few on for size and select the ones with the snuggest fit.

Kristin Guy, dinexdesign.com
Modern marble not your style? Think of this DIY table as a blank canvas concept to start with and customize to your own home’s aesthetic. There are dozens of ways to create a C table using different materials. Try stenciling a pattern on a nice piece of wood, or wrapping it in a different material like leather. However you work it, this is an easy weekend project to add a little functional style to your small space or dorm room. So let’s break out the wood glue and get to building.
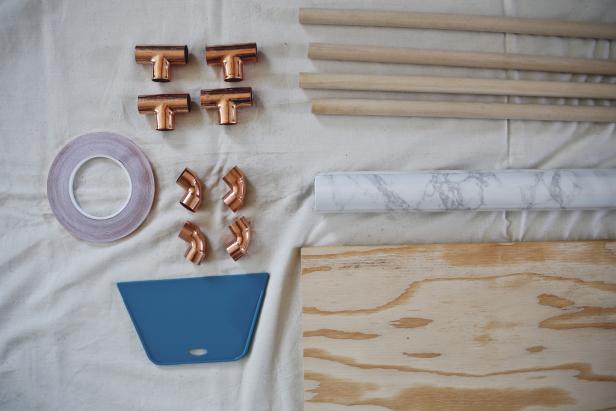
What You'll Need
- (4) 3/4" x 36" wood dowels
- (4) 3/4" 90-degree copper plumbing elbows
- plywood
- (4) 3/4" copper plumbing tees
- marble-printed contact paper
- plastic smoothing tool
- copper tape (optional)
- fine-grit sandpaper
- wood glue
- (3) 1" nails
- hammer
- electric saw
Kristin Guy, dinexdesign.com
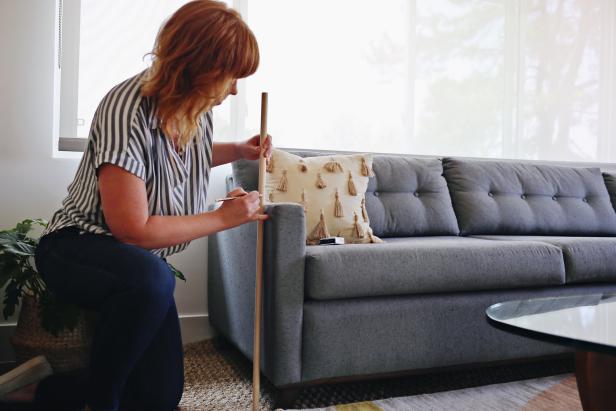
Measure Furniture
Kristin Guy, dinexdesign.com
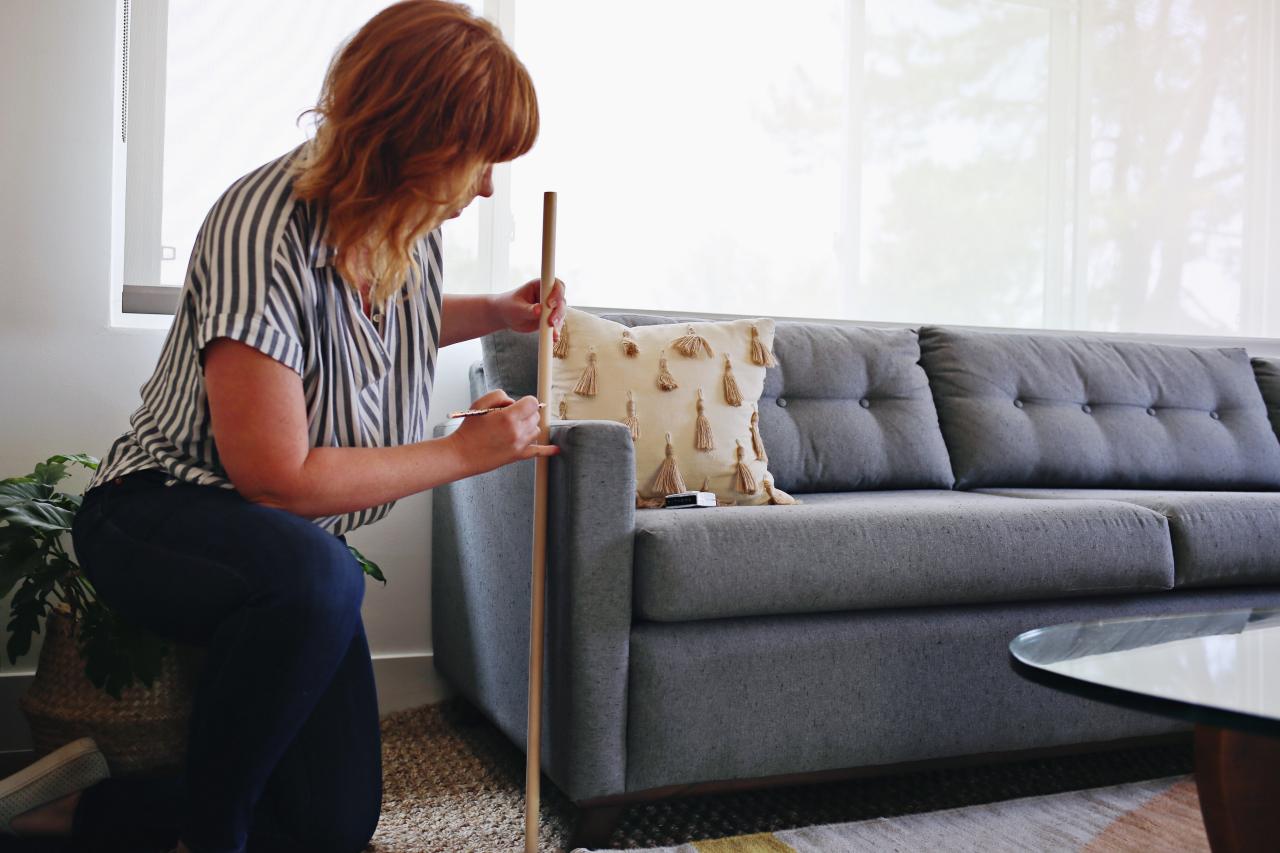
First, measure the height of your sofa or arm chair that you want to place your C table next to. For table height, you will want dowels to be around two to three inches over the top of the furniture’s armrest for optimal comfort. Depending on the look you want, a snug hug around the armrest works great for holding drinks and food, or build a little higher if using as a TV tray or laptop stand. For our sofa we measured each leg at 26 inches tall for a stylishly snug fit.
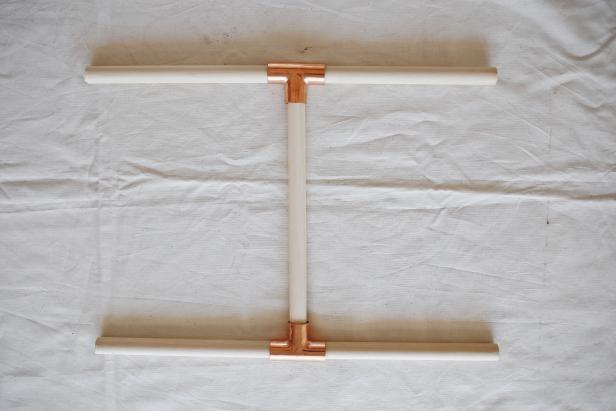
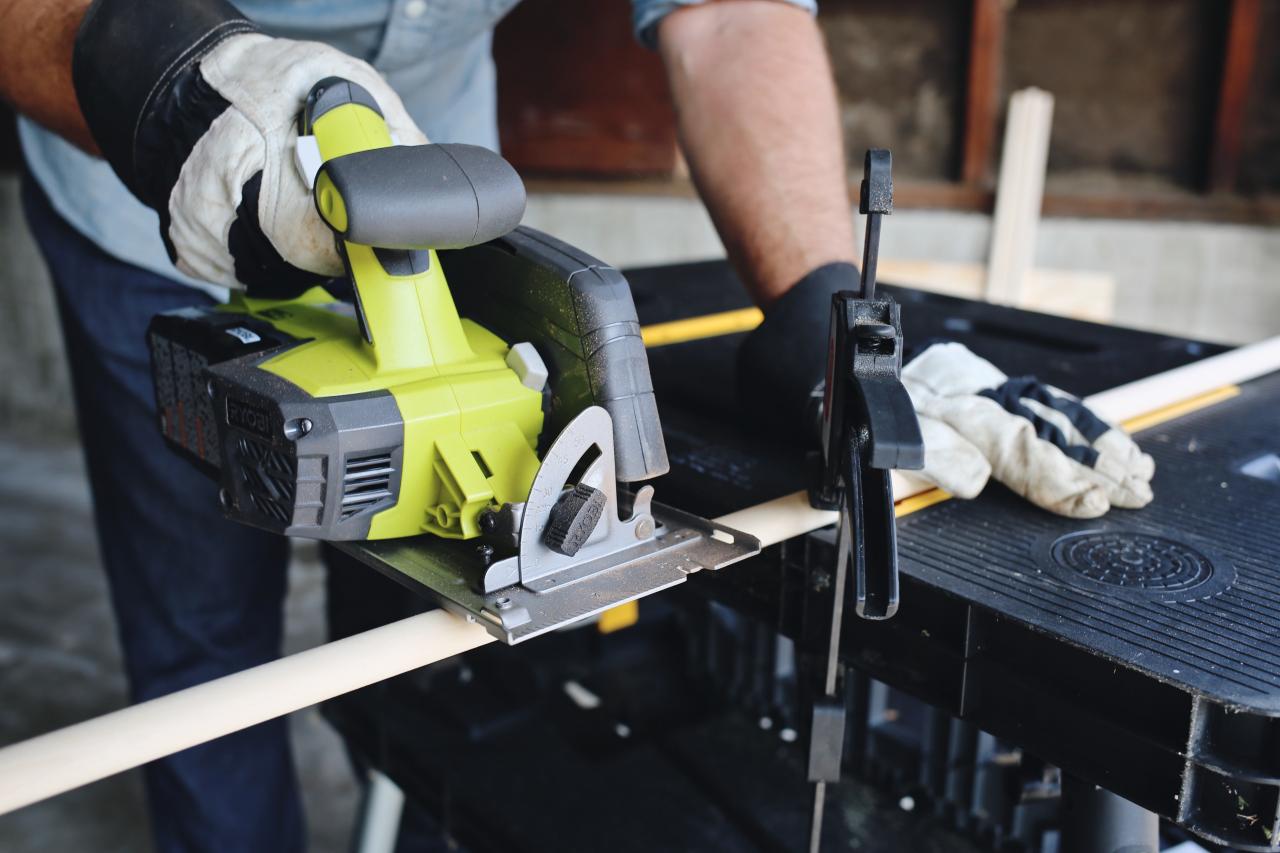
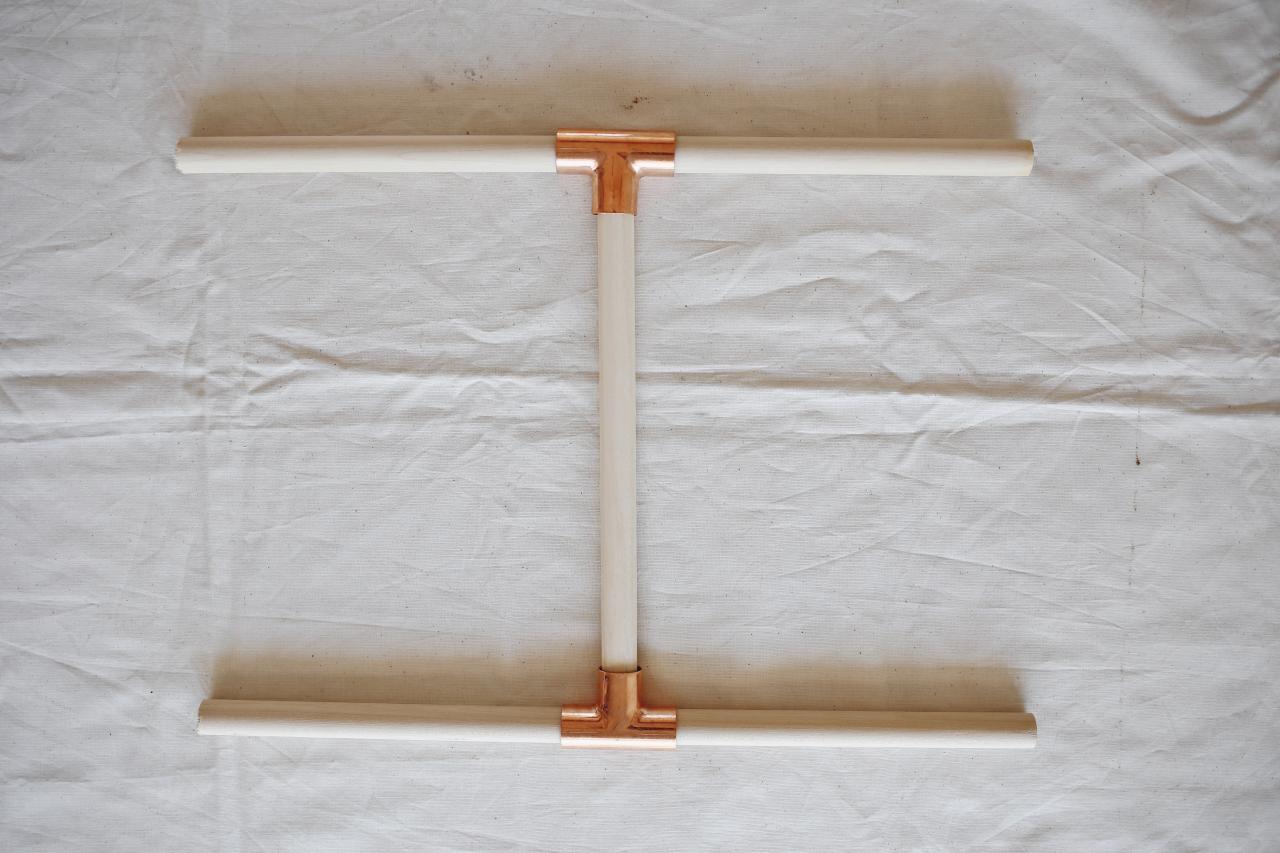
Cut Dowels

Kristin Guy, dinexdesign.com
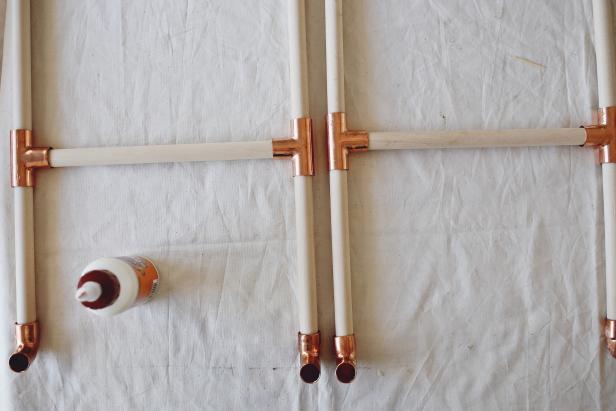
To create the table base and top support, cut four dowels to 18 inches. Again, adjust this measurement to the piece of furniture you plan on placing this next to. For extra reinforcement, we cut two additional dowels at 11-1/2 inches and secured them with wood glue inside the copper tees to make a middle brace (keep scrolling for more images).
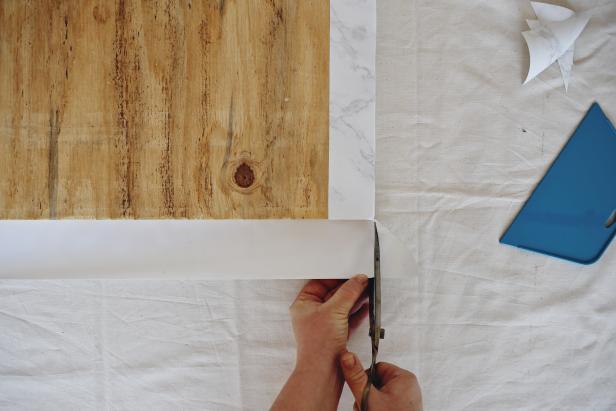
Cut Tabletop

Kristin Guy, dinexdesign.com
For the tabletop, cut your piece of plywood into an 18" x 11-1/2" rectangle. Sand any rough edges and wipe clean any dust before wrapping the table top with contact paper.
Customize It

Kristin Guy, dinexdesign.com

Kristin Guy, dinexdesign.com

Kristin Guy, dinexdesign.com
Kristin Guy, dinexdesign.com

Kristin Guy, dinexdesign.com
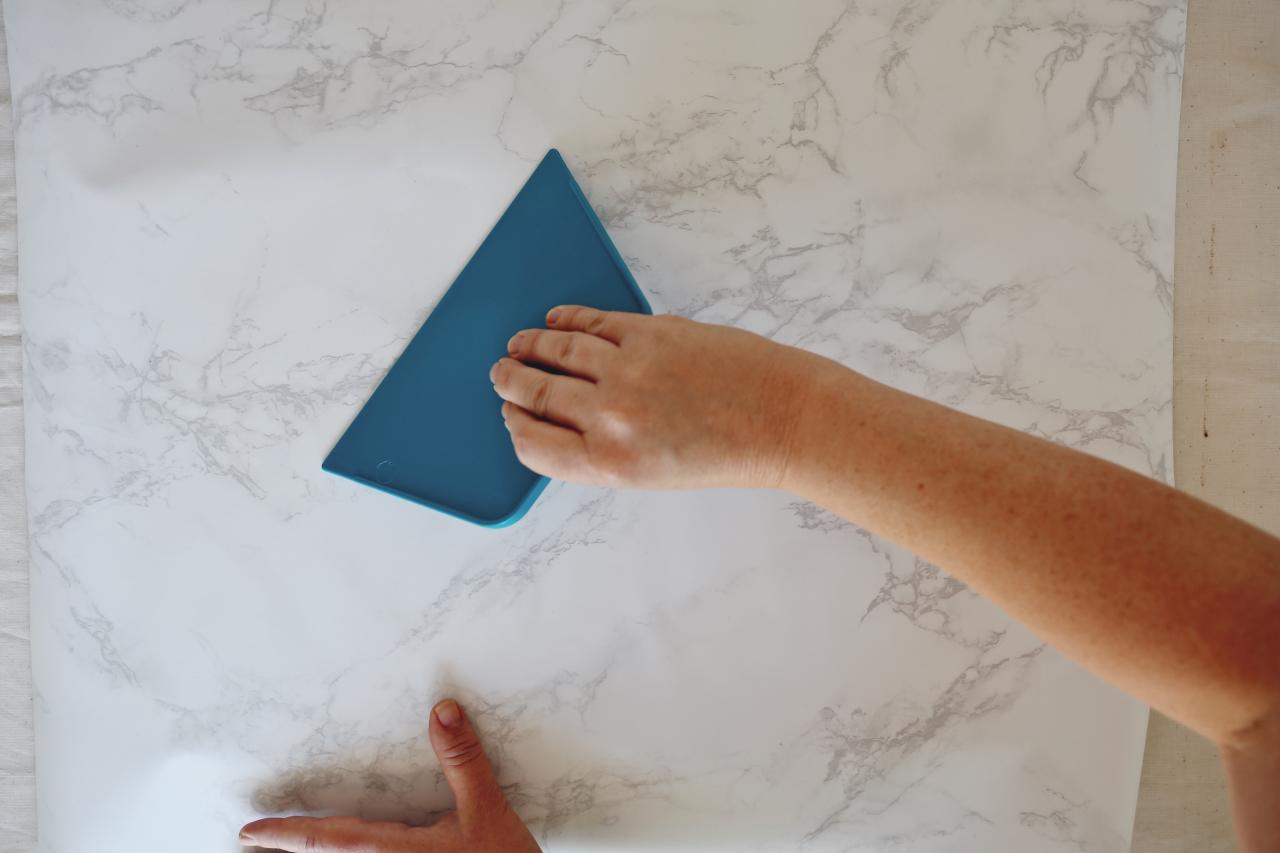
To wrap the table top, cut a piece of faux marble contact paper two inches longer and wider than your wood piece. Lay on a clean surface with sticky side up, and firmly place your plywood in the middle. Flip over and smooth out any air bubbles with your plastic smoothing tool before turning back over and wrapping paper around the corners. For a clean wrap, cut paper corners at a diagonal, bringing the short side flaps over first before wrapping the other two sides. Think of it just like wrapping a present, making sure all corners are tucked in tight for a sleek look.
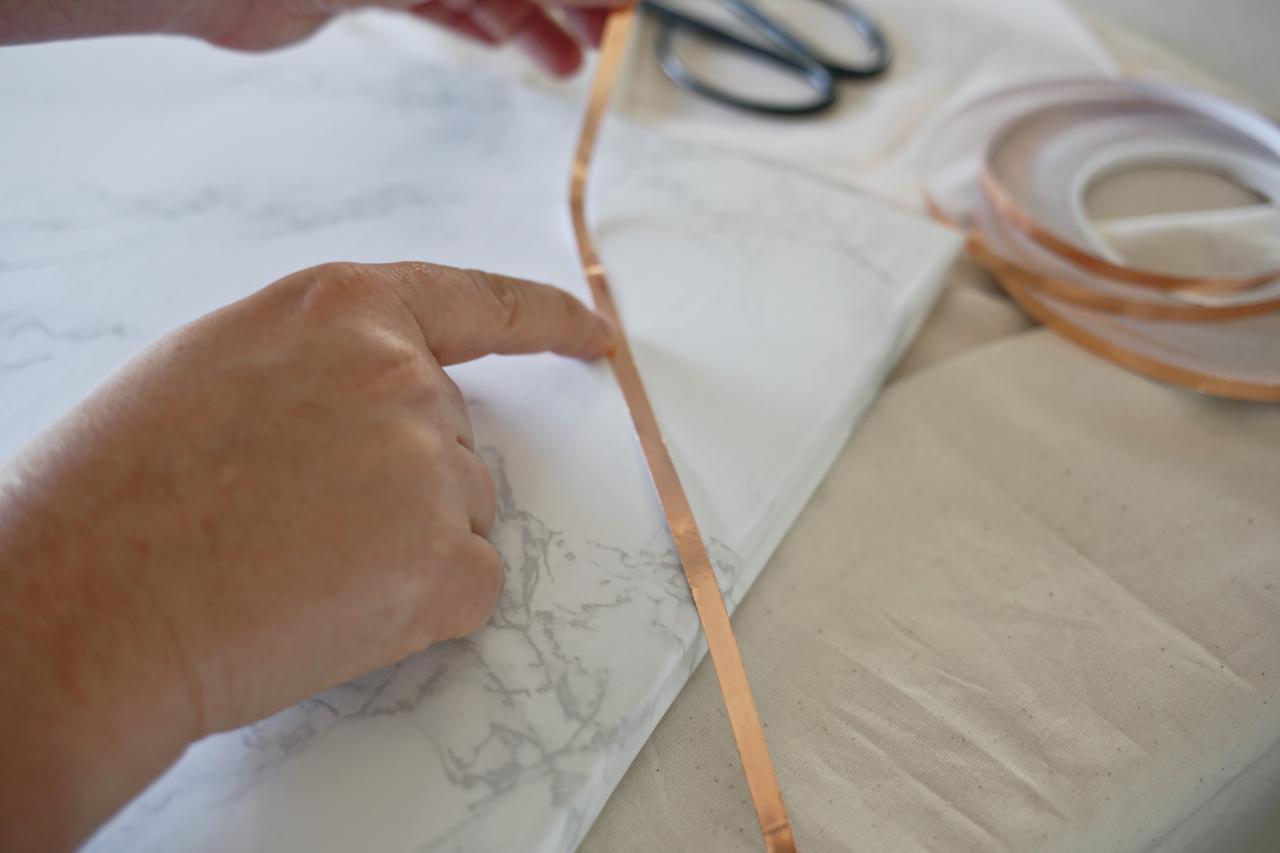
Add Copper Detail

Kristin Guy, dinexdesign.com
Copper tape is a DIY superstar! If you like the faux brass inlay look, then this is the tape for you. Simply smooth out the tape over contact paper for a delicate detail.
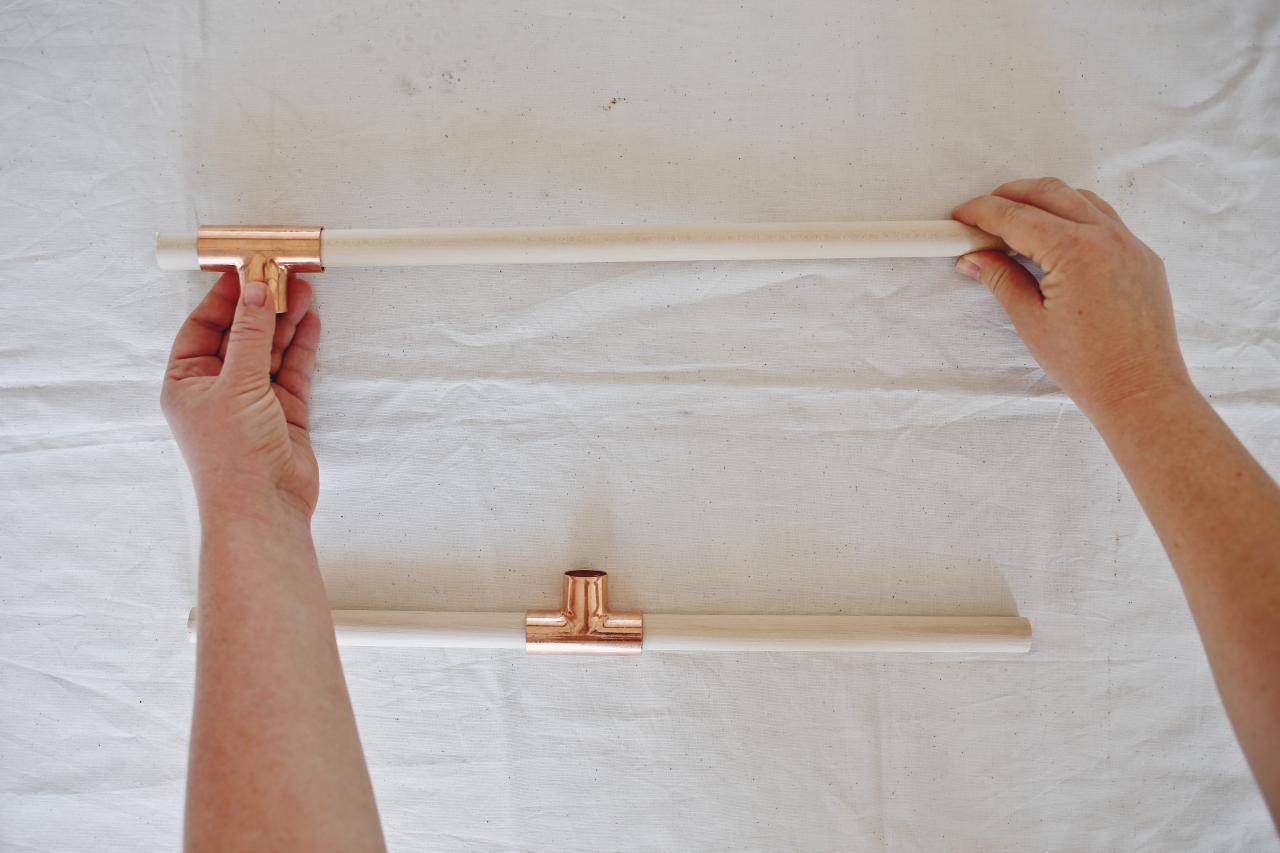
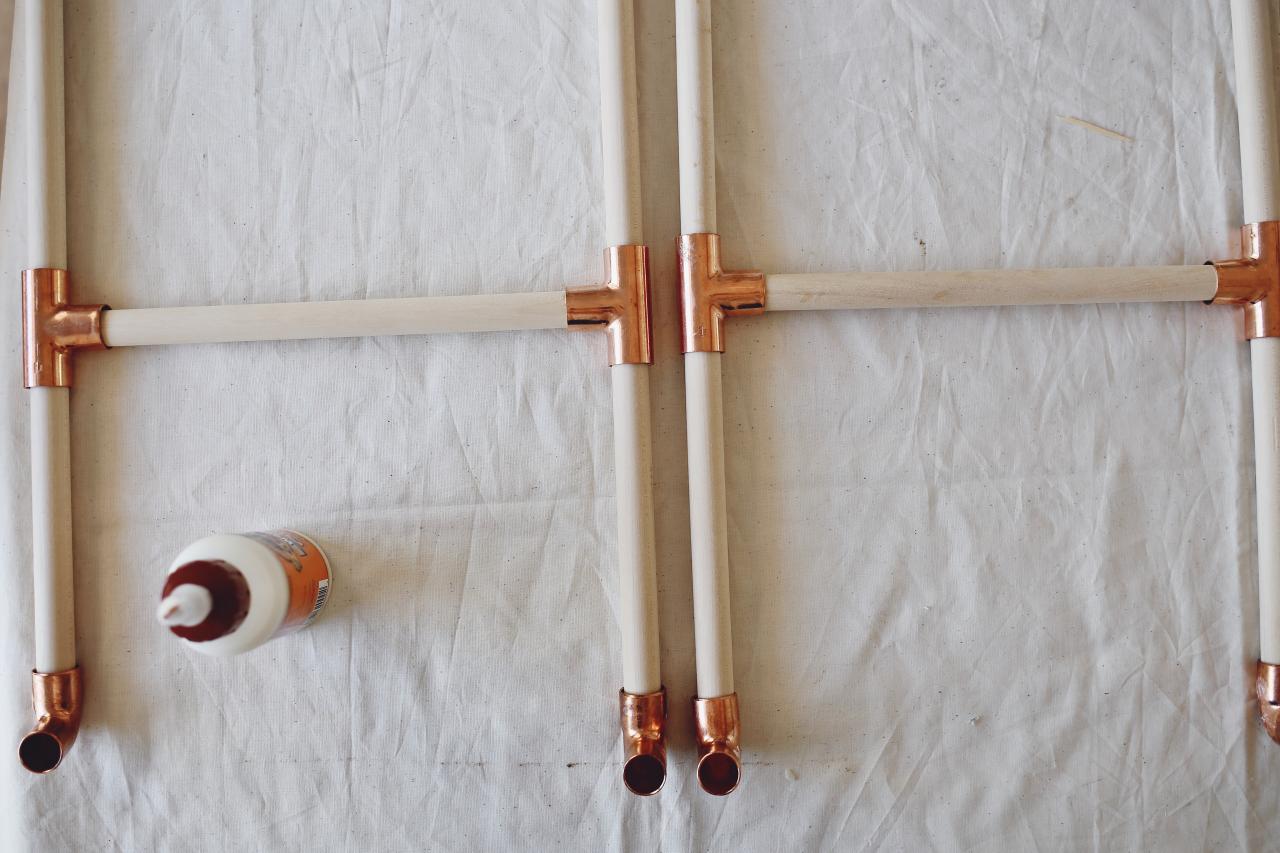
Prep + Attach Legs

Kristin Guy, dinexdesign.com
Kristin Guy, dinexdesign.com
Kristin Guy, dinexdesign.com

Kristin Guy, dinexdesign.com
To secure the base and top dowels, slip a copper tee over the four arms and fill the tee with wood glue before attaching your cross bar. Allow to fully dry before attaching your legs. Place copper elbows on two ends of your table base and top. Fill with wood glue and allow to dry before inserting vertical legs. We recommend attaching the base pieces first, allowing glue to fully dry before turning upside down to attach the top.
Attach Tabletop
Kristin Guy, dinexdesign.com
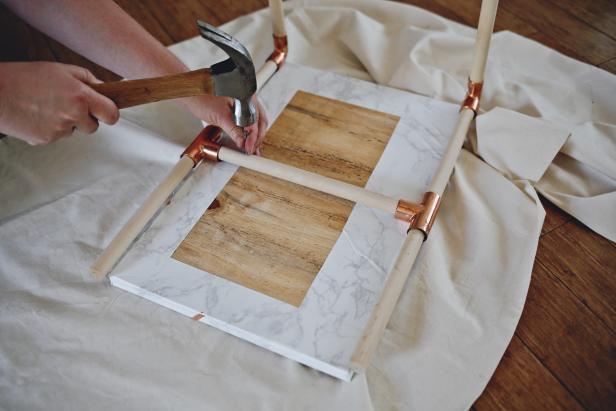
Using 1-inch or 2-inch nails, attach your tabletop to the upper cross bar. Turn over and you’re ready to style and use your new, expensive-looking table.


