


How to Build Raised Garden Beds From Cedar Boards
Ready to get your garden started? Follow our step-by-step instructions to construct these easy, unique raised beds for flowers, vegetables and more.

Shain Rievley
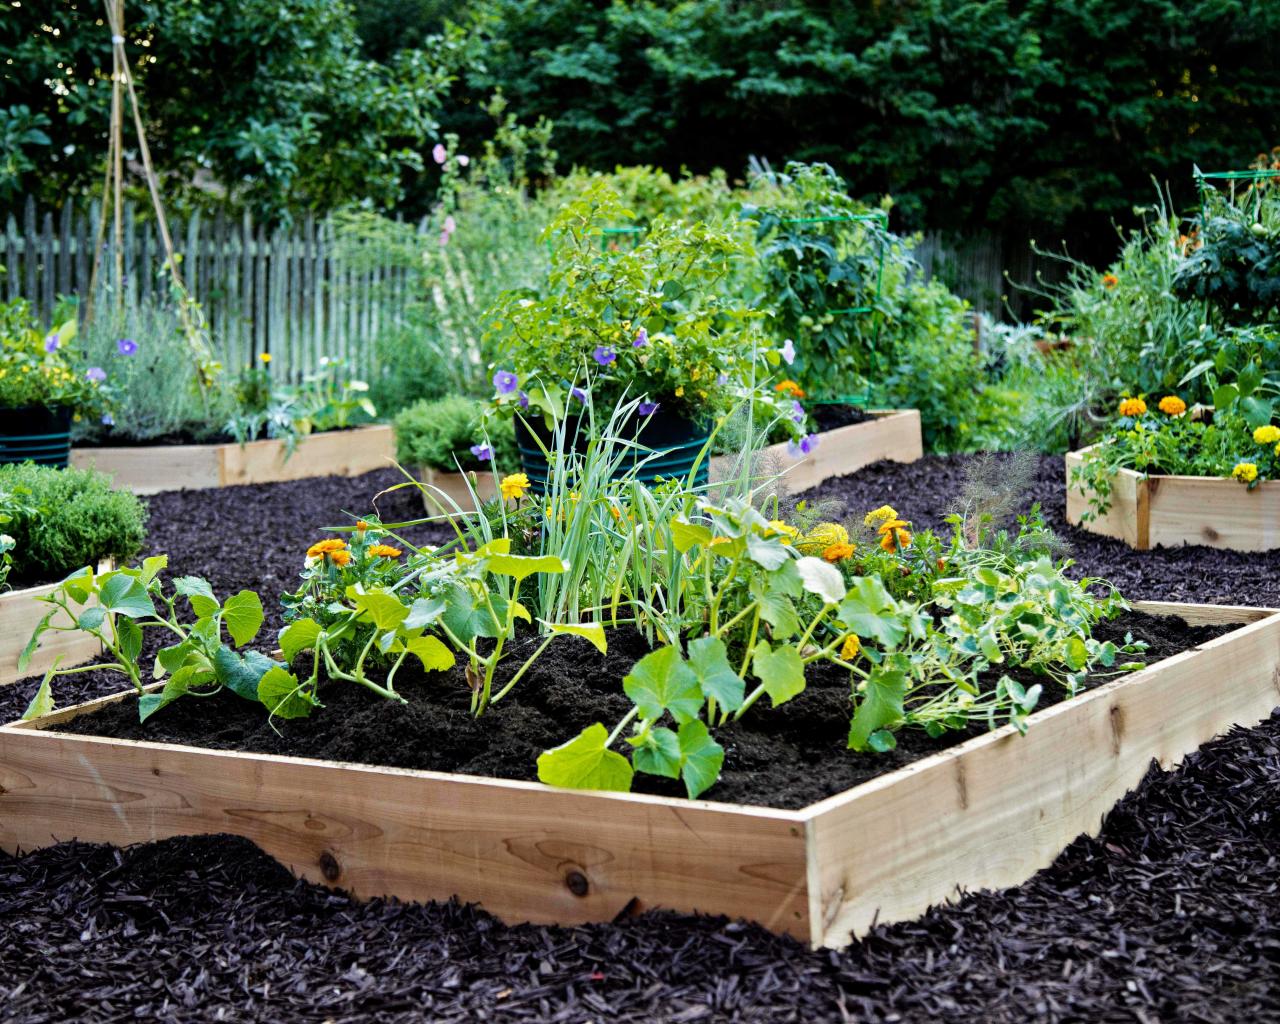
Chances are, whether you have a green thumb or not, you’ve heard the term “raised beds” tossed around. A raised bed is a type of garden that sits on top of the ground so it can use both native soil and added soil that is likely a better growing medium. Better drainage, soil control and a much-needed break for your back are just a few of the many benefits of raised bed gardening. Want to build your own raised beds? Follow our simple tips below.

Materials Needed
- (2) 1x6 x 8’ untreated cedar boards
- 3” exterior wood screws
- safety equipment
- drill + bits
- measuring tape
- miter saw
- recycled cardboard
- choice of soil
- weed-stopping fabric
- mulch
- rake
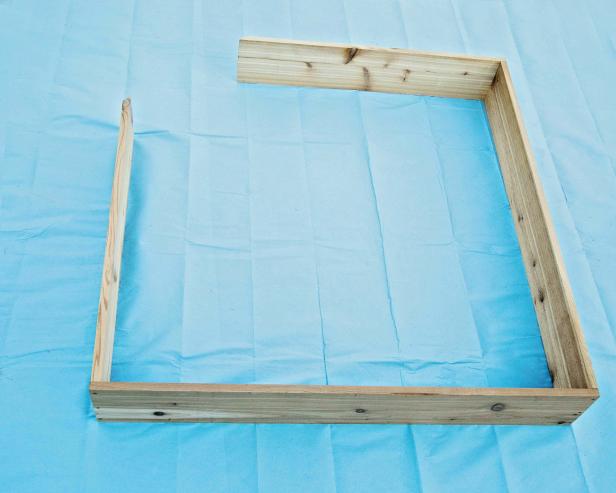
1. Cut Cedar Boards
Begin by measuring and cutting your boards accordingly. To copy our design, cut one 8-foot board in half to create two pieces approximately 4-foot each. (Even though boards are listed as 8 feet long, they may be slightly off.) Cut the second board into two 3-foot pieces and one 2-foot piece. We chose cedar because it is naturally rot-resistant, even when untreated.
Pro Tip: Feel free to alter the measurements according to your needs, but to aid in function, we recommend two smaller raised beds rather than one larger one. This will allow for easy garden upkeep.

Shain Rievley
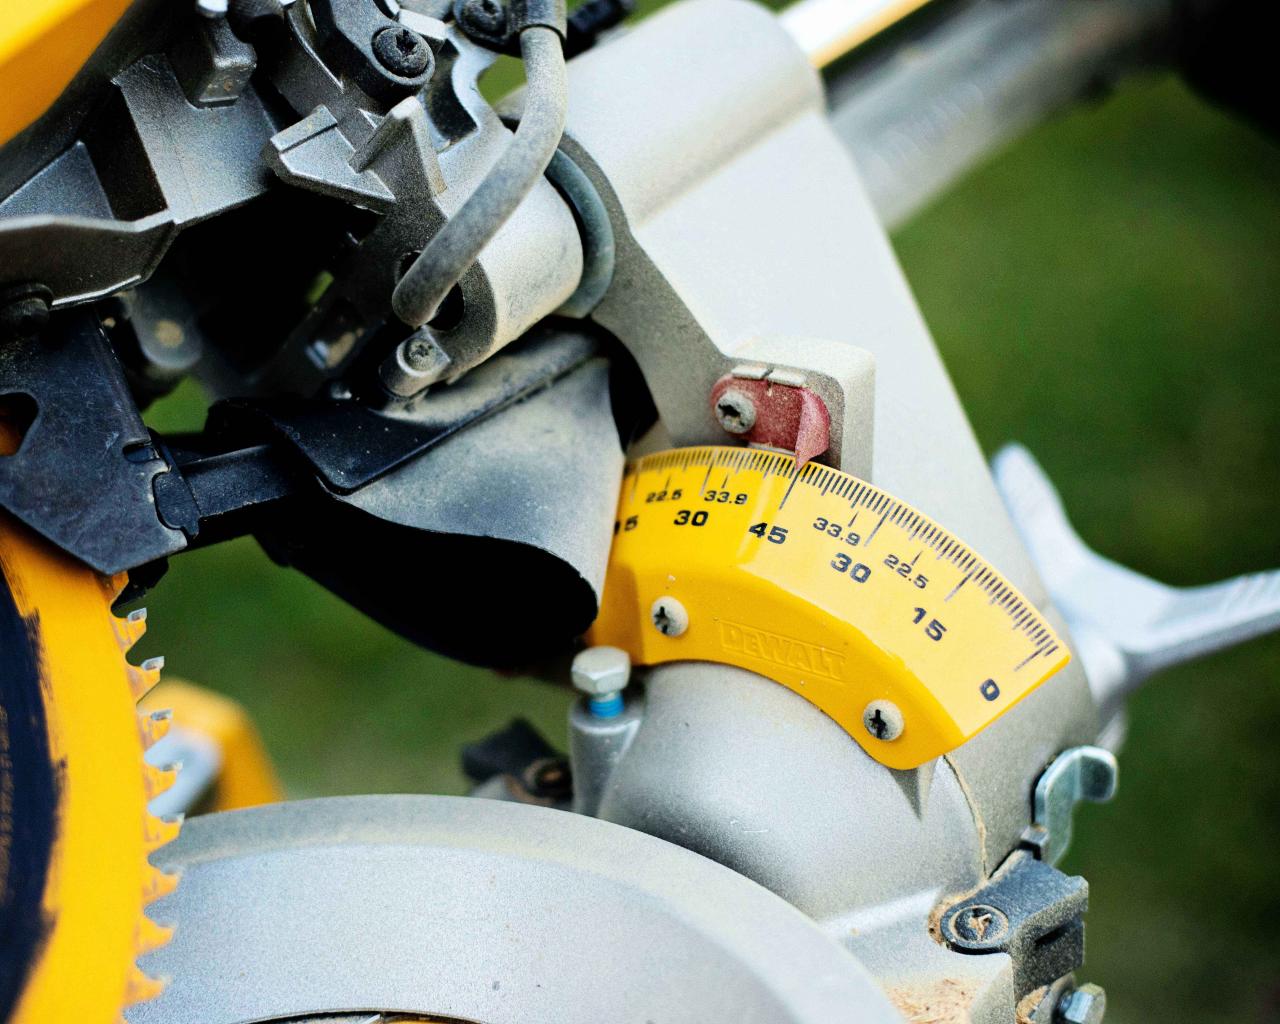
2. Cut Miters
To join your boards, you will need to cut miters. On one end of each 3-foot piece, cut a 45-degree miter into the end-grain of the board. Once the frame has been built, two 45-degree cuts will be made on the 2-foot board as well.

Shain Rievley

Shain Rievley
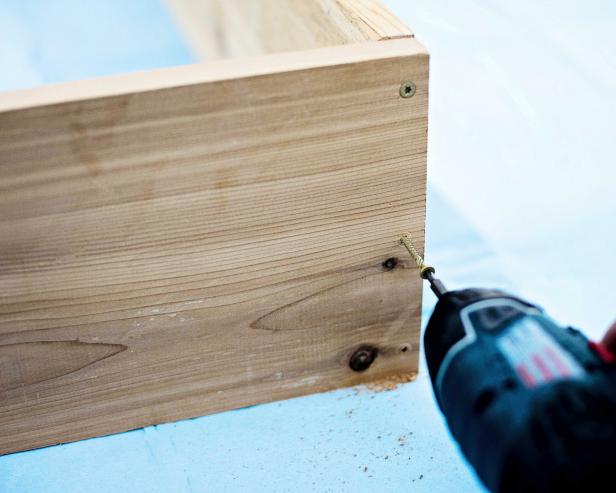
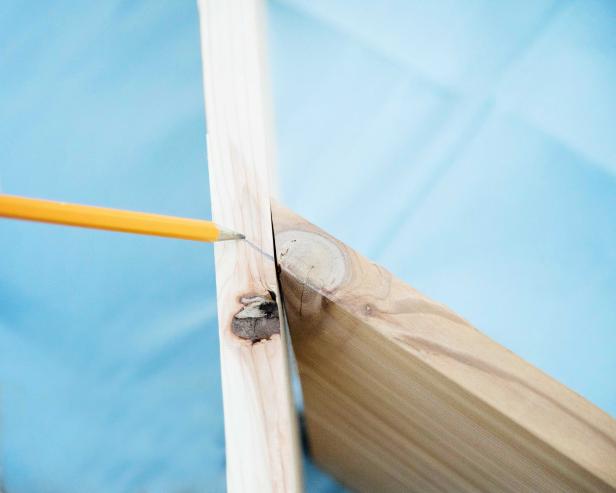
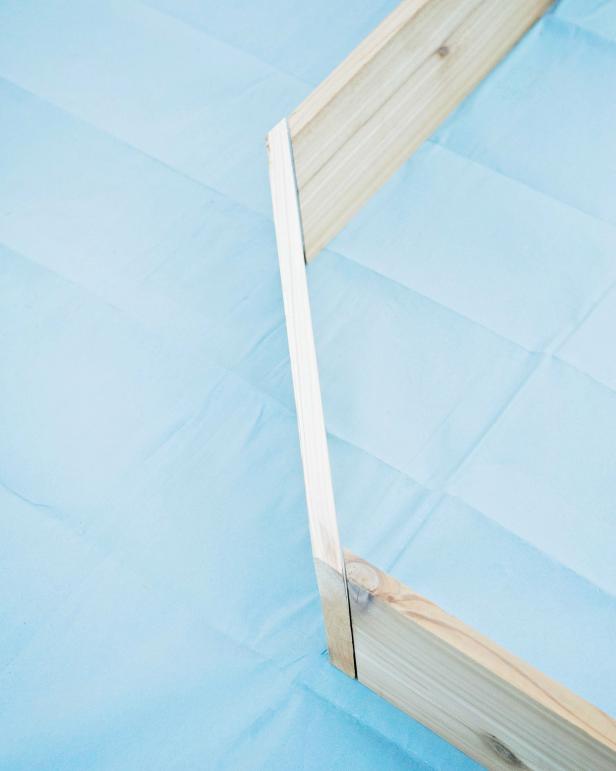
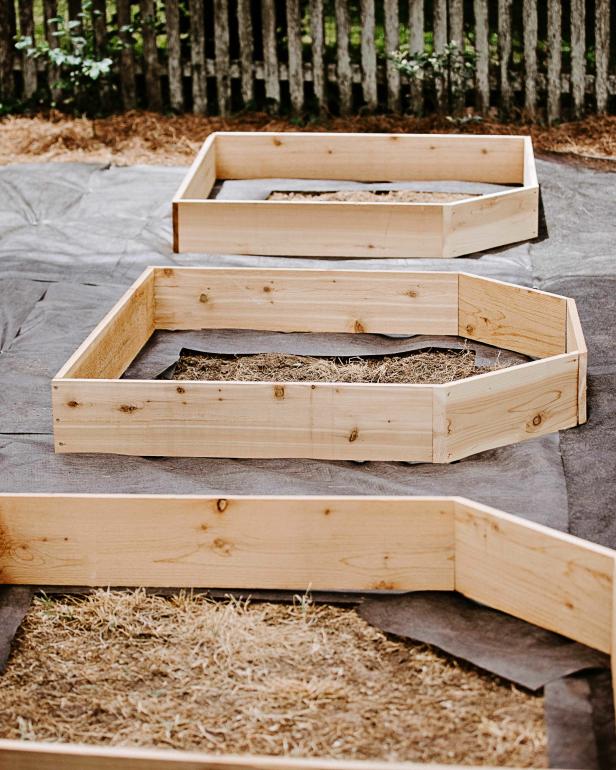
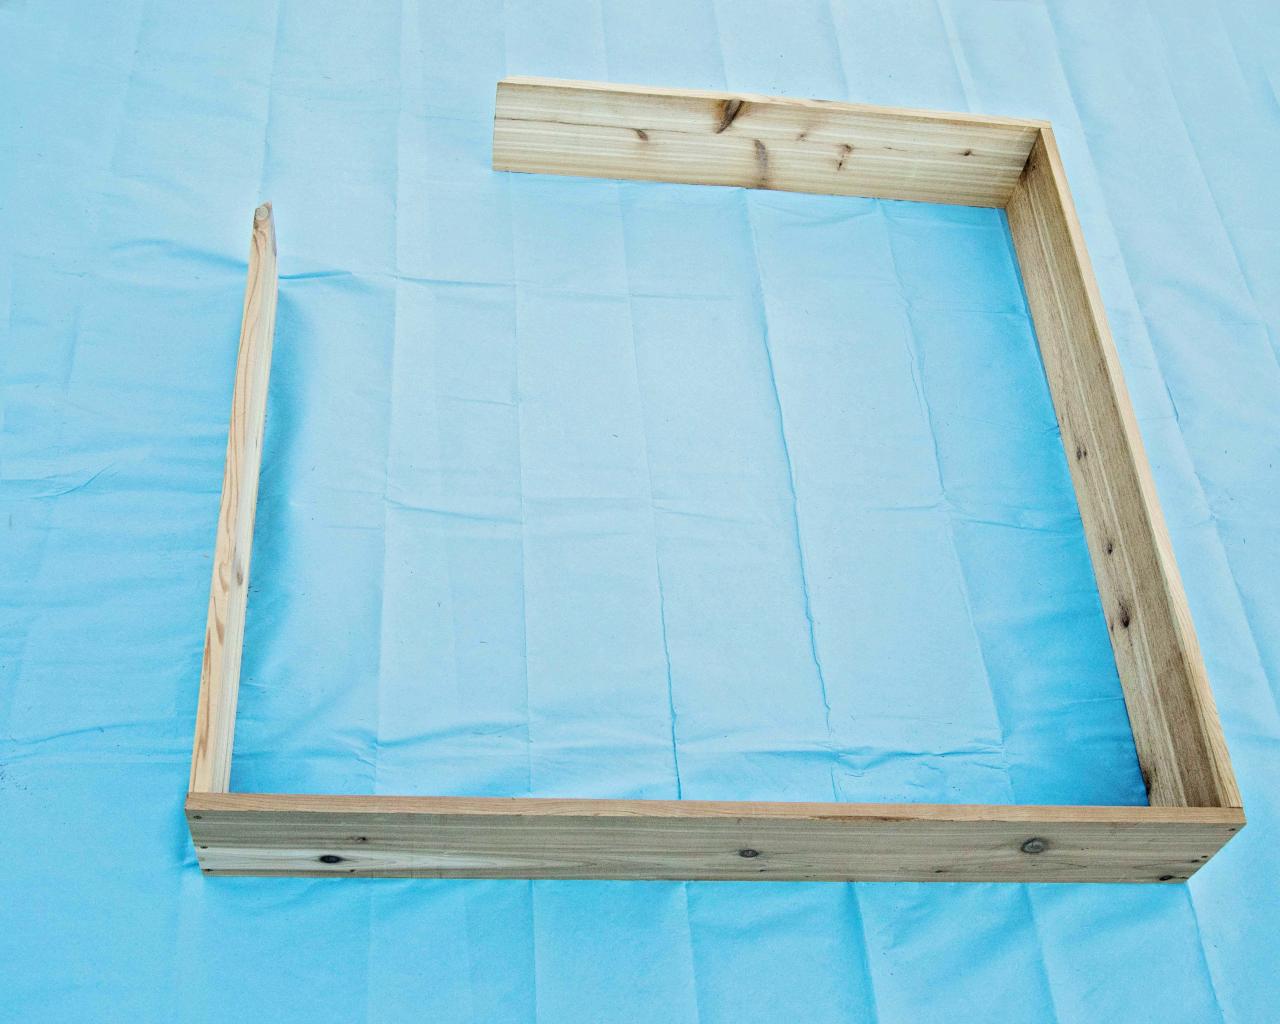
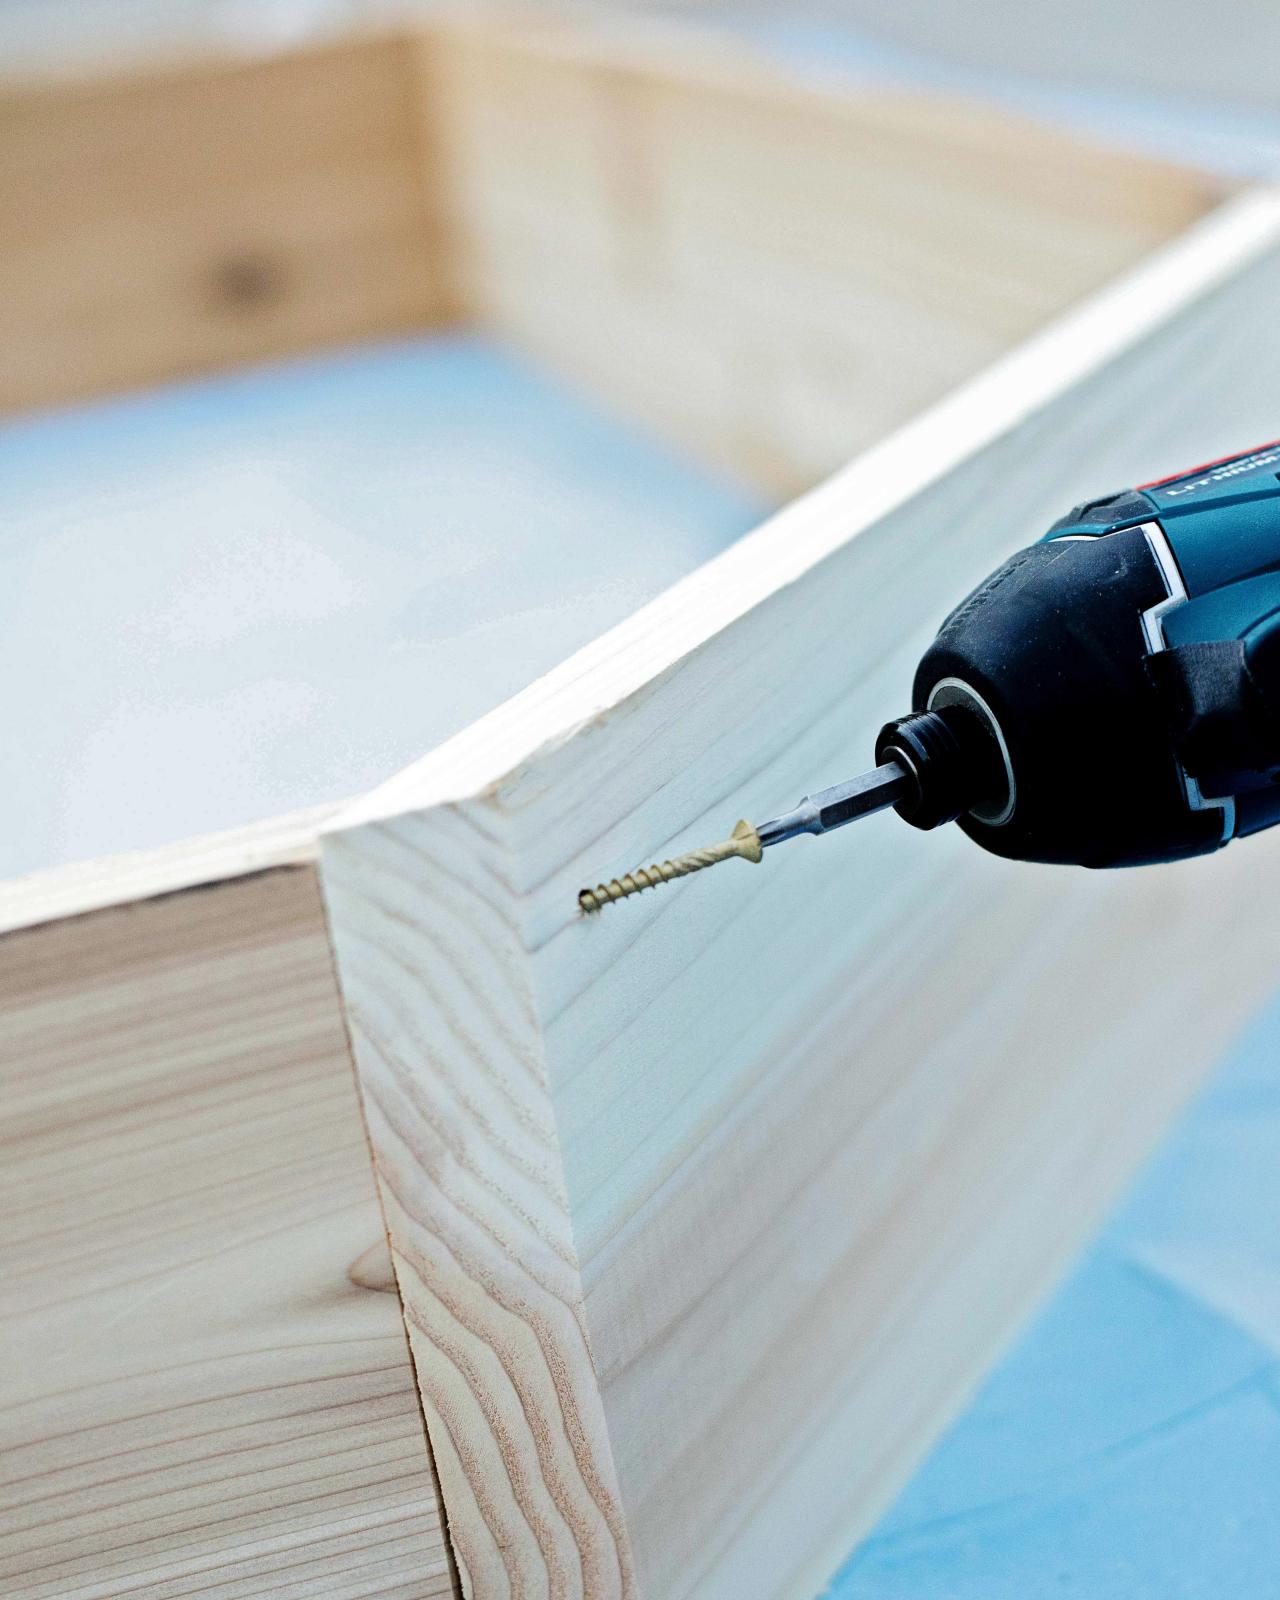
3. Join Boards
Your first joint will be the easiest. Simply but one 4-foot piece against the other to create an “L” shape, pre-drill your holes and screw into place. Next, with the 3-foot pieces, repeat this process on each end of the 4-foot pieces being sure to face the mitered end grain out. The end result should be a square with one corner missing. On this missing corner, place the 2-foot board against the mitered edges of the 3-foot boards. Use a pencil to mark the 45-degree angles on each end and cut with the miter saw. Once everything is aligned, pre-drill your holes and screw the board into place. Just like that, you’ve built your very first raised bed!
Shain Rievley
Shain Rievley
Shain Rievley
Shain Rievley

Shain Rievley
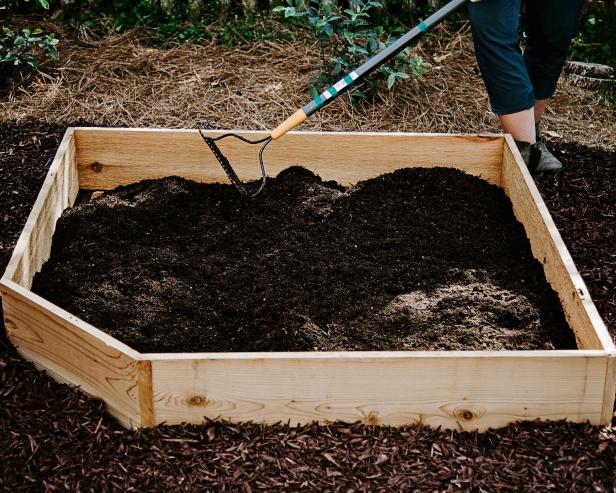
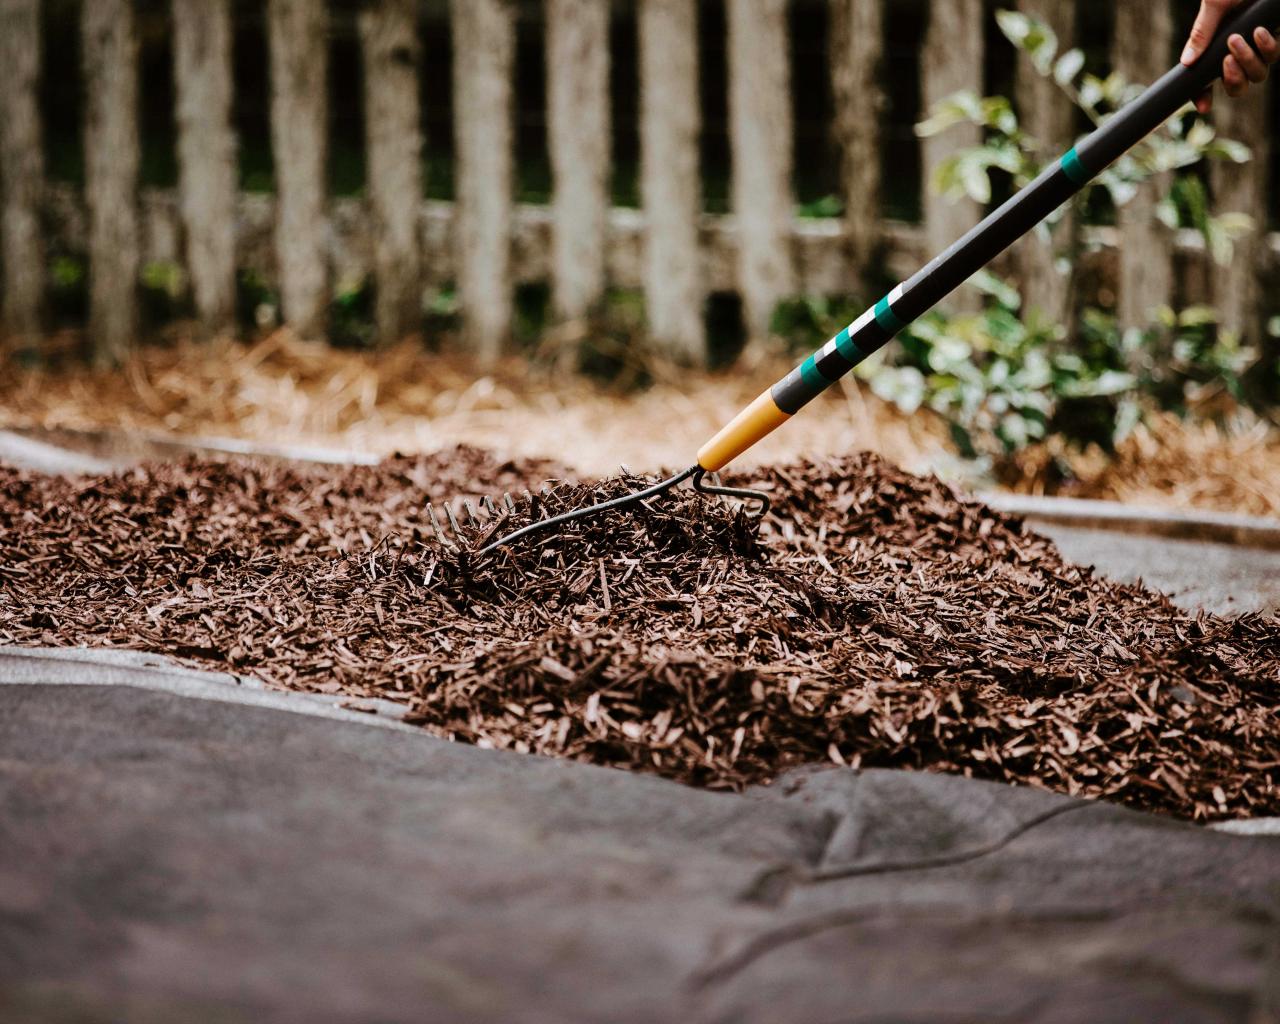
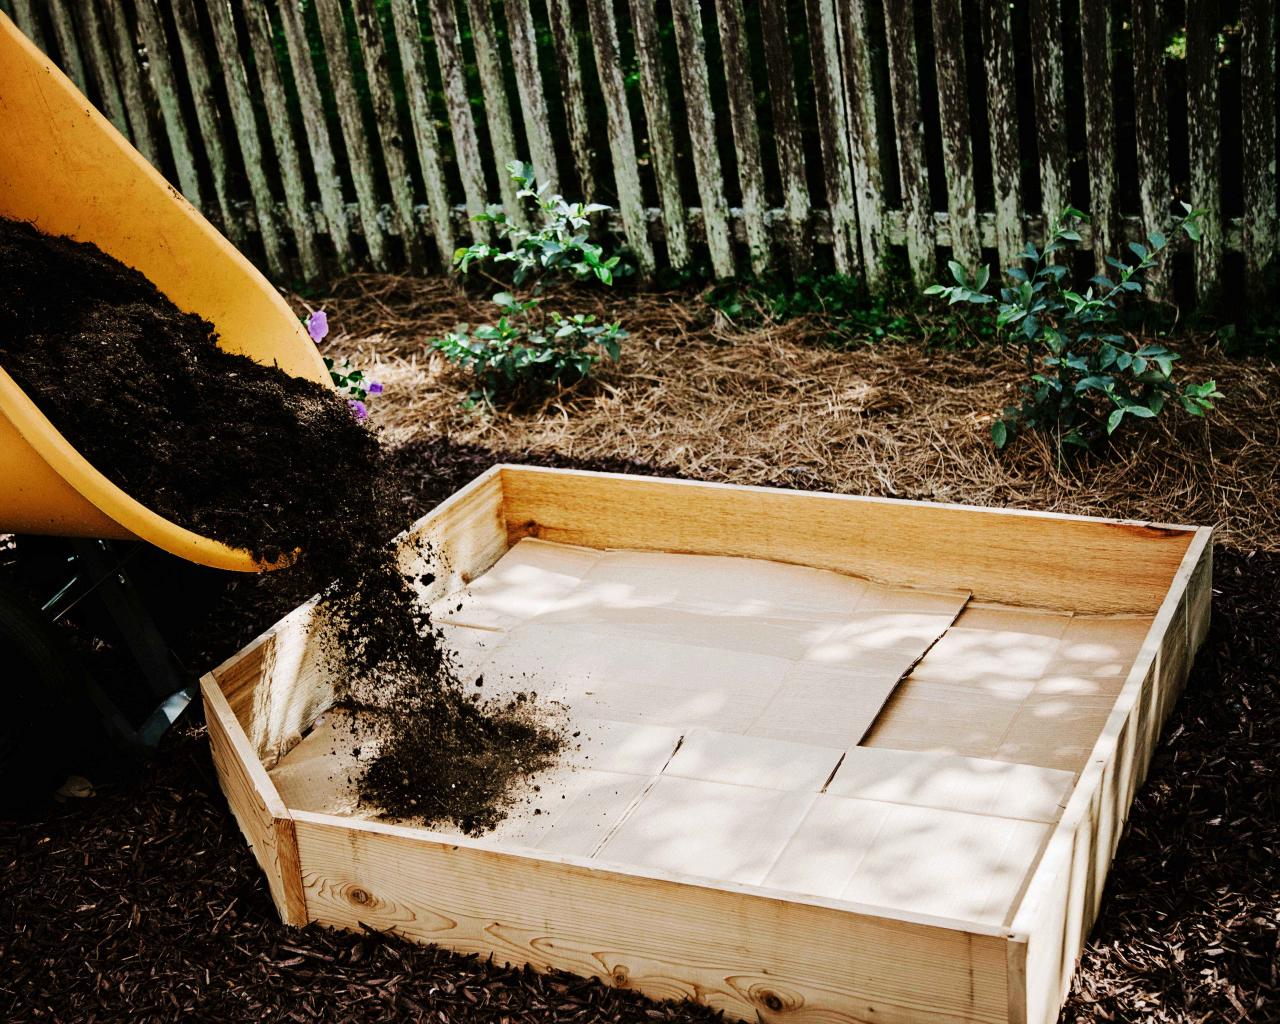
4. Fill It
Situate the raised bed in your desired location. If needed, you can line the ground on the outside of the bed with weed-stopping fabric and mulch but be sure to leave the ground on the inside uncovered. On the inside, simply line the floor of the raised bed with recycled cardboard and fill with your desired soil. Get more tips for how to fill your raised bed below.
Shain Rievley

Shain Rievley

Shain Rievley

Shain Rievley
Shain Rievley
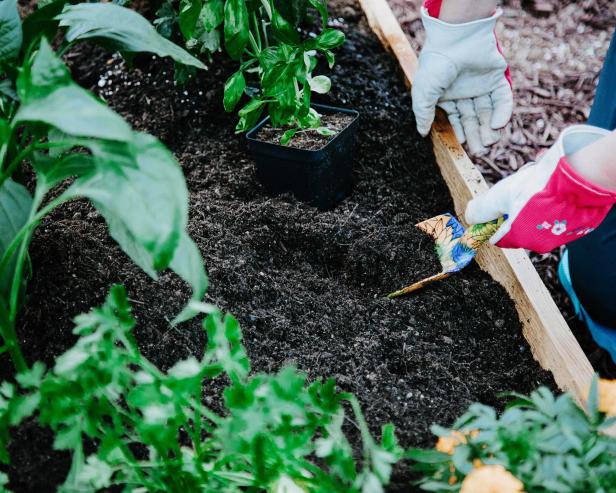
5. Time to Plant
For guaranteed success, pay close attention to growing seasons, soil types and light requirements when picking plants. Once you’ve chosen your desired varieties, plant them with plenty of space in between. This will allow room to grow and make maintaining your garden a breeze.
Shain Rievley

SHAIN RIEVLEY
Get to Planting

Vegetable Gardening for Beginners: 16 Tips and Tricks 17 Photos
Even if you've never planted a vegetable garden before, follow our HGTV garden experts' tips and you'll be planting a bumper crop before you know it.


