


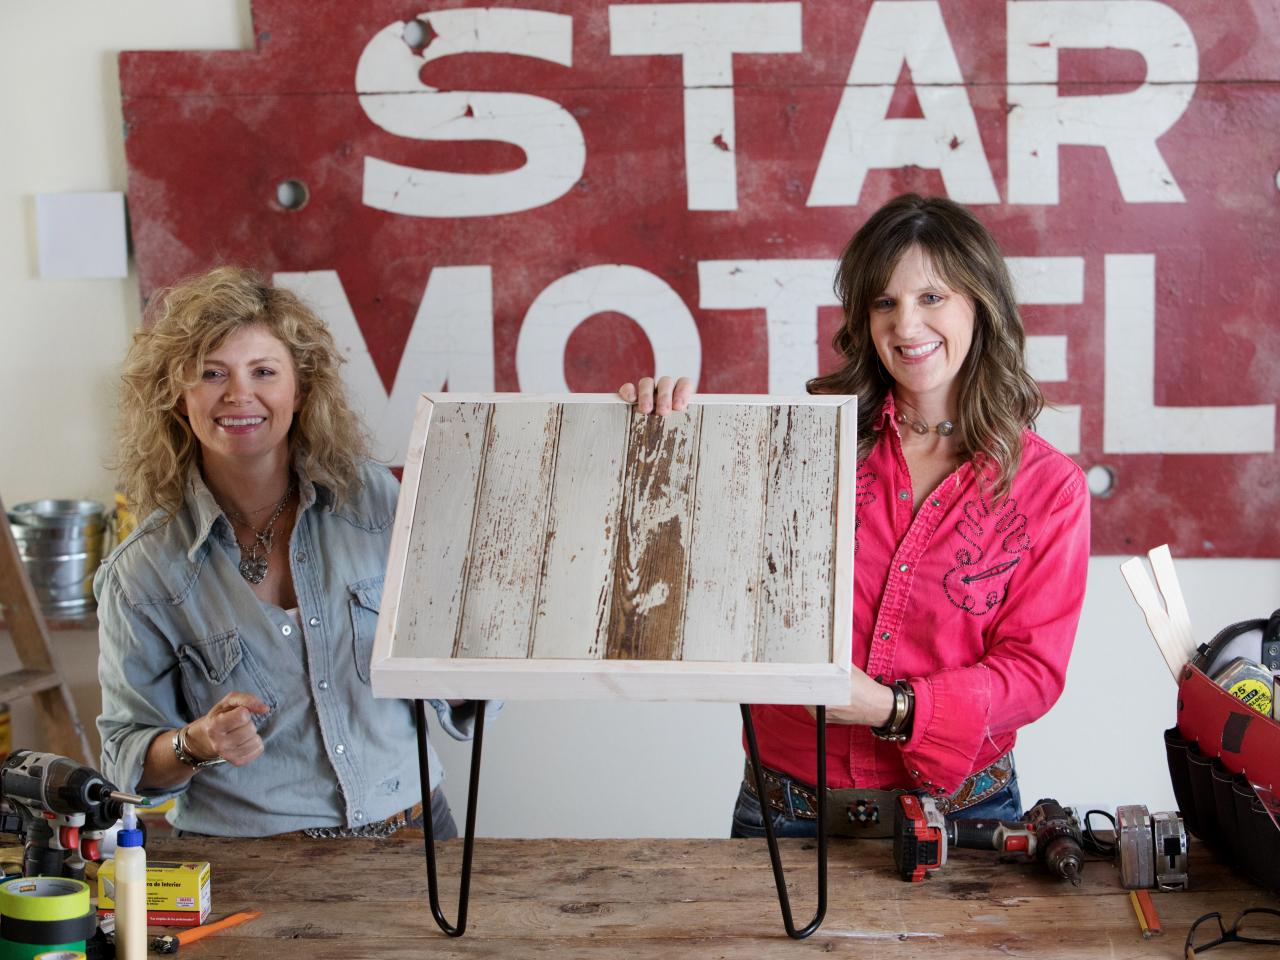
Chippy + Peely: DIY Reclaimed Wood Side Table
Nothing beats the beautiful, craggily ap-peel of reclaimed wood. Give your home just what it needs with this DIY chippy-peely side table done right.
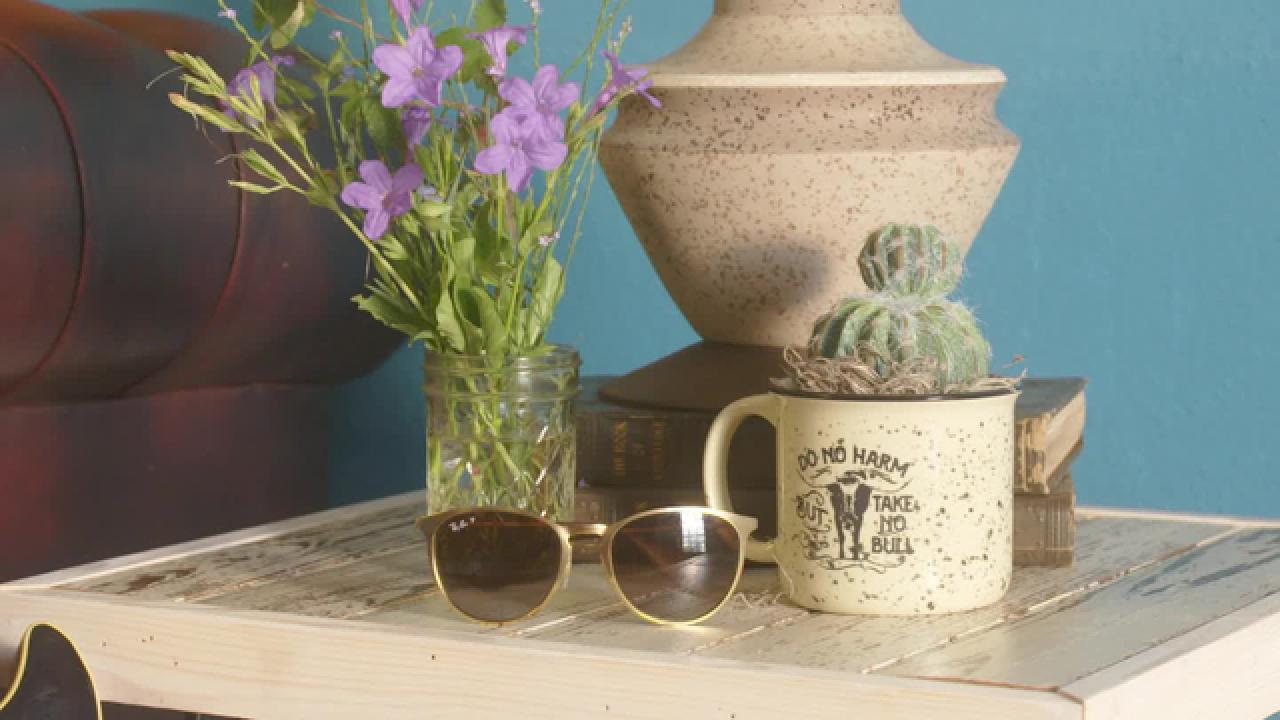
Reclaimed wood furniture pieces are a sure-fire way to add warmth and make your house feel like a home. Better yet, it doesn’t have to be a large piece like a dining table to bring that cozy effect. Something as simple as a DIY chippy-peely side table may be the perfect piece to bring in the warm rustic design you've been looking for.

Kimberly Davis
Materials Needed
- (1) 1x2 x 10’ pine board
- tape measure
- pencil
- chop saw (or miter saw)
- nail gun + 1-1/2” nails
- wood glue
- reclaimed wood (we used (6) 3”x 17” pieces of chippy-peely tongue-and-groove wood)
- (1) 17”x 17” piece of plywood
- safety gear
- sandpaper
- wood stain (we used Minwax Simply White)
- polyurethane
- (2) small paint brushes
- clean white cotton rags
- (4) hairpin legs and corresponding screws
- screw gun
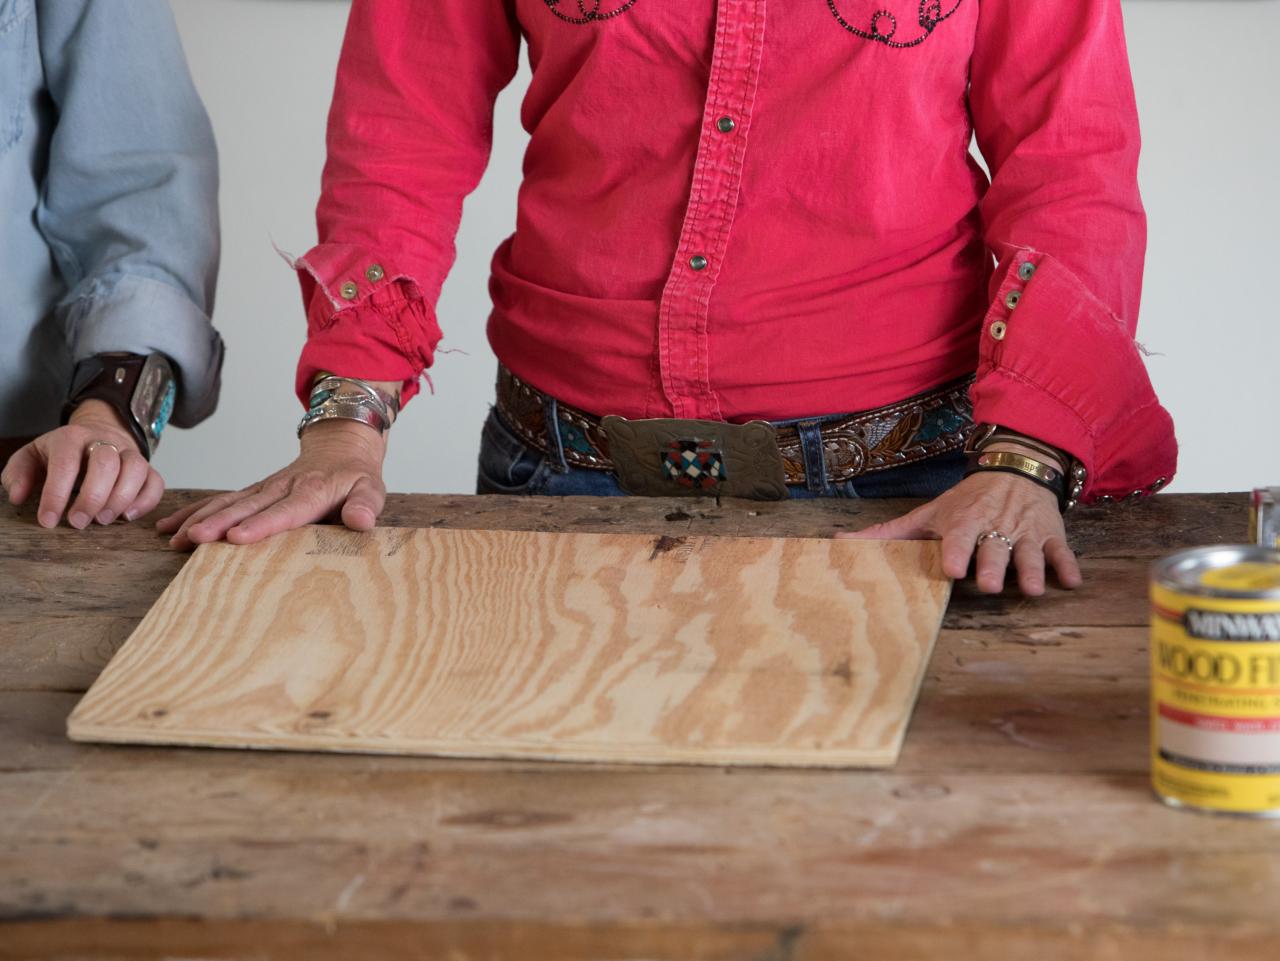
Create Base

Kimberly Davis
Begin by cutting a piece of plywood to a 17x17-inch square. This will serve as the base for the table.
Measure and Mark

Kimberly Davis

Kimberly Davis
Before arranging, ensure that all chippy-peely wood being used has been checked for lead paint, and as a precaution, always use safety gear when sanding and cutting. Arrange reclaimed wood in the desired pattern. Measure and mark at 17 inches. Cut all of the chippy-peely wood as marked.
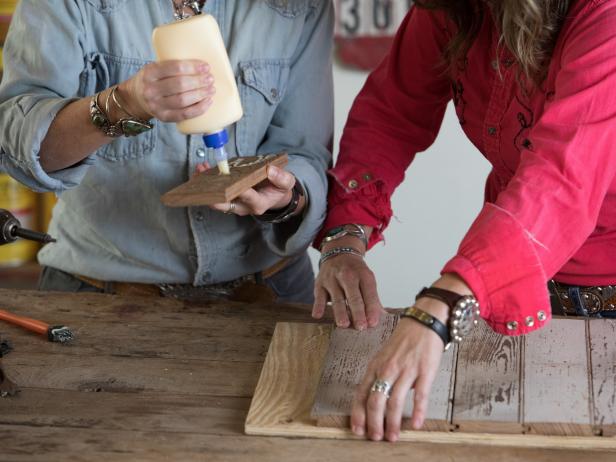
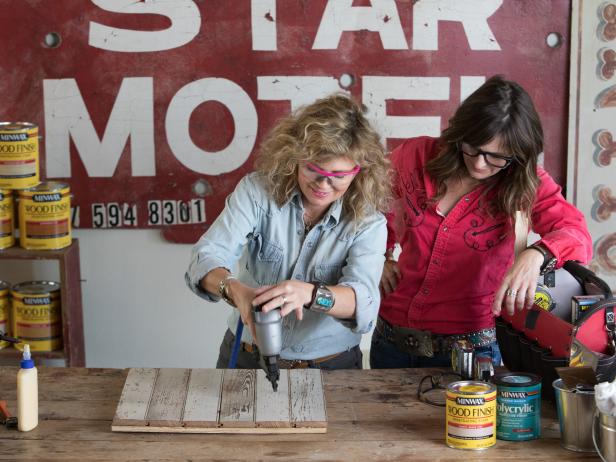
Glue and Tack
Kimberly Davis
Kimberly Davis
Using wood glue, attach all of the reclaimed wood pieces to your table base in the desired pattern. Tack down each piece with two nails to secure in place, and allow the glue to dry.
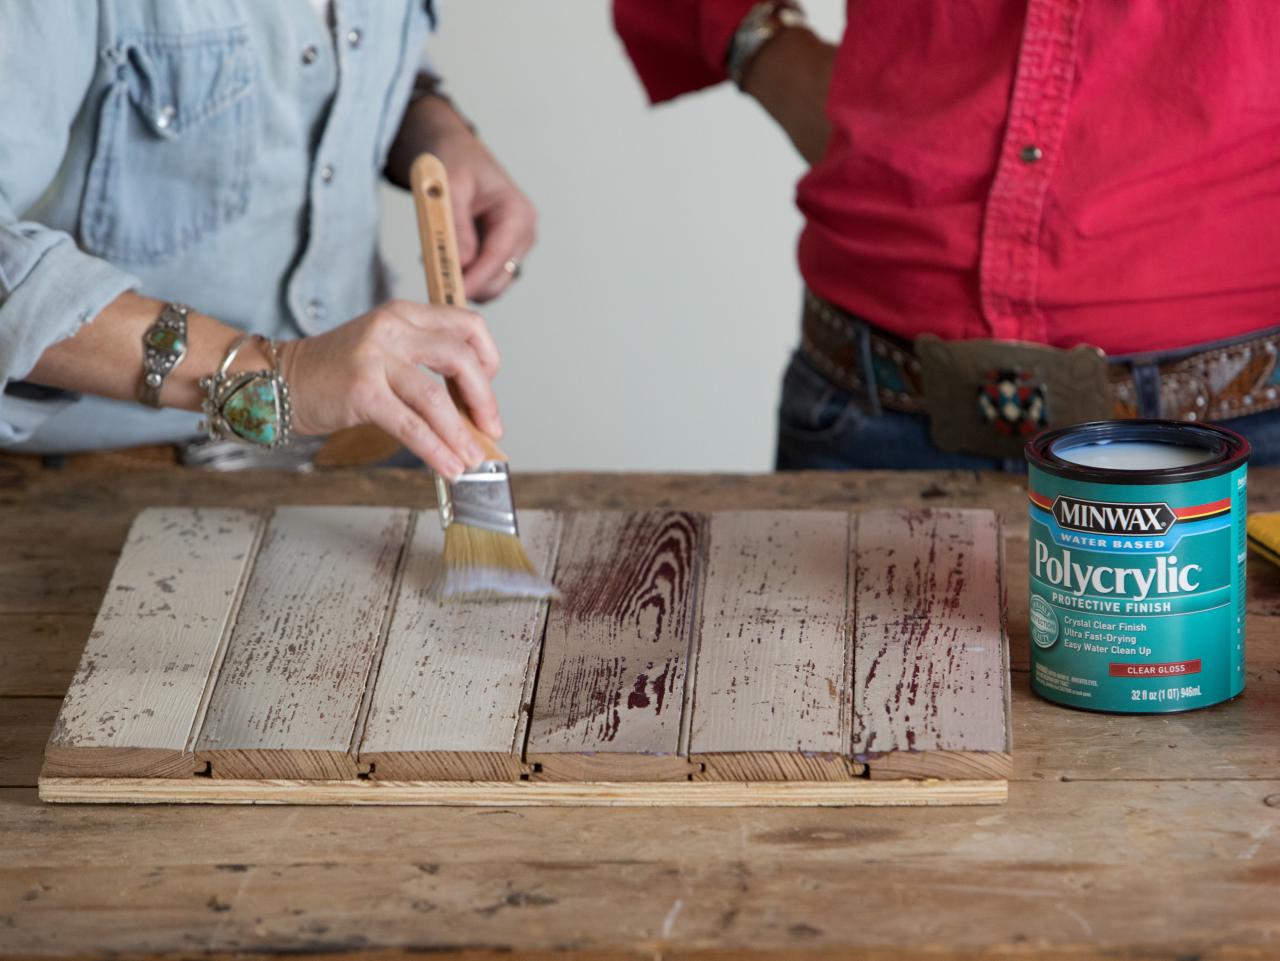
Apply Poly

Kimberly Davis
Wipe down your tabletop with a clean cloth, and apply a coat of polyurethane finish.
Cut Border Pieces
Next, we'll work on the 1x2 pine board. With the saw set to 45 degrees and the board on its side (with the shirt side facing up), cut four 19-inch segments for the table's border. The border will measure 19 inches on each outside edge and 17 inches on each inside edge.
Sand and Stain

Kimberly Davis

Kimberly Davis
Sand your 19-inch border pieces lightly, and wipe away dust with a clean cloth. Lightly coat each piece with your favorite stain. We chose Minwax Simply White. Allow to dry completely.
Attach Border

Kimberly Davis
Using the nail gun, attach the border pieces to the outside of your table. Create a skirt by leaving the frame flush with the tabletop and allowing it to hang below to cover the legs slightly.
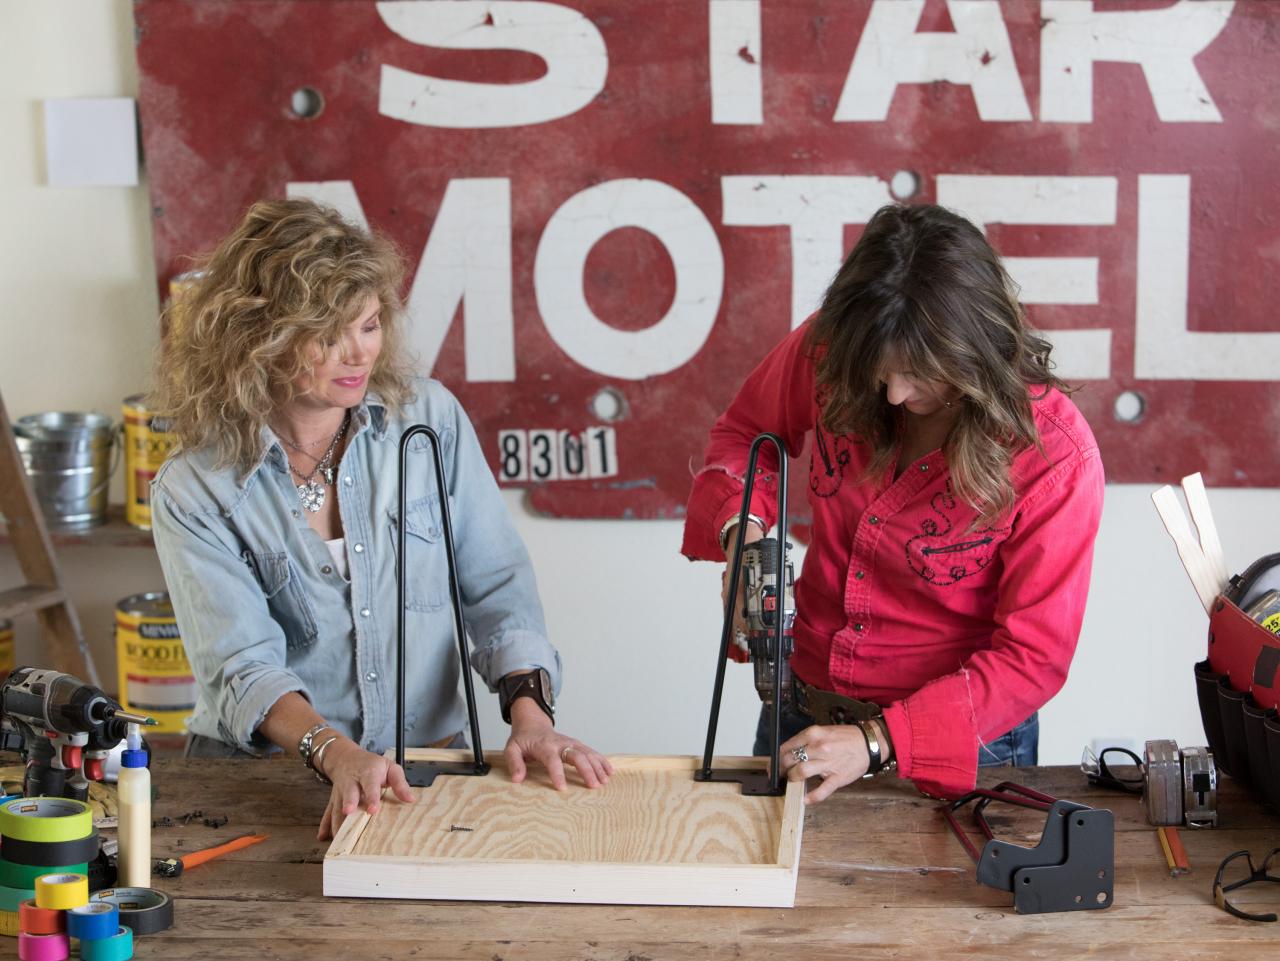
Attach Legs

Kimberly Davis

Kimberly Davis
Flip the table upside down. Place the hairpin legs in the corners, pushing them up against the border for even spacing. Screw legs into the bottom of the table, flip back over, and enjoy!


