


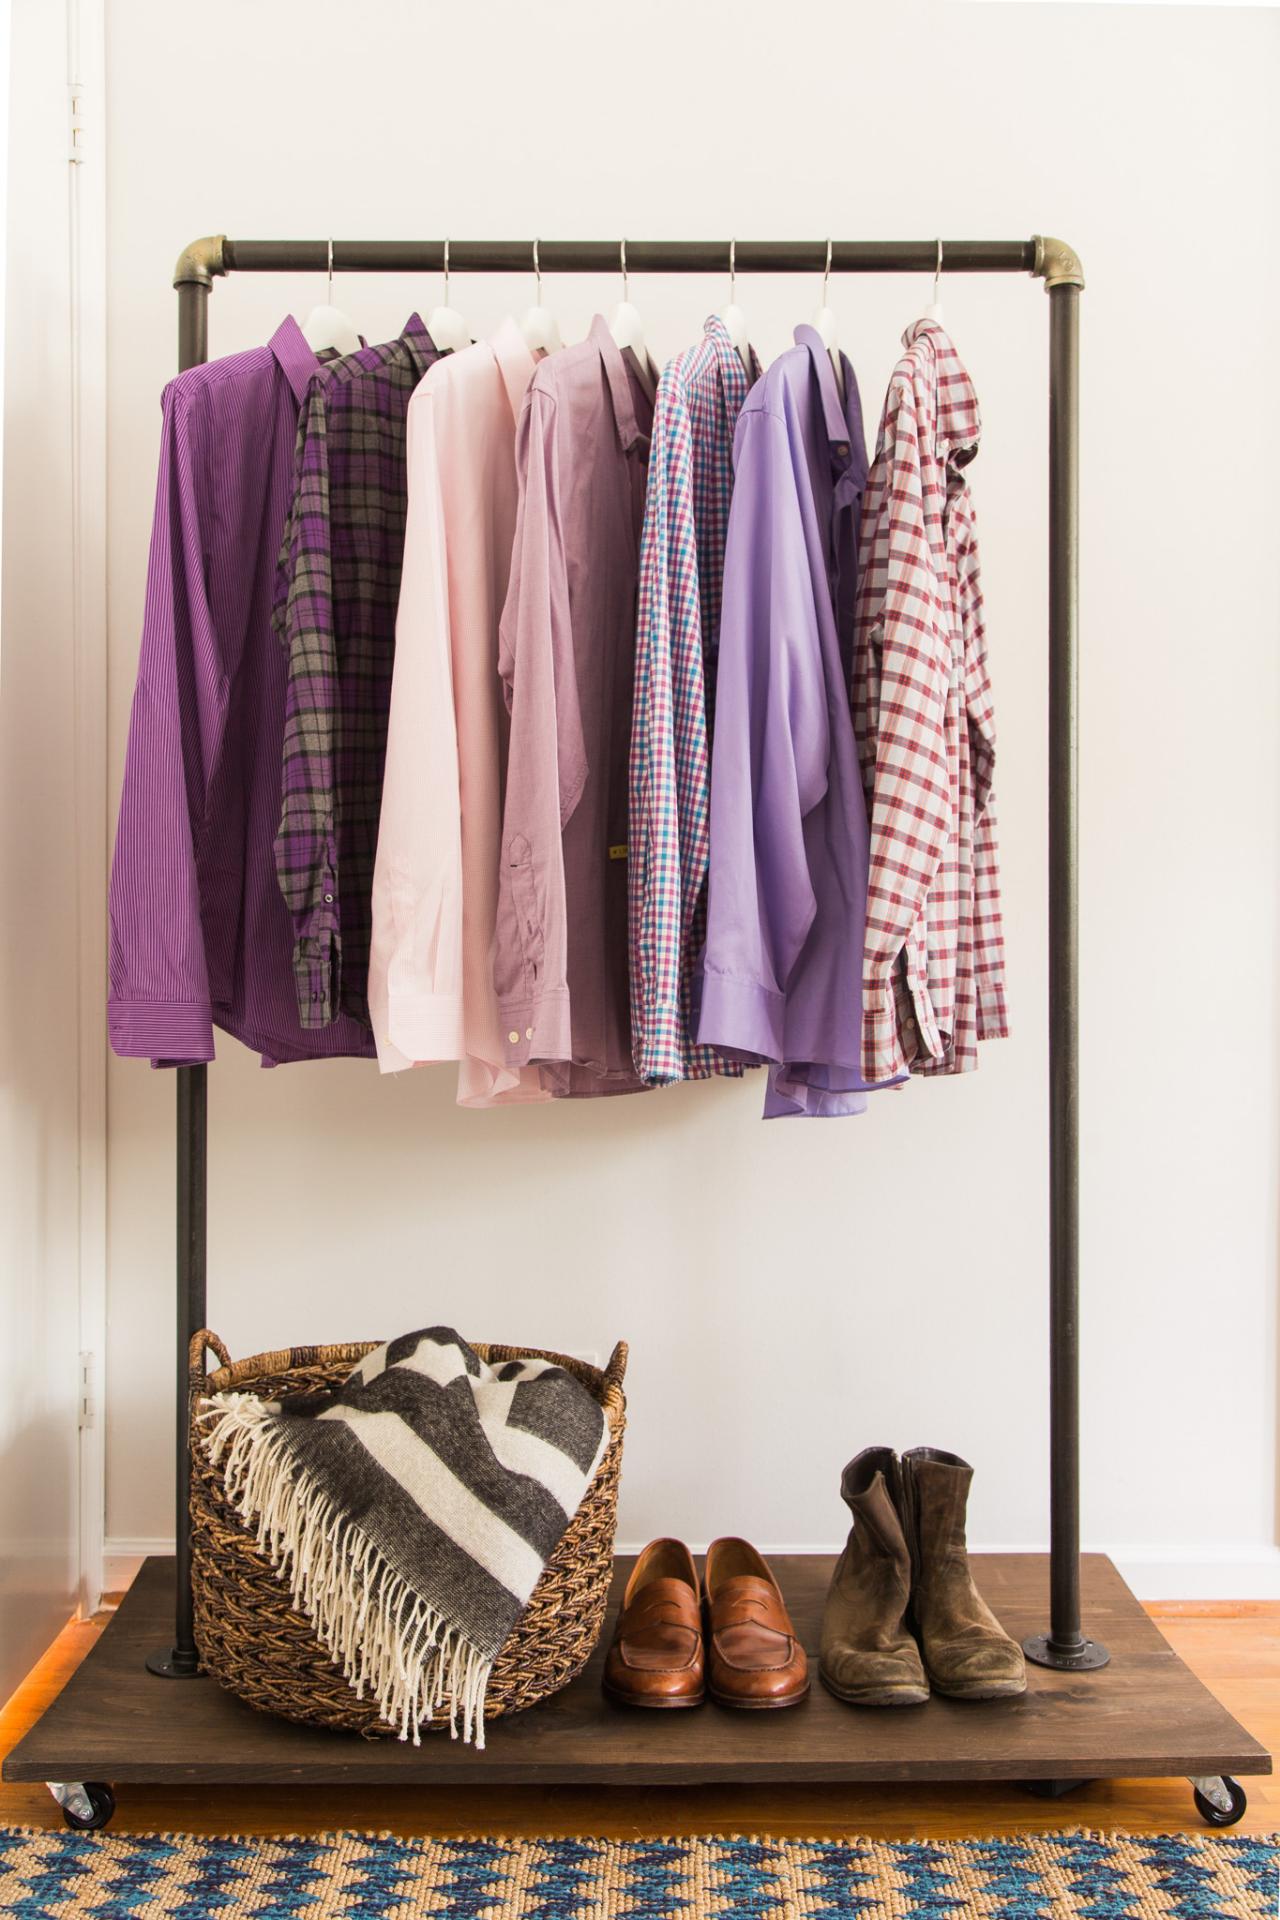
Running Out of Space? Make a Mobile Clothing Rack and Keep Shopping
Are those clearance sales creating a bit of a ... closet shortage? Make this simple and chic mobile clothing rack, and you'll have on-hand storage and loads of vintage style right at your fingertips. Problem solved!

Brian Patrick Flynn, FlynnsideOut.com

Materials Needed
- (2) 1" x 12" x 48" wood shelving
- 1" x 4" x 8' pine
- 1" x 36" galvanized pipe
- 1" x 10' galvanized pipe (cut in half, threaded at store)
- (2) 1" pipe elbows
- (2) 1" floor flange
- (12) 2" long wood screws
- (8) #12 1-1/4" screws
- (16) #10 x 1" screws
- cordless drill
- circular saw
- measuring tape
- pen
- drop cloth
- 1 quart dark stain
- paintbrush
- rags
- oil-rubbed bronze spray paint
- antique or brushed gold spray paint
- disposable gloves
- eye protection
- sanding block (optional)
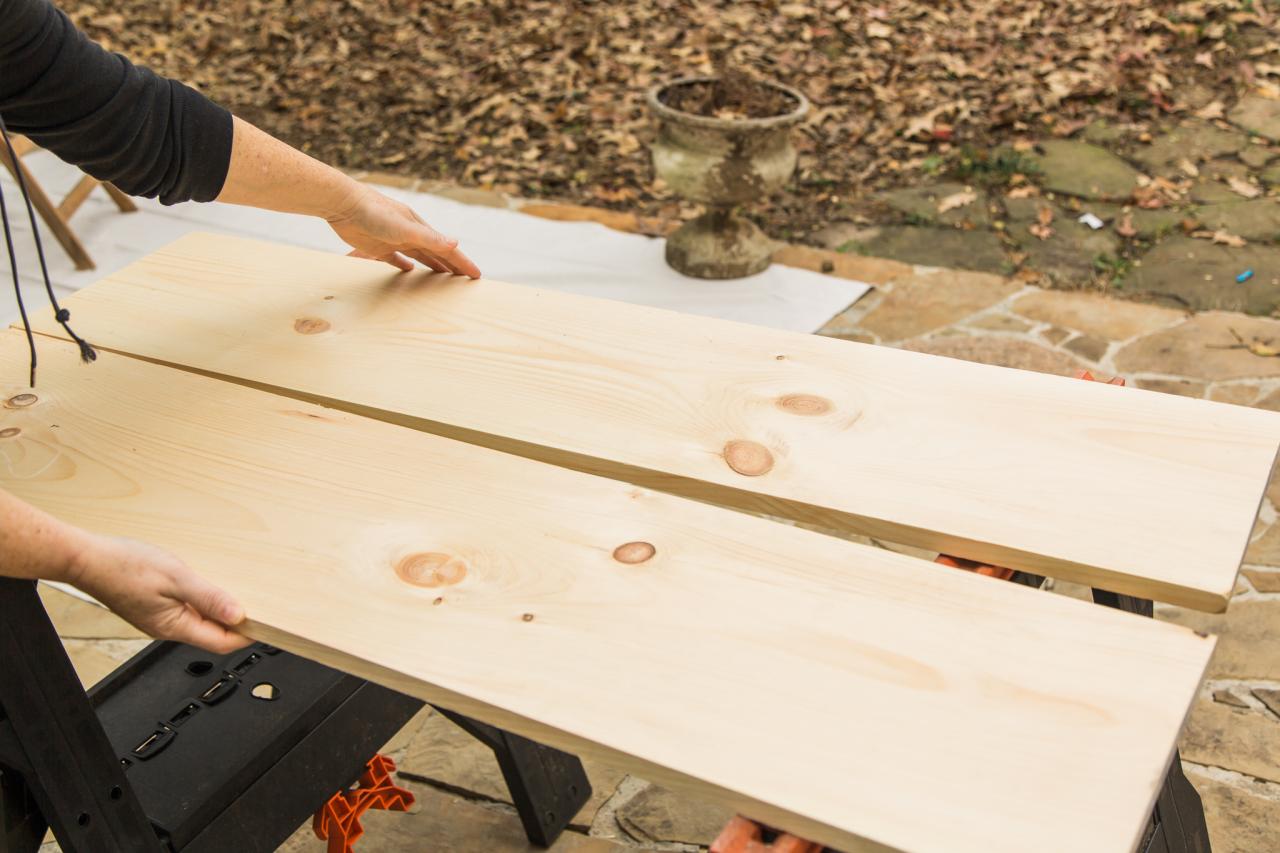
Butt Shelves Together
Pick up a couple of 4-foot-long pre-cut shelves at your local home improvement store. When you get home, place them "pretty" side down on your work area.

Brian Patrick Flynn, FlynnsideOut.com
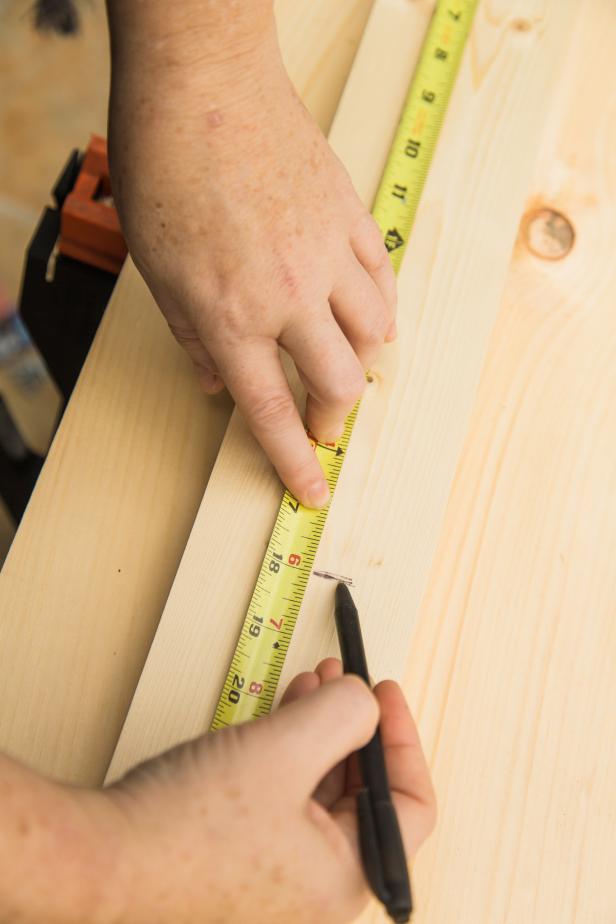
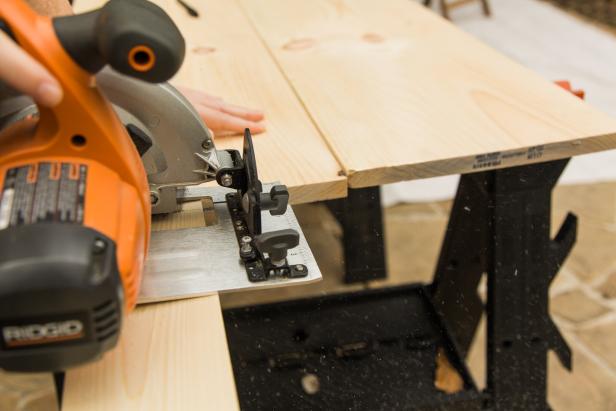
Measure + Cut 1x4
If you’re not into using a jigsaw or circular saw you can easily pick up an 8-foot-long piece of 1x4" at the home improvement store and have them cut a few 18-inch-long pieces. If not, measure, mark (Image 1) and cut them yourself. (Don't forget eye protection!) Cut at least three or four boards, as they’ll support the rolling base (Image 2).
Brian Patrick Flynn, FlynnsideOut.com
Image 1
Brian Patrick Flynn, FlynnsideOut.com
Image 2
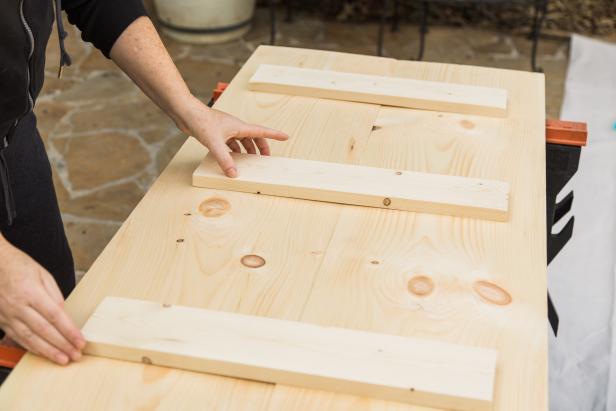
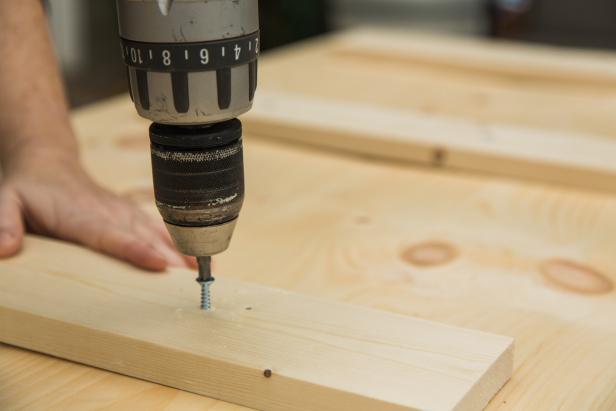
Assemble Base
Once your 1x4s are cut, lay them out across the shelving boards (Image 1) and fasten together using 2-inch wood screws, making sure to keep the two shelving boards butted together tightly as you work (Image 2). Note: To ensure a strong base that doesn’t bow under the weight of the pipe, make sure the outer 1x4s are as close to the edge as possible while still leaving room for the casters.
Brian Patrick Flynn, FlynnsideOut.com
Image 1
Brian Patrick Flynn, FlynnsideOut.com
Image 2
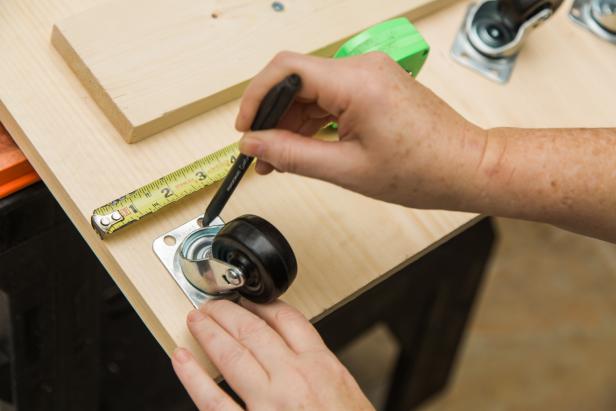
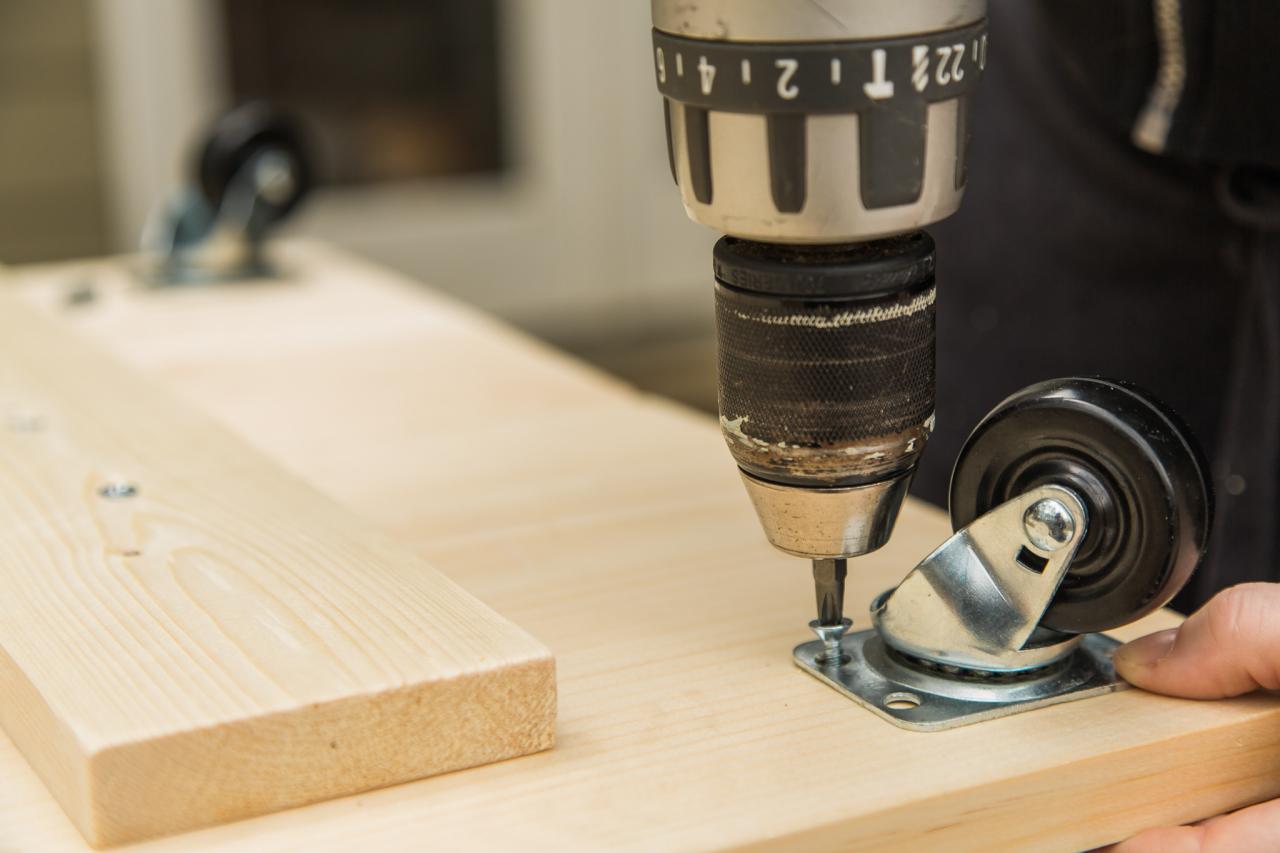
Install Casters
While the base is still flipped upside down, install the casters on each corner. First, measure and mark for placement one inch from each edge (Image 1). Next, fasten using 1-inch wood screws (Image 2).
Brian Patrick Flynn, FlynnsideOut.com
Image 1

Brian Patrick Flynn, FlynnsideOut.com
Image 2
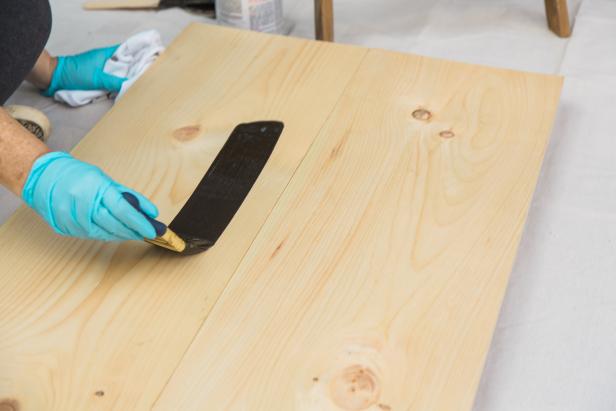
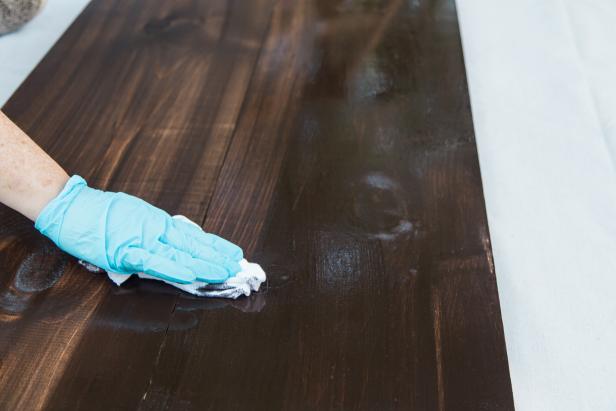
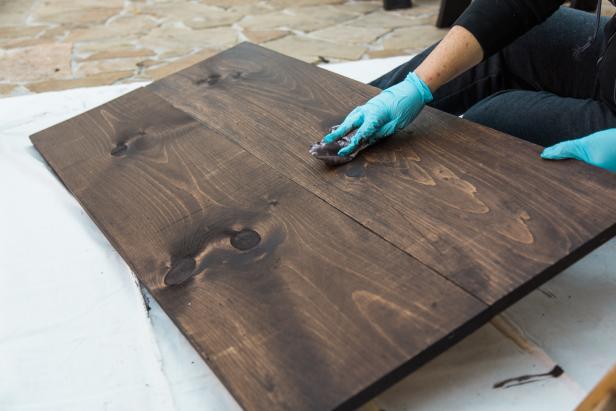
Stain Base
Next, flip the base right side up and move it onto a drop cloth for staining. Brush on the stain (Image 1), then wipe off with a rag (Image 2). You may need to use a fresh rag as you work (Image 3). Set the base aside to dry.
Brian Patrick Flynn, FlynnsideOut.com
Image 1
Brian Patrick Flynn, FlynnsideOut.com
Image 2
Brian Patrick Flynn, FlynnsideOut.com
Image 3
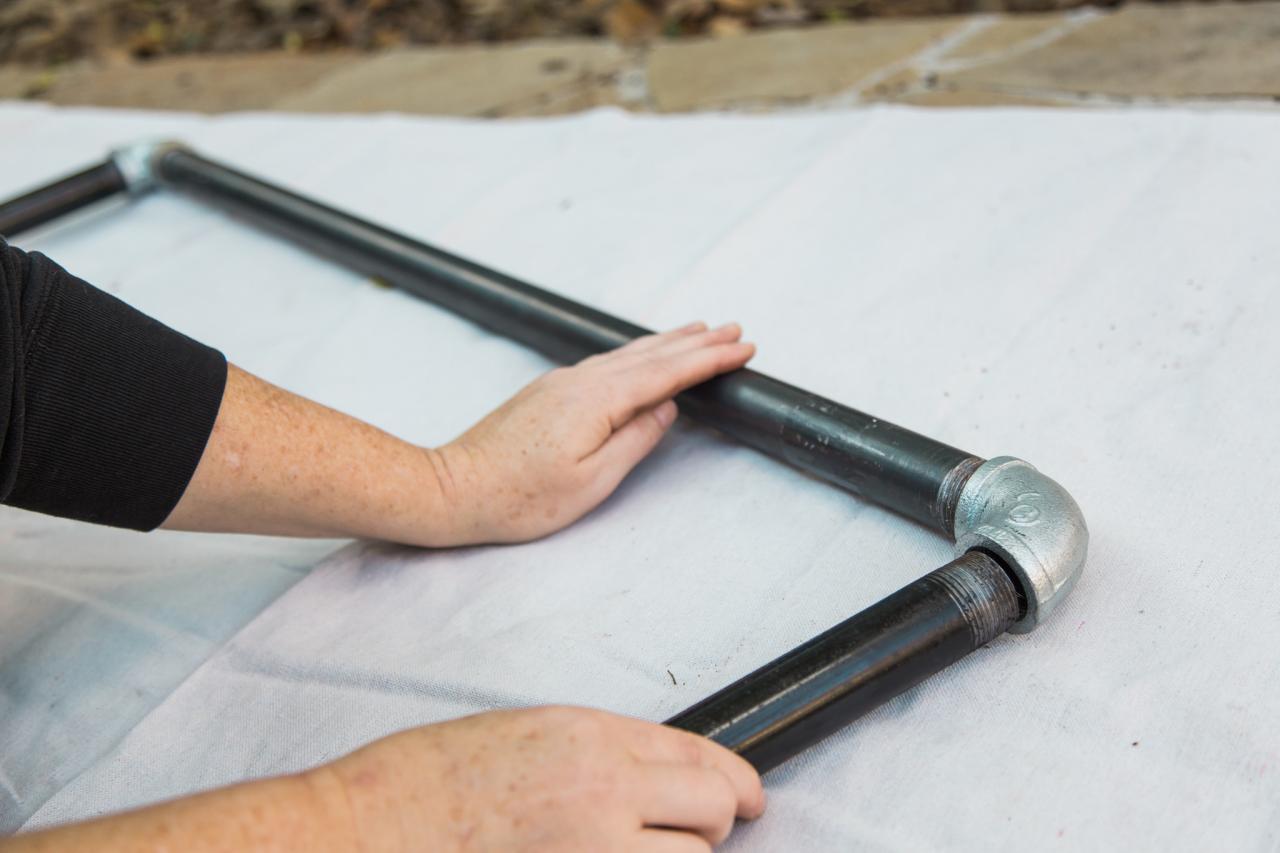
Assemble Pipe “U”
Once any stickers and excess oil are removed from the galvanized pipe, lay it down and attach the two elbows to each end of the 36-inch piece. Then attach the two 5-foot pieces to those elbows, creating an upside down "U" shape.

Brian Patrick Flynn, FlynnsideOut.com
Attach Flanges
Next, attach the floor flanges to the bottom of each 5-foot pipe, and stand the rack up on a flat surface to make sure it doesn’t need any adjustments. If it wobbles some, try making some adjustment at the elbows.

Brian Patrick Flynn, FlynnsideOut.com
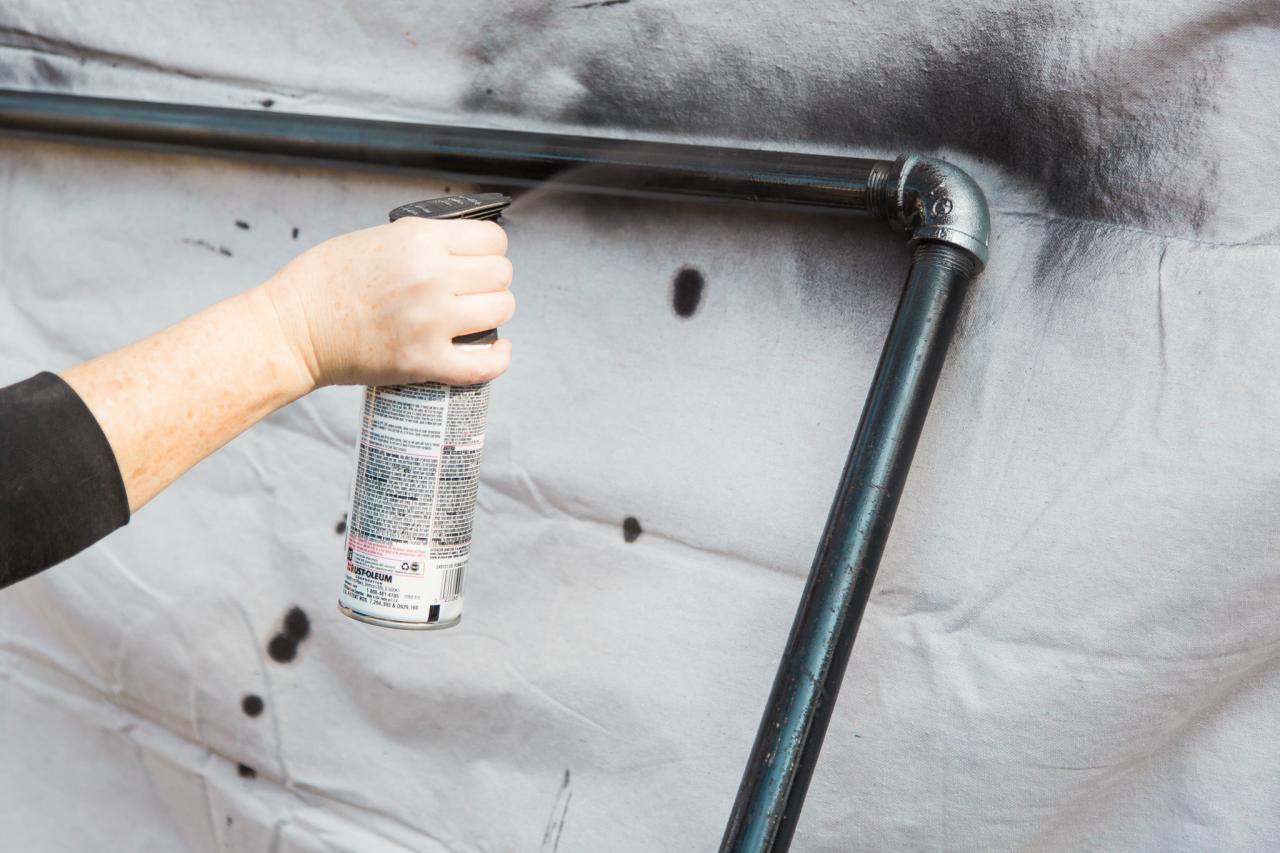
Spray-Paint Bronze
Once the rack is fully assembled, move it to a well-ventilated area and give it a couple of light sweeping coats of a dark bronze finish paint. Spray-paint the entire pipe (elbows, flanges, etc.), then allow it to dry completely before moving on to the next step.

Brian Patrick Flynn, FlynnsideOut.com
Accent With Gold
Once dry, go back and hit the elbows with a brushed or antique gold spray paint to give it a vintage look. Use rags or painter's tape to protect the pipe you don’t wish to paint.

Brian Patrick Flynn, FlynnsideOut.com
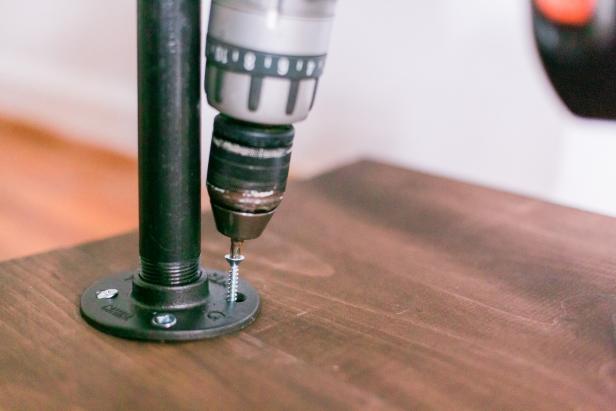
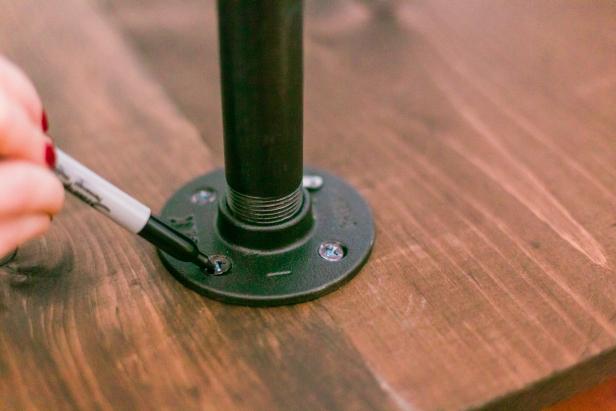
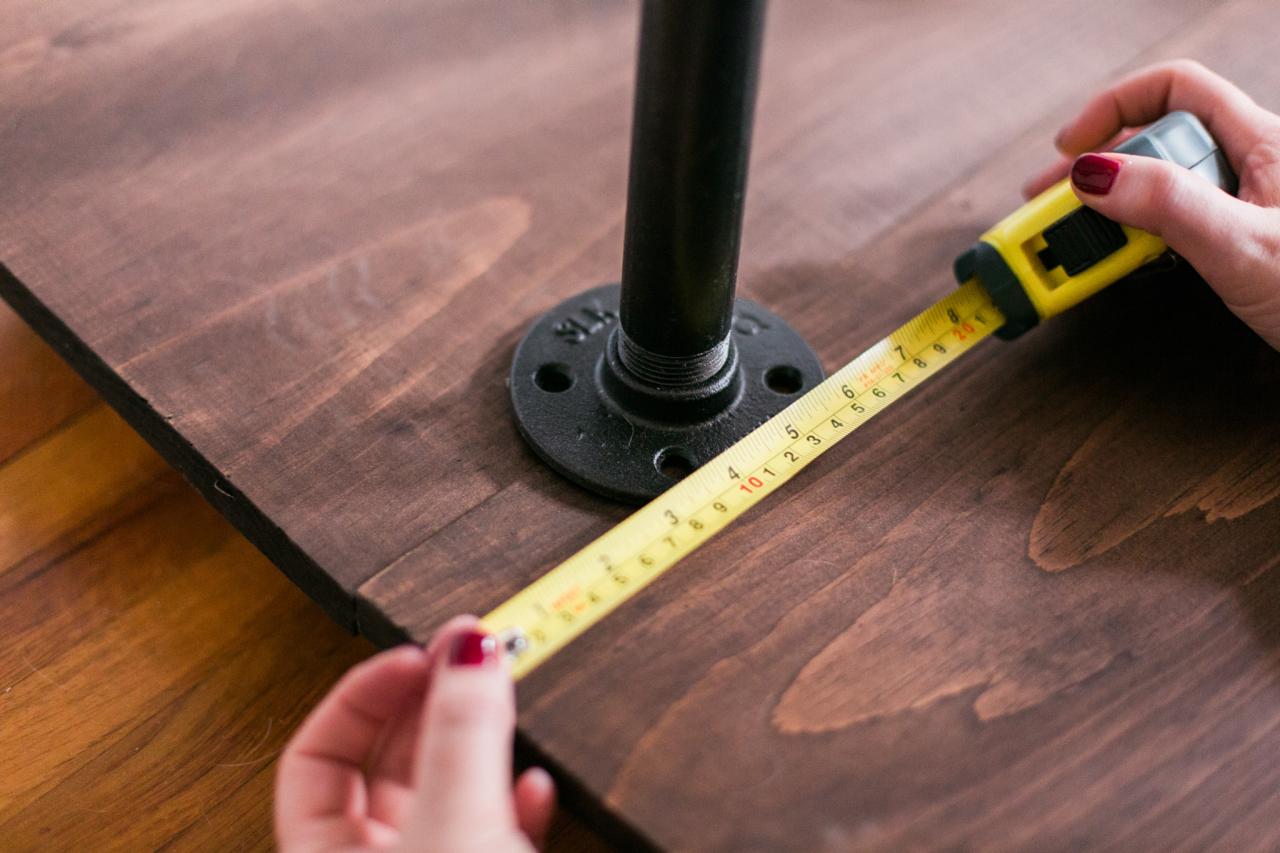
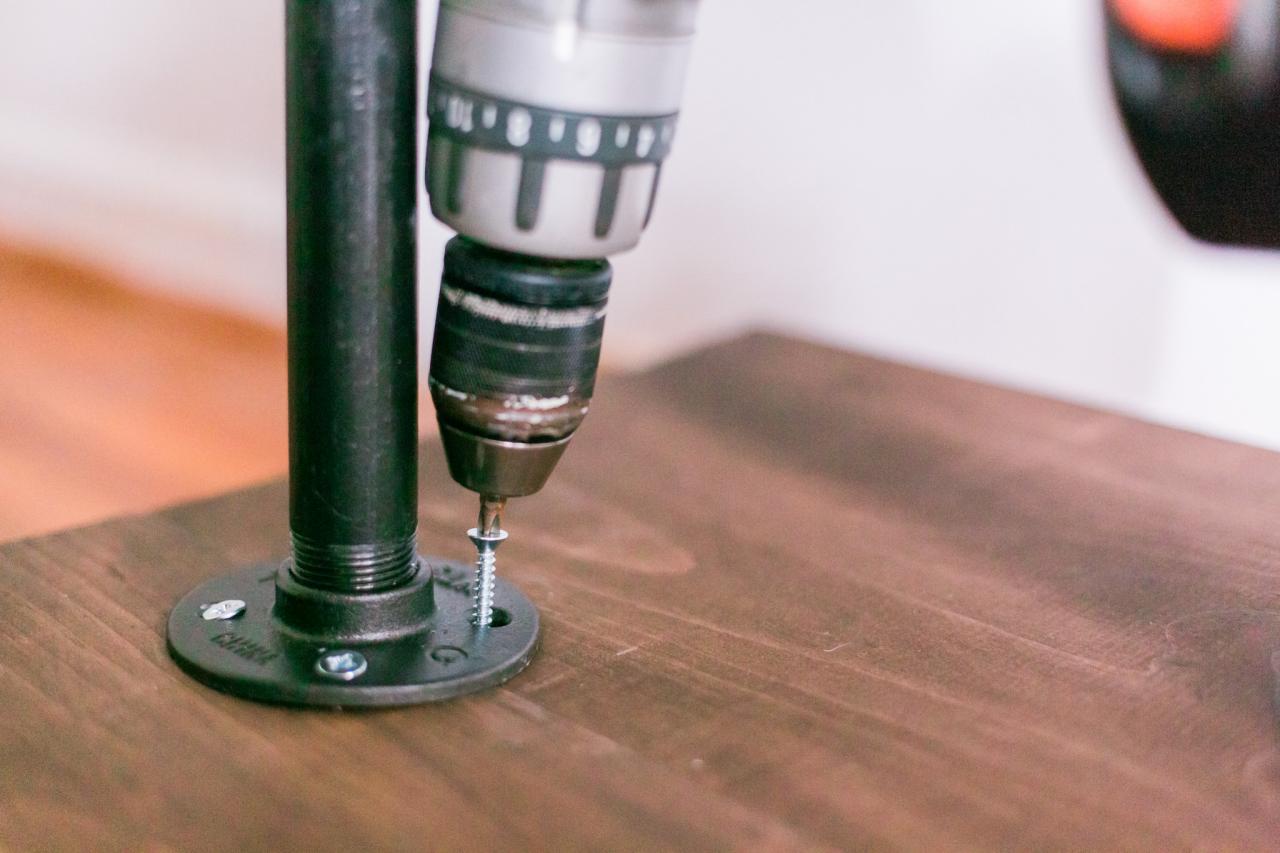
Final Assembly
Let the spray paint on the pipe and the stain on the wooden base dry overnight, then move both pieces indoors for assembly. Center up the floor flanges on the wooden base, making sure you have equal spacing on each side (Image 1). Attach flanges using four 1-1/4-inch wood screws in each flange (Image 2). We touched up our screws using a permanent marker so that they’d blend in well with the rubbed oil finish of the pipe (Image 3). Note: Grab a friend to help you with this! One person can hold the pipe in place while the other fastens the flanges to the base.

Brian Patrick Flynn, FlynnsideOut.com
Image 1
Brian Patrick Flynn, FlynnsideOut.com
Image 2
Brian Patrick Flynn, FlynnsideOut.com
Image 3


