


Make Your Desk Accessory Set

Materials Needed:
- mismatched containers of varying sizes
- wood hobby board, approximately 1/4" thick
- spray paint formulated to adhere to plastic or glass
- museum putty
- hot glue gun and refills
- hand saw with miter box
- container embellishments (embroidery thread, fabric scraps, leather, twine)
Paint Containers
In a well-ventilated area, spray-paint all containers. If spray paint is formulated to adhere to plastic or glass, you shouldn't need a primer coat. Apply multiple coats of thin, even paint. Allow paint to dry and cure thoroughly to avoid using a sealant; one to two days in a well-ventilated area should be sufficient.

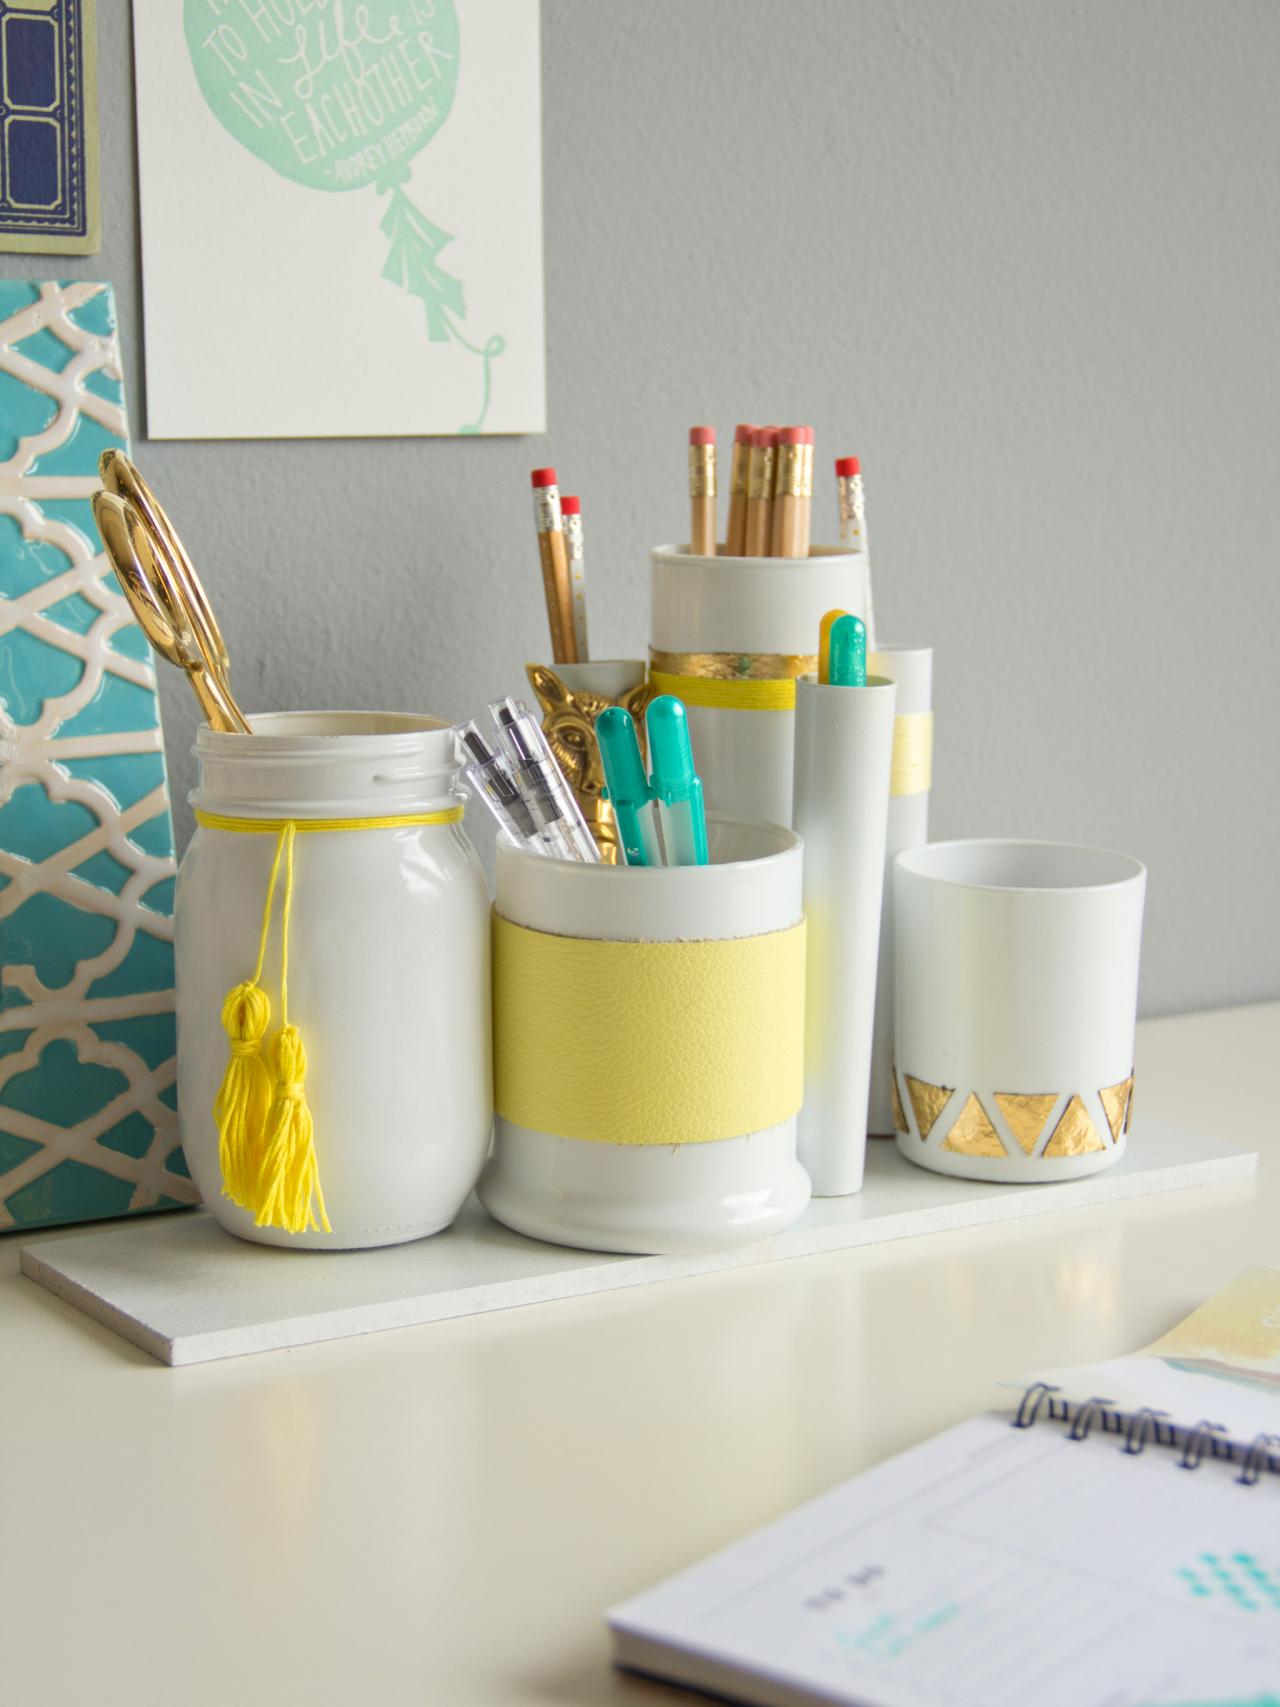
Embellish Containers
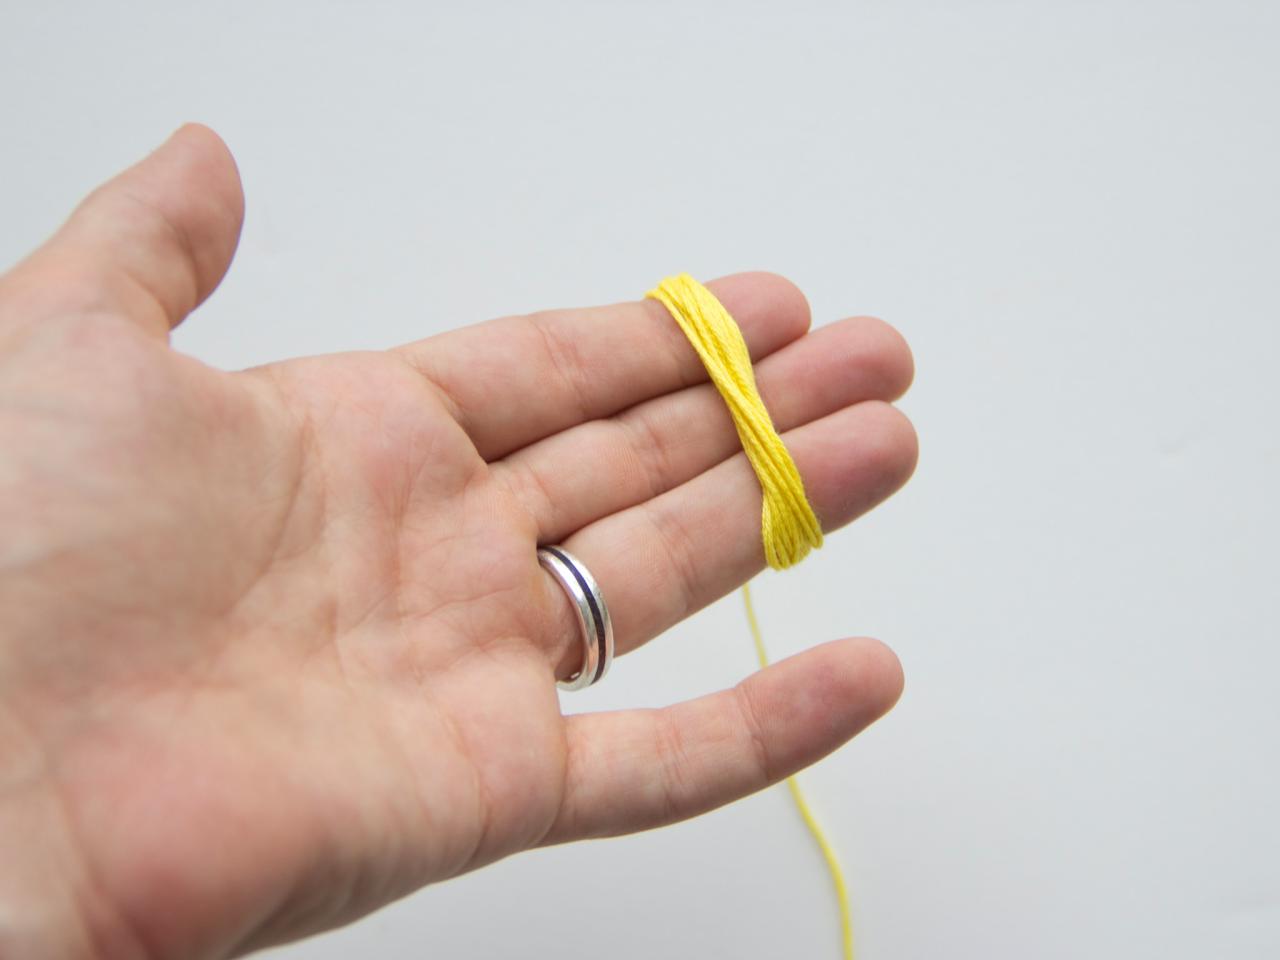
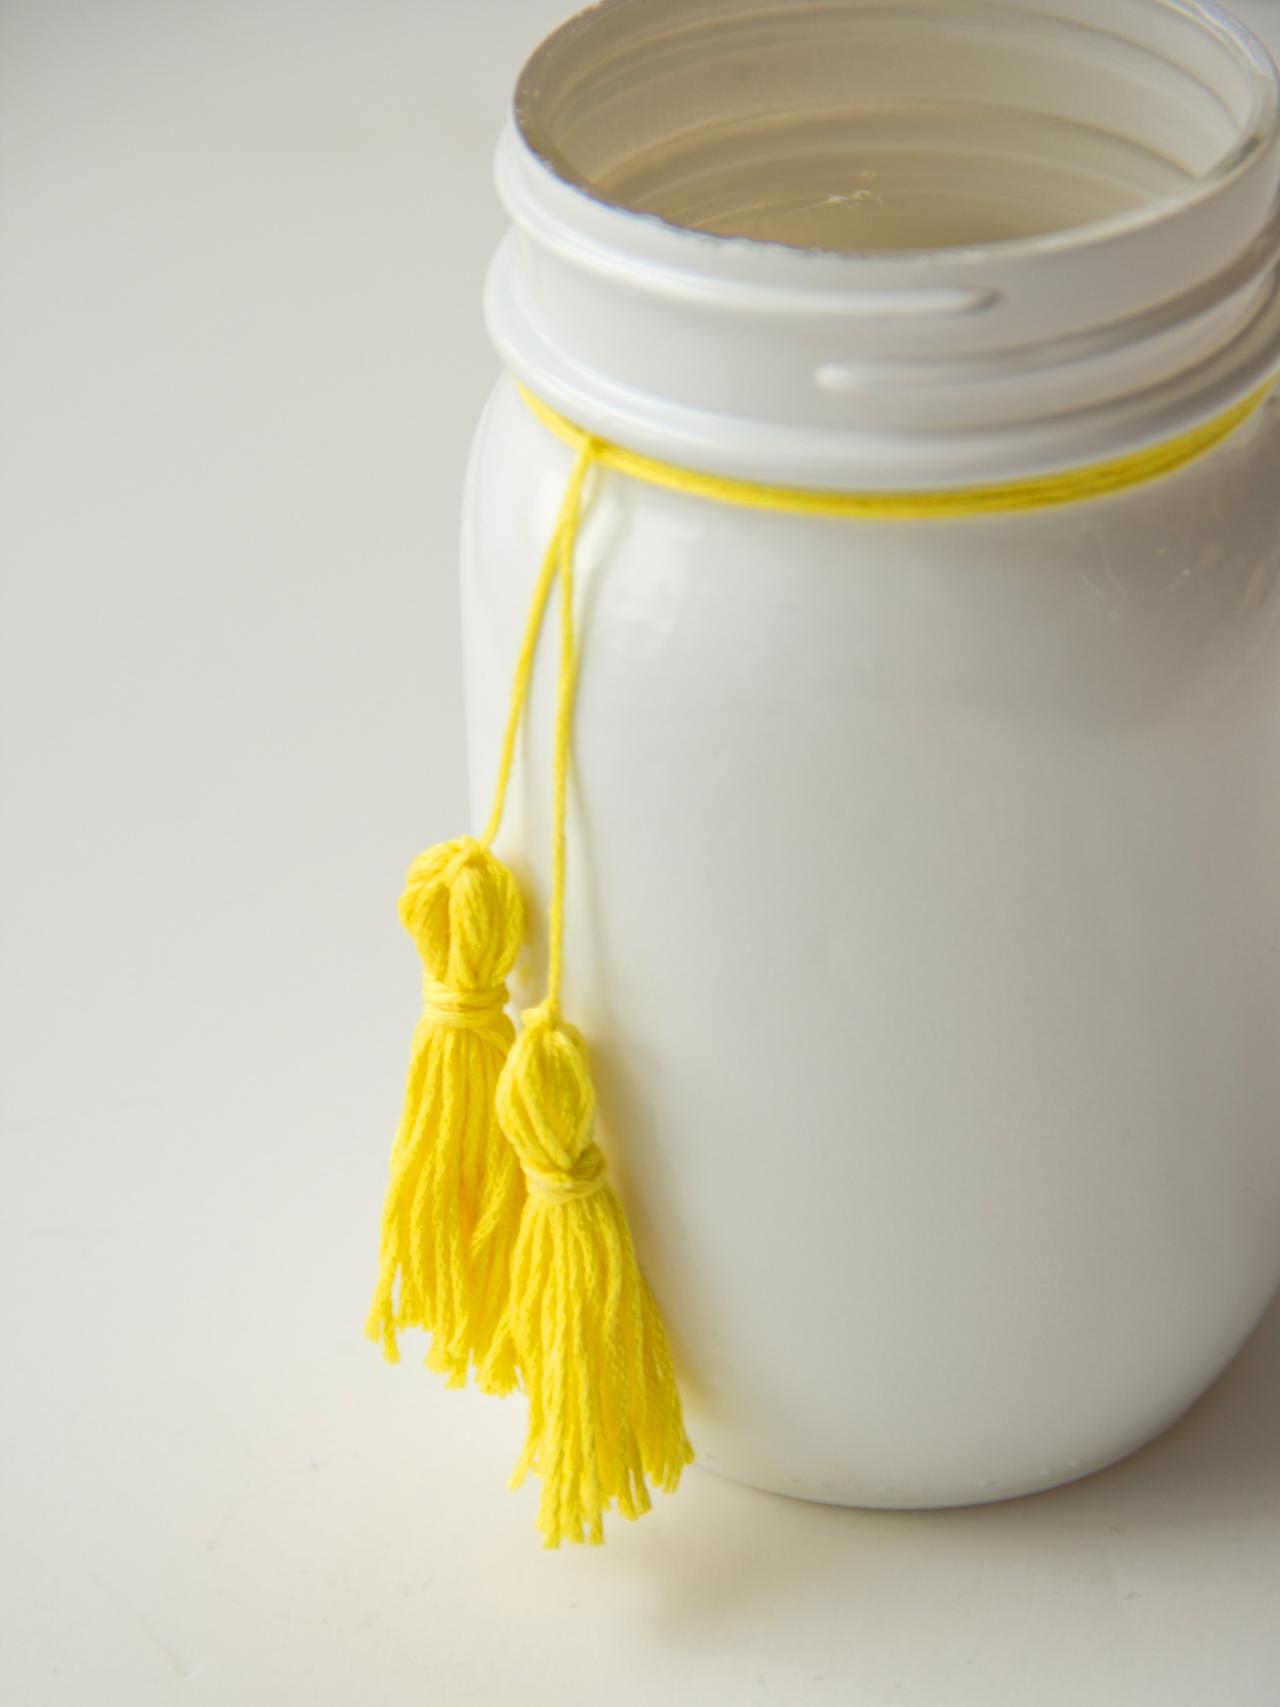
Add a little embellishment to each container. Try wrapping containers with embroidery thread for a color-blocked effect, adding fabric in various shapes or wrapping with leather (Image 5). Get creative with the accents you find at your local craft store. Glue on the embellishments with a dab of hot glue. Note: To make a tassel, wrap embroidery thread repeatedly around three fingers (Image 1). Remove (Image 2), snip end and wrap end around the rest of the thread (Image 3). Secure with a dot of glue. Trim ends and use to decorate (Image 4).


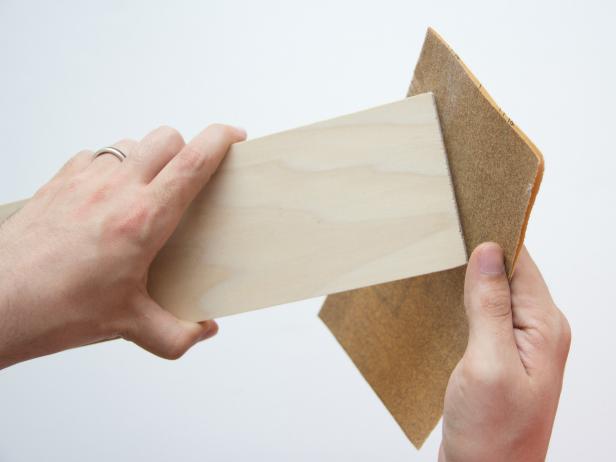
Saw and Sand Board
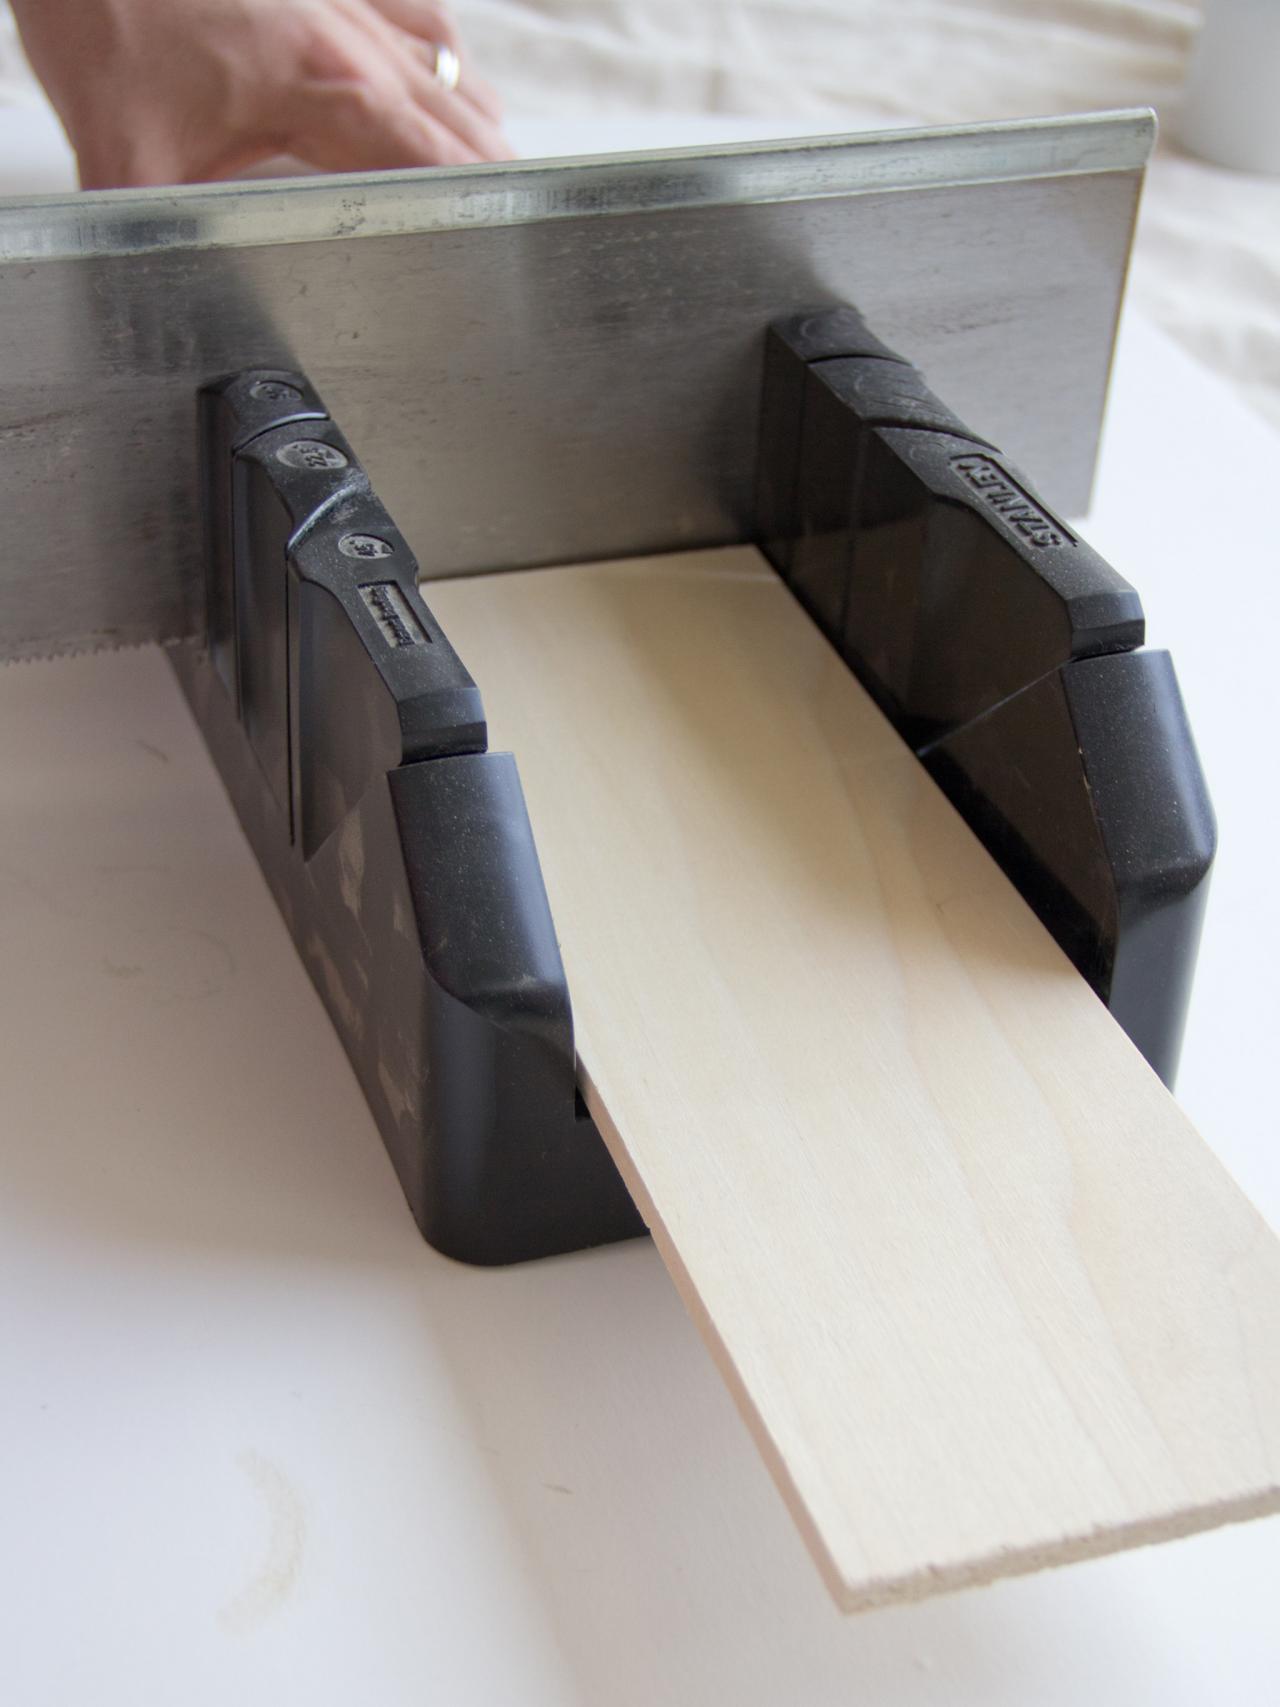
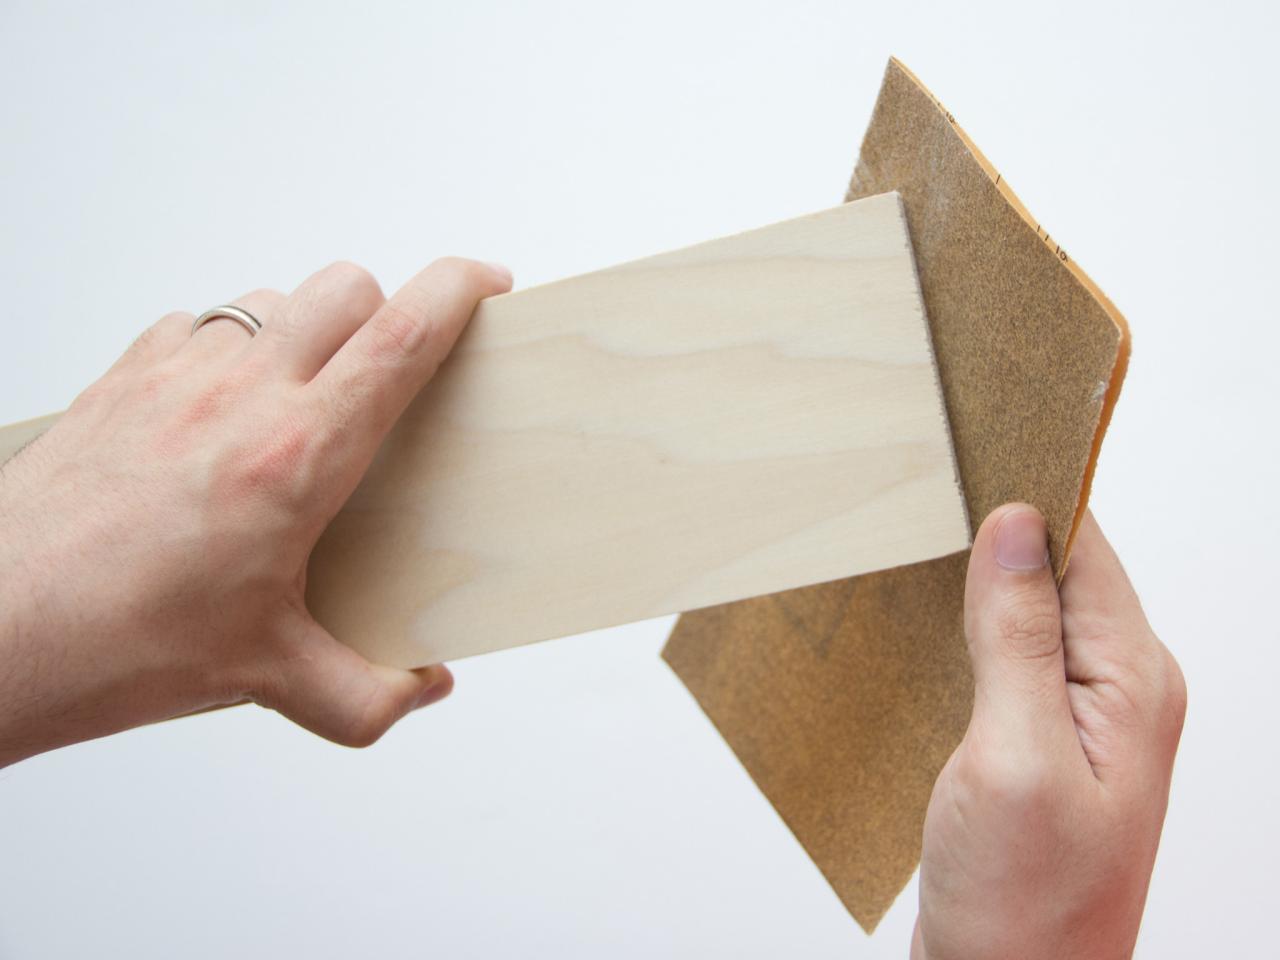
Decide on a length for your board, ensuring that it will be long enough for all containers. Saw off excess (Image 1) and sand any rough edges (Image 2). Note: A power saw will work as well; be sure to use with caution.

Paint Board
Apply a few even coats of spray paint to top and sides of board. Allow to dry.

Affix Containers
Decide on an arrangement for your containers. Using museum putty, affix containers to top of board.


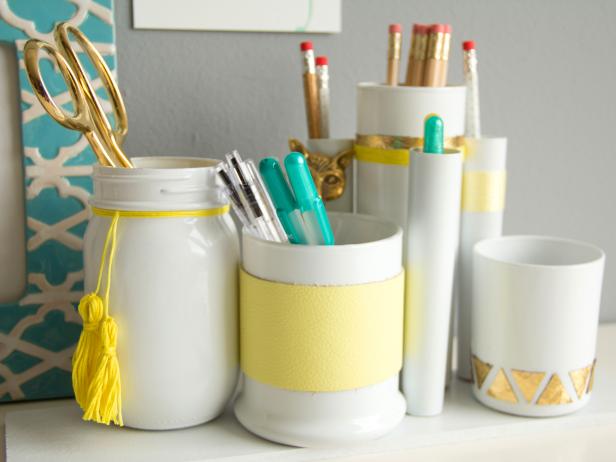
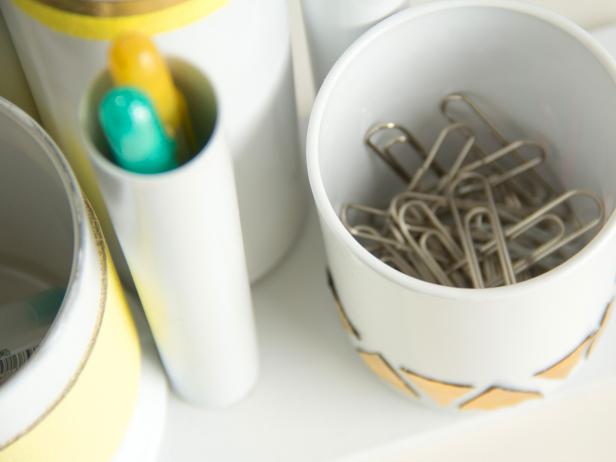
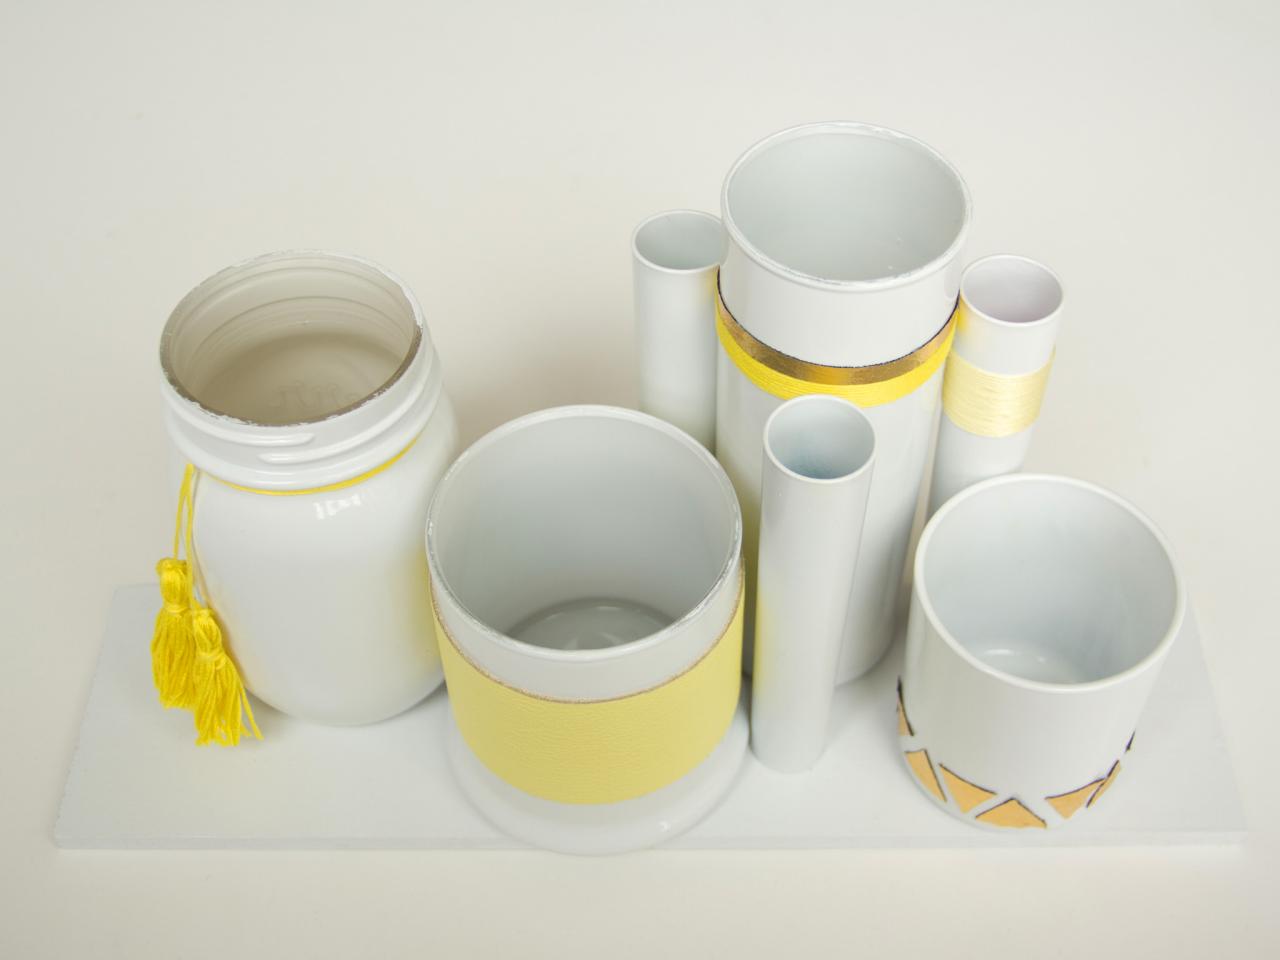
Set Up and Get Organized
Display your new desk accessory set and stock with all of your school supplies. Use it to hold those pesky, easy-to-lose office items like paper clips, pens and thumbtacks.


