


Make a Statement Wall Worth Talking About
Use molding and a rich paint color to create the statement wall of your dreams.


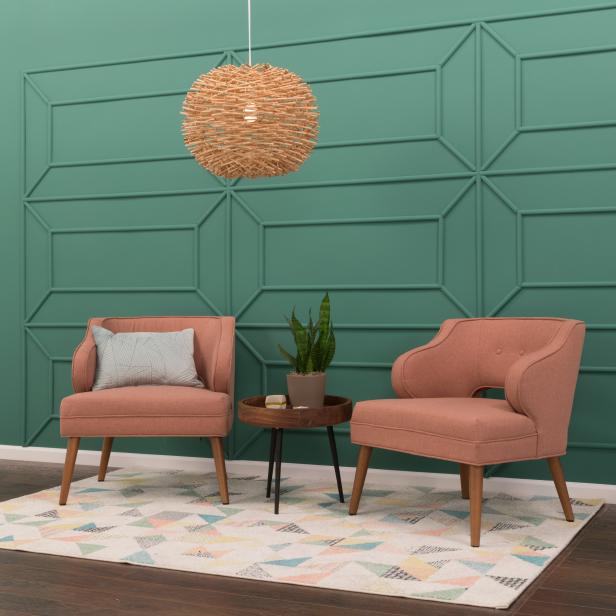
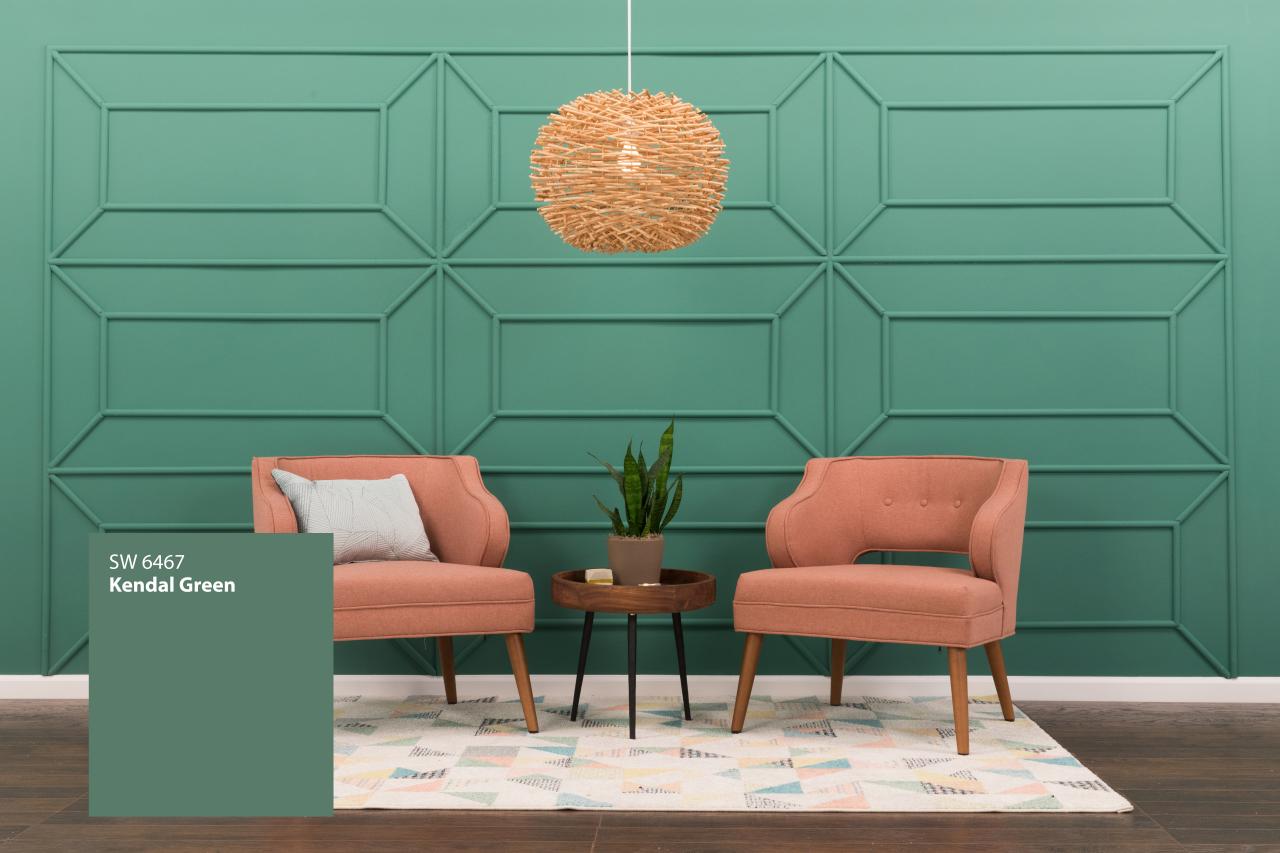
This stunning statement wall will give your home instant shelter magazine appeal. Just follow these instructions and choose the right paint (Sherwin-Williams Kendal Green SW 6467 works wonders here) and you are fast on your way to being the envy of your block.
Materials Needed
- Sherwin-Williams Emerald Interior Latex in
- Kendal Green SW 6467
- paint roller
- level
- paint pan
- PDF diagram
- pencil
- (17) 8’ x 3/4" screen bead molding
- (11) 10’ x 3/4" screen bead molding
- table saw or hand saw with miter box
- 1-1/2" finishing nails
- hammer
- caulk and caulk gun
- small paint brush
Instructions

Matt Huesmann
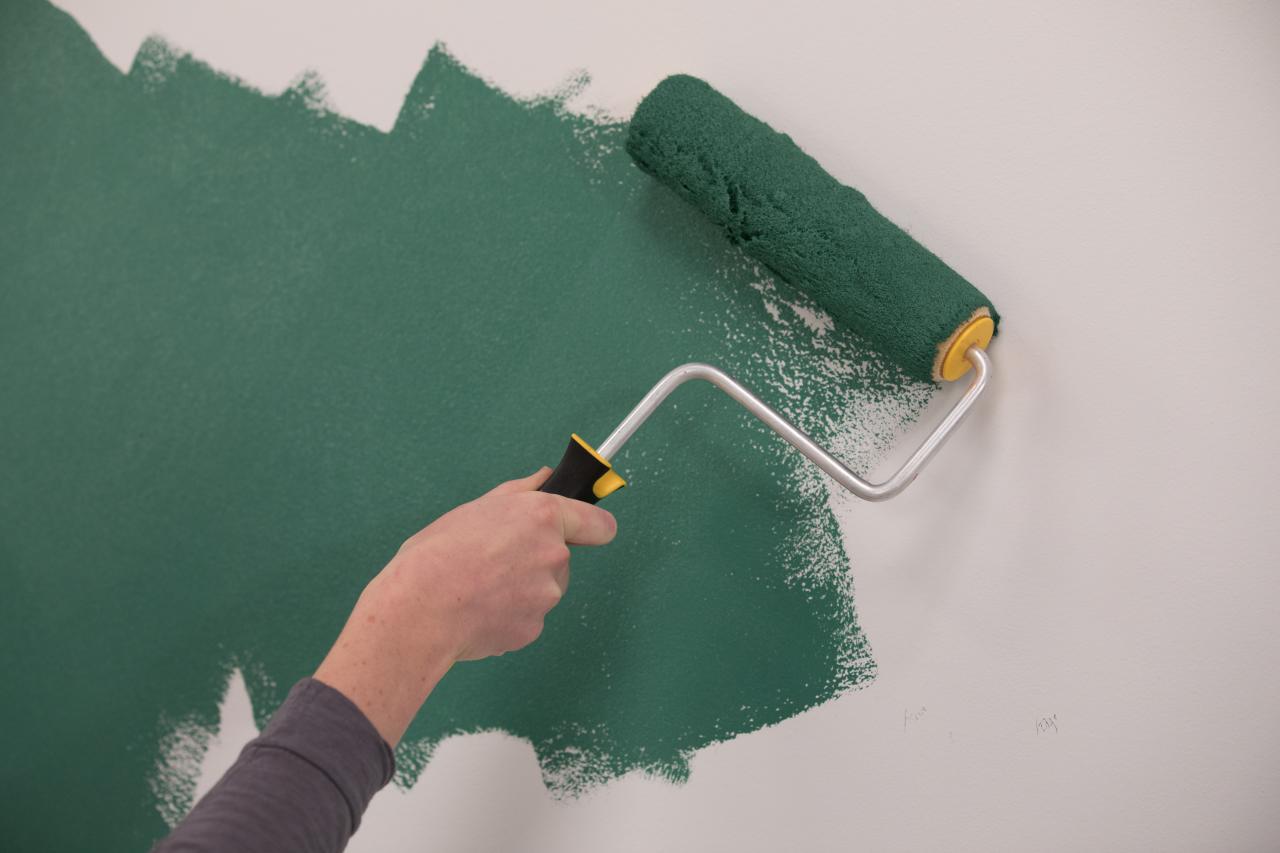
Paint the entire wall in Sherwin-Williams Kendal Green SW 6467.

Matt Huesmann
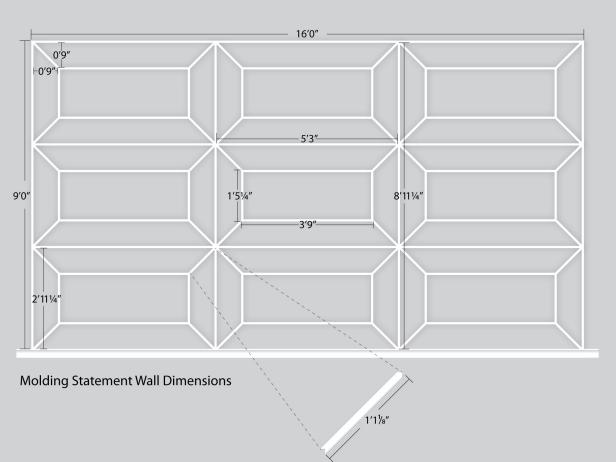
Sketch out your own design or use the attached PDF as a guide for creating your statement wall.
Matt Huesmann
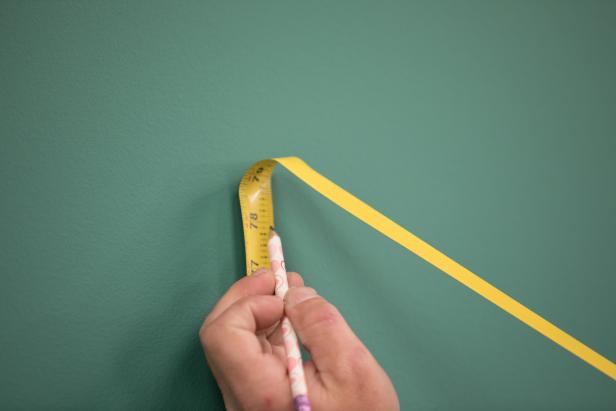
Measure out the design on the wall itself.
Matt Huesmann
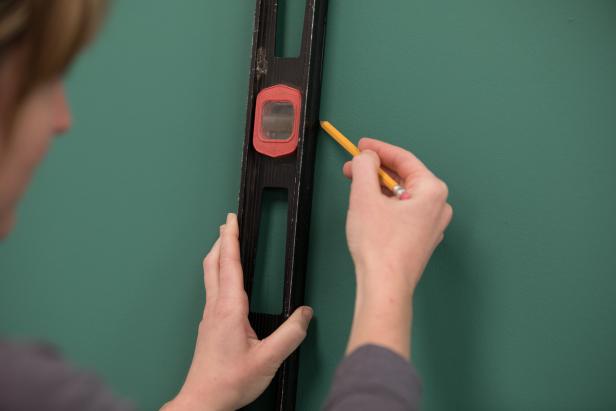
Check to ensure that the design is level.

Matt Huesmann
Cut your molding to fit the design. For the example here you will need:
Matt Huesmann
(1) 16’0" - you will need two strips of molding for this
(2) 9’0" - straight cut on one end, miter cut on the other end
(2) 8’11-1/4" - straight cut on both ends
(6) 5’3" - straight cut on both ends
(18) 3’9" - miter cut on both ends
(18) 1’5-1/4" - miter cut on both ends
(36) 1’1-1/8" - 45˚ V cut inward on one end, outward on the other end (see diagram)

Matt Huesmann
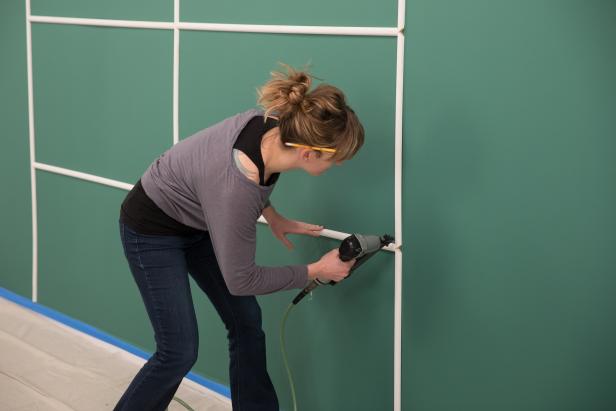
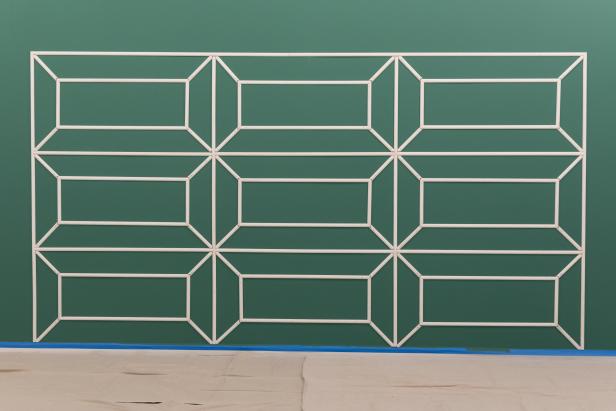
Start with the exterior rectangle of the design, and nail the molding. Each end of the top of the frame should have a 45˚ miter cut. Each of the two frame sides should be flat on the bottom end and cut with a 45˚ miter cut at the top. One should have the tallest point on the left and the other piece should have the tallest point on the right. Attach all of the molding pieces with a hammer and 1-1/2" finishing nails. Use a nail sink to embed the nail heads just a little below the surface.
Matt Huesmann
The two long center dividers (8’11-1/4") should be placed leaving 5’3" between each of them and between them and the outside frame. They should have straight cuts at the tops and bottoms. Next, install the horizontal pieces (5’3") between the vertical pieces. They should have straight cuts on the ends and be spaced 2’11-1/4" apart.
Then create the interior rectangles by making a frame out of two 3’9" pieces and two 1’5-14" pieces. Nail them to the wall with each side of the frame 9 inches from the rectangle around it. Finally, add the diagonal pieces around the corners of the inner frames, connecting them to the rectangles around them.
Matt Huesmann
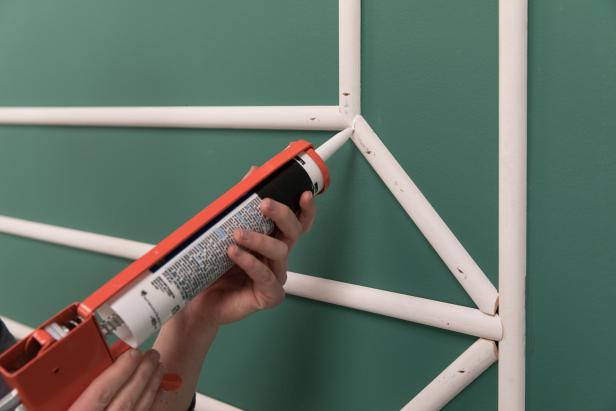
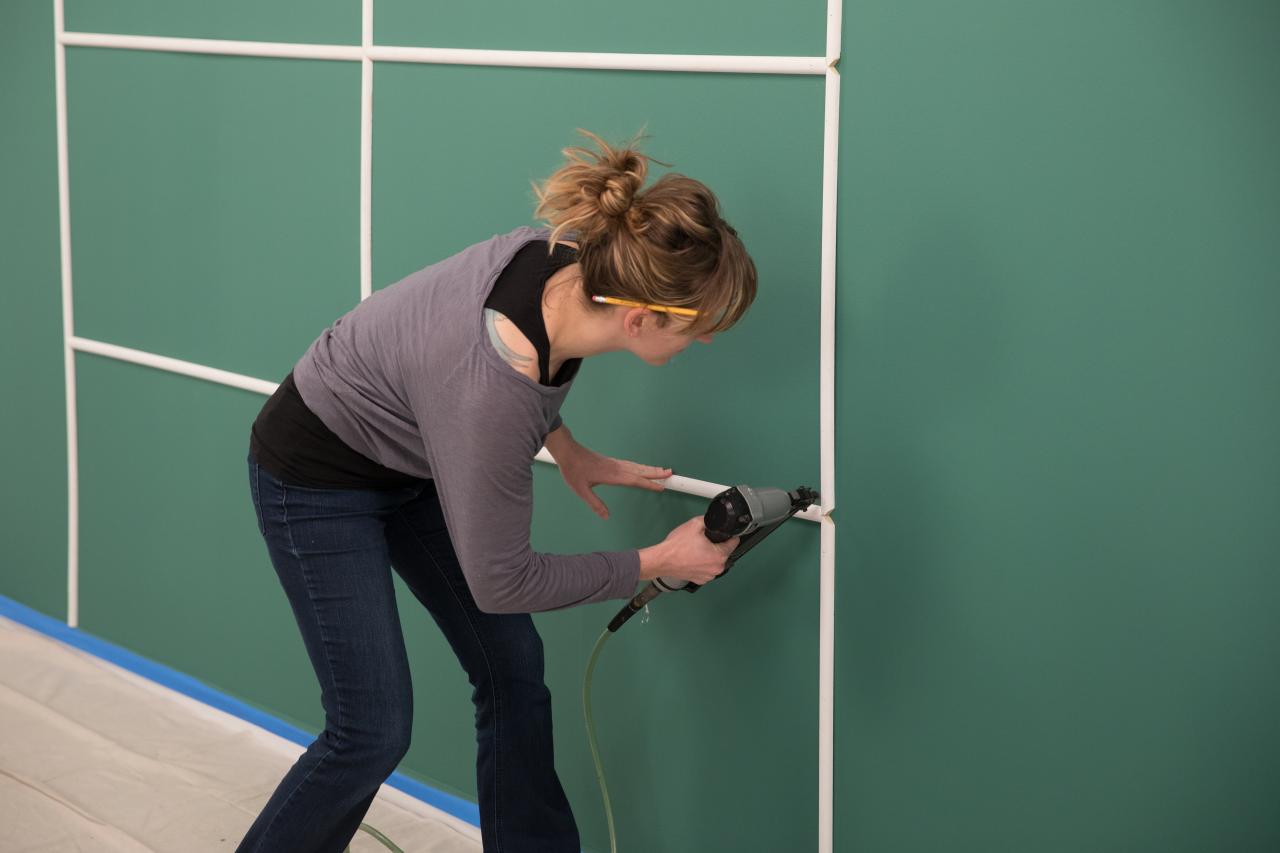
Once the design is completed, add caulk to fill in nail holes and gaps.

Matt Huesmann
Once the caulk is set, paint the molding with a small brush.
Now, wait for the compliments to come pouring in for your custom, bespoke statement wall.
Matt Huesmann


