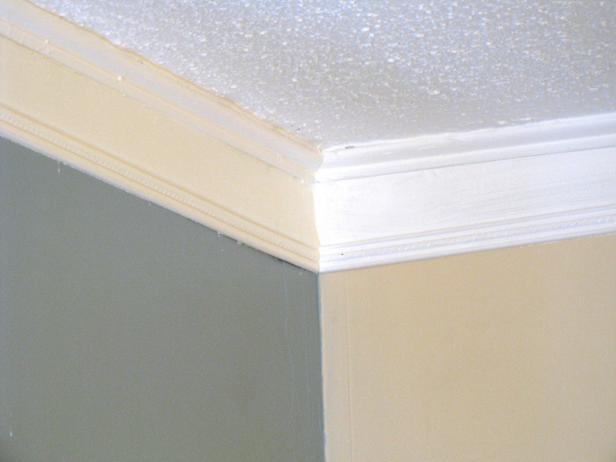
Weekend Project: How to Create Faux Crown Molding

Tools and Materials:
thin decorative molding
glue
laser level
nail gun and nails
paintbrush, paint and primer
Steps:
1. Based on the size of the existing molding and the size of the room, determine what additional molding you’ll need. Here are a few tips:
- Adding dentil molding to a more basic molding can add drama and style to something simple.
- Adding skinny molding to the bottom of average sized moldings can make the entire molding seem larger, thus making your room feel smaller and less daunting.
- If you have a more rounded molding, try adding two pieces of a squared-off molding, one to each side of the original rounded section.
2. Measure to determine how much molding you’ll need and then add 10 percent for waste.

3. Use a miter box and hand saw to cut the molding to size.
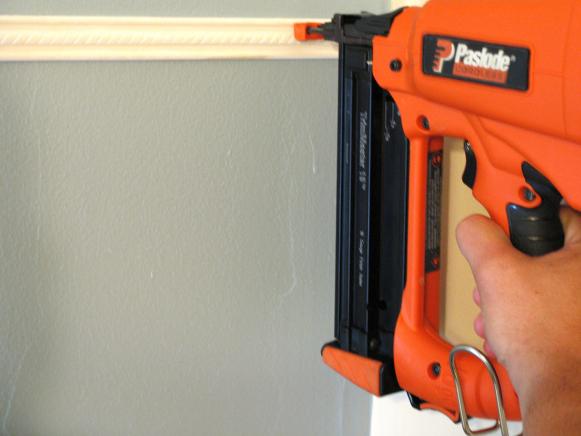
4. Glue and nail the molding into place with a nail gun. For thicker molding, leave a two-inch gap in between the existing molding and the molding you just added. For thinner molding, such as the type we’re used, try a four-inch gap.

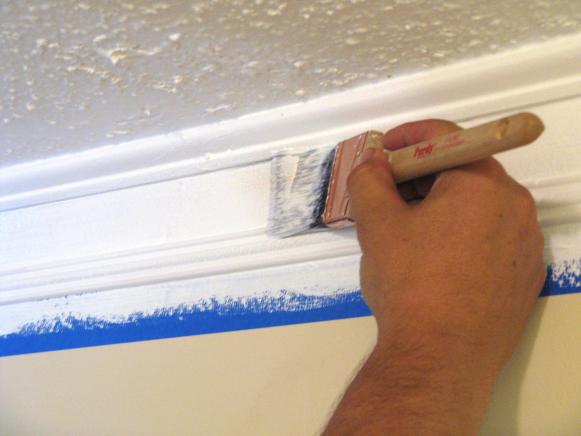
5. Paint the new, old molding and the space in between the same color so that it looks like one continuous piece.


