


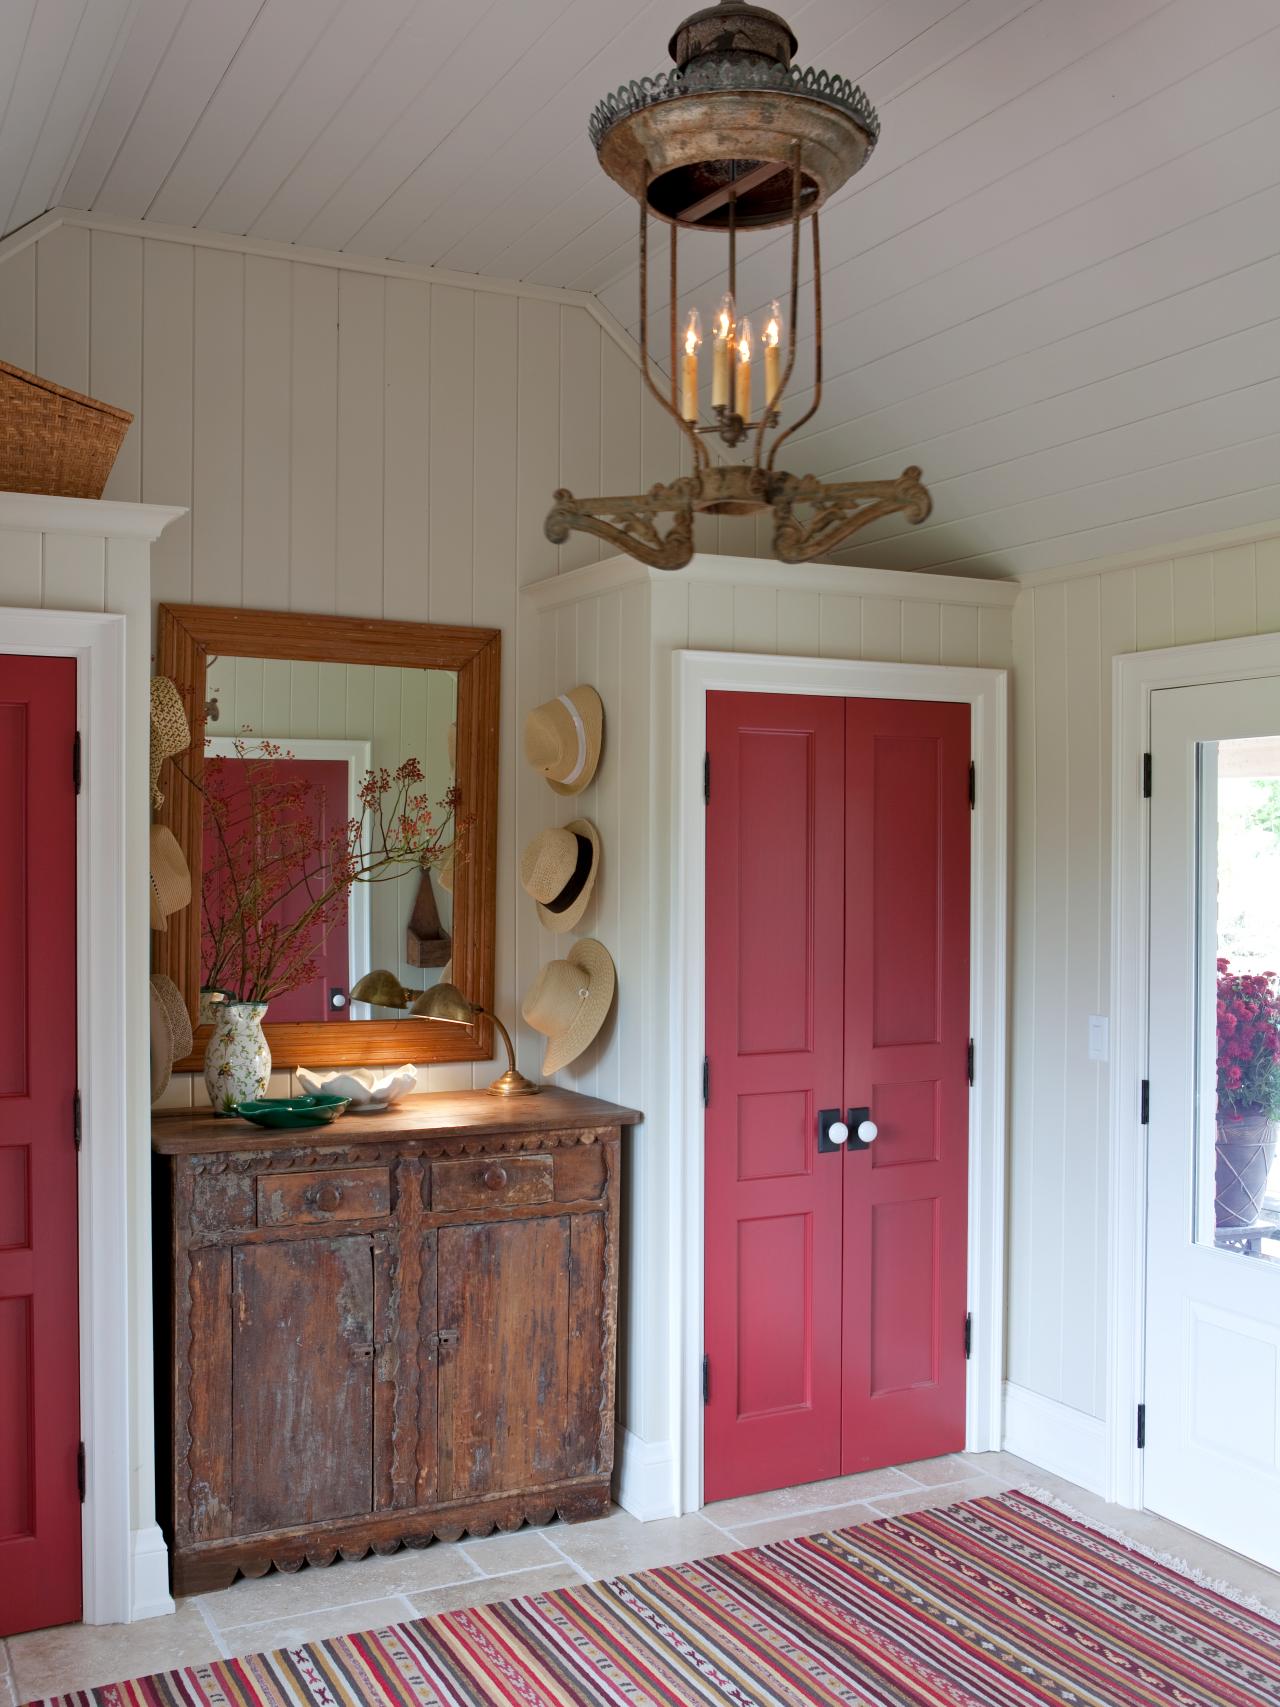
Painting Wood Paneling

Design by Sarah Richardson
I think more wood paneling was installed in the '60s and '70s than any other time period. If retro isn't your decorating style, the good news is--you won't have to remove the paneling; it can be painted. So choose your paint color, then follow these tips and painting techniques for a brighter, more updated room.
Materials and Tools:
Soap and water
220 grit sandpaper
Multi purpose primer sealer
Interior latex paint
3/8 inch roller cover
Paint roller, roller tray
Paint brush
Steps:
1. The first thing you need to do is to decide if you really want to paint your paneling. After all, once it's painted, that's it. So think it over before you start. Well, do you want to continue? Then read on.
2. Some paneling (generally the really inexpensive types) is actually a photo of wood grain that has been glued to the front of a plywood or composite type board. Conventional wisdom would say that this type of paneling can't be painted. Well I for one never listen to conventional wisdom. If you are nervous about how your paneling will look, pick an inconspicuous spot and do a test patch. If you don't think paint will last, then don't do it. But unless you are using the room as an indoor soccer field, the paint should adhere.
3. You need to make sure that the paneling is free of dirt and oil. Wash it well with a mild detergent and water. Dishwashing detergent works great. After the walls have dried sand lightly with 220 grit sandpaper. A pole sander can help make the job easier. After sanding, wipe the dust away with a damp cloth.
4. Prime the paneling with a stain blocking primer. Paint it on just like a normal wall, masking off the ceiling, trim and baseboards. Cut in the edges with a brush, and roll on the primer using a 3/8-inch roller cover. Allow to dry completely, at least 24 hours. Now paint the paneling with an interior latex paint. I prefer satin finish for durability, and it can be washed easily. Paint as you did the primer, cutting in the edges with a brush, and then rolling on the paint.
Here's a little painting technique trick: after you roll a small section, use a wide paint brush (4 inch) and go over the section from ceiling to floor in long strokes. I do this for a more Old World decorating style. Let it dry thoroughly, then add your second coat.
5. The grooves will remain unless you fill them all in. Fill all of the grooves with spackling compound or dry wall compound. Let the compound dry, and then sand it smooth. You can choose to not sand the spackle, adding texture to the wall.
Now you are ready to give it a try. Remember to do the prep work, and you'll be fine.
(Matt Fox writes this column with Shari Hiller. They also co-hosted the Home & Garden Television show Room by Room. Distributed by Scripps Howard News Service.)


