


How to Use Gel Stain
Do you have something you want to refinish but preserve the look of the wood grain? Discover how to use gel stain to give uniform coverage to a wooden surface in an easy, user-friendly method.

Jalynn Baker
Switching up the hue of an existing furniture piece can be as easy as applying a few coats of stain. With many stain options to choose from, we’re covering all the pros and cons of gel stain and how to use it. Gel stain is a go-to choice for DIYers because it delivers very uniform cover. The thick, pudding-like product sits atop the surface and won’t drip.
Gel stain works on most surfaces from wooden to metal, and even painted surfaces can be gel stained. Unlike traditional oil-and-water-based stains, gel stain is very easy to apply by wiping it on with a brush versus having to rub it in like most stains. On the downside, gel stain is not available in as many color options as traditional stains. As with all stains, test it on a piece of scrap wood or in an inconspicuous area before you start.
Supplies Needed
- gel stain
- sandpaper
- drop cloth
- latex or nitrile gloves
- rags
- screwdriver
- foam brush
- polyurethane
Prep Surface
Unfinished furniture is ready to go, while furniture with an existing finish will need to be lightly sanded. If staining kitchen cabinets, degrease them with rinse-free, tri-sodium phosphate. To prep the surface, give it a quick wipe down with a fine-grit sandpaper. Then, wipe the surface with a damp cloth to remove any dust.

Jalynn Baker
Apply Stain
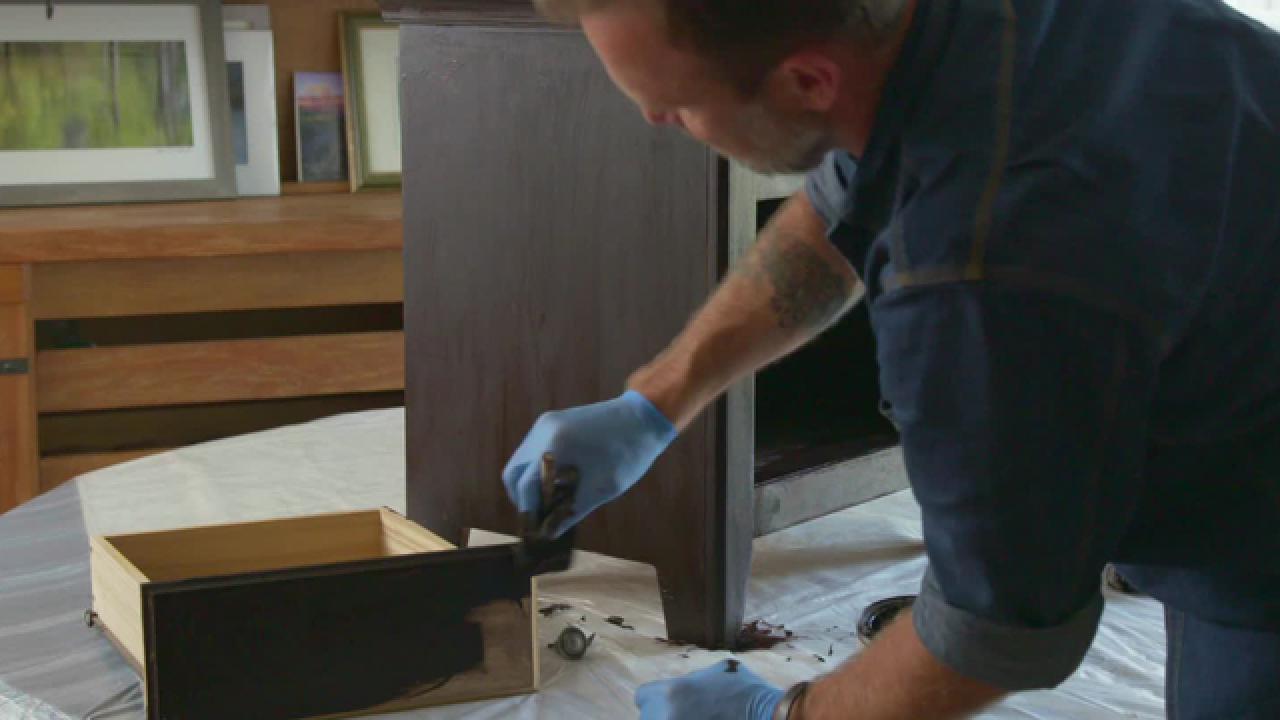
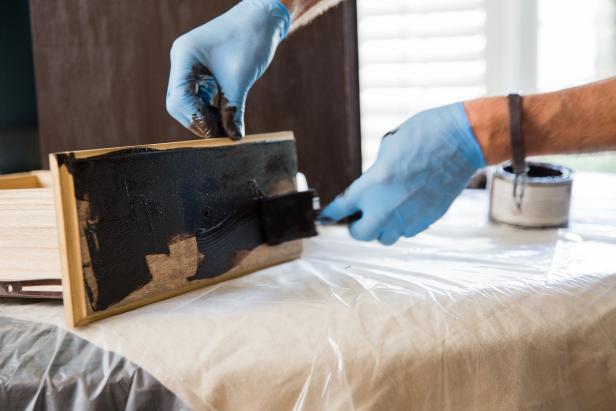
First, protect your work area with a plastic tarp or drop cloth. Remove any knobs or drawers from the piece you'll be staining. Next, use a screwdriver to easily open the container. Put on your gloves, and dip the foam brush into the stain. Wipe the stain evenly across the surface (Image 1). The first coat should be thick. Put it on and don’t wipe it away as you would when working with traditional stain. Then, apply the stain to any drawers or knobs using the same method (Image 2).

Jalynn Baker
Jalynn Baker
Remove Excess & Let Dry
Remove any excess or globs, especially from crevices, with a rag. This step is very important to ensure an even finish. The stain will retain a thick, pudding-like consistency and dry on the top of the surface. In dry environments, let the first coat cure for 24 hours.

Jalynn Baker
Apply Additional Coats
Unlike traditional stains, the thick product sits atop the surface being stained like paint. And like paint, you’ll find that you’re probably going to need multiple coats to get a perfect, streak-free finish. It’s going to dry looking quite streaky, but don’t worry, subsequent coats will be thinner. Keep in mind that the stain won’t absorb as much as a traditional stain. The gel stain will absorb slightly into unfinished wood but not into non-porous surfaces. Ideally, according to most manufacturer's guidelines, you should wait 24 hours between each coat. Expect to have to apply 2-3 coats until the finish is even or opaque.

Jalynn Baker
Apply Polyurethane
After you have reached your desired look, apply a coat of water-based polyurethane to protect the finished surface.

Jalynn Baker
Once the product has dried, it’s ready for display.
Before

After


