


How to Install Wainscoting to a Wall
Add an instant touch of class to a room with these step-by-step instructions on installing beadboard wainscoting.

Jennie Andrews

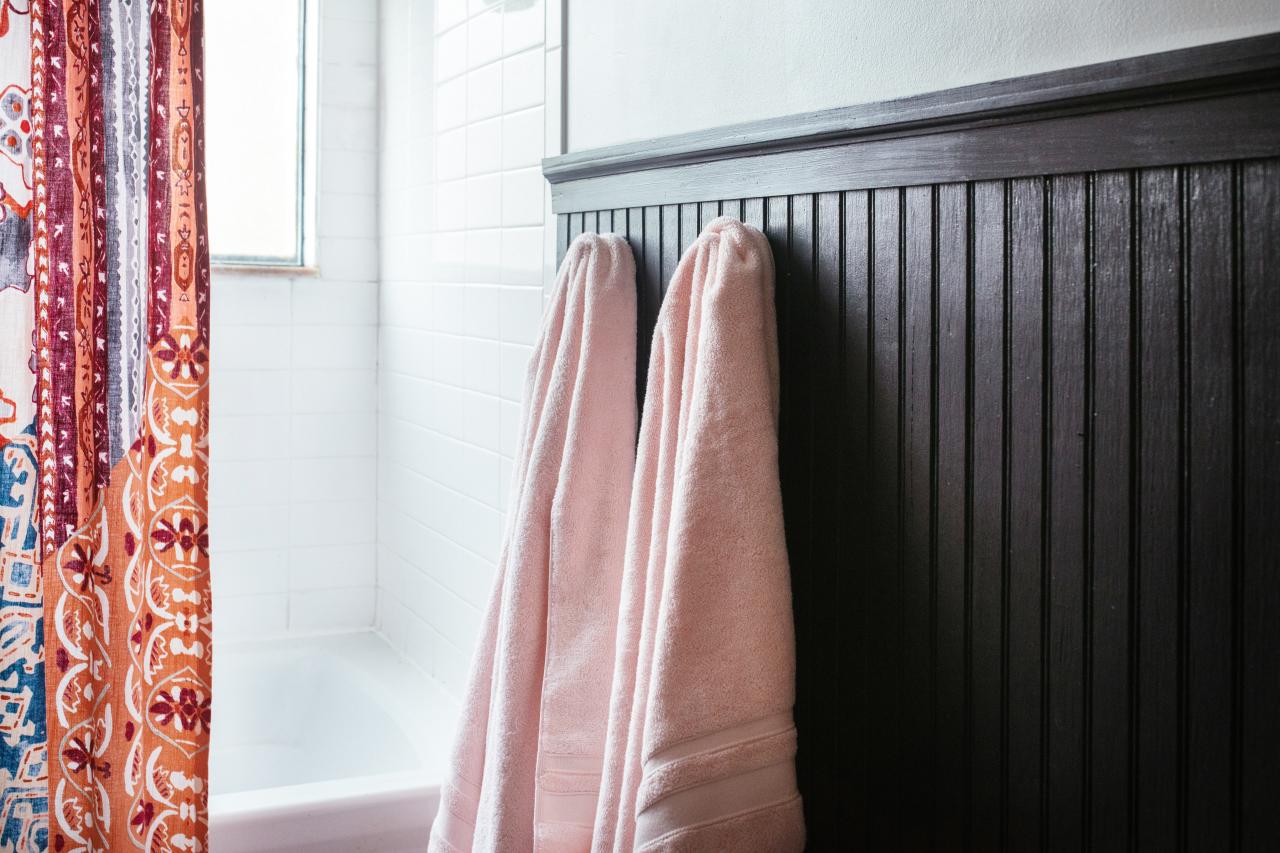
Looking for a sure-fire way to create an air of elegance? Wainscoting is the ultimate example of form meeting function.
Homes of long ago had walls made of fragile plaster. Decorative and often beautiful wooden panels were adhered to the plaster and served to protect the lower part of the walls from moisture, dings and scrapes.
Wainscoting is still useful for protecting walls, but it also adds an air of craftsmanship to any space. Wainscoting comes in many forms, from hand-crafted solid wood panels (the most traditional, but also priciest option) to water-resistant options made from vinyl or OSB (oriented strand board) and ready for easy installation. One of the most popular types of wainscoting is beadboard. It comes in large panels, it's affordable and relatively easy to install.
Materials + Supplies
- beadboard (choose a non-warping option if installing in a kitchen or bathroom)
- measuring tape
- pencil
- level
- stud finder
- trim
- wood glue
- circular saw or table saw
- chop saw
- jigsaw
- nail gun or hammer
- nail driver (nail set)
- paintable caulk + caulk gun
- wood filler
- paint
- construction adhesive
- outlet extenders
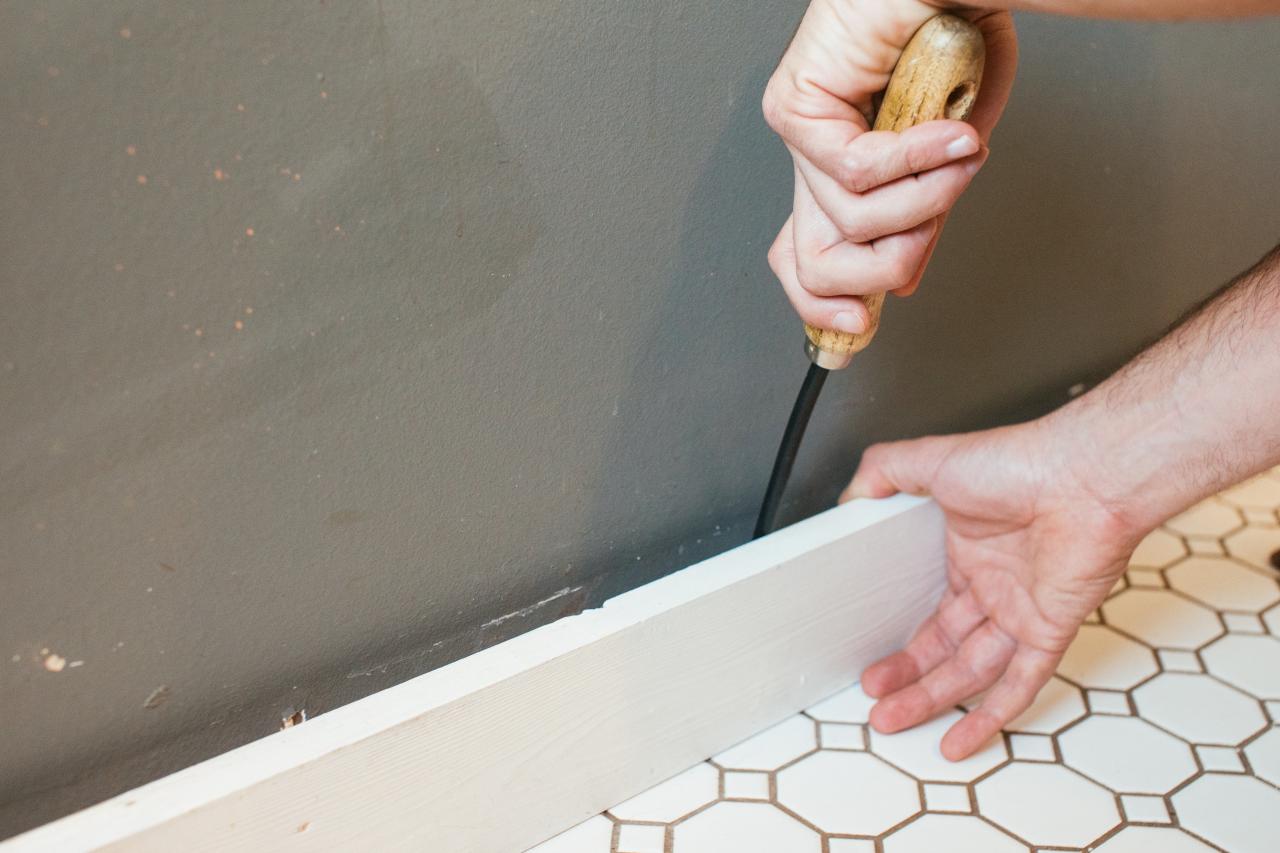
1. Prep the Space
Use a prybar to remove baseboards from the walls. If you plan to reuse the same baseboard, first score the top of it with a utility knife to separate the paint from the wall. This will help prevent the paint from peeling off the baseboard. Remove any outlet covers or light switch covers on the walls within the area to receive the wainscoting. If you need to repair or patch any holes in the upper part of the wall, go ahead and tackle that now. If you are planning to paint the wall or apply wallpaper above the wainscoting, do that as well before hanging the panels. Cover the wall to just below where the top of the beadboard paneling will sit.

Jennie Andrews
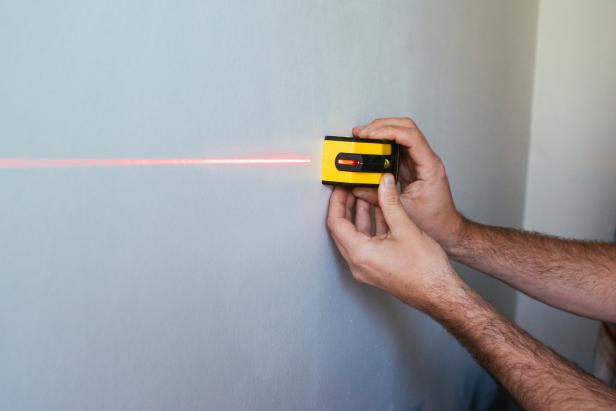
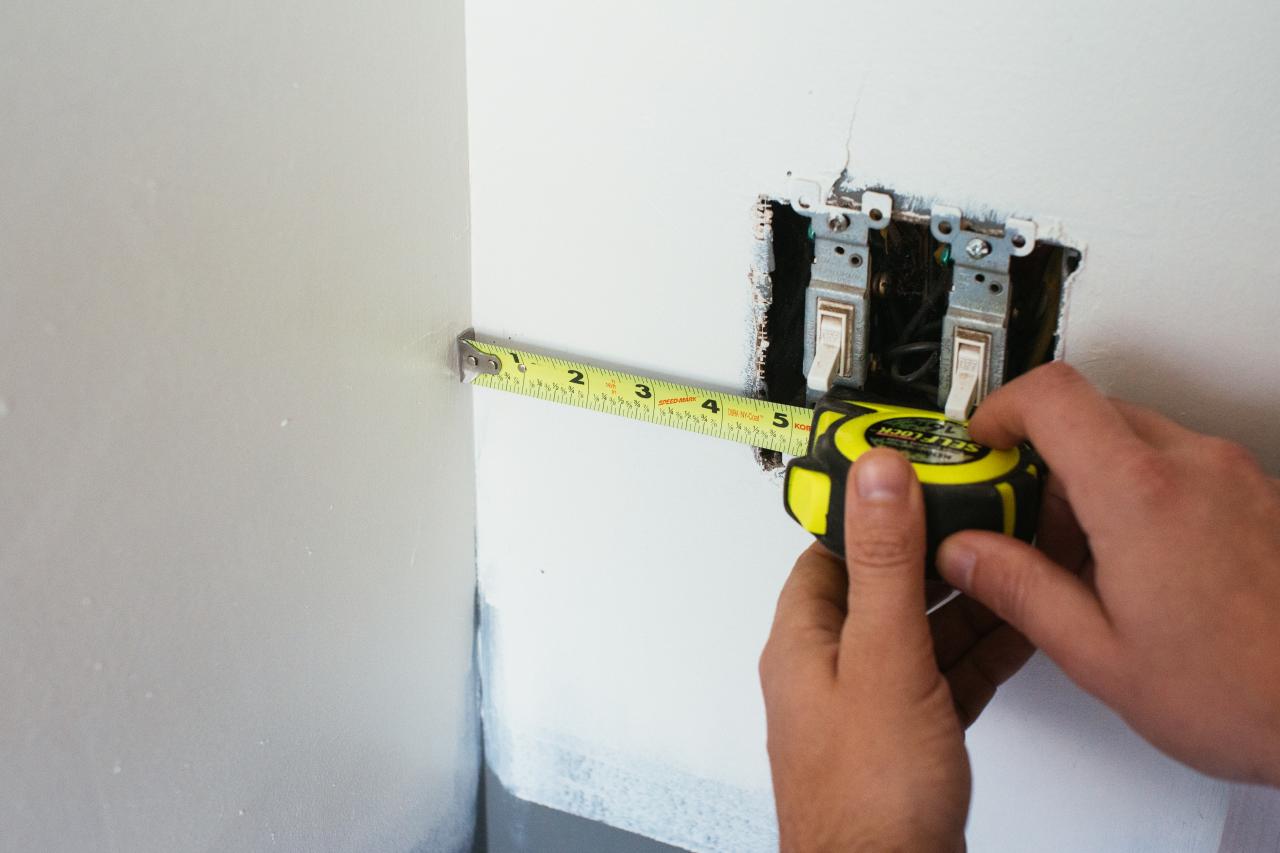
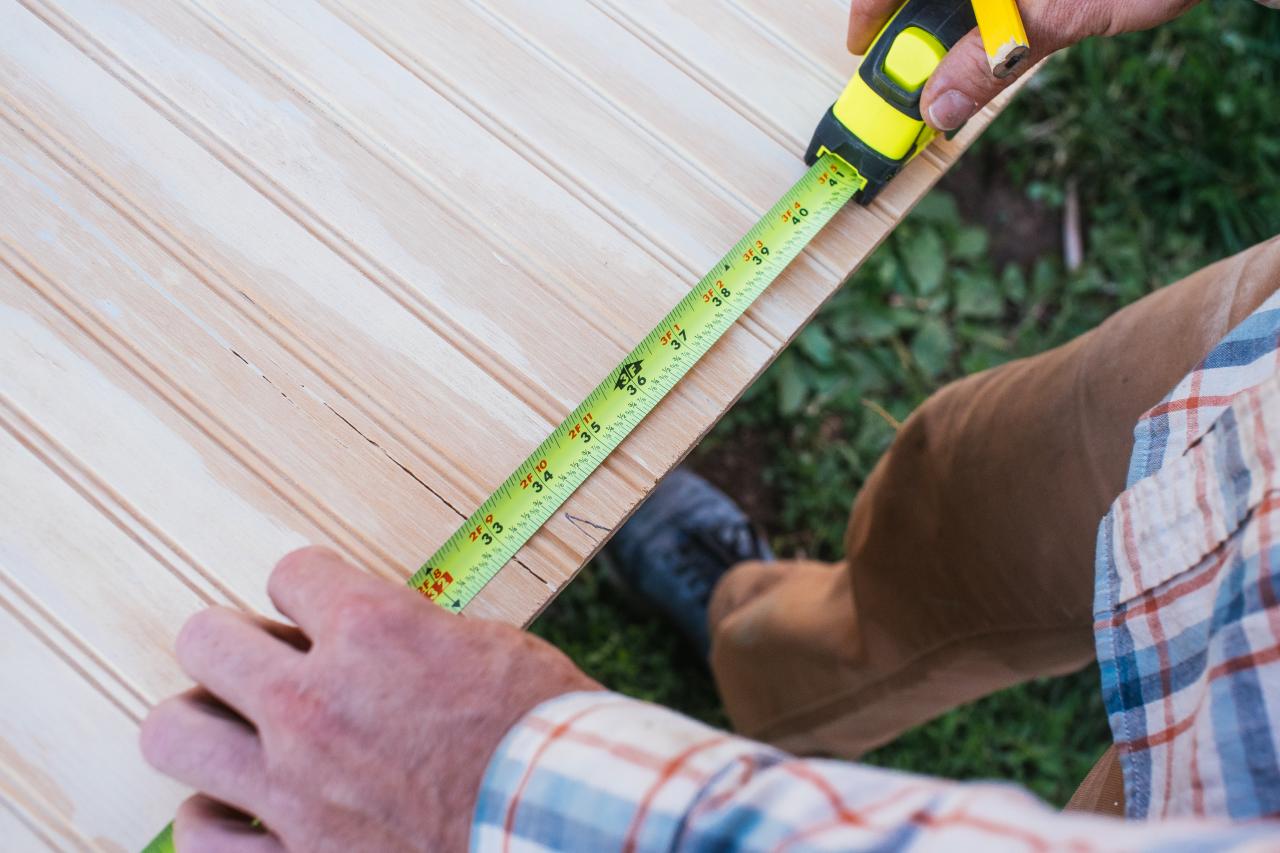
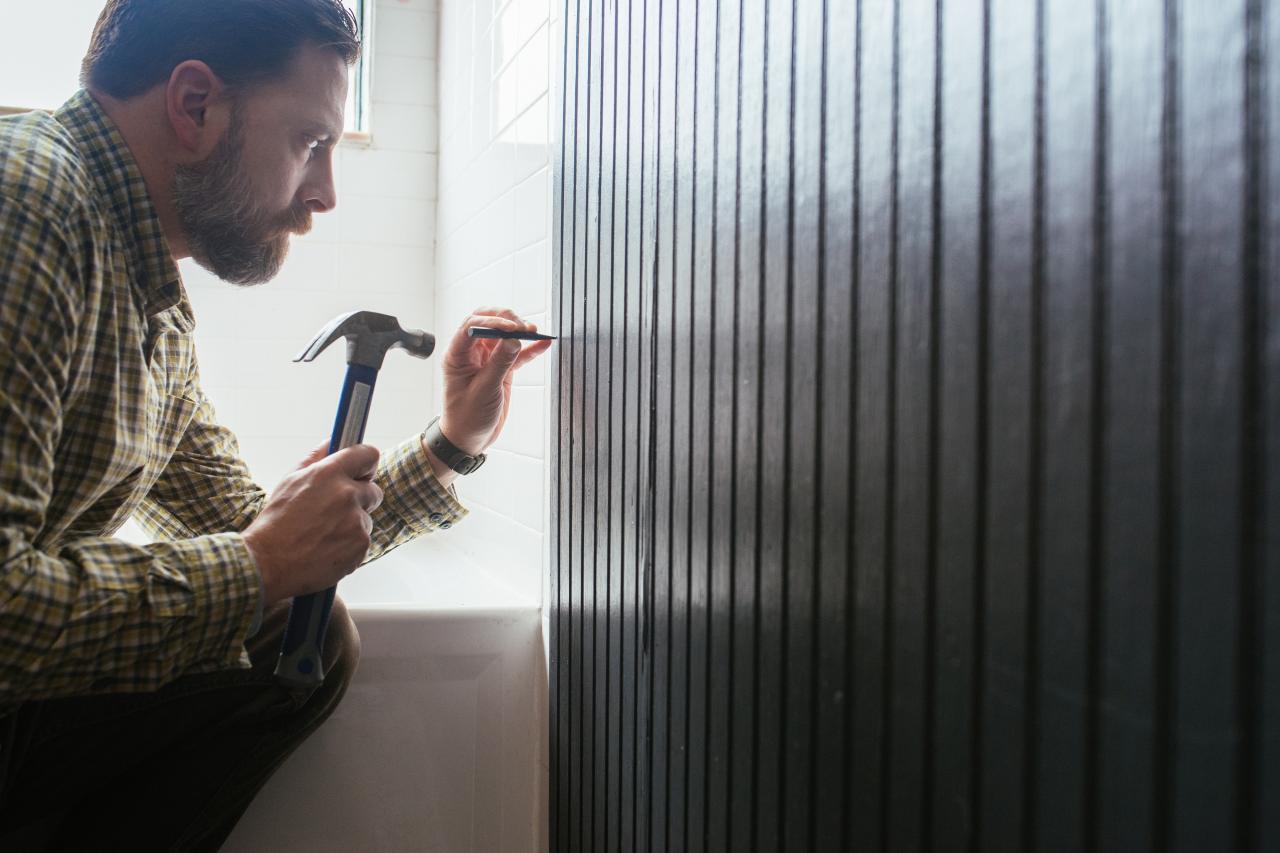
2. Measure the Space
Traditionally, the appropriate height of wainscoting follows the design rule-of-thirds. So, for short paneling on a 9-foot ceiling, the top of the paneling would reach about 3 feet high. Similarly, for a higher wainscoting, it would be about 2/3 of the wall, or 6 feet high. However, now that you know the "rules," also know that it is okay to break them. Test a few different heights and see what works best in your space. For the optimal visual effect, err on the shorter side, as it creates the illusion of taller ceilings. Use a level and a pencil to mark the correct height for the beadboard from the floor (Image 1).
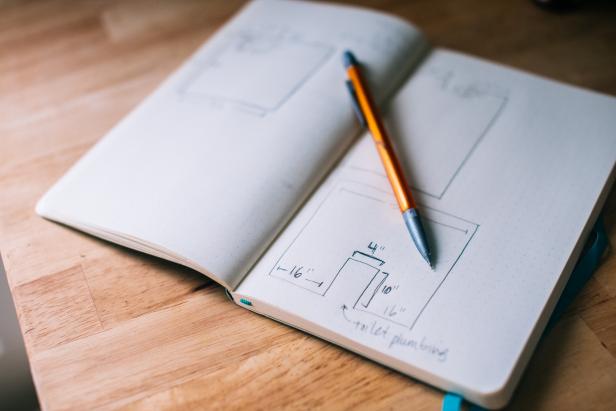
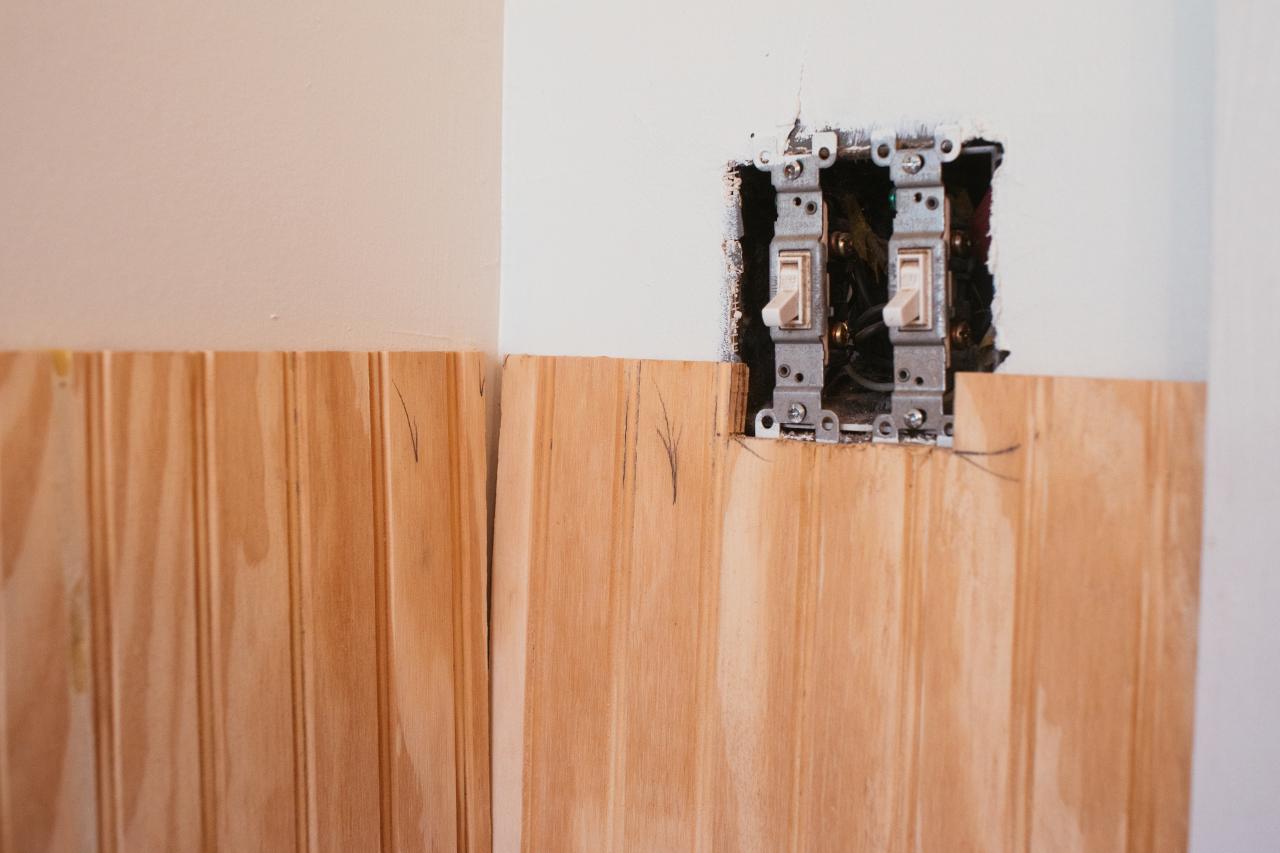
As you measure the wall, you will need to account for any light switches and outlets. Measure the distances to determine where each outlet will sit within each panel (Image 2). A quick sketch of each panel with measurements noted will really help when making cuts. (Image 3) .
Jennie Andrews

Jennie Andrews
Jennie Andrews
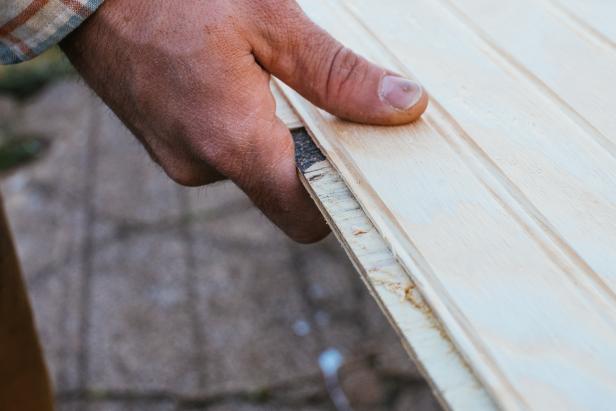
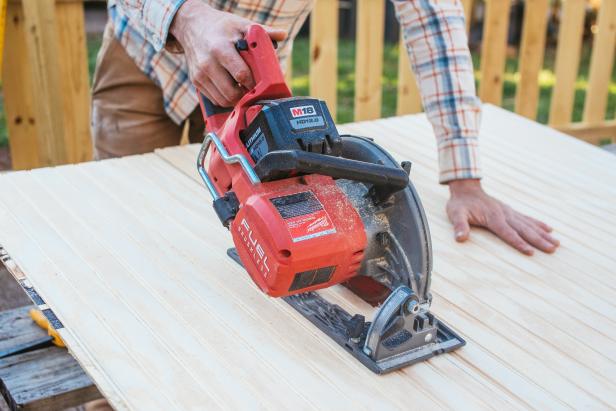
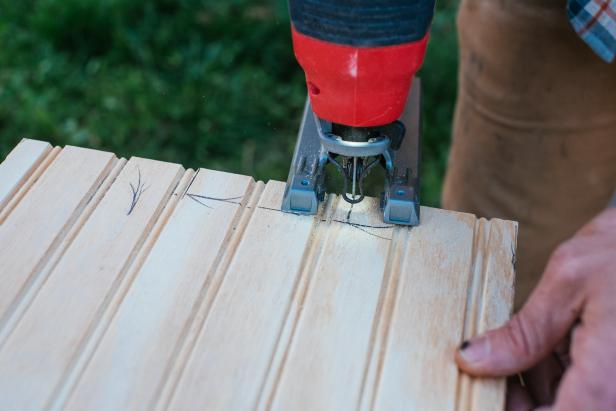
3. Mark and Cut the Beadboard
Mark the measurements on a panel of beadboard (Image 1). When measuring for width, try to divide pieces evenly so you're not left with narrower pieces in a corner, for example.
When marking and cutting the panels, pay attention to the edges. Panels are likely designed to overlap to create a seamless look, so be certain that you are cutting the correct side (Image 2). Start in a corner from the left edge of a wall and work around the room clockwise, cutting one piece at a time using a table saw or rotary saw (Image 3). Use a jigsaw to make cuts for outlets and light switches (Image 4).

Jennie Andrews
Jennie Andrews
Jennie Andrews
Jennie Andrews
4. Test Fit the Beadboard Pieces
Once you have each piece cut, take a moment to fit it into place (without using adhesive). If it isn’t level at the top, you may need to shim the bottom of some panels. The bottom edge will be covered with baseboard, so don’t worry about gaps at the floor. Move on to the next piece only when the fit is correct.

Jennie Andrews
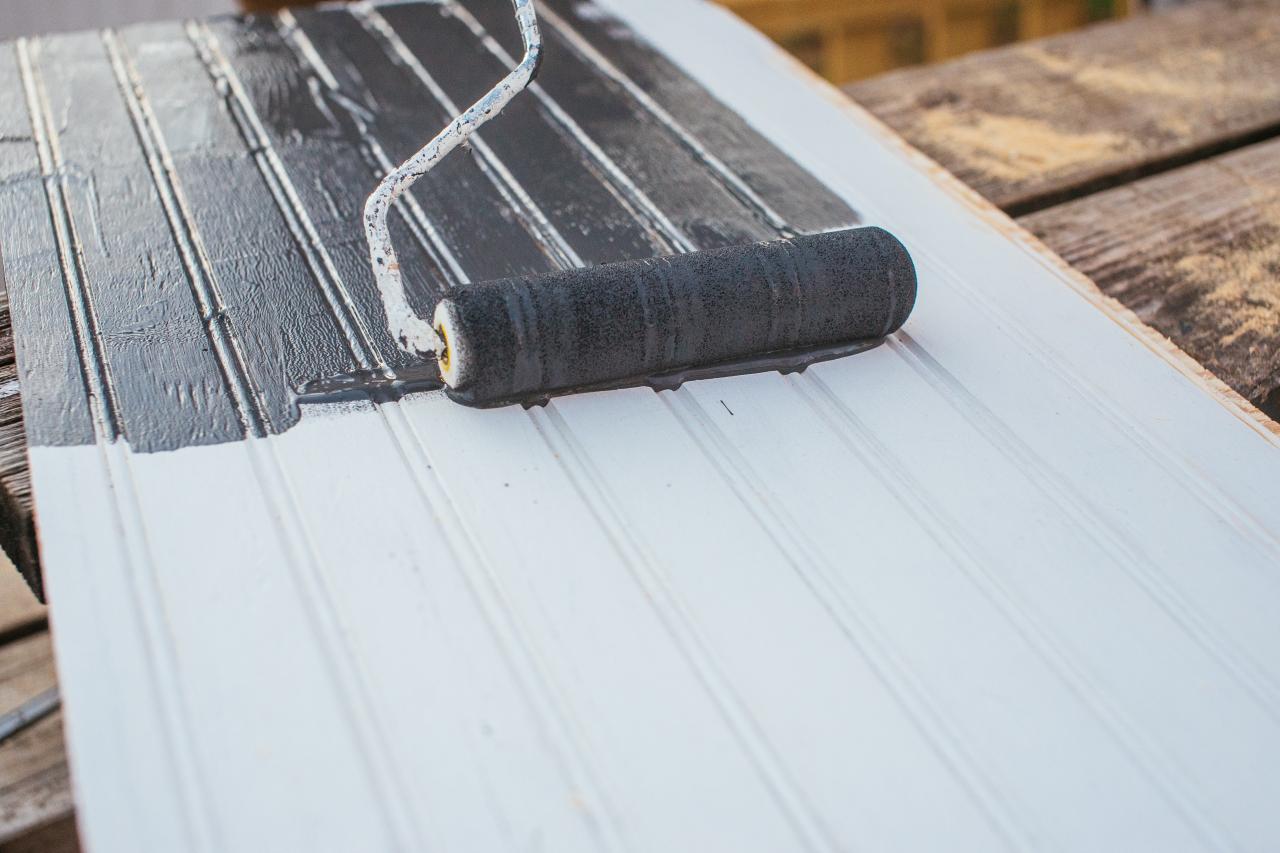
5. Sand and Paint Beadboard
When the entire room has been fitted, it’s time to sand and paint or stain the beadboard. Prepping each piece before putting it on the wall makes the entire process so much easier (and less messy!). Paint or stain trim and baseboards to match the paneling.

Jennie Andrews
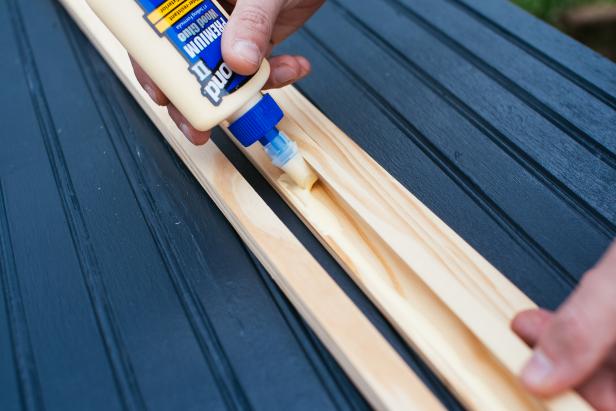
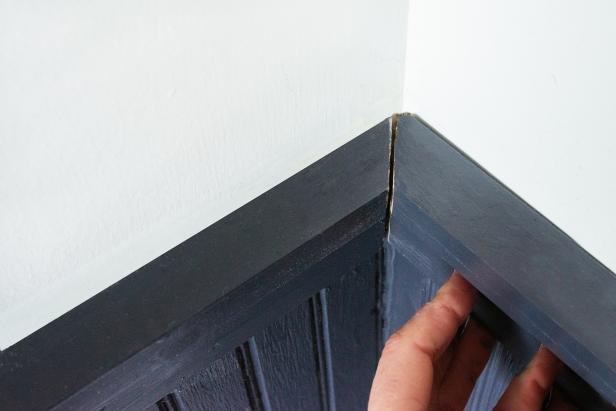
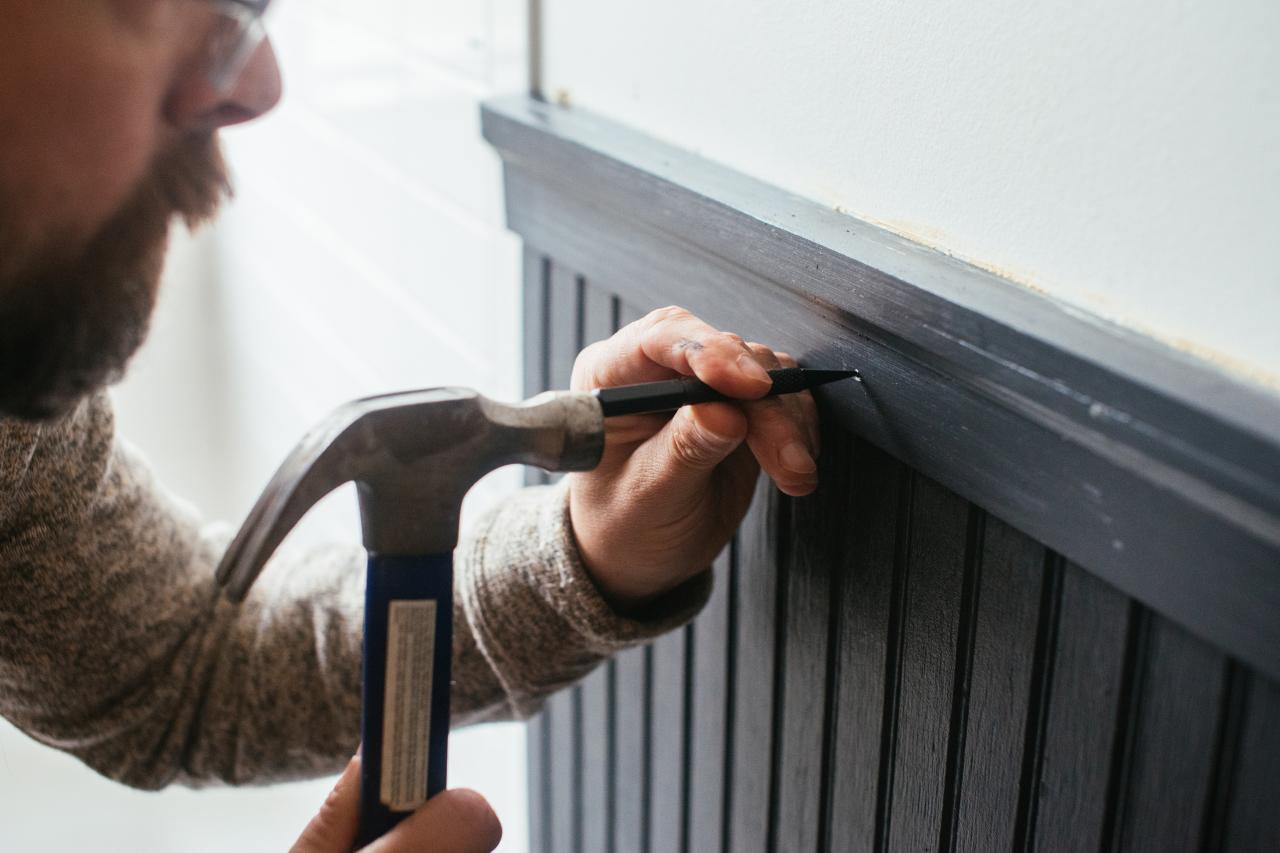
6. Prep Molding
Prefabricated molding pieces are readily available, but for a custom finish, you can also create your own using wood glue and a few pieces of trim (Image 1). Use chair rail molding designed to sit atop paneling. It should have an L-shape in the back to sit flush with the wall and the beadboard. Trim pieces will need to be specially cut to fit seamlessly into the corners (Image 2). Use a chop saw or a circular saw with the blade set to make a 45-degree cut.
Jennie Andrews
Jennie Andrews
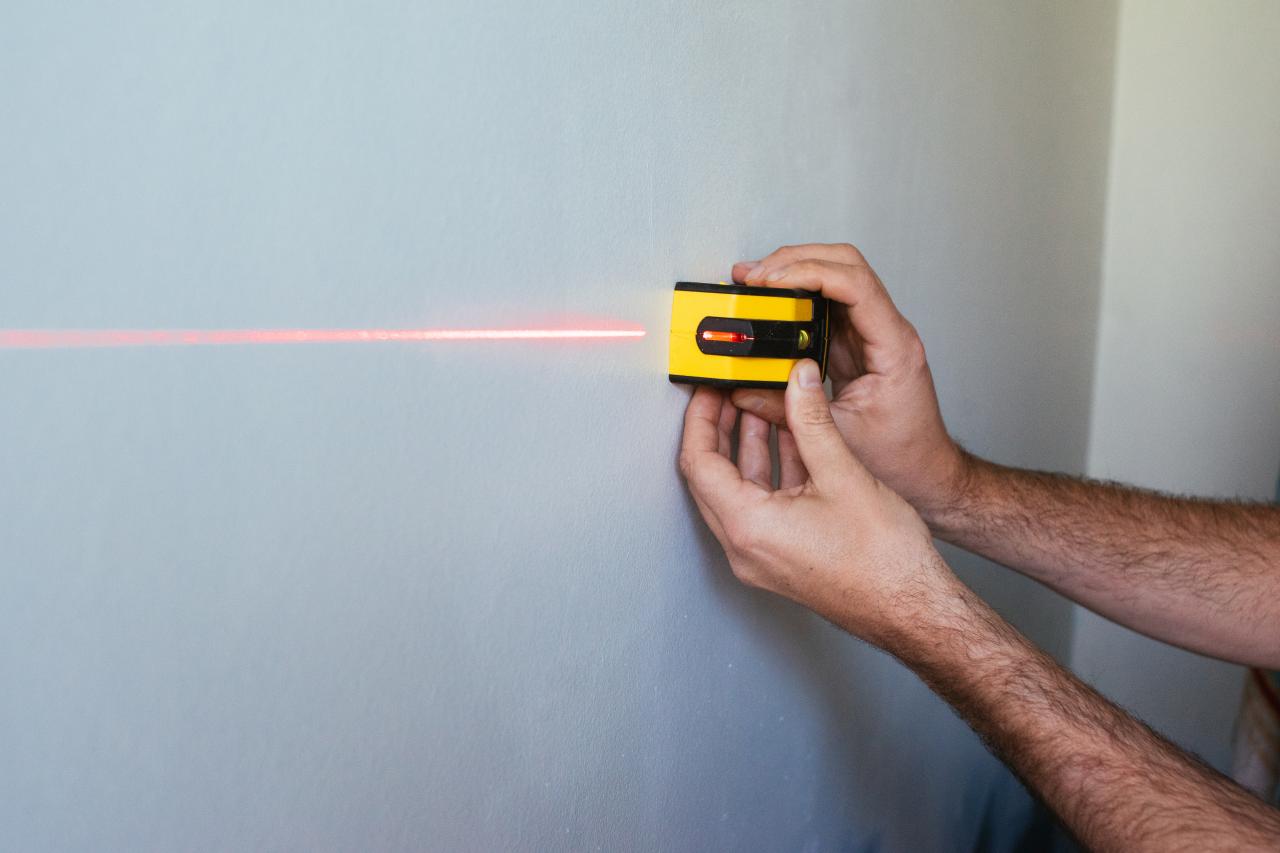
7. Hang the Beadboard Wainscoting
Attach beadboard to the wall using construction adhesive and nails. First, using a stud finder, locate and mark the center of each stud along the walls (Image 1). Apply a generous amount of adhesive to the back of the first panel and press it against the wall (Image 2). While holding in place, use either a nail gun or a hammer and trim nails to nail the panel into the studs. If you use a hammer, you need to use a nail set to drive the nails down into the board creating a small divet (Image 3). Nail at the top, middle and bottom of each stud. Continue around the room gluing and nailing one panel at a time. Take a well-deserved break! Allow glue to dry overnight before adding molding and baseboards.
Jennie Andrews

Jennie Andrews

Jennie Andrews
8. Add Molding
Add the trim using the same basic method as the paneling. Apply construction adhesive to the back of the piece of trim and fit it to the wall, overlapping the top of the paneling. Use a nail gun or hammer and nail set to attach the chair-rail molding over top of the wainscoting.

Jennie Andrews
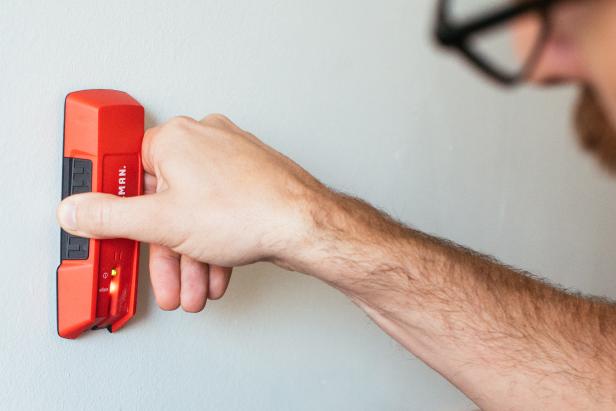
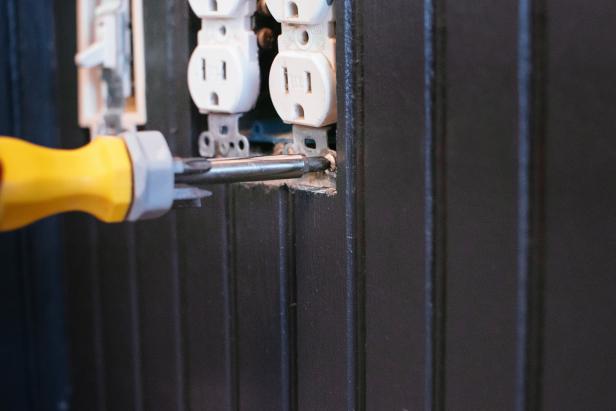
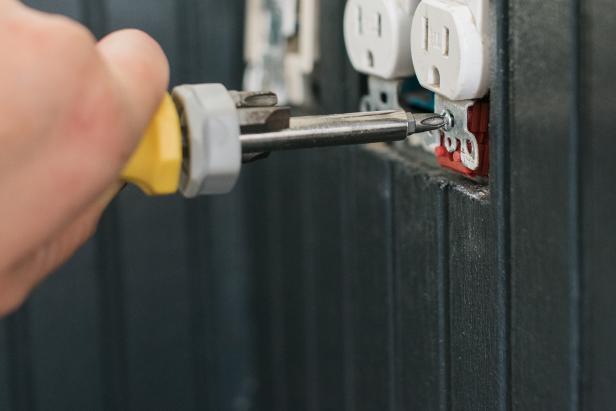
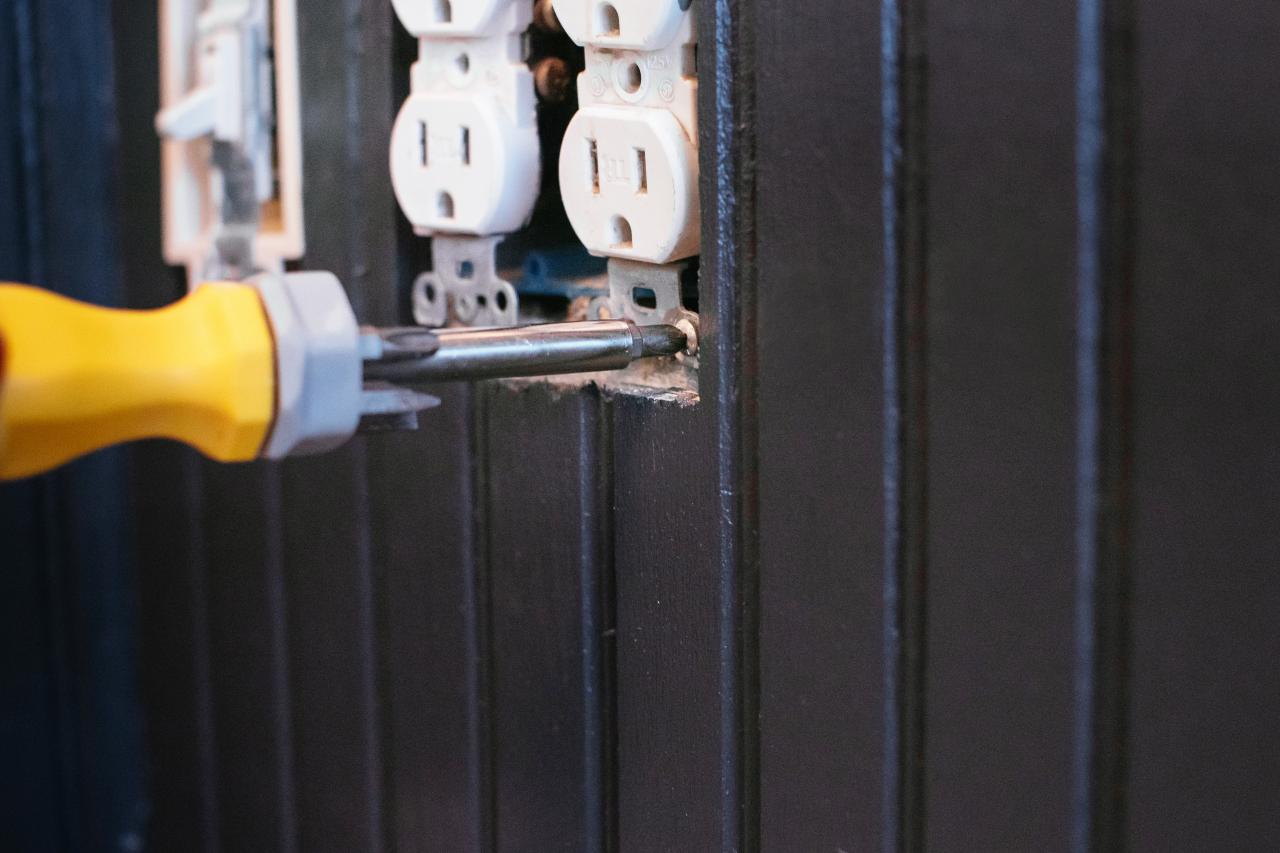
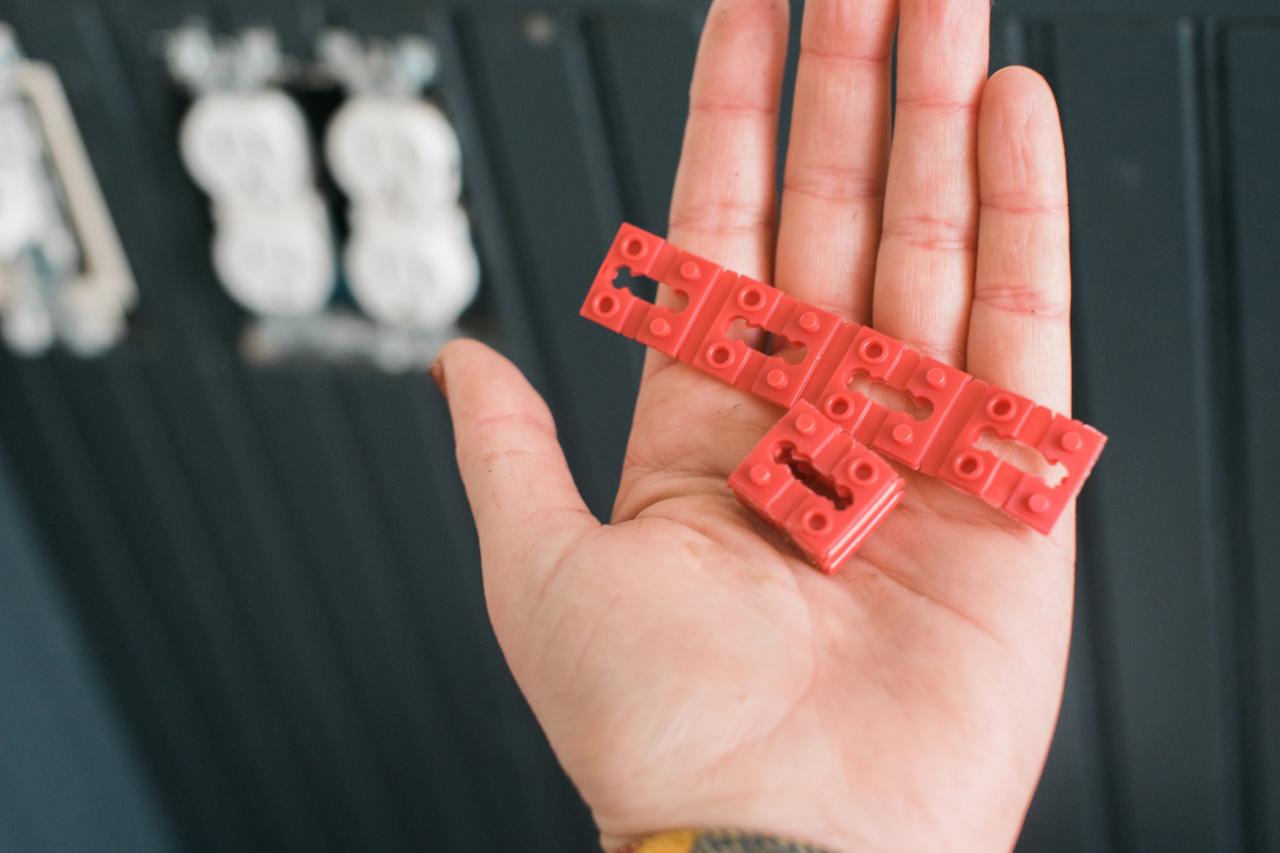
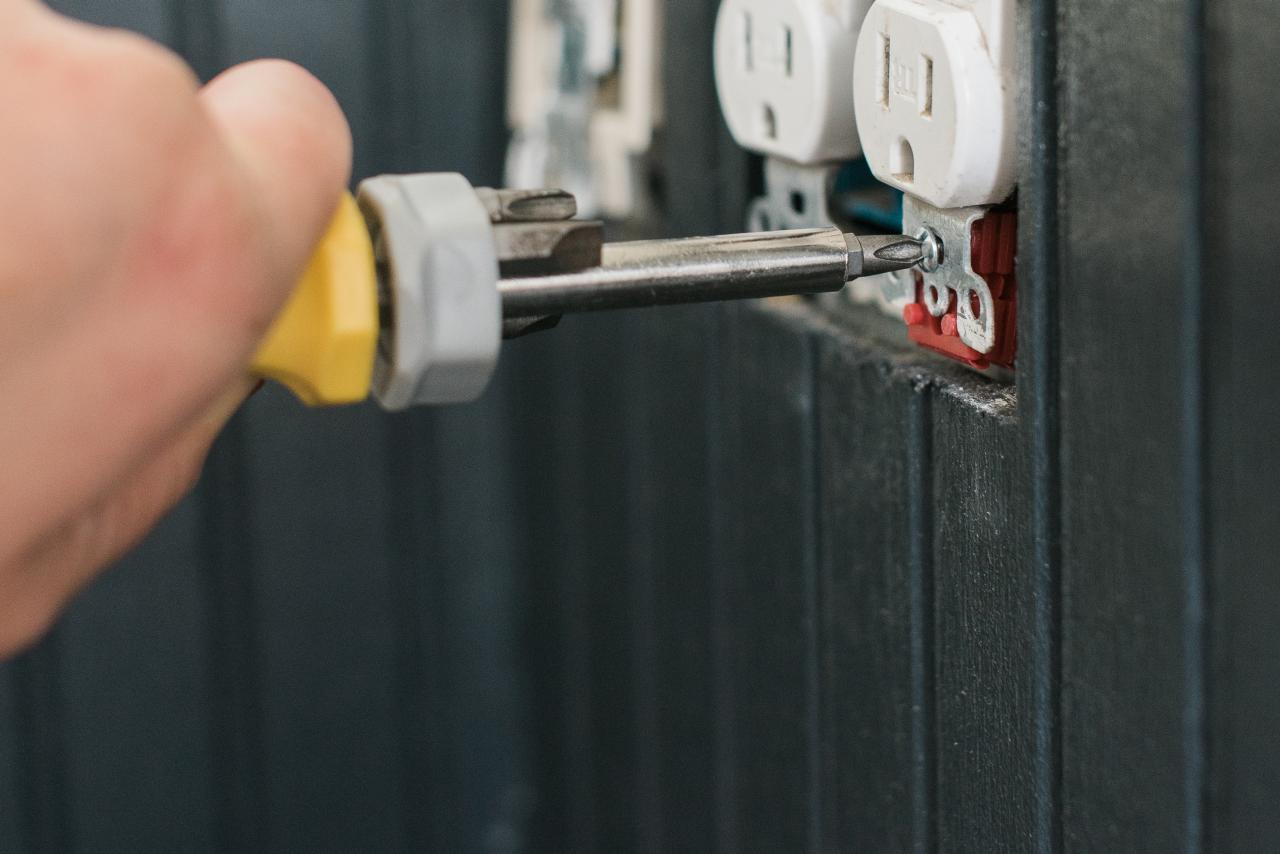
9. Reinstall Light Switches and Outlets
In order to replace your light and outlet covers, you will first need to bump out the electrical boxes, since the paneling you just installed added thickness to your walls. Safety first! Turn off the power to the room at the breaker. Use a screwdriver to detach outlets from the plastic box (Image 1). Place a couple of plastic outlet extenders on the bolt behind the outlet and reattach (Images 2 & 3). This should bump your outlet flush with the wall. Repeat for any light switches. Reattach the covers and turn the power back on.

Jennie Andrews
Jennie Andrews
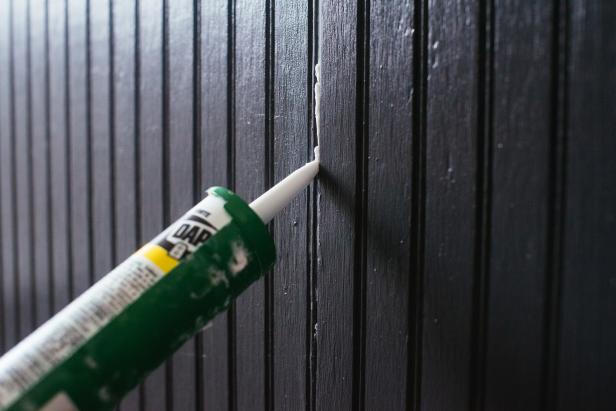
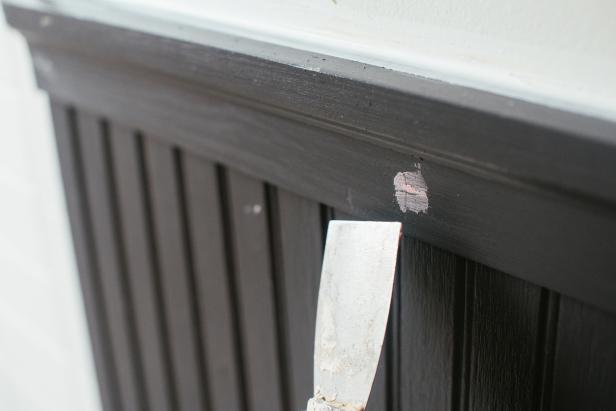
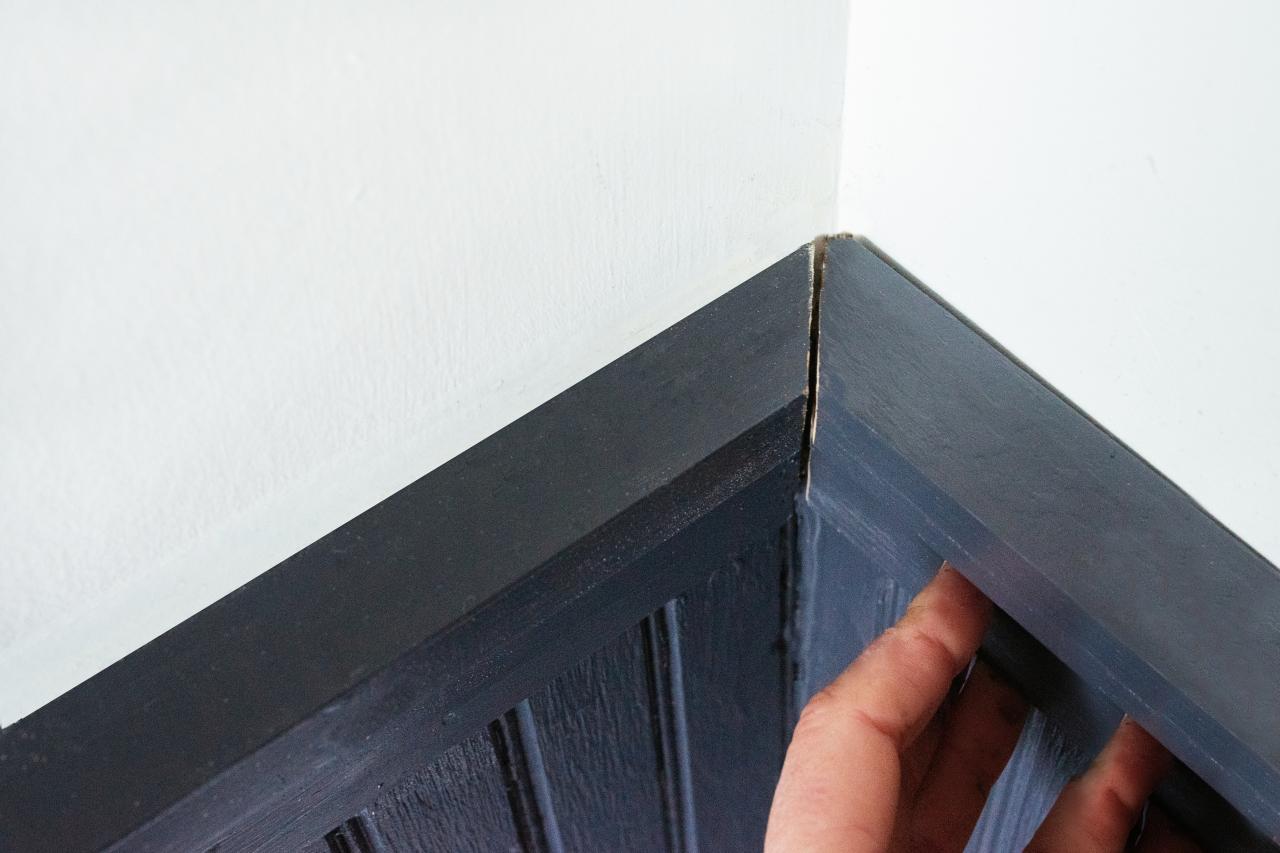
10. Finish Like a Pro
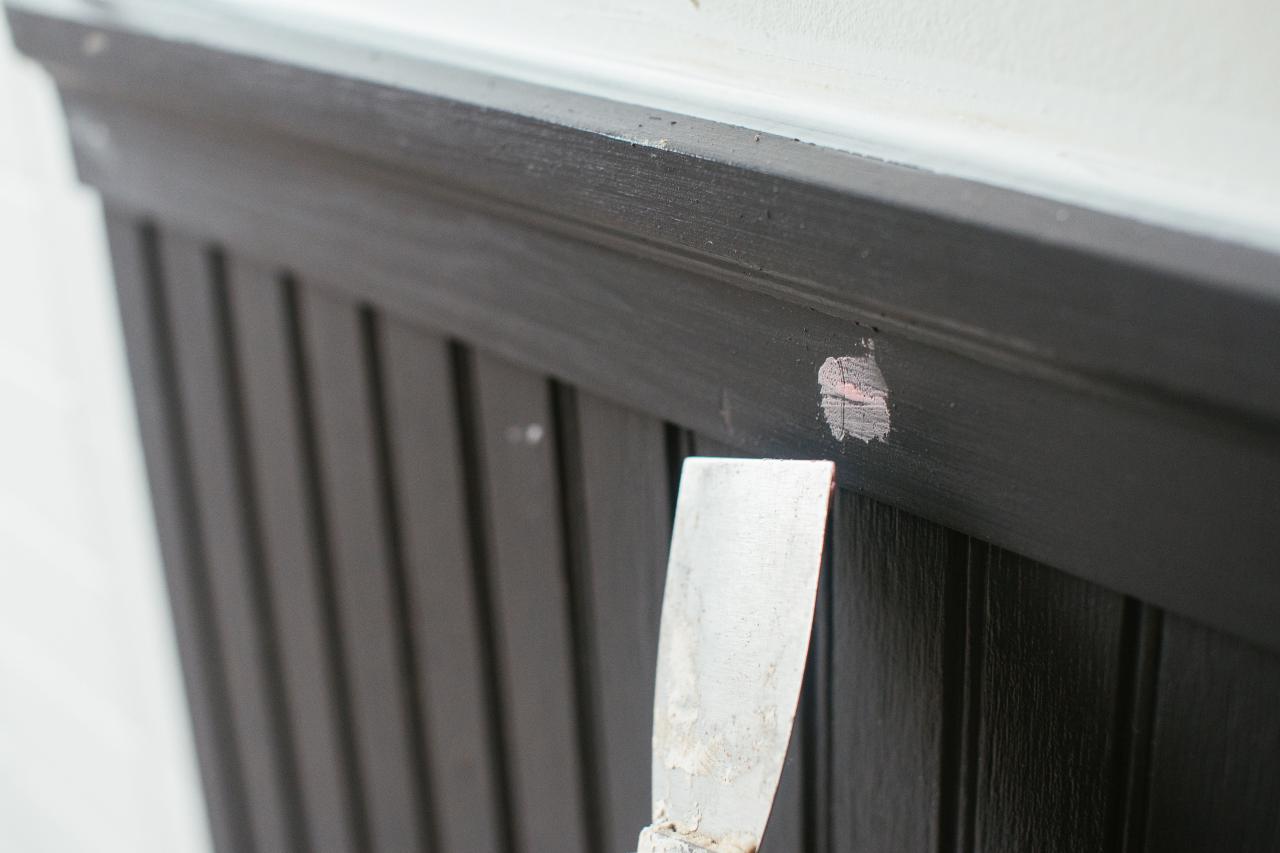
Use paintable caulk to fill any and all seams. Run a bead of caulk in between each panel, in the corners, where the trim meets the beadboard and where the trim meets the wall (Image 1). Use wood filler to fill in the holes created by your nail gun or driver (Image 2). Let dry, then sand and touch up paint where needed.
Finally, glue and nail the baseboard molding to the wall. Congratulations! You’ve protected your walls while adding character and charm.
Jennie Andrews
Jennie Andrews


