


How to Stain or Paint a Wood Fence
Proper maintenance like applying a fresh coat of paint or stain to your fence will help make it last longer and keep it looking great. Follow these tips and instructions to turn your tired, old fence into a backyard statement piece.

Your fence is an important part of your home. It provides security, privacy and, with proper care, a great deal of curb appeal. Once you have invested in a fence, routine maintenance can keep it strong and looking good for years. By maintaining the finish, you will be preventing damage from rot and insects and helping to slow decomposition.

Before (left) we painted the fence it looked worn and weather. With a mild cleaning and fresh coat of paint, the fence looks brand new (right).
How Often Should You Paint a Fence?
Moisture is the biggest enemy of a wood fence. Proper staining or painting creates a barrier that prevents moisture from doing damage to the wood. How often to paint or stain your fence is largely determined by climate. In rainy regions, you may need to refinish your fence more frequently, while arid regions may require less frequent maintenance. Many experts recommend every two to three years, but a better way to determine your need is to check for beading. On a stained and sealed fence, if water no longer beads up on the surface, but instead soaks in, it is time for a fresh coat. Also, if painted fences have cracks, chips and wear, they'll benefit from a new coat of paint.
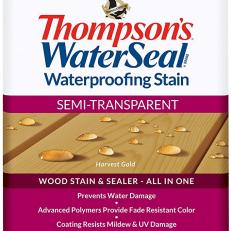
Types of Paint/Stain to Use on a Fence:
There is some debate on whether to paint or stain a fence. Both will provide protection from the elements, insects and normal wear to extend the life of your fence. While this is a personal choice, there are some things to consider:
- Painting a fence can be less expensive, but may require more frequent maintenance depending on your region and the quality of paint used. Painting will also require some additional preparation before re-painting.
- Staining can be more expensive initially. The stain may cost less per gallon than paint, but you may need more of it to complete the job. On the other hand, stain absorbs into the wood better than paint. Instead of chipping and peeling like paint, the color will just fade away over time.
If you are concerned about color, most stains come in a variety of color and opacity options.
Before You Begin:
- Plan for any help in advance. Working with a friend or neighbor will make the process faster and more manageable.
- Research your paint or stain choice. Ensure it is high-quality for a long-lasting finish and consider how the paint or stain color will look as the fence weathers.
- Make necessary repairs and prepare the work area for painting/staining.
- Check the weather forecast. It is best to work on your fence when temperatures are between 40 and 90 degrees Fahrenheit and humidity is low to moderate. Do not paint when precipitation is in the immediate forecast or expected within the time necessary for drying. Avoid painting your fence on windy days to prevent paint from drifting into unwanted areas.
- Plan to complete the job within a specified time frame, including drying times.
- In addition to maintaining the seal on your wood fence, be sure to keep moisture away from the surface by having the wood slightly above grass level, keeping grass trimmed and bushes and ivy out of direct contact.
- Always use gloves and a face mask when sanding and working with toxic chemicals.
Tools and Materials:
- a wide nylon or polyester paintbrush (4-6 inches)
- paint roller with a 3/4-inch or thicker nap
- paint sprayer (optional)
- fence paint or coating
- wire brush
- face mask and disposable gloves (optional)
- sandpaper
- drop cloth
- masking tape
Shop Painting Supplies


1. Remove the Old Coating + Prep Surface
Even uncoated fences may still have a glazed surface applied by the mill that will cause a new coating to fail. Apply a paint or wood stripper until the finish begins to lift, then scrub. Working in manageable sections, scrub the surface with a stiff brush to remove any coating and dead wood fibers. In most cases, the stripper solution will need to remain wet for your scrubbing efforts to pay off. This step will allow your new finish to be properly absorbed into the wood and produce longer-lasting results.

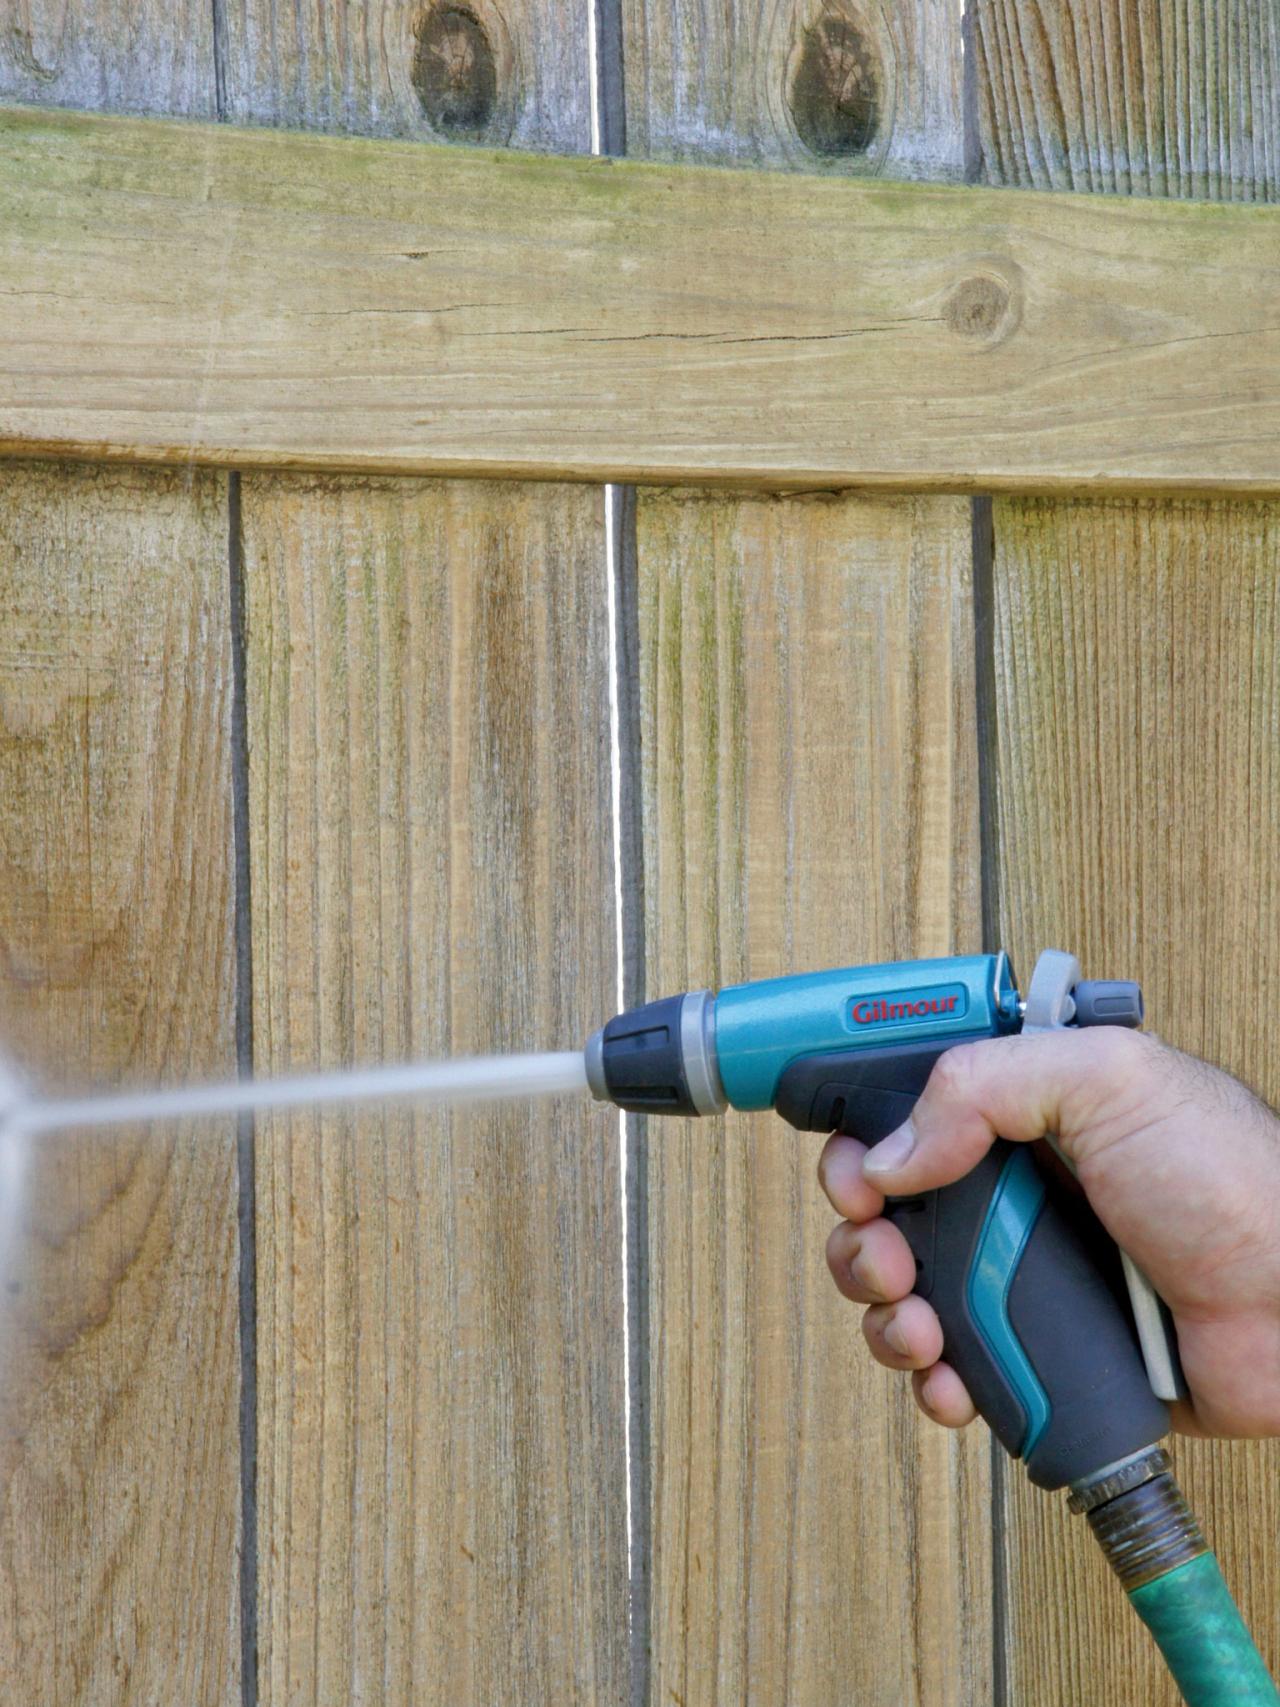
2. Rinse
Rinse the area with a high-pressure nozzle attached to a hose or a pressure washer. If using a pressure washer, make sure to work with the grain of the wood to avoid leaving gouges and marks on the fence. Repeat the process until the entire fence surface is stripped.

3. Clean the Fence
Clean the fence surface by applying a cleaner — a small amount of a soapy bleach-water solution may be all you need, but seek out a fence/deck cleaner for tough stains. Scrub with a stiff bristle brush to remove dirt, debris and mildew. Rinse thoroughly with a high-pressure nozzle attached to a hose or a pressure washer. Allow the fence surface to dry. Once dry, it's the perfect time to repair any damaged, cracked or warped boards. Sand away any small imperfections and replace boards with major flaws.

4. Cover Unpainted Areas
Place a plastic drop cloth on the ground to prevent paint from getting on your lawn or plantings. To maneuver around shrubs and bushes near your fence, keep a piece of plywood handy to place between the shrub and the fence, leaving enough space for you to get between the two. The plywood will distribute the weight more evenly and prevent breaking branches.
Apply painter's tape to any areas you do not wish to paint such as gate hardware.

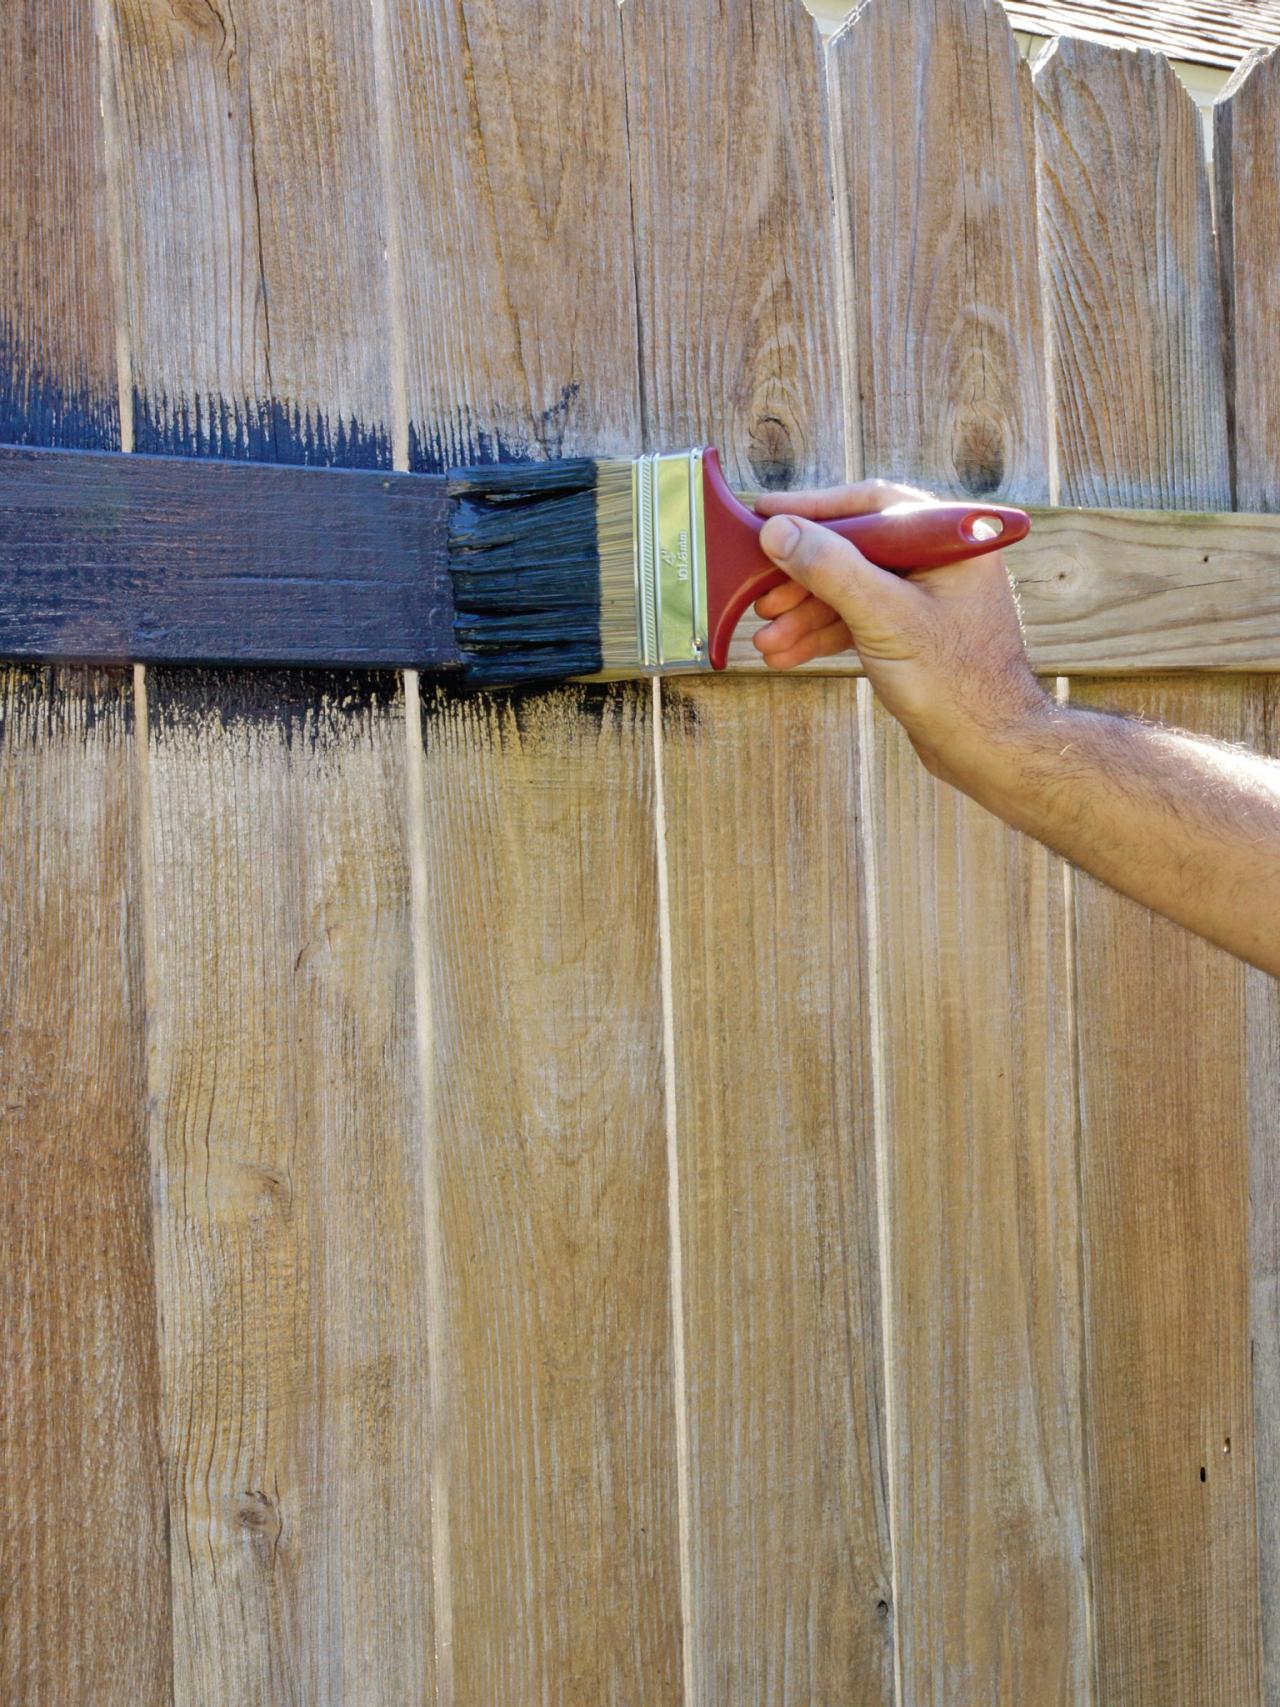
5. Paint Horizontal Trim
Pour your new coating into a bucket and mix thoroughly. Using a wide nylon or polyester brush (4-6 inches), begin applying the coating. For best results, begin with any top trim or horizontal pieces.

6. Paint the Pickets
Paint the vertical pickets, working from the top of the fence to the bottom. If using a roller, back-brush every couple of feet to ensure even coverage and avoid lap marks. If you are using a paint sprayer, work in the same method, but stop every few feet and use a wide brush to back-brush. This will prevent lap marks and better help absorb the coating into the surface. Continue in this manner until the entire surface is covered.

7. Let Dry
Allow the fence to dry completely, then add another coat if necessary. Once you're finished, remove any masking tape and the drop cloth. Your "new" fence is now ready to make a statement.


Design Ideas for Wooden Privacy Fences 54 Photos
Whether you’re looking to spruce up your yard, keep your pet from wandering off or need more privacy, check out these innovative wooden fence designs.

How to Reinforce Fence Posts
A wobbly fence can be dangerous as well as an eyesore. Follow these instructions to repair leaning fence posts.


