


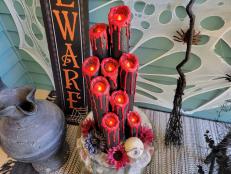
How to Make Gel Candles
Turn your favorite trendy finds into pretty, scented decor.

What You'll Need
- clear gel candle wax
- (3) 1/8" copper tubes
- 2 zinc wicks and tabs
- faux succulents
- river rocks
- short glass jar
- tall glass jar
- needle-nose pliers
- your favorite essential oils
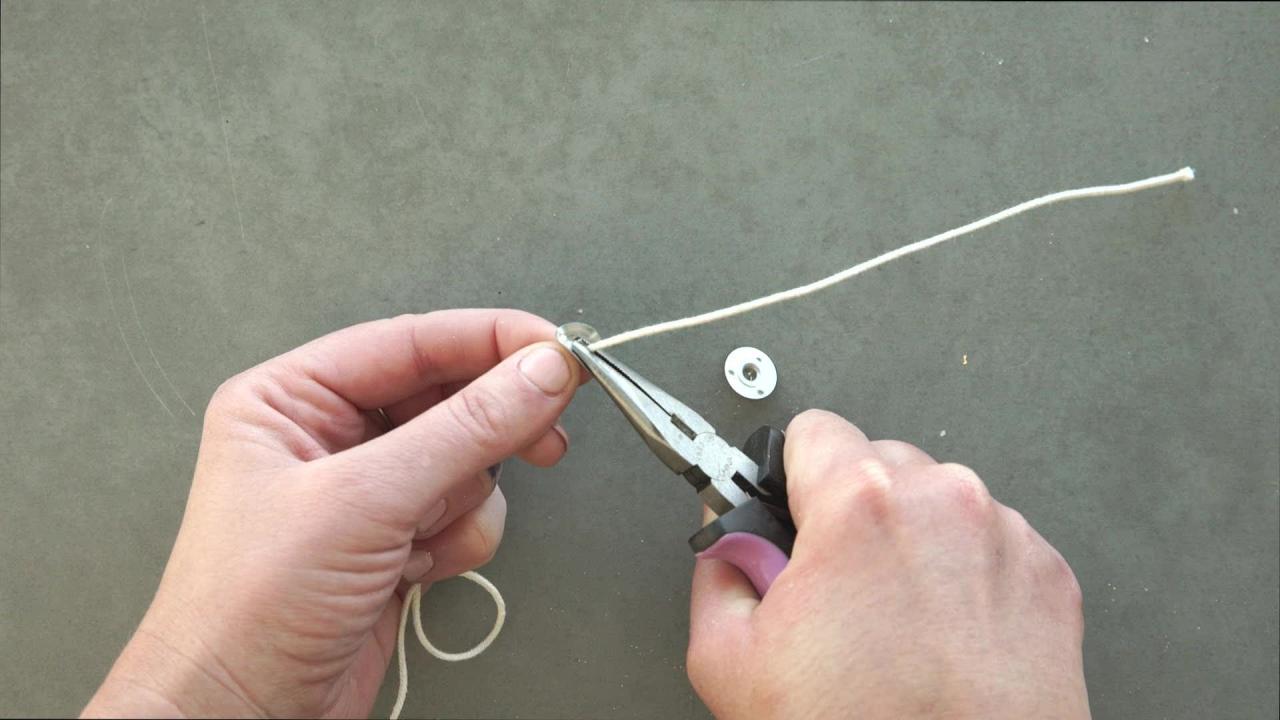
Prepare Wick

Thread tab onto wick and crimp to secure.
Melt Gel
Fill a medium sauce pan with gel wax and melt over medium heat. Using a thermometer to monitor the temperature, heat until gel reaches 200 degrees Fahrenheit, but no hotter. If it exceeds this temperature, the gel will lose clarity and turn yellow. Maintain this temperature until gel is completely smooth and melted.
Prepare Objects
To prevent bubbles from forming in your finished candle, it's important to pre-dip the wicks and other porous decorative objects in gel. Using tongs, submerge the entire wick in melted gel, then remove and lay on a paper towel to dry.
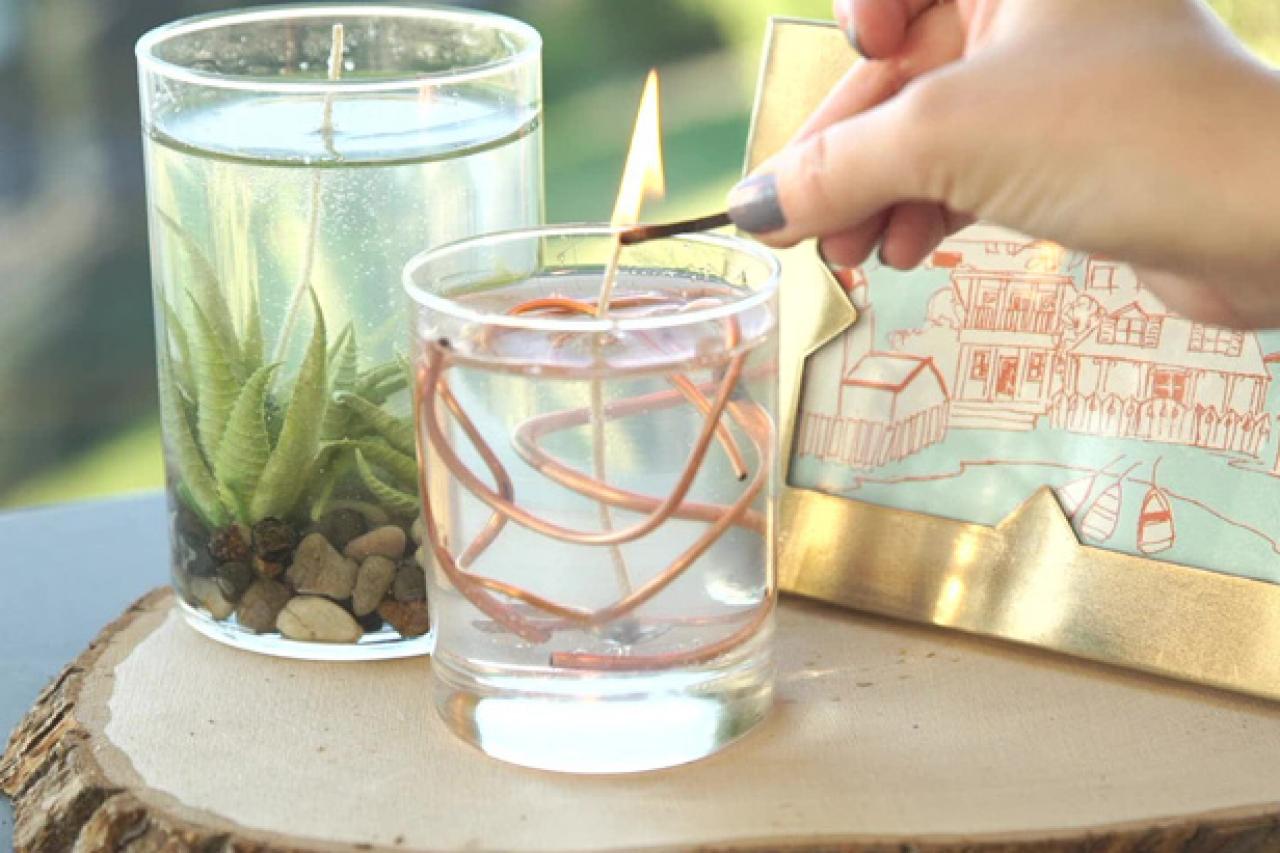
Copper Art Candle
Bend copper tubes for an abstract, artsy look, then pre-dip in melted gel. Place tubes directly into a short glass jar. You can also pre-dip and let dry on a paper towel if preferred.
Add Wick
Using tongs, place wick in the center of the candle with metal tab touching the bottom. Use chopsticks to hold in place.
Add Gel
Shake a few drops of your favorite essential oil into the melted gel, stir very carefully, then pour wax into the glass jar. To prevent bubbles, pour slowly and gently until wax completely covers the copper tubes or is about 1/4-inch from the lip of the jar.
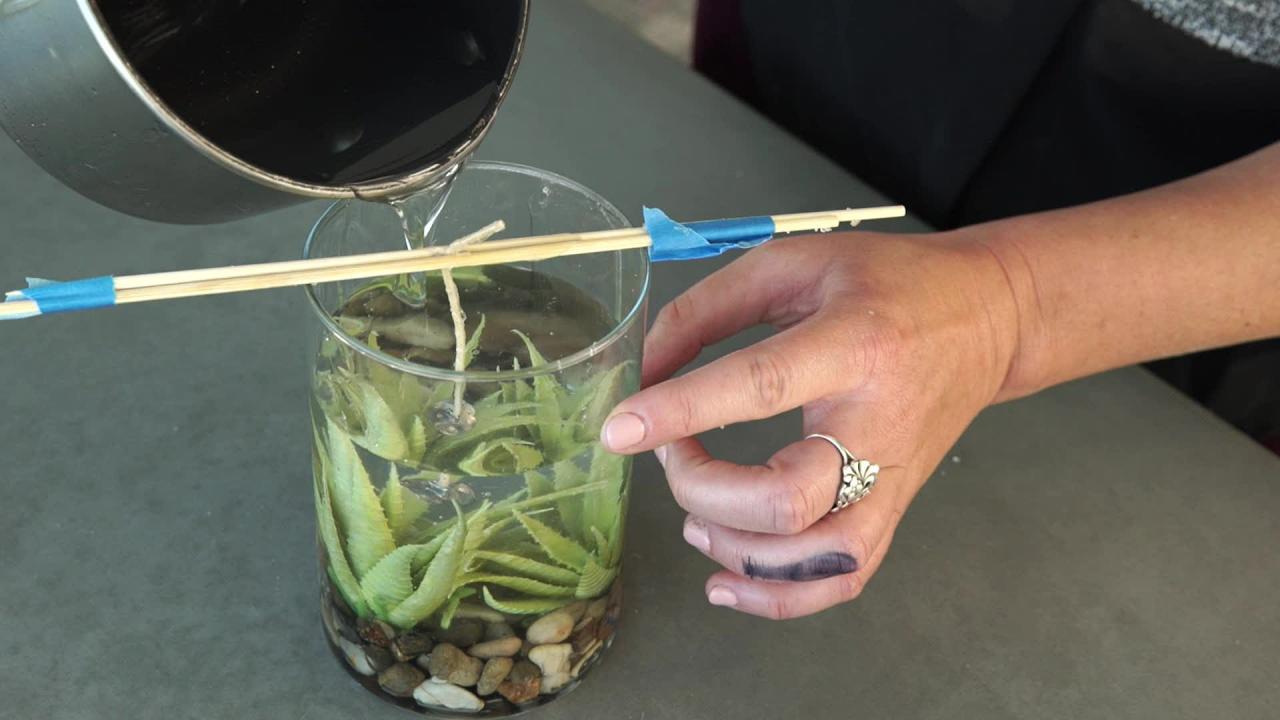
Succulent Candle
Add a layer of river rocks to the bottom of a tall glass jar, then add two or three pre-dipped faux succulents.
Add Wick and Gel: Safety Warning

Because faux succulents are flammable, it's important to arrange the wick so that it sits above the objects in the jar. Once placed, hold wick in place with chopsticks. Pour gel carefully and slowly until it reaches about 1/4-inch from the top of the jar.
Finishing Touches

Let candles cool in an area that doesn't receive a lot of foot traffic. The less they're disturbed, the less bubbles you'll see once they're cool. When candles finish cooling (it's best to leave them overnight), remove chopsticks, trim the wicks and you're done!


