


How To Create A Faux-Tiered Ceiling

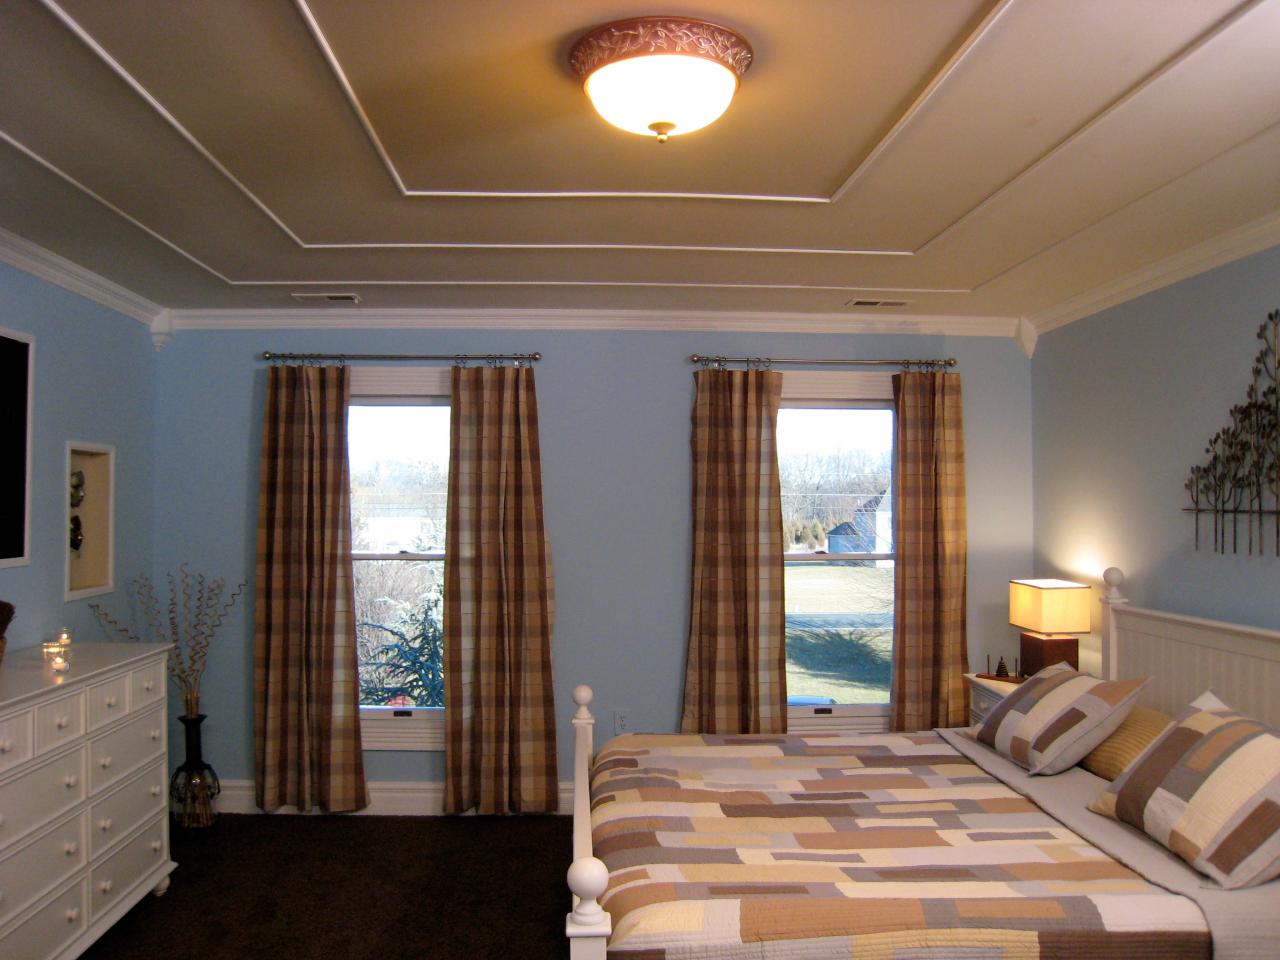
Create the illusion of a tiered ceiling by using different shades of the same paint color and then creating a rectangular molding border around each color. The gradient shades with the darkest in the middle, will create an illusion of depth and draw the eye up to the center.
Materials and Tools:
tape measure
chalk line
miter saw
paint brushes/rollers
ladder
nail gun
molding
flat paint in four different shades of the same color
nails
Steps:
1. The first thing you want to do is decide how many tiers to put on your ceiling. For our project we used four different tiers.
2. Measure the ceiling, divide the space into equal sections so they will fit proportionally inside one another. Write down the measurements, you'll need them later when it comes time to cut the molding.
3. Use a chalk line to mark the outline of the tiers.

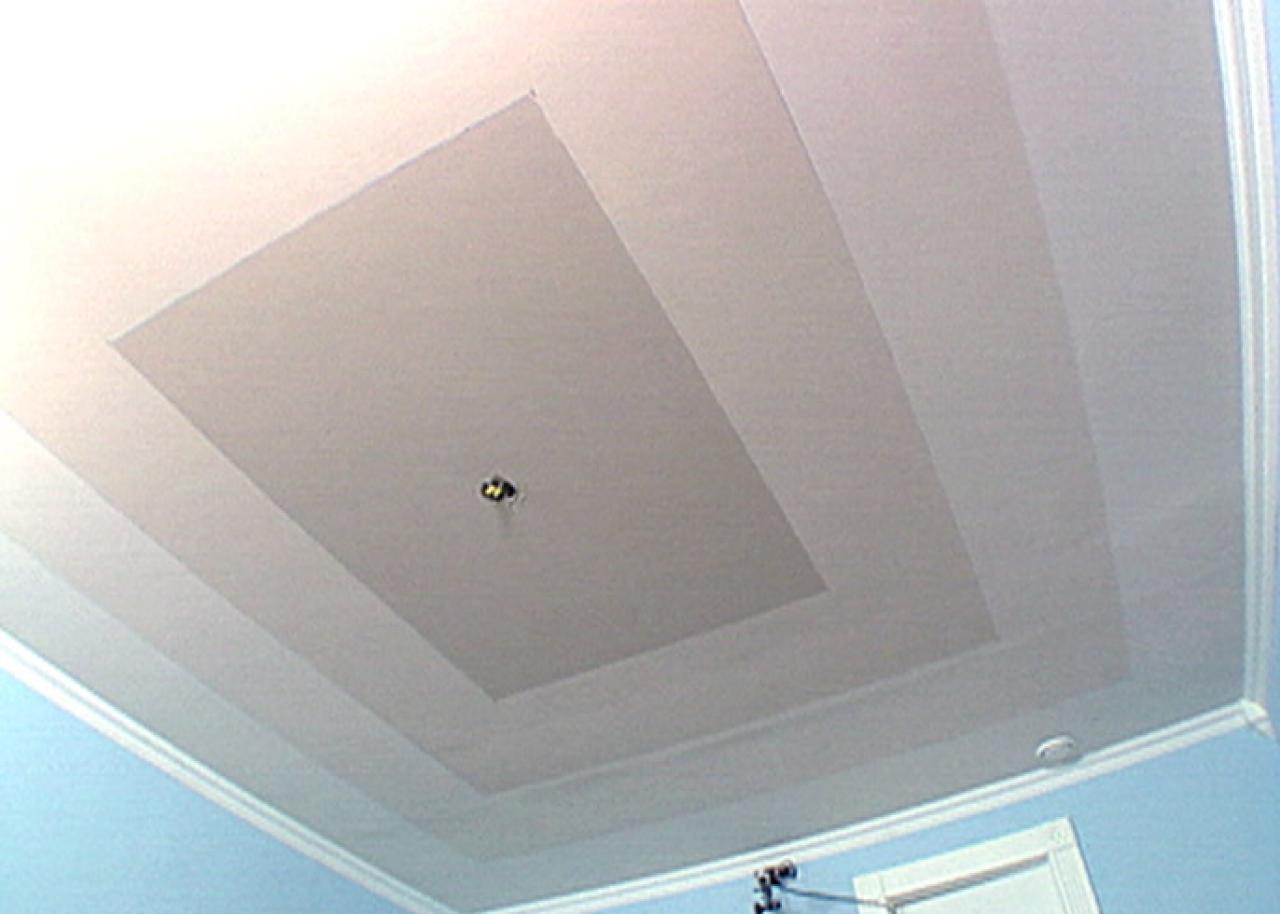
4. For this porject we used different shades of brown. Start by painting the lightest shade on the outer section.
5. Paint the next inner section a shade darker than the outside. Continue painting each section, gradually getting darker as you get to the center. The center section needs to be the darkest shade. The gradient colors will help give the illusion of height.
6. Double-check the measurements of the each color section of the ceiling.

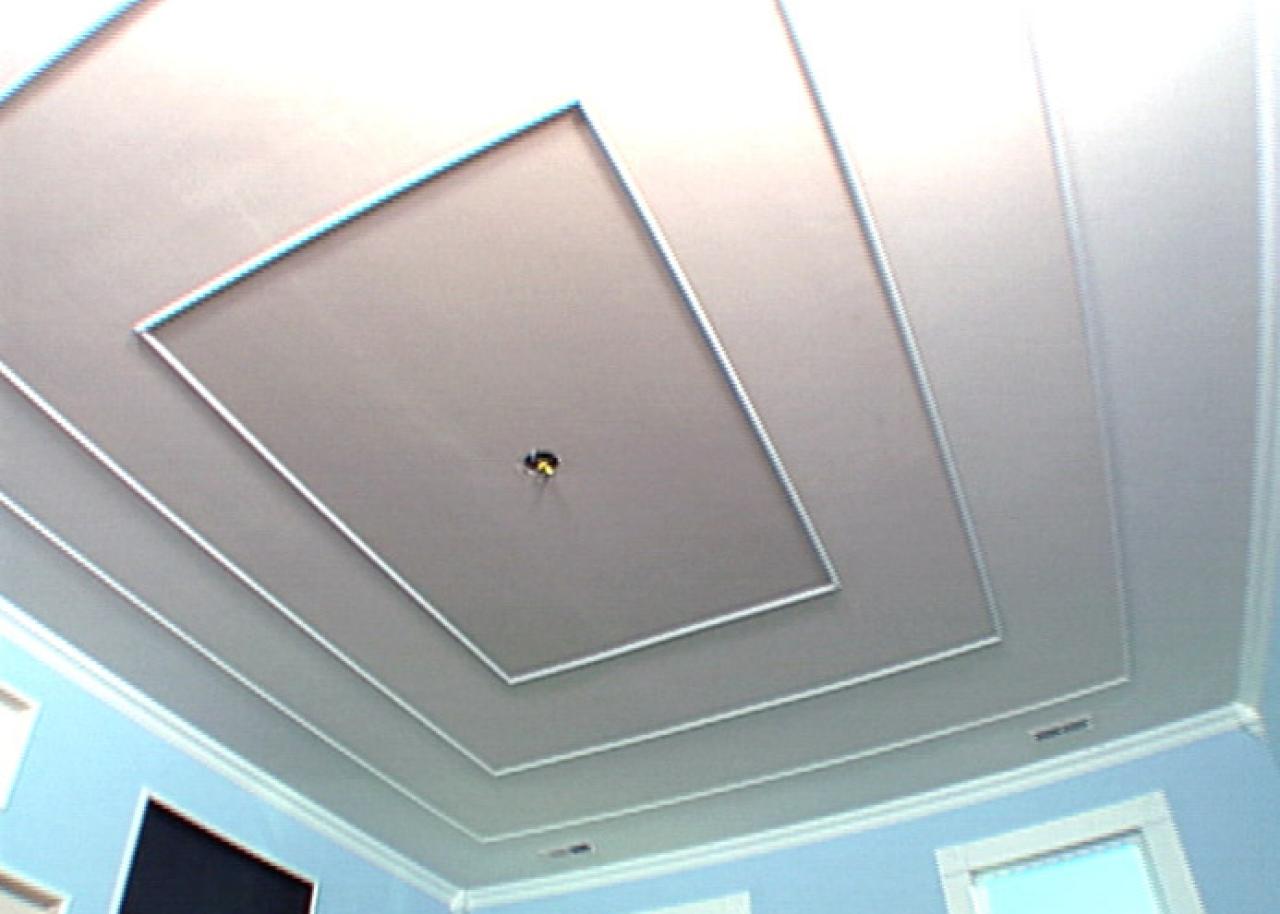
7. Cut the molding to the appropriate size. Paint or stain as desired.
8. Fasten the molding around the individual sections to create a finished, vaulted appearance.


