How to Build Airtight Insulated Cathedral Ceilings
Proper construction techniques can help ensure airtight, dry and energy-efficient cathedral ceilings.
Rethink Design Studio
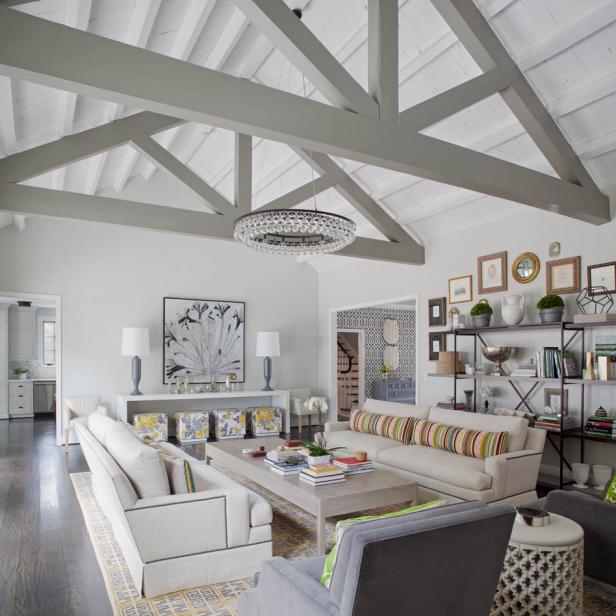
Cathedral ceilings can add an element of grandeur to any new home, but it is important to use the proper building techniques to manage moisture and energy performance issues. Condensation in the insulated cavity space can lead to wood rot and mold, which can compromise the durability of the roof, the efficiency of the home, and health of the homeowners.
The bulk of moisture moving into any insulated cavity is driven primarily by air. The Best Practice for building insulated cathedral ceilings is to create an airtight roof assembly. You have two Best Practice options: vented batt insulation and unvented spray-applied insulation.
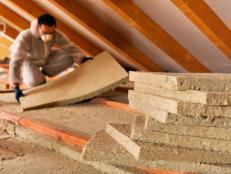
Cathedral ceilings built using 2 x 12 roof rafters allow enough space for the fiberglass batt insulation and a 1.5" gap for ventilation. This type of roof assembly is designed so the air can flow up the soffit vent, through an insulation baffle, pass through the 1.5" gap between the insulation and roof sheathing, then exit through a ridge vent.
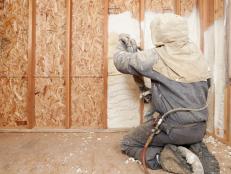
By using spray foam insulation, the second Best Practice option, air movement through the insulated space is stopped, so venting is not needed. The sealing nature of spray foam insulation works to make the ceiling cavity airtight. This will help keep moisture-laden air from entering and condensing within the insulation or forming on the underside of the roof sheathing, and it's important for improving homeowner comfort and energy efficiency. Note: Most experts agree that closed-cell foam is best for unvented cathedral ceilings while vented cathedral ceilings can be insulated with less expensive open-cell foam.
Here's how you do it:
- When framing the roof of a cathedral ceiling, use 2 x 10 lumber for the roof rafters; the extra depth of traditional 2 x 12 rafters is not needed.
- Be sure to bring the roof sheathing all the way up so it meets on both sides of the ridge beam without any spaces.
- Run utilities such as plumbing vents and furnace flues as usual, ensuring they are properly flashed on the exterior surface of the roof.
- Use an ice and water shield three to four feet up from the eave, and cover the remaining roof area with roof paper.
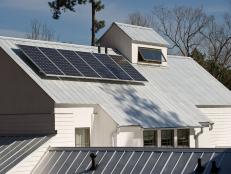
- Apply the desired roofing material (e.g., asphalt shingles or clay tiles).
- On the inside of the roof, at the eave, fill the space between the top plate of the wall and roof sheathing with a piece of rigid foam board (this creates a stop or a block when spraying the insulation).
- Spray in foam insulation and trim back the excess to hang the drywall.
- Use foam gaskets or caulking to seal any electric boxes or HVAC registers that penetrate the drywall.
Track lighting is recommended for cathedral ceilings, if possible. If recessed down lights are required, be sure that they are installed airtight and are Insulation Contact (IC) rated.
When applying gypsum board to where a wall meets the portion of the roof that slopes up, you should take extreme care to seal that connection. An easy way to seal the connection is to glue the edge of the drywall to the framing.
There's been some talk in the industry that non-vented roof assemblies would dramatically increase the temperature of roof shingles, potentially diminishing their appearance and durability over time.
Not so! A study by the Florida Solar Energy Center found only a few degrees difference in shingle temperature between vented and nonvented cathedral ceilings. Shingle color has a much greater effect on temperature than venting or nonventing. To read this report, please visit the energy.gov website.


