


Installing a Laminate Wood Ceiling

Materials and Tools:
nail gun and nails
screw gun and screws
tongue and groove clips
wood ceiling planks
level
chalk line
miter saw
drill
router
Steps:
1. Unpack the planks and leave in the room to acclimate to the climate for at least 24 hours before installation.
2. The planks will run in the direction opposite your ceiling joists.
3. Determine the width of the first row of planks to make the first and last rows equal. Snap a chalk line across the joists where the leading edge (the side away from the wall) of the first row of planks will sit.
4. Face nail or screw first plank on the side closest to the wall. Place the nails or screws close to the edge so that they will be hidden by the crown molding later on.

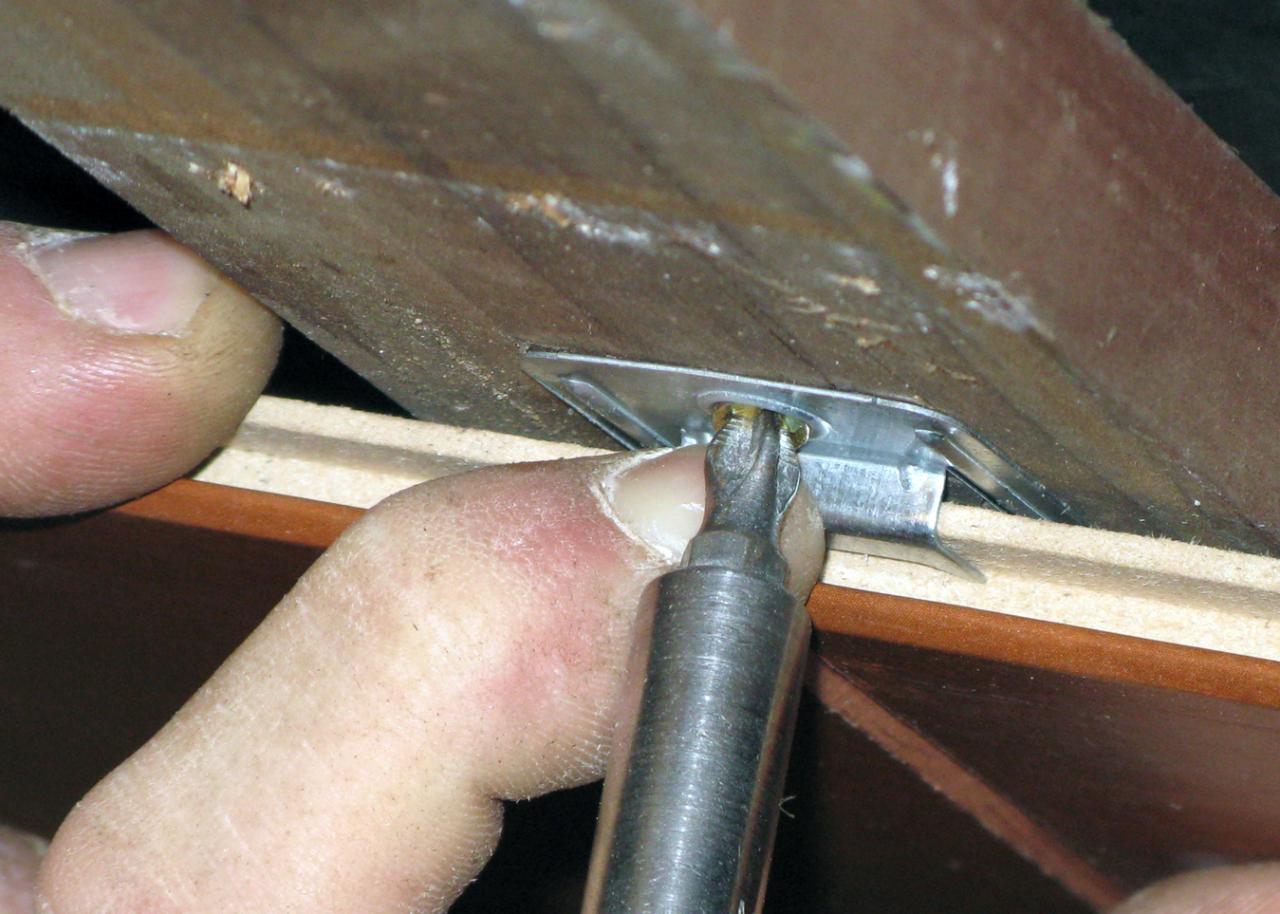
5. Align the leading edge of the plank (groove edge) with the chalk line Slide a metal clip underneath the first plank and screw it to the beam with the clip's notch grabbing onto the inside of the plank's groove.
6. Use as many clips as necessary to make sure each plank is secure. Check the manufacturer's instructions; it will depend on the spacing of your joists.
7. Stagger the end joints of planks for a more professional look (as you would when laying a hardwood floor).
8. Use a miter saw to cut the planks to length. Use standard tools such as a drill and router to cut holes for light fixtures, sprinklers or air vents.
9. When installing the last row of planks, allow a 1/2-inch clearance from the end wall and secure the last row with face nails or screws like you did with the first row.
10. Install a decorative molding to finish the ceiling and cover the nails or screws along the walls.


