


How to Mount Crown Molding to a Tray Ceiling

How do you attach the top of crown molding to a ceiling that isn't flat? By creating a surface with 2-by-2-inch wood angled to match the angle of the molding. Here's how to cut and mount the molding and add some flattering rope lighting while you’re at it:
Materials and Tools:
crown molding
rope lighting
rope-lighting clips
2-by-4-inch lumber
drill
table saw
miter saw
nail gun
tinted wood putty
ceiling paint

Steps:
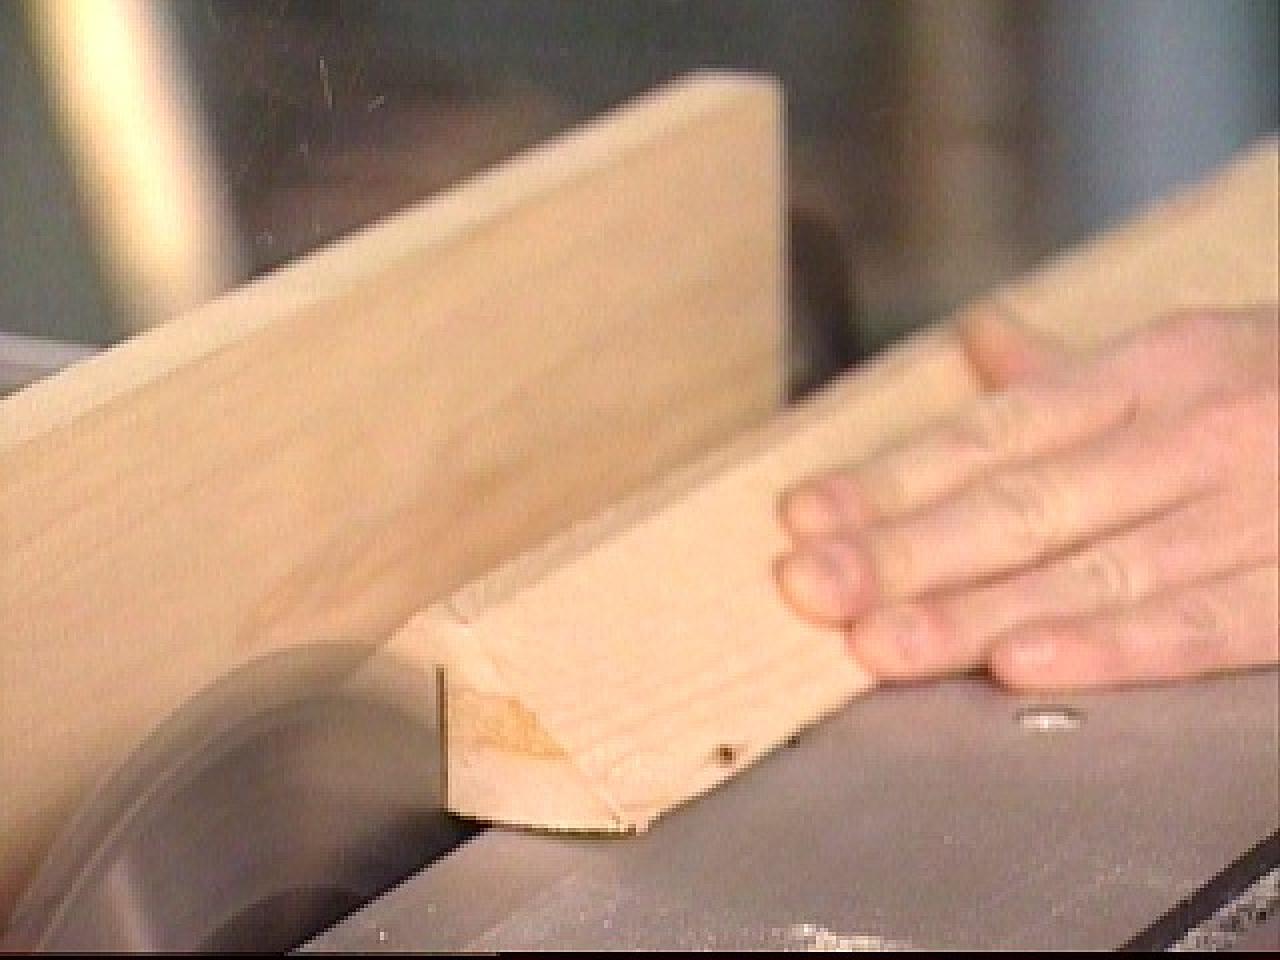
1. To cut the 2-by-4 lumber so it’s angled, make a 45-degree-angle cut to remove one corner. Turn it around and make the same cut to remove the opposite corner. Then cut it in half lengthwise with a straight cut.
2. Nail your new 2-by-2s to the wall along a level line and attach clips about every 18 inches along the top for the rope lighting.

3. Stain the crown molding and let it dry.
4. Determine which type of cut is necessary for each piece to fit correctly and make he cuts. Note: When using a miter saw for outside corner cuts, pretend that the base of the saw is the ceiling and the back plate is the wall.
5. Nail the molding into place, and fill the holes with putty using your fingers and a rag.
6. Clip the rope lighting into place.


