


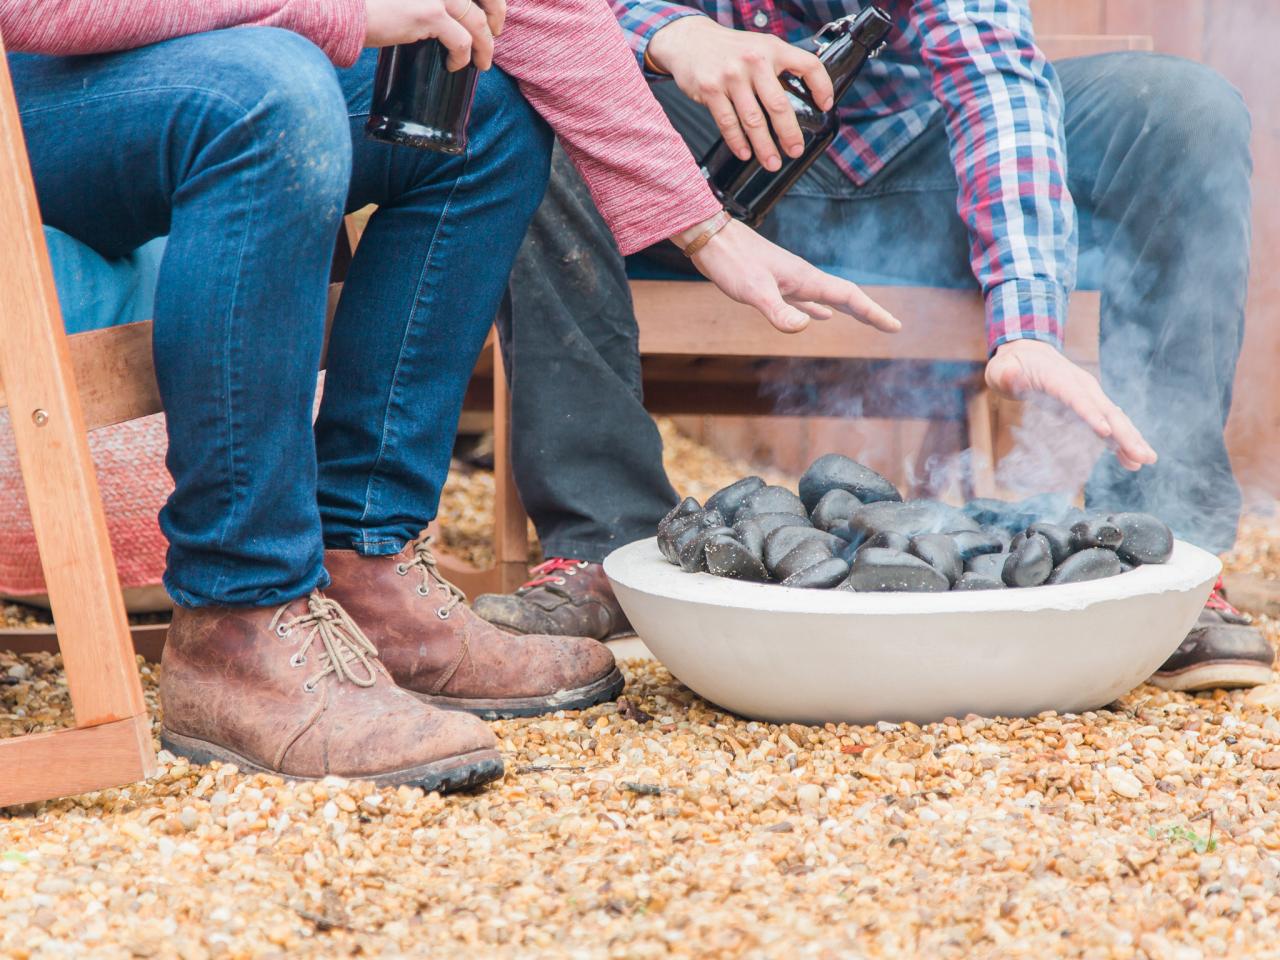
How to Make a Concrete Fire Bowl
No room for a fire pit? Make an easy concrete fire bowl that fits in a backyard of any size.

Tomas Espinoza/Flynnside Out Productions

Materials and Tools
- quick-mix concrete
- vegetable oil spray
- damp rag
- bowls for forms (one 22" and one 18")
- drop cloth or plastic sheeting
- 14" charcoal grate
- river stones
- long lighter
- drill
- 1/2" masonry bit
- mixer
- bucket
- rubber gloves
- dust mask
- goggles
- mallet
- orbital sander
- 220-grit sanding block
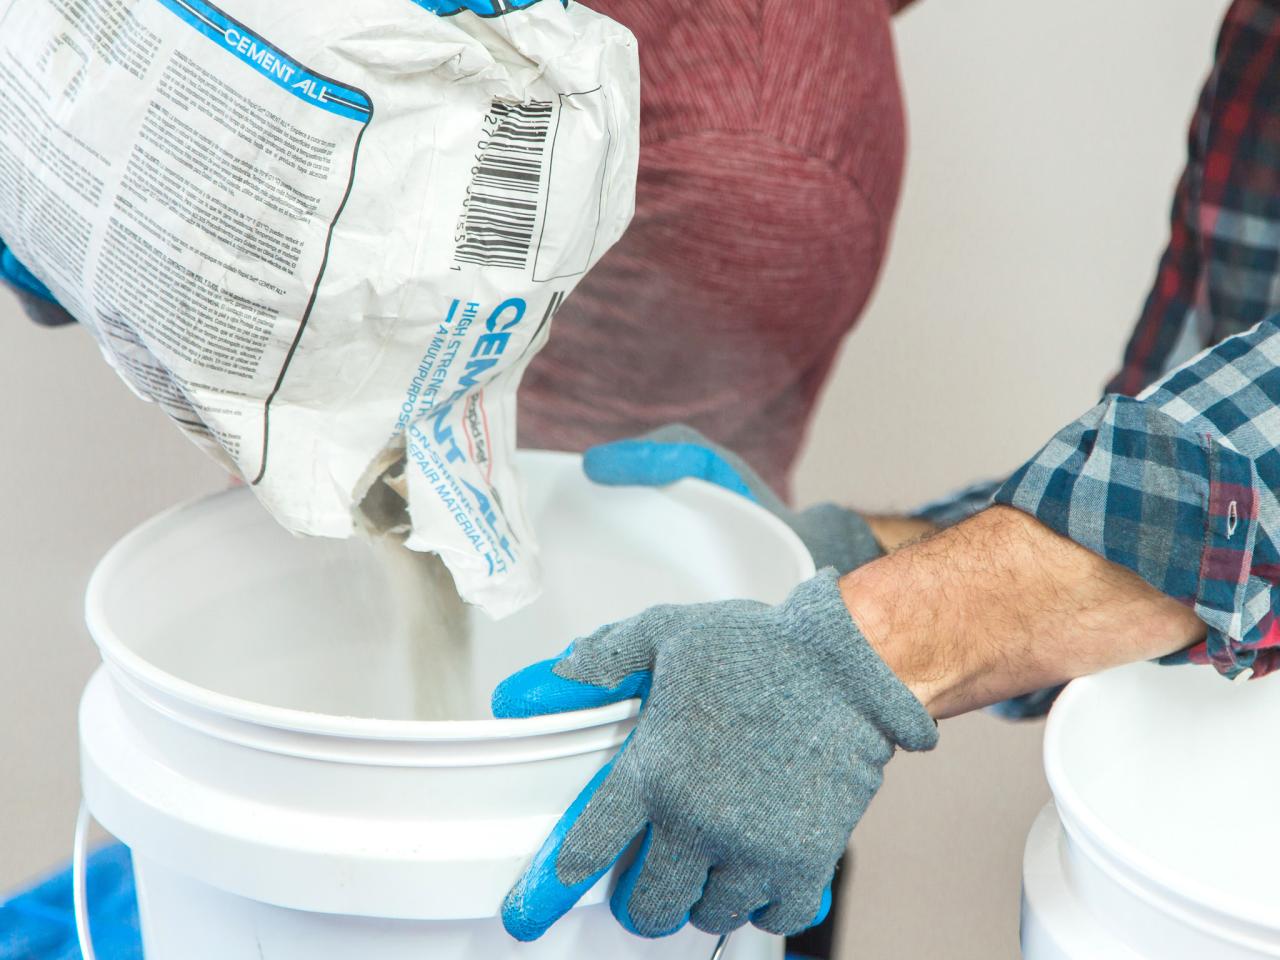
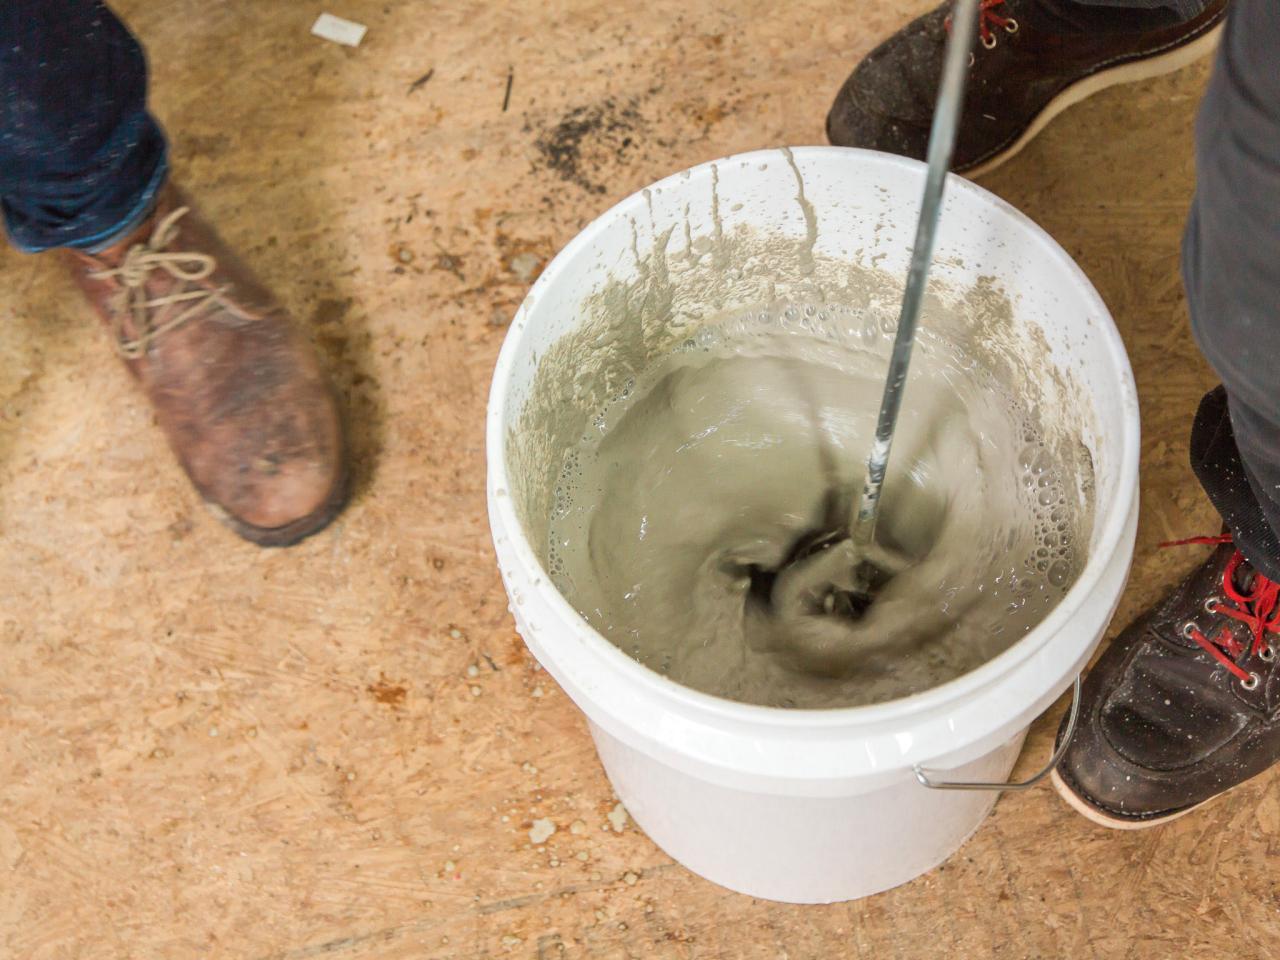
Mix Concrete
Prep your area with scrap board or tarps, as mixing concrete can be messy. Wearing gloves, a dust mask and goggles, pour concrete mix and water into a bucket, and mix until you get a pancake batter consistency (Images 1 and 2). You’ll need to work quickly, so the concrete doesn’t set before you pour into the forms.

Tomas Espinoza/Flynnside Out Productions

Tomas Espinoza/Flynnside Out Productions
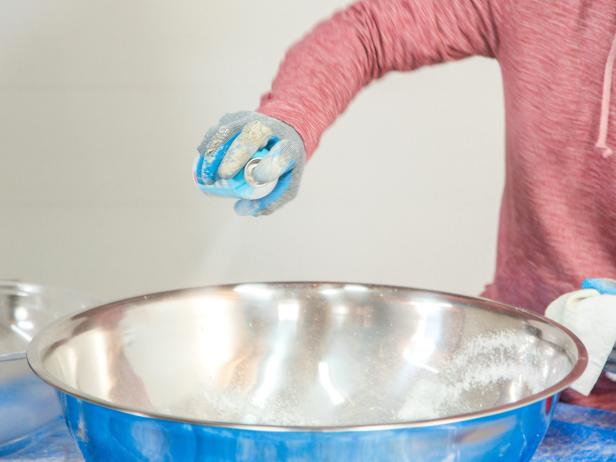
Prep Forms
The larger bowl will form the fire bowl exterior. Use vegetable oil spray to lubricate the inside of this bowl (Image 1). Then, do the same to the outside of the smaller bowl which will form the shape of the fire bowl’s interior. Spread oil evenly with a rag if needed (Image 2).
Tomas Espinoza/Flynnside Out Productions
Image 1
Tomas Espinoza/Flynnside Out Productions
Image 2
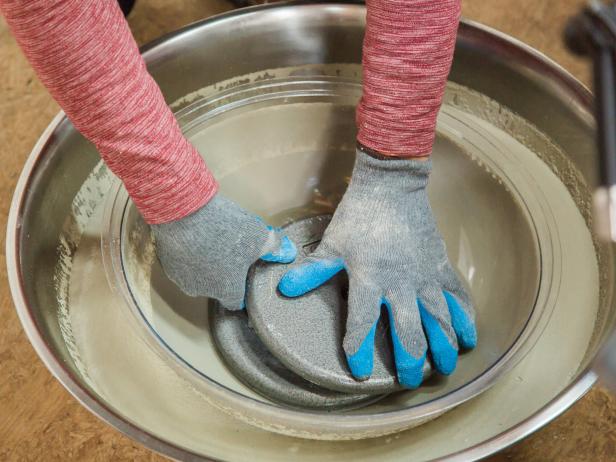
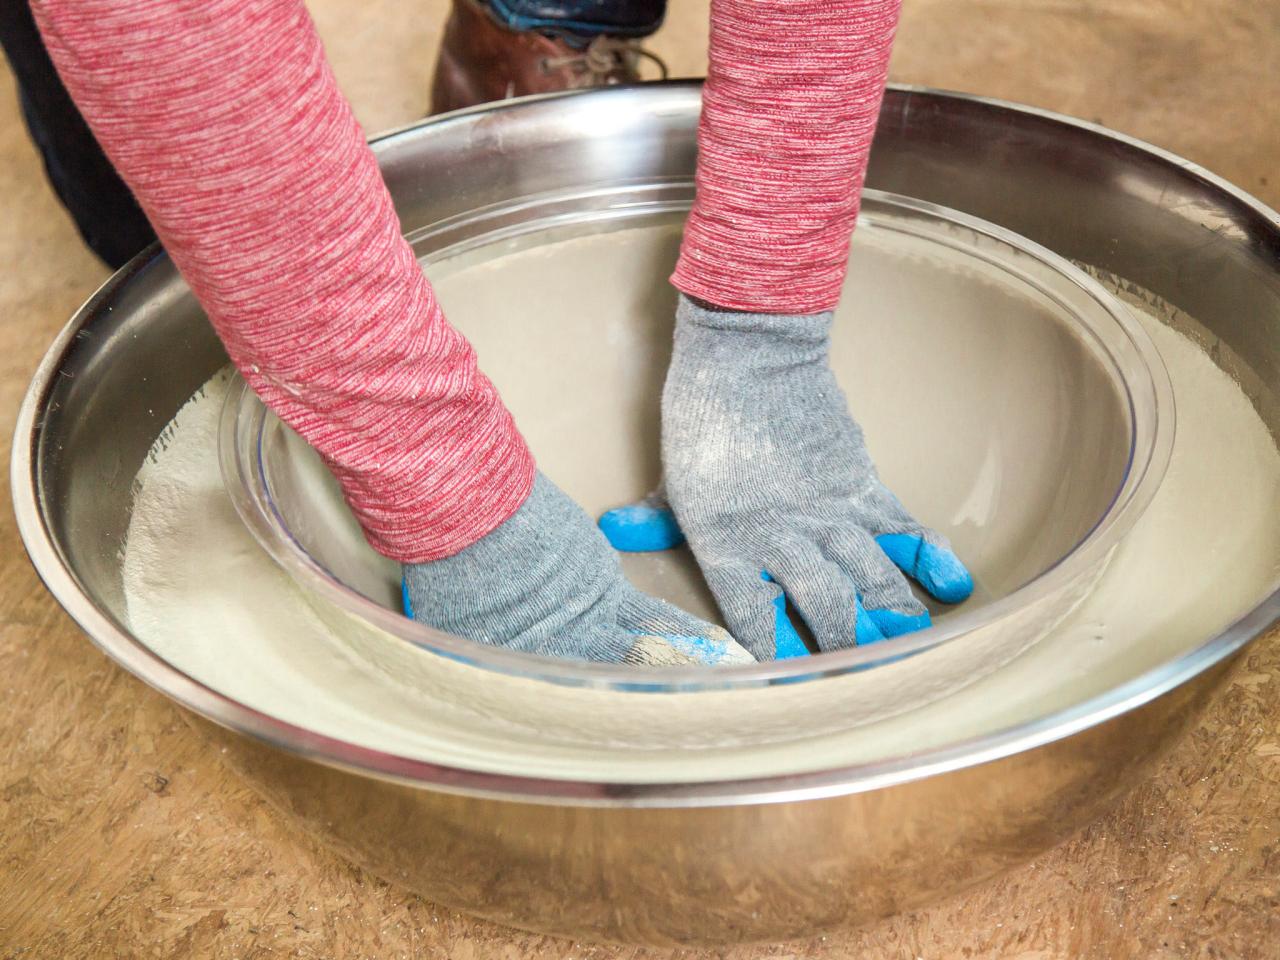
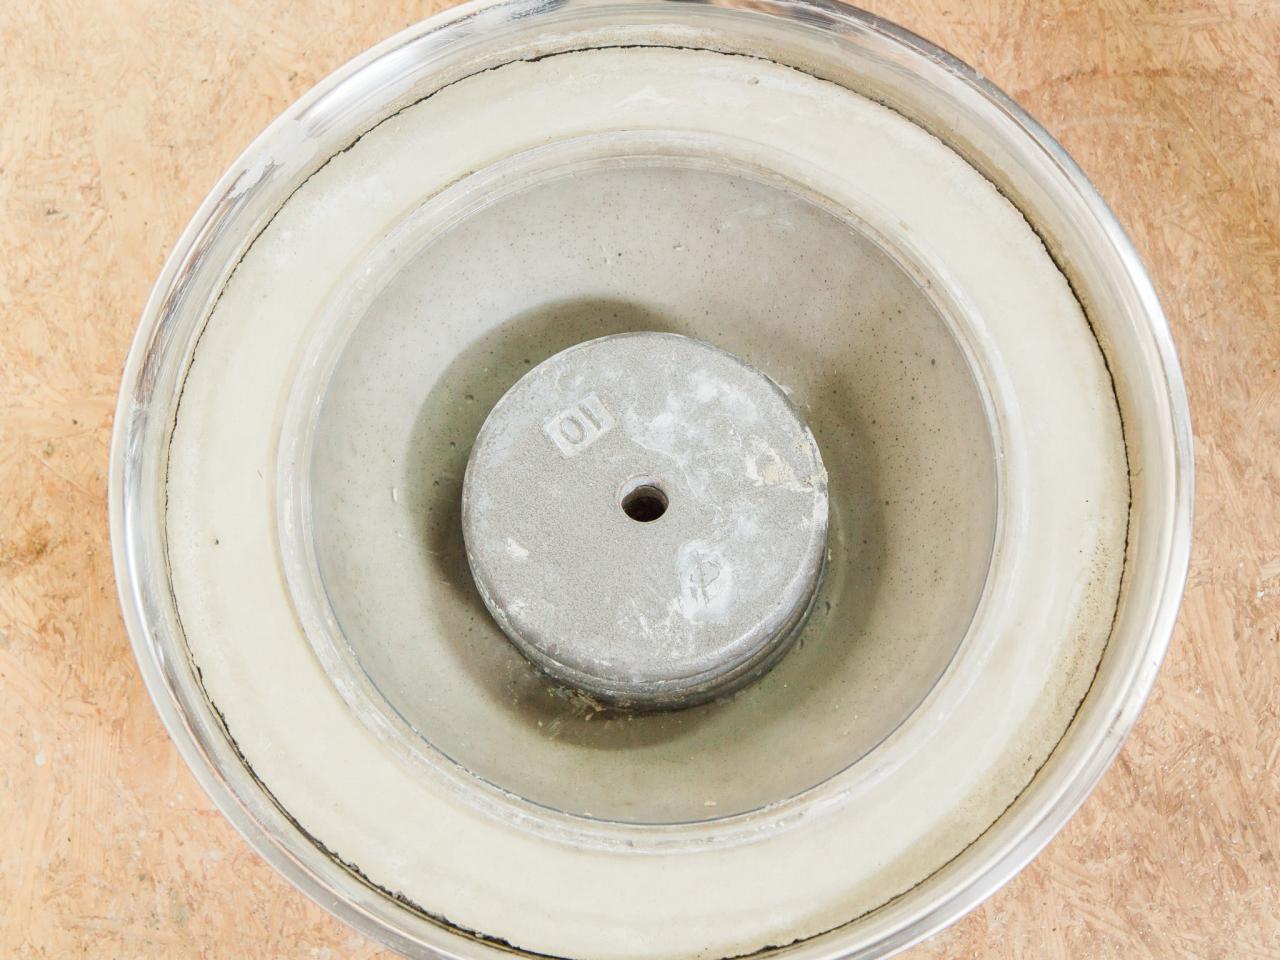
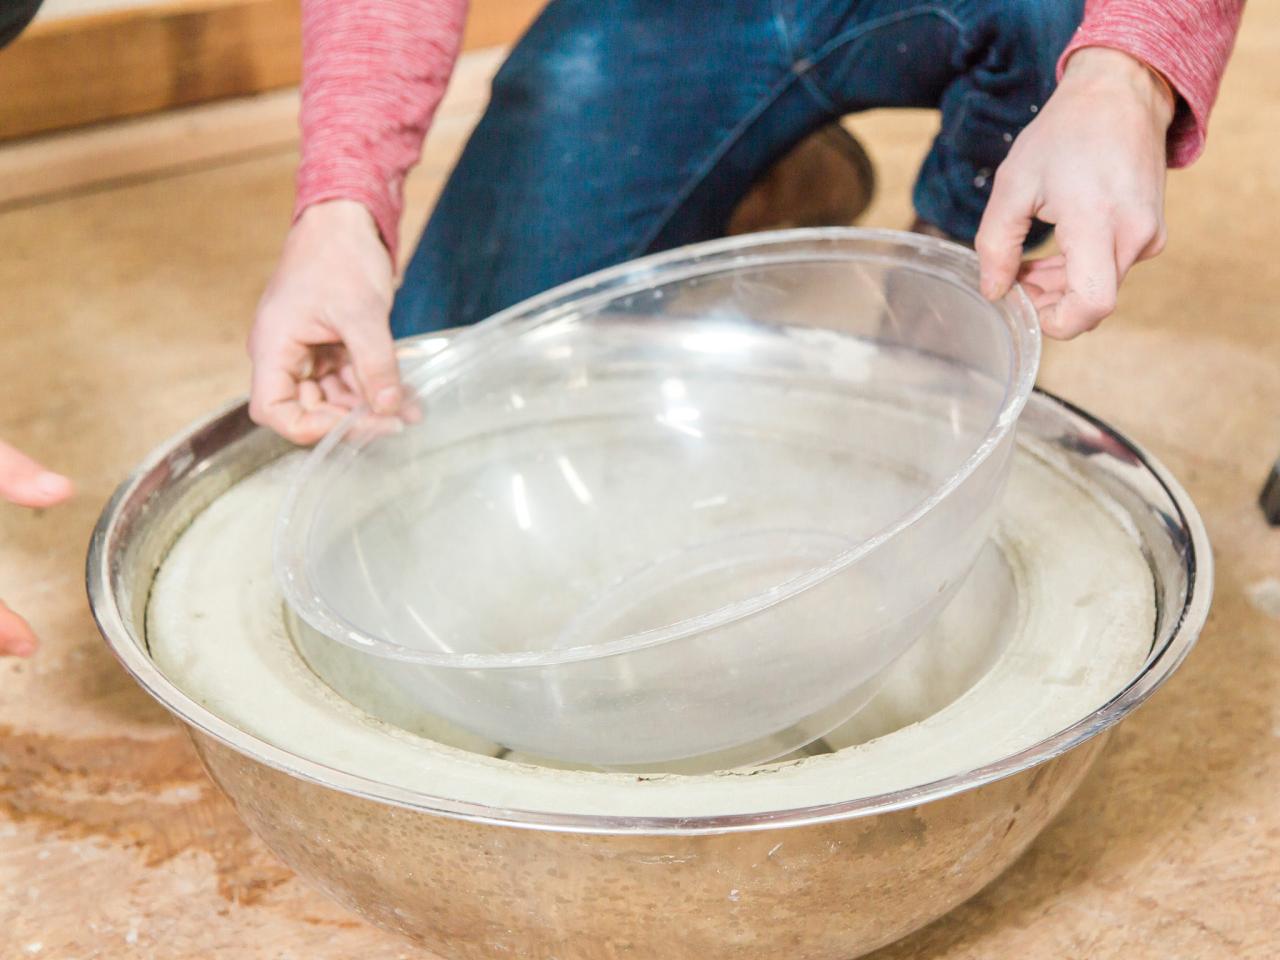
Pour Concrete Into Form
With your concrete at the right consistency, quickly and carefully pour the mix until you fill the large bowl about halfway. Then, press the smaller bowl into the mixture in the center. Use light pressure, and push until the concrete mix raises to the desired height (Image 1). Add weights to keep the small bowl in place during the curing process (Image 2).

Tomas Espinoza/Flynnside Out Productions
Tomas Espinoza/Flynnside Out Productions
Image 2
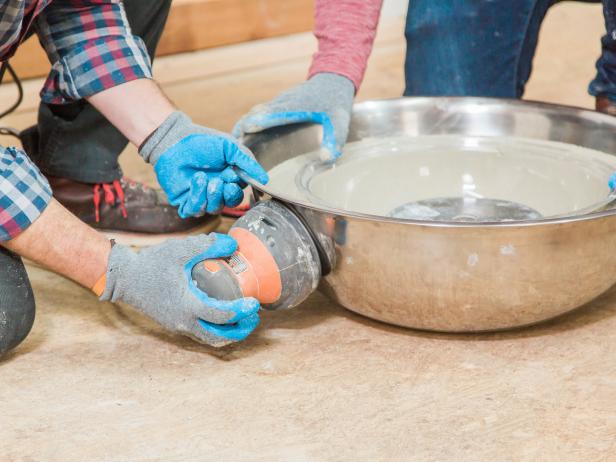
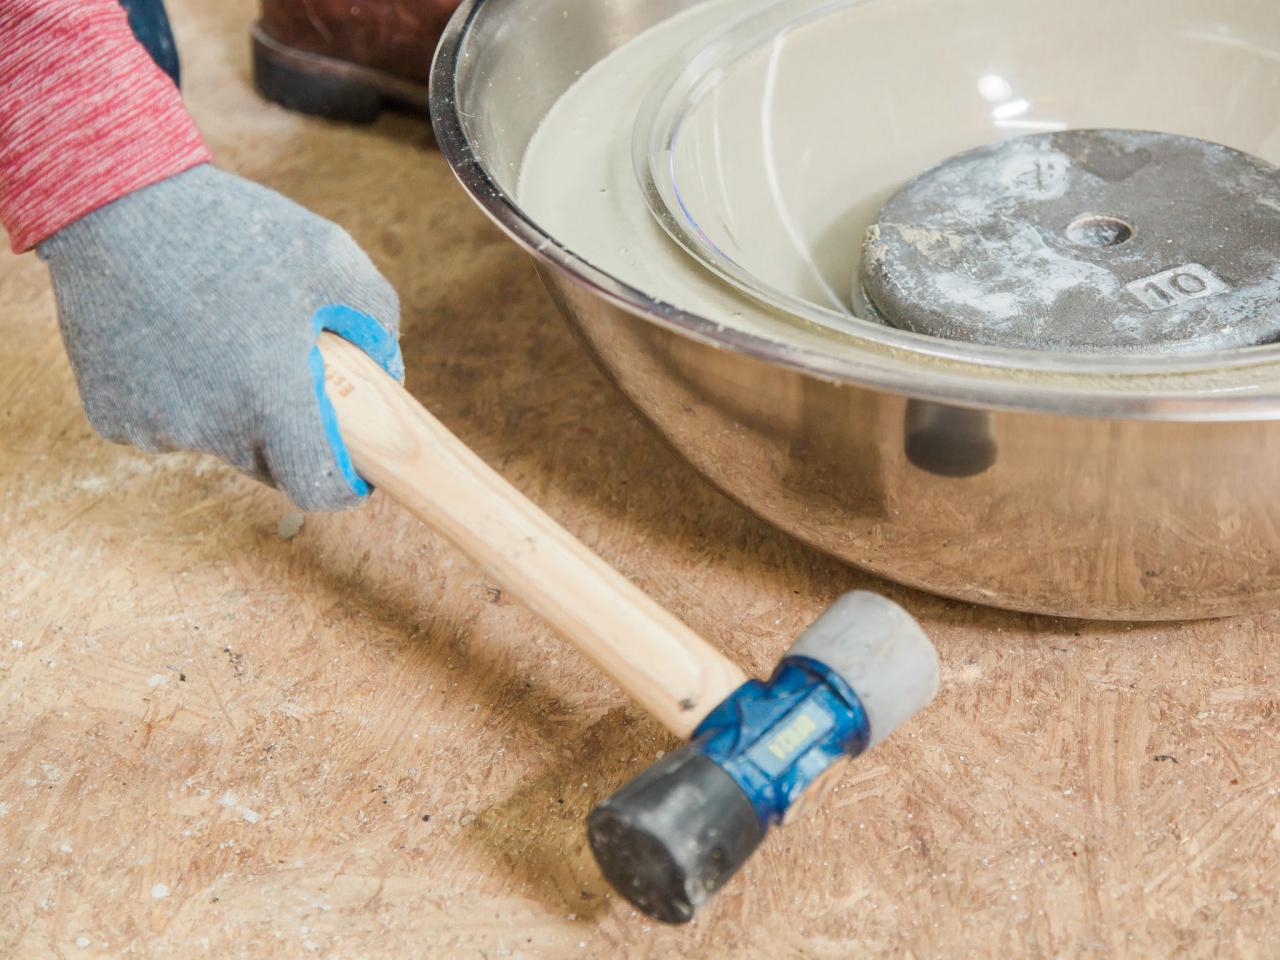
Release Air Bubbles
To ensure the concrete cures smoothly, release the air bubbles. First, lightly tap the outside of the larger bowl with a mallet, working your way around the bowl (Image 1). Then, using an orbital sander on low, gently vibrate the outside of the larger bowl, spinning the bowl slowly as you go (Image 2). This will help remove any remaining small bubbles.

Tomas Espinoza/Flynnside Out Productions
Tomas Espinoza/Flynnside Out Productions
Image 2
Allow to Cure
Place the form in a dry area, and allow to cure until fully set. The longer you allow the fire bowl to cure, the stronger it will be. This is important, as it will likely be exposed to extreme shifts in temperature.

Tomas Espinoza/Flynnside Out Productions
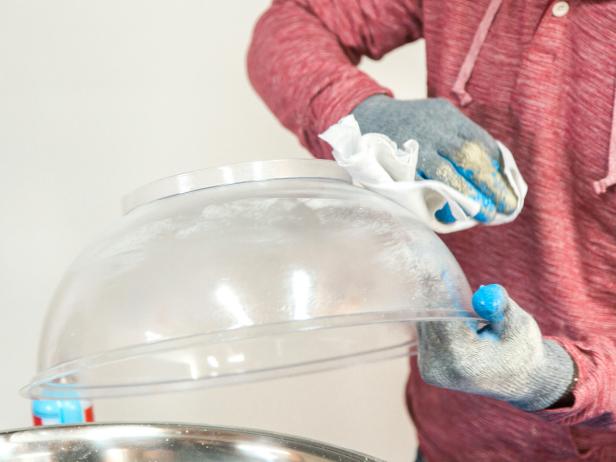
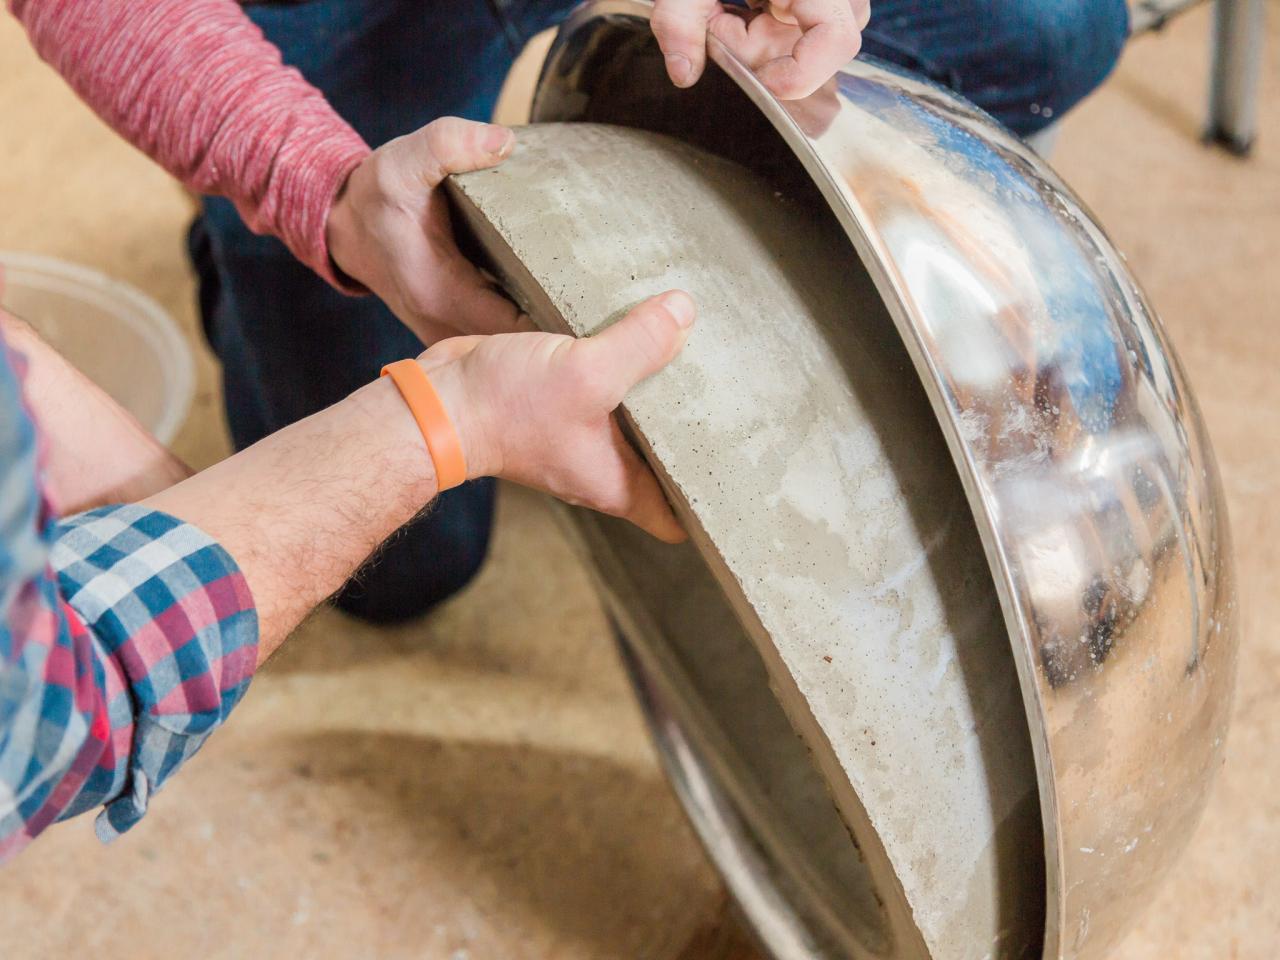
Remove Forms
Once fully cured, remove the inner bowl first (Image 1), being careful not to chip the fire bowl’s lip. Next, flip the larger form over until the concrete fire bowl releases (Image 2).

Tomas Espinoza/Flynnside Out Productions

Tomas Espinoza/Flynnside Out Productions
Image 2
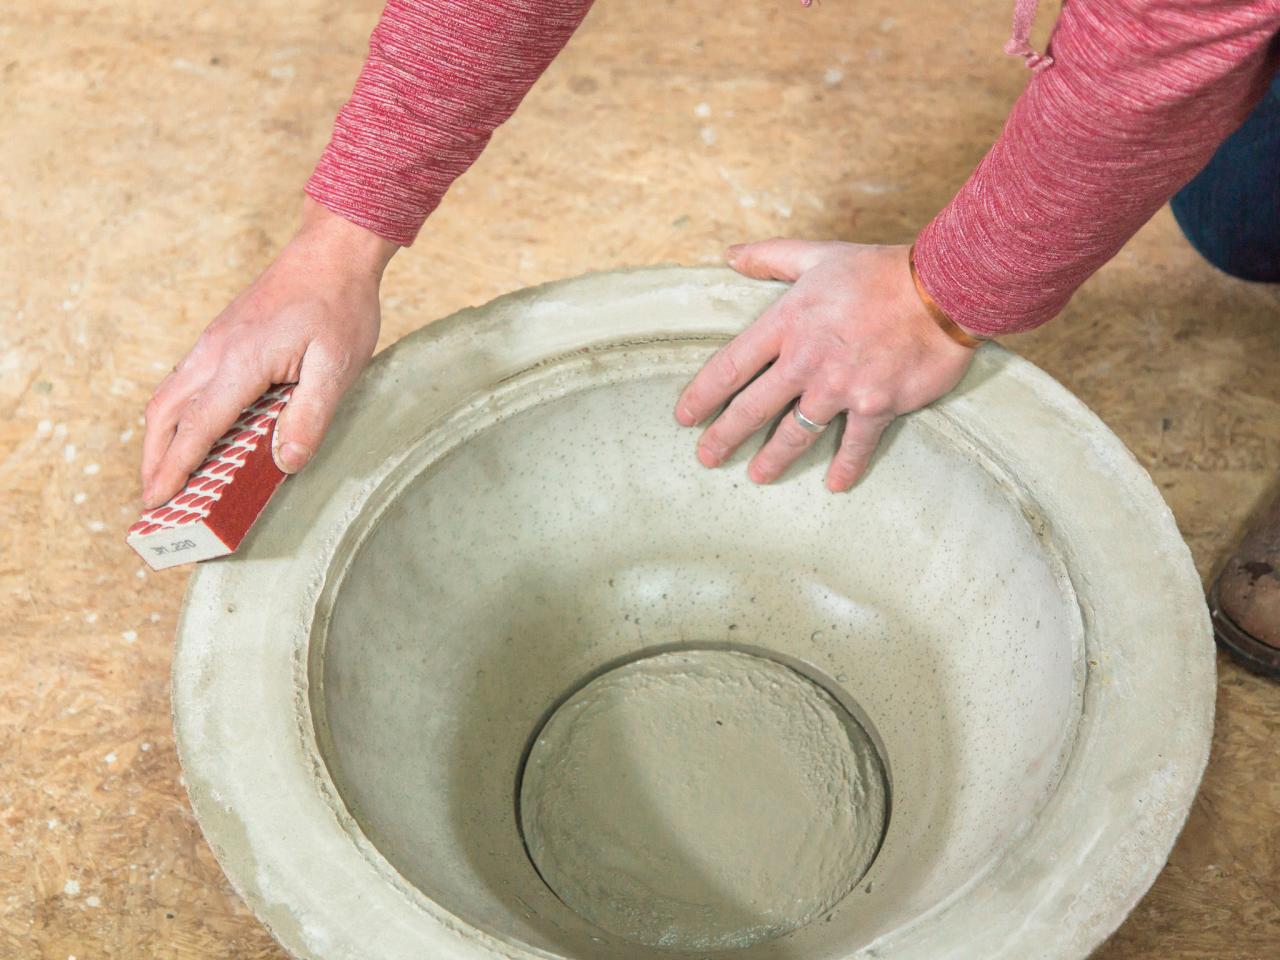
Sand Bowl
Using a 220-grit sanding block, give the fire bowl a light sanding to remove any rough areas. Don’t over sand as this can damage the overall finish of the bowl.

Tomas Espinoza/Flynnside Out Productions
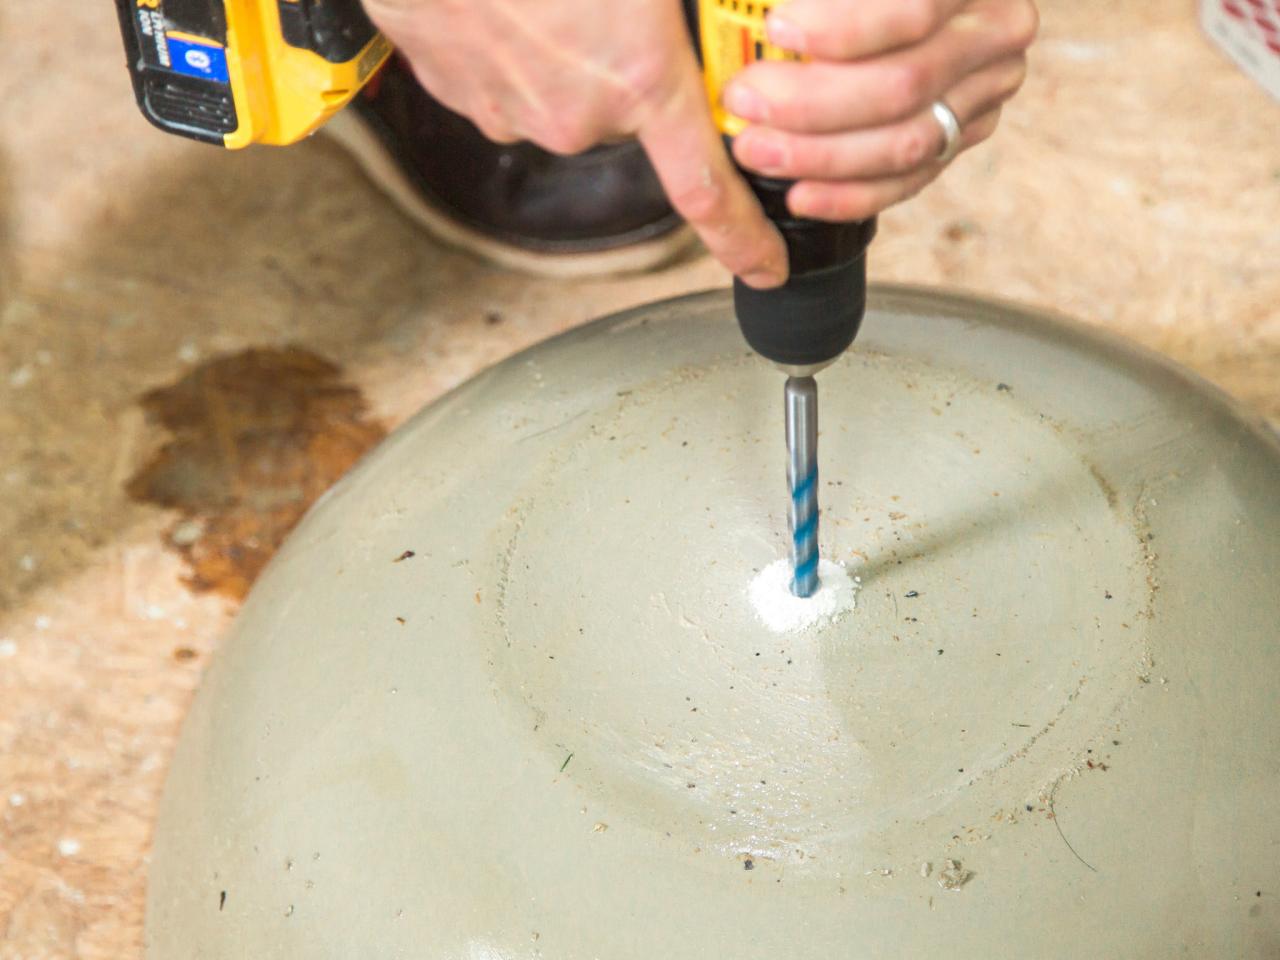
Add Drainage
Flip the fire bowl, and drill a hole in the center bottom of the bowl using a 1/2" masonry bit. Remove any dust with a damp rag.

Tomas Espinoza/Flynnside Out Productions
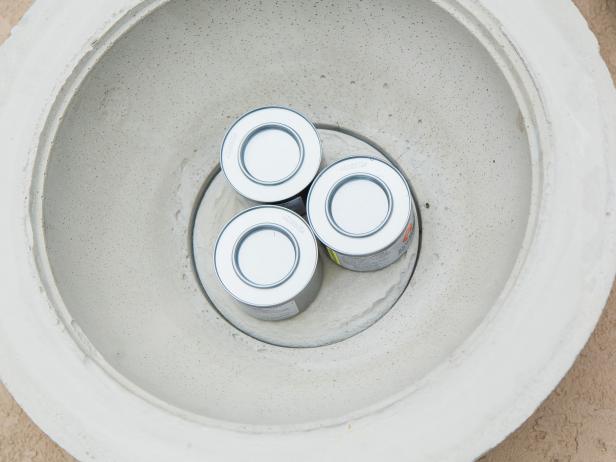
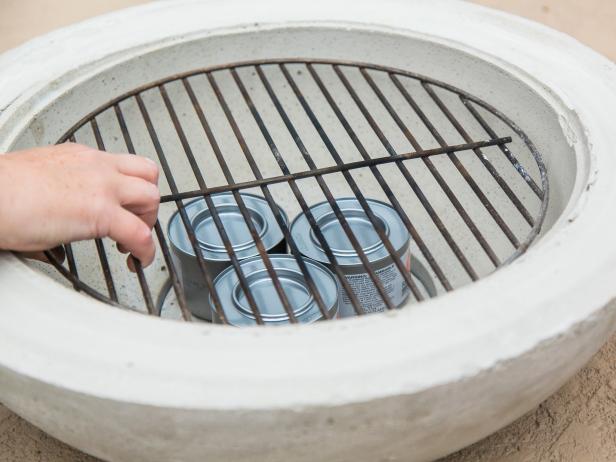
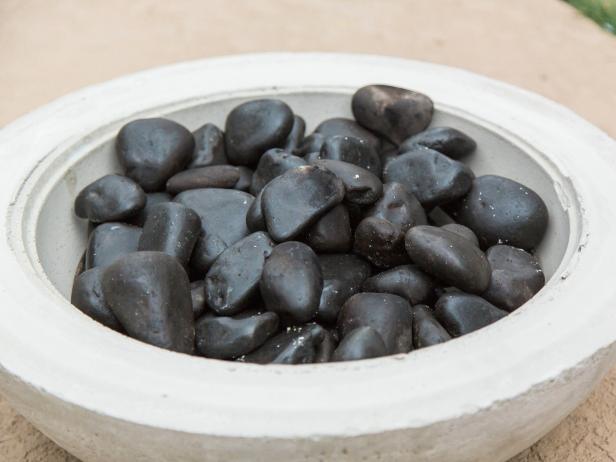
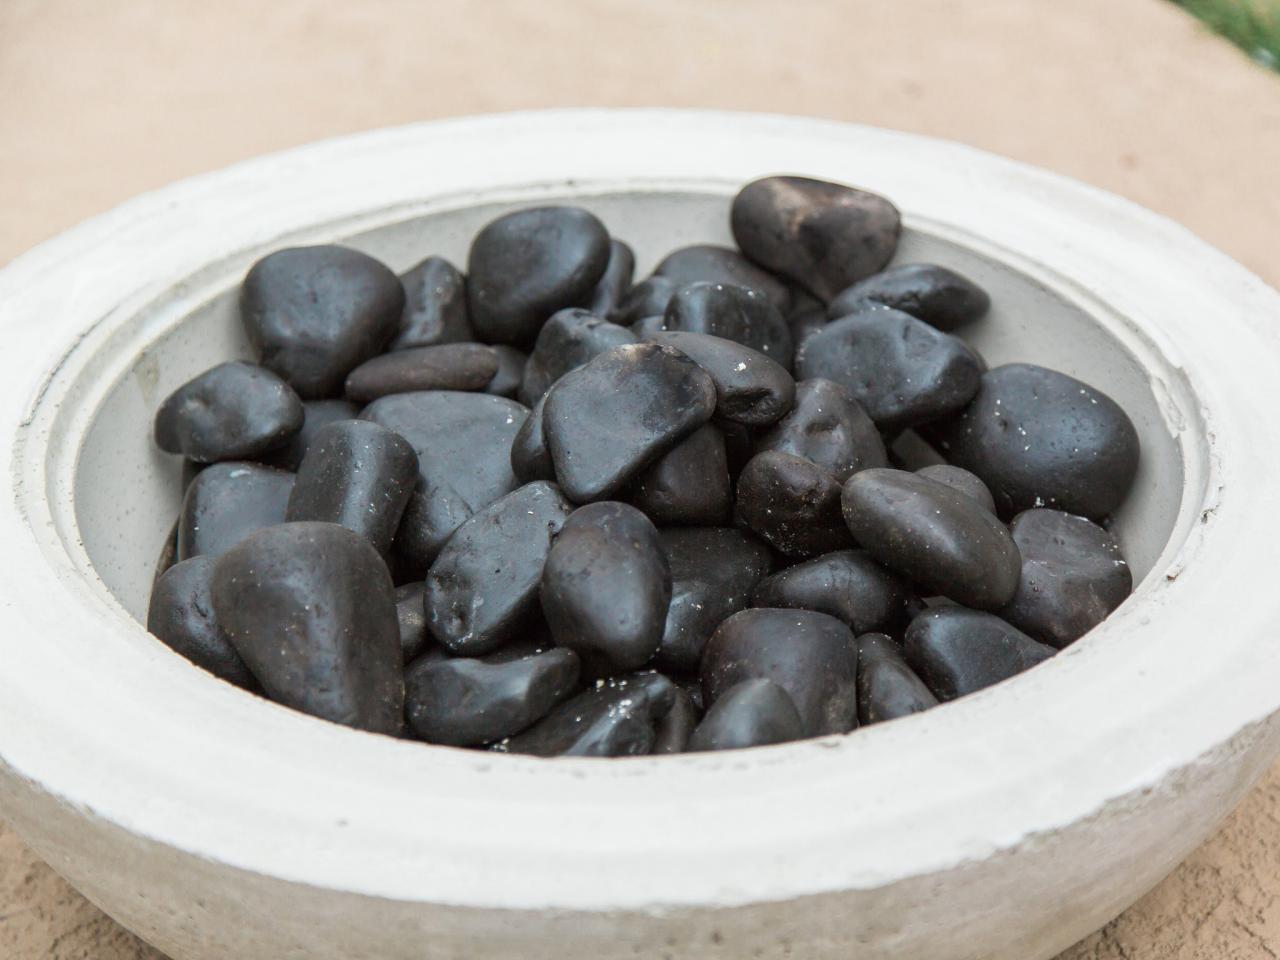
Add Finishing Touches
The fire source for this project is really up to you. If you prefer a gel fuel, simply place a few down in the base of the bowl (Remove the lids if you're about to light a fire) (Image 2). Place the barbecue grate into the bowl so that it’s resting against the sides of the bowl and not the cans (Image 2). Spread river stones across the top of the grate until the grate is no longer visible (Image 3). Make sure the stones are larger than the spaces in the grate.
Safety Note: To access gel cans, simply pull up the grate, remove the cans, and take the lids off. Place back in the fire bowl along with the grate and stones. Move stones over, and light with a long lighter.
Tomas Espinoza/Flynnside Out Productions
Tomas Espinoza/Flynnside Out Productions
Tomas Espinoza/Flynnside Out Productions

Tomas Espinoza/Flynnside Out Productions


