


Build an Outdoor TV Cabinet

Bring the joy of television to your outdoor entertaining area with this stylish and functional cabinet.
Materials and Tools:
four 1-1/2 inch corner vertical frame pieces (1-1/2 by 4 by 11-3/4 inches)
six 1-1/2 inch front and back horizontal shelf frame pieces (1-7/16 by 3-feet 9-inches)
two 1-1/2 inch front and back horizontal tv shelf frame pieces (2-7/16 by 3-feet 9-inches)
eight 1-1/2 inch side beams (1-7/16 by 1-foot 8-inches)
two 3/4-inch shelves (4-foot 1/8-inch by 1-foot 11-inches, with corners cut 1-1/2 inch square
two 3/4-inch top and bottom pieces (4-feet 1/8-inch by 1-foot 11-inches)
twelve 3/4-inch cleats (2 by 10-inches)
cedar tongue-and-groove
4 redwood finial cabinet feet
4 1-foot piano hinges
4 strap hinges
2 door handles
sliding lock
safety goggles
table saw
drill
countersink bit
3-inch countersink screws
nail gun
2-inch brads
stain
sealant
Steps:
1. Cut the frame pieces to size and begin building the front frame of the cabinet. Lay the vertical frame pieces down and line up with the horizontal shelf beams.
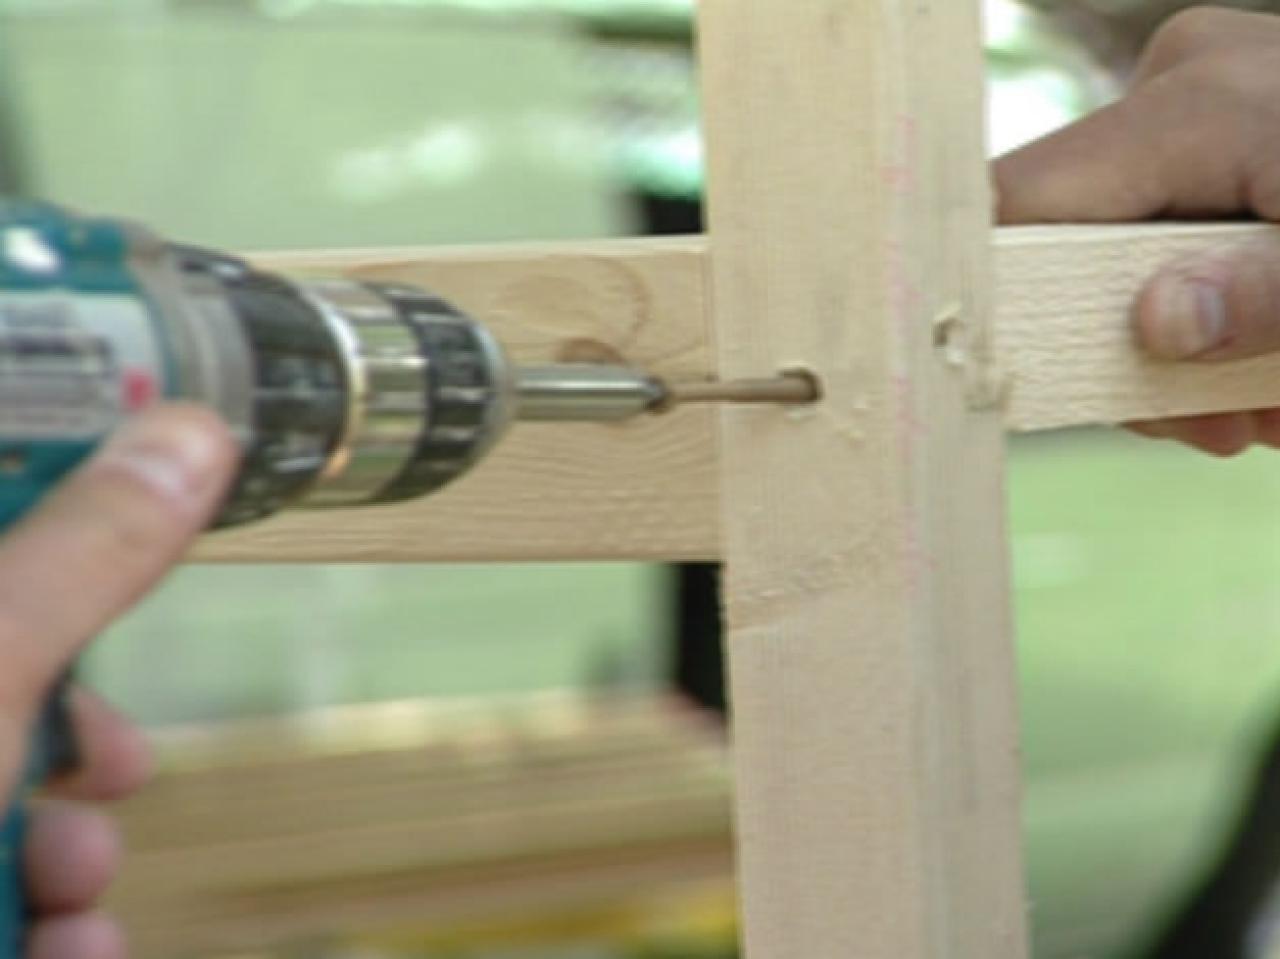
2. The first 1-7/16 by 3-foot 9-inch beam should be placed at the very top. Drill pilot holes, place glue on the ends, and then use countersink screws to attach. Countersink screws are ideal for this project since the head of the screws won’t stick out. Continue this process as you place each vertical shelf beam.
3. Measure 2-feet 1-3/8 inches from the bottom of the first beam and place the 2-7/16 by 3-foot 9-inch beam. Then measure 11-3/8 inches below the bottom of the second beam and place the 1-7/16 by 3-foot 9-inch beam. Finally, place another 1-7/16 inch by 3-foot 9-inch horizontal beam at the base. Repeat this step for the back frame of the cabinet.

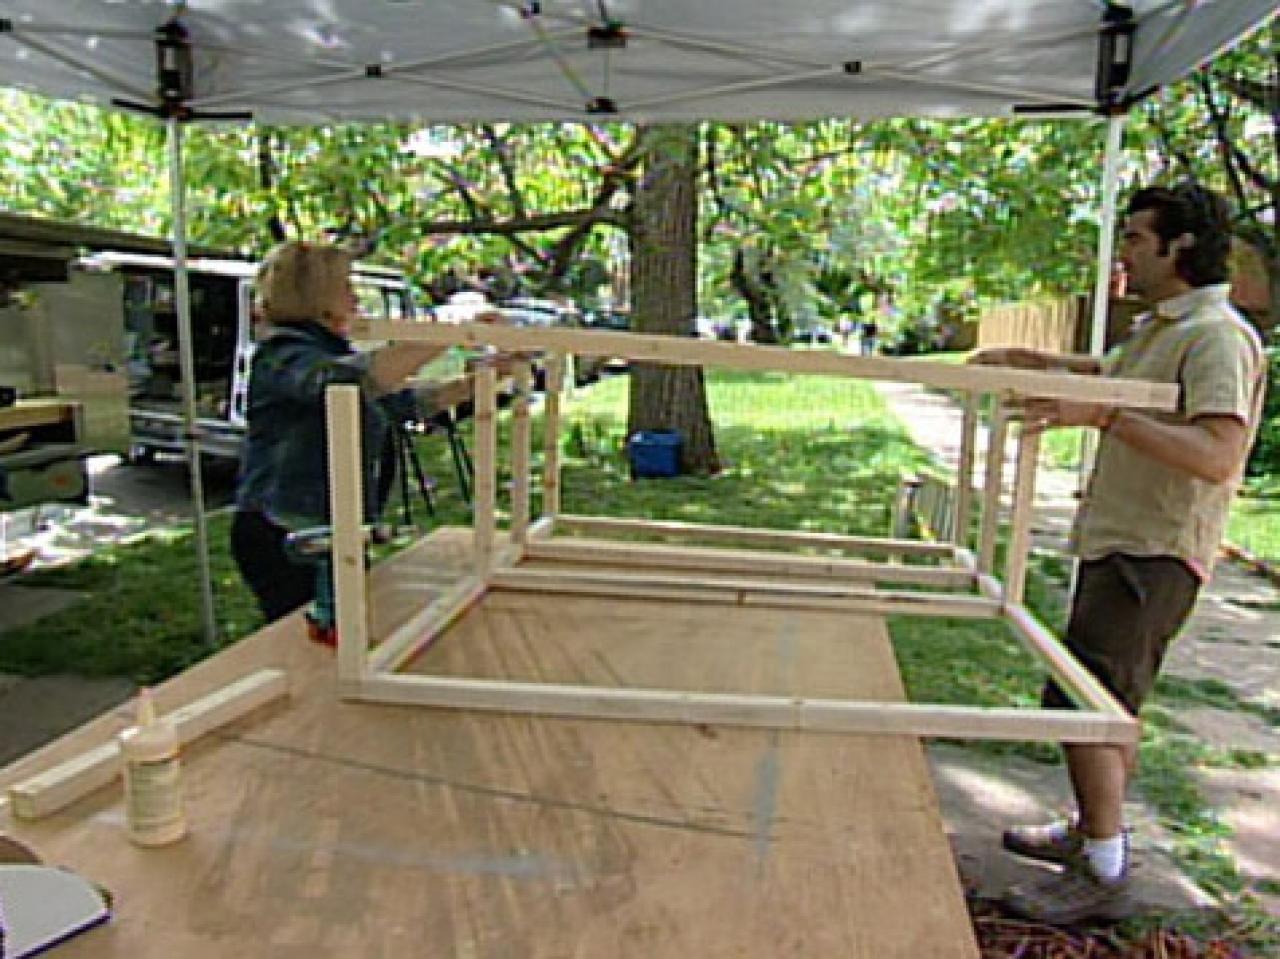
4. Hold the front frame upright. Drill pilot holes at the base of the front frame on the opposite side of each corner where the side frames will be placed. Glue the ends of each side piece, and then attach with countersink screws. This will allow the frame to stand up by itself. Attach the rest of the sidepieces to the frame.

5. Once attached, lay the front frame down so that the sidepieces are sticking up. Now, place the back frame on top of the sidepieces, drill some pilot holes, glue the ends of the sidepieces and then attach with countersink screws.

6. Now that the cabinet frame is built, place it upside down. Take the glue and add over the bottom of the cabinet (the side that is facing up). Set the bottom piece in place on the blue, then secure to the frame with screws.

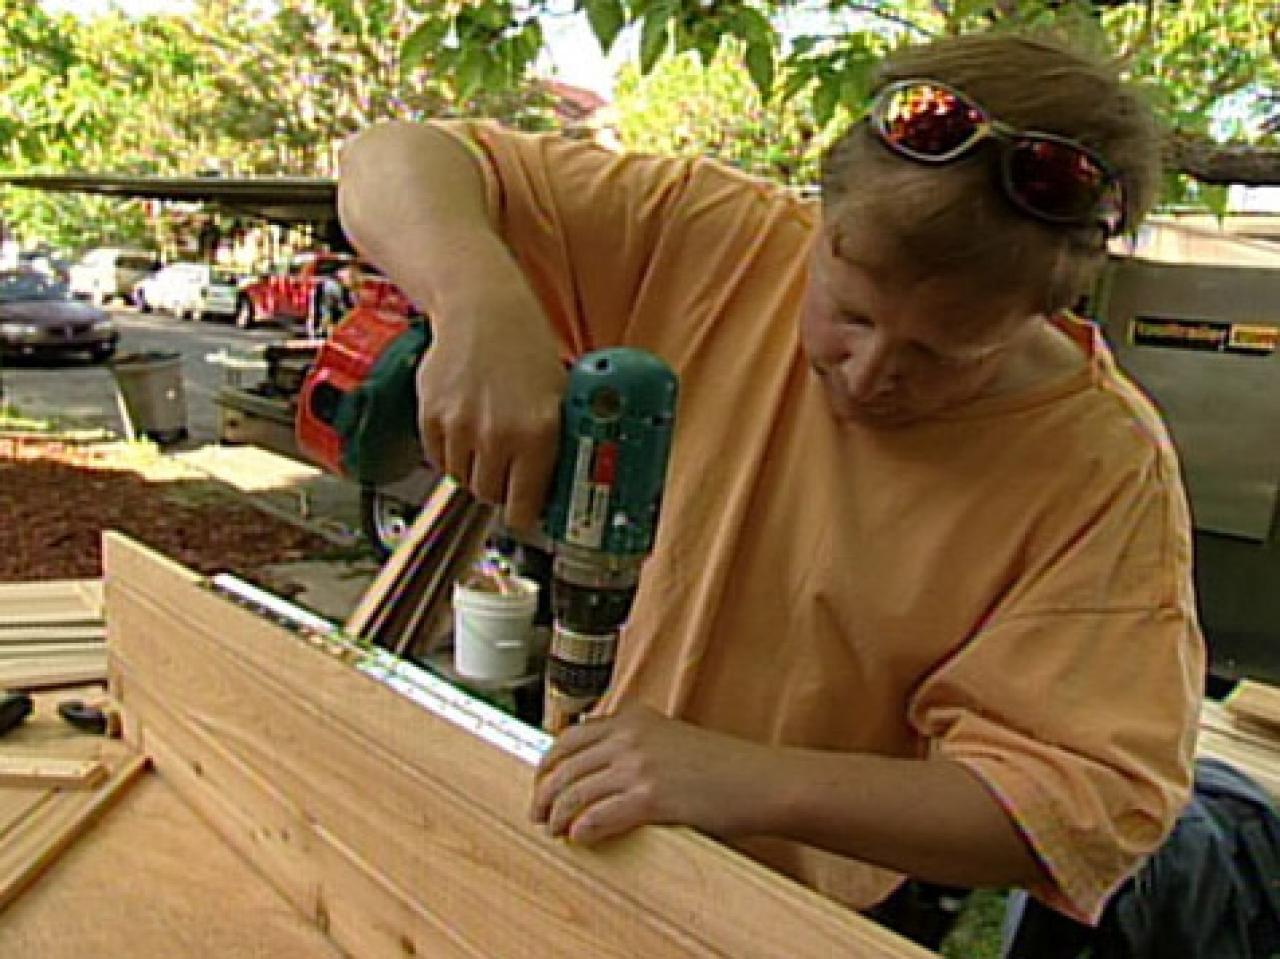
7. Face the cabinet with cedar tongue-and-groove. Cedar is ideal because it is naturally water resistant and repels insects. The tongue-and-groove is perfect for this outdoor project since it will allow the cabinet to expand and contract as the weather changes. Lay the cabinet on its front side to install the cedar. Take the first sidepiece and cut the tongue side off, leaving a nice, smooth edge.

8. Cut the tongue-and-groove pieces to 5-feet 1/2-inch long and place over the back. For the other end piece, cut the groove side off so the board is flush with the frame. If everything fits, remove the tongue-and-groove, glue the back of the frame, then relay the tongue-and-groove and attach using 2-inch brads. Repeat these steps for the sides of the cabinet.
9. Each cabinet door will be made up of two panels, one measuring 1-foot 2-5/8 inches wide and the other measuring 1-foot 2-1/2 inches wide. Cut the tongue-and-groove to size for each door.
10. Cut 12 cleats, 2 by 10-inches. Place the cleats 5-inches from the top and bottom of each door panel, and one in the center.

11. Attach the two panel pieces together using two 1-foot long piano hinges placed 12 inches from each end. Repeat for the second door. Make sure that the piano hinges are placed so that the sides with the cleats fold towards each other.
12. Clamp the doors to the cabinet so that they are flush on all sides. Use three strap hinges placed 6-inches from the top and bottom, and one in the center.
13. Add the top of the cabinet using glue and countersink screws.
14. Stain the cabinet to add color. For additional protection from the outdoor elements, top with a waterproof sealant. Even though the cedar is naturally water-resistant, sealant will help it last longer.
15. Add door handles and locks.
16. Finally, add four cleats to the bottom to raise the cabinet off the ground.


