


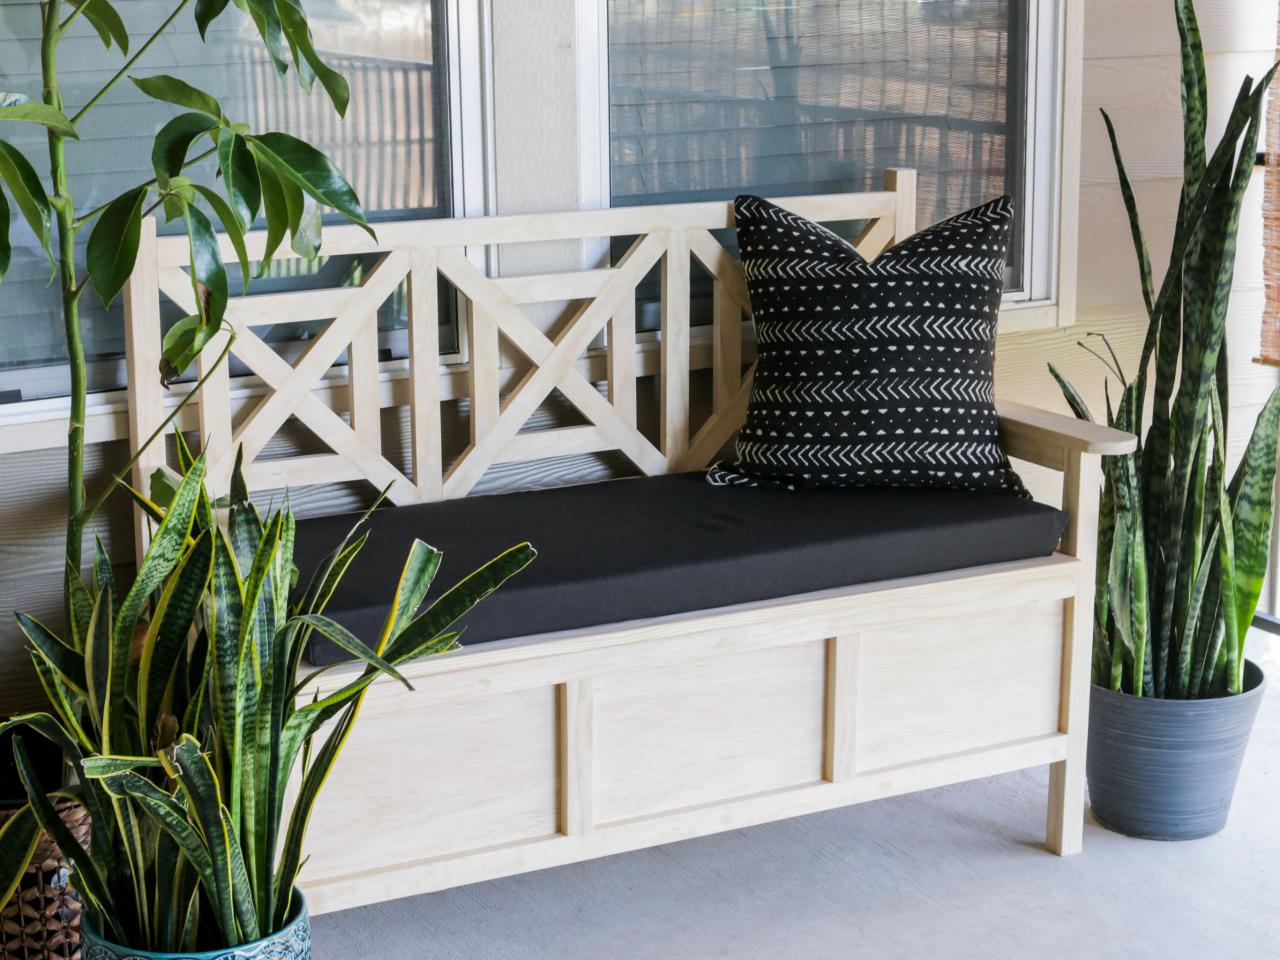
How to Build an Outdoor Bench With Storage
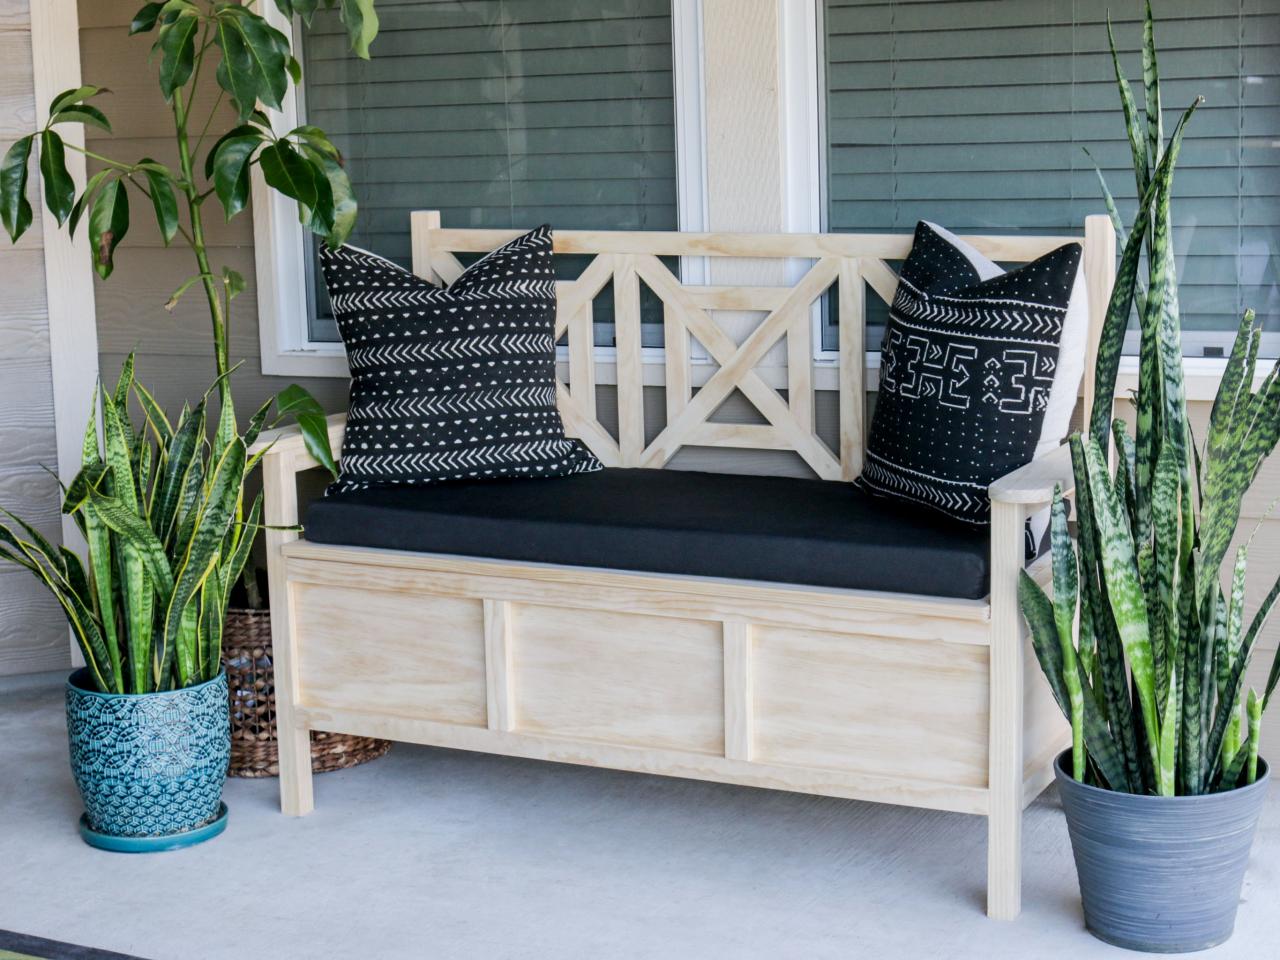
Add extra seating to your patio or deck with this DIY outdoor bench featuring beautiful fretwork panels and hidden storage under the seat. Using minimal tools and a few supplies from the home improvement store, you can build this stunning storage bench in one weekend.

Jen Woodhouse
Materials
- (2) 2x2 x 8’ boards
- (2) 1x12 x 6’ boards
- (1) 1x4 x 8’ boards
- (3) 1x3 x 8’ boards
- (9) 1x2 x 8’ boards
- (1) 30” piano hinge
- 2-1/2” pocket screws
- 1-1/4” pocket screws
- 1-1/4” brad nails
- wood glue
- wood filler
- 150- and 220-grit sandpaper
Tools
- tape measure
- carpenter’s square
- pencil
- drill
- miter saw
- jigsaw
- pocket hole jig
- brad nailer or hammer
- clamps
- safety glasses
- hearing protection
- dust mask
Cut List
- (2) 2x2 @ 38” (back legs)
- (2) 2x2 @ 24” (front legs)
- (2) 2x2 @ 17” (arms)
- (2) 1x2 @ 17” (rails)
- (2) 1x12 @ 17” (sides)
- (2) 1x12 @ 46-1/2” (front/back)
- (1) 1x4 @ 46-1/2” (seat rail)
- (1) 1x2 @ 46-1/2” (top rail)
- (2) 1x2 @ 14-1/2” (stiles)
- (3) 1x2 @ 14-1/2” (back rails)
- (3) 1x2 @ 20-1/2”, cut at 45° angle (long X piece)
- (6) 1x2 @ 9-1/2”, cut at 45° angle (short X piece)
- (12) 1x2 @ 8”, cut at 45° angle, not parallel (square piece)
- (2) 1x2 @ 46-1/2” (cleats)
- (14) 1x3 @ 17” (slats)
- (3) 1x6 @ 46-1/2” (seat)
- (2) 1x2 @ 46-1/2” (front trim)
- (2) 1x2 @ 8-1/4” (front trim)
- (4) 1x2 @ 17” (side trim)
- (1) 1x4 @ 20” (arm rest)
For specific dimensions and 3D diagrams, download the PDF building plans at www.JenWoodhouse.com.
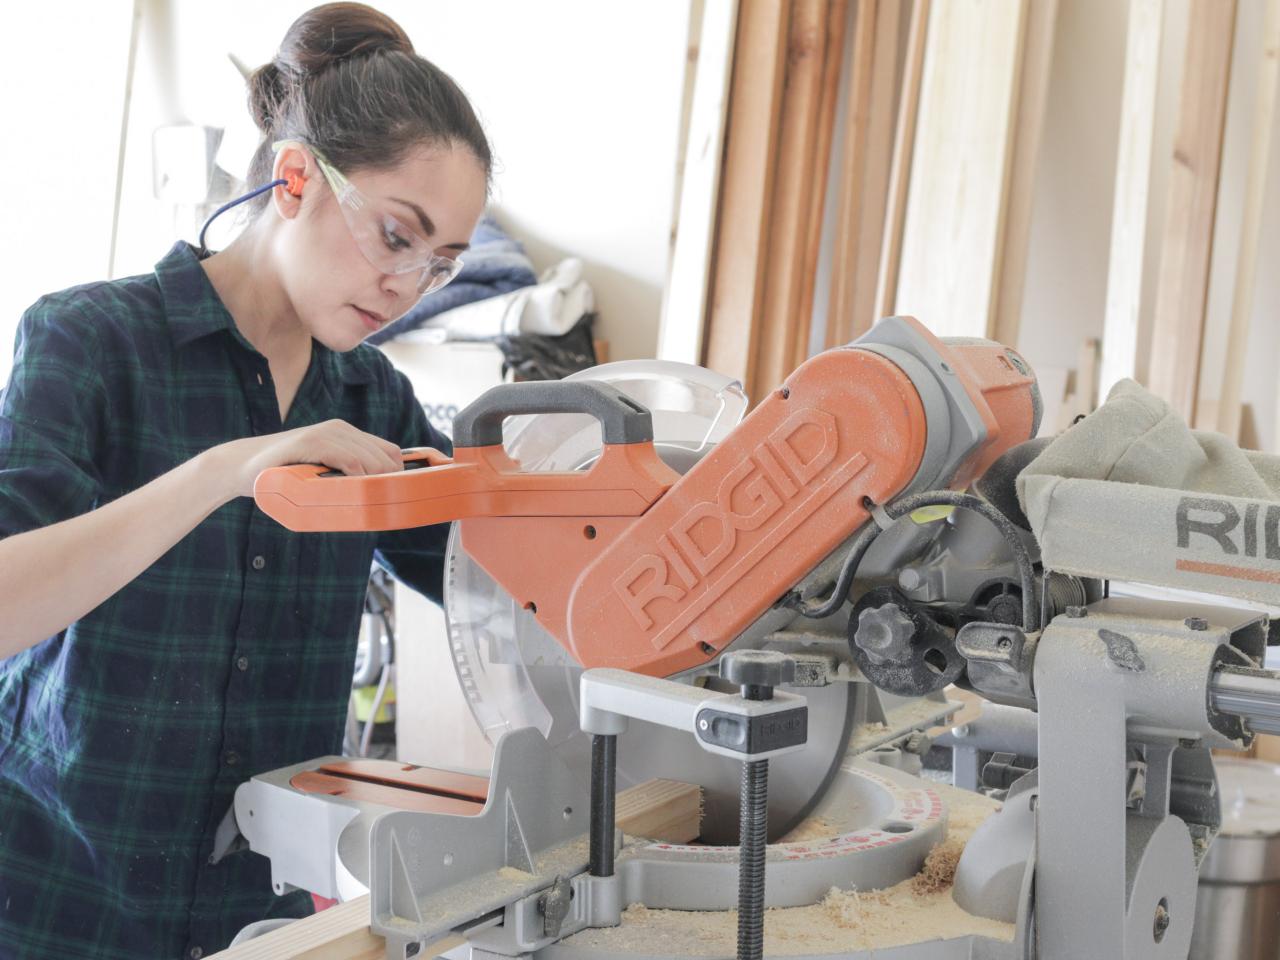
Measure and Cut the Boards
Using the cut list above, measure, mark and cut the boards to length.

Jen Woodhouse
Drill the Pocket Holes
Pocket hole joinery involves drilling a hole at an angle – usually 15 degrees – into one board, then joining it to a second board with a self-tapping screw. Pocket hole joinery is a fast and reliable technique that creates a very strong joint.
Whenever you join 2x material (usually 1-1/2” thick) you’ll drill 1-1/2” pocket holes and use 2-1/2” pocket screws. Whenever you join 1x material (usually 3/4” thick), you’ll drill 3/4” pocket holes and use 1-1/4” pocket screws. Be sure to measure the thickness of your boards prior and set the pocket hole jig accordingly.

Jen Woodhouse
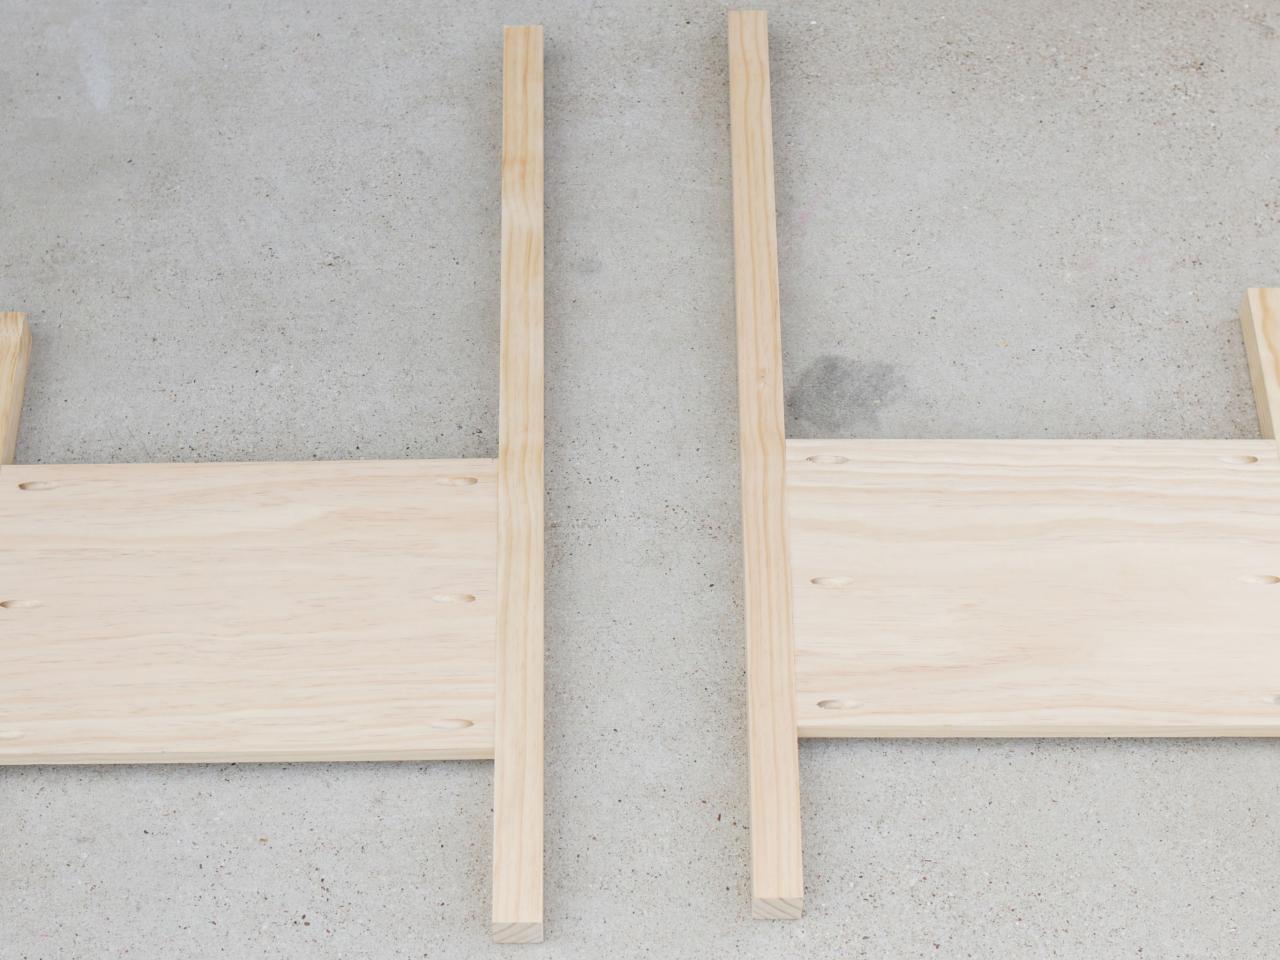
Build the Sides
Drill 3/4” pocket holes into the 1x12 boards as shown. Attach them to the legs with 1-1/4” pocket screws and wood glue. The 1x12 boards should be 6” from the bottom of the legs and will be flush to the interior edges. Be sure to build two sides that mirror each other.

Jen Woodhouse
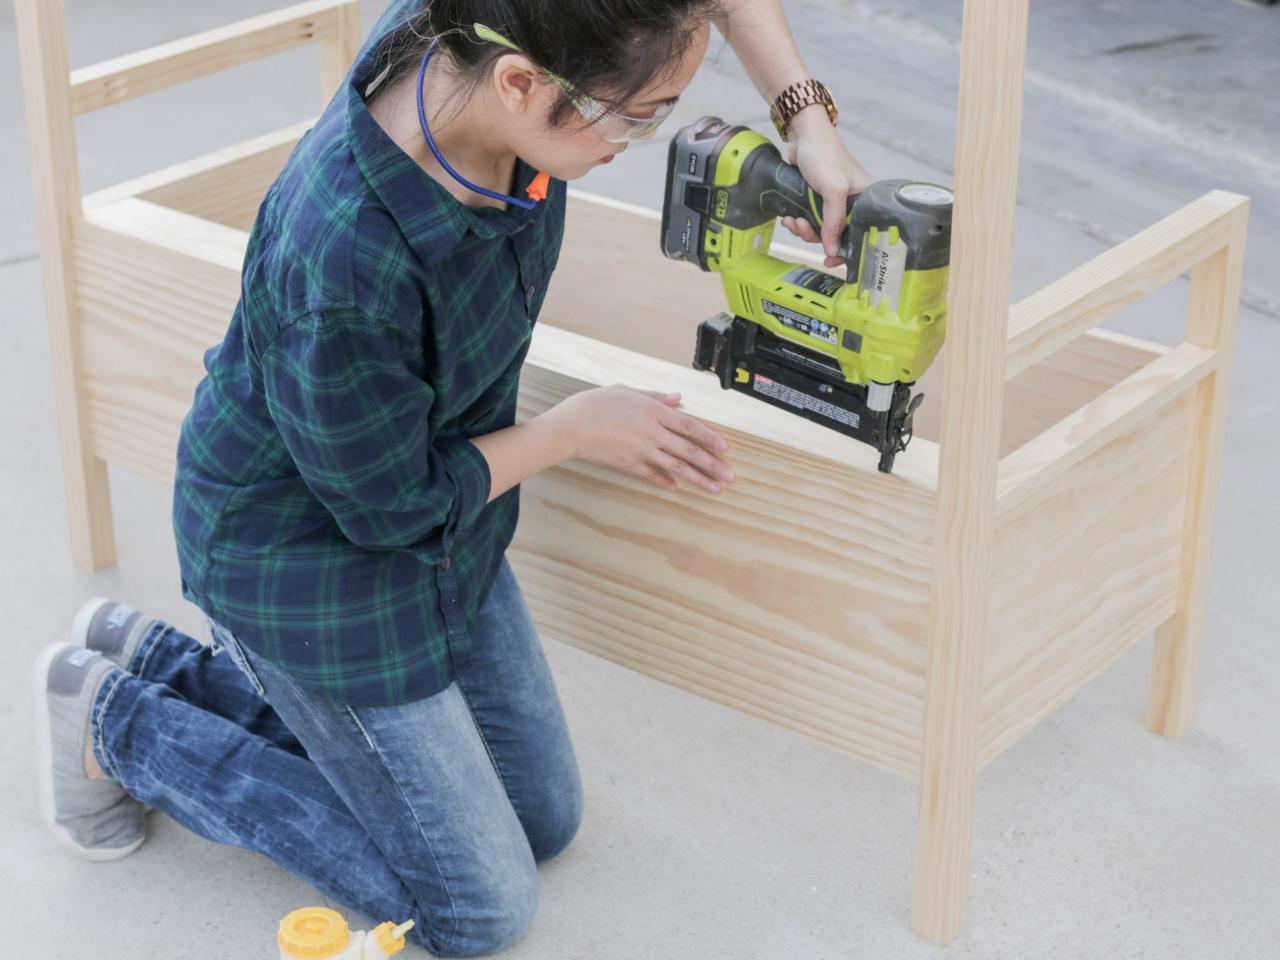
Construct the Carcass
Measure, mark and cut the 1x12 front and back boards to length and drill 3/4” pocket holes into the ends of each board. Attach to the legs with 1-1/4” pocket screws and wood glue. Once again, these 1x12 boards will be flush to the interior of the carcass.
Add the 1x2 rails with 1-1/4” brad nails and wood glue. Always use wood glue whenever you use nails, to ensure a strong joint.
Drill 1-1/2” pocket holes into the ends of the 2x2 arms and attach to legs with 2-1/2” pocket screws and wood glue. The arms should be 14” from the top of the back legs.

Jen Woodhouse
Attach the Seat Rail
Measure, mark and cut the 1x4 seat rail to length. Then, using a brad nailer or hammer, attach it to the carcass with 1-1/4” brad nails and wood glue.

Jen Woodhouse
Build Fretwork Panels and Attach to Bench
I recommend measuring the space where the fretwork panels will go and cutting according to your measurements. Measure, mark and cut X pieces, mitering the ends at a 45° angle. Instead of using a tape measure, it is best to hold the boards in place, mark and cut to size to ensure the most precise fit.
Next, cut the 8” pieces, mitering the ends at a 45° angle, not parallel, then attach to the X pieces with wood glue. Clamp and let dry.
Optional: toenail 1-1/4” brad nails to secure the pieces together. Toenailing is simply driving a nail at an angle through a board.

Jen Woodhouse
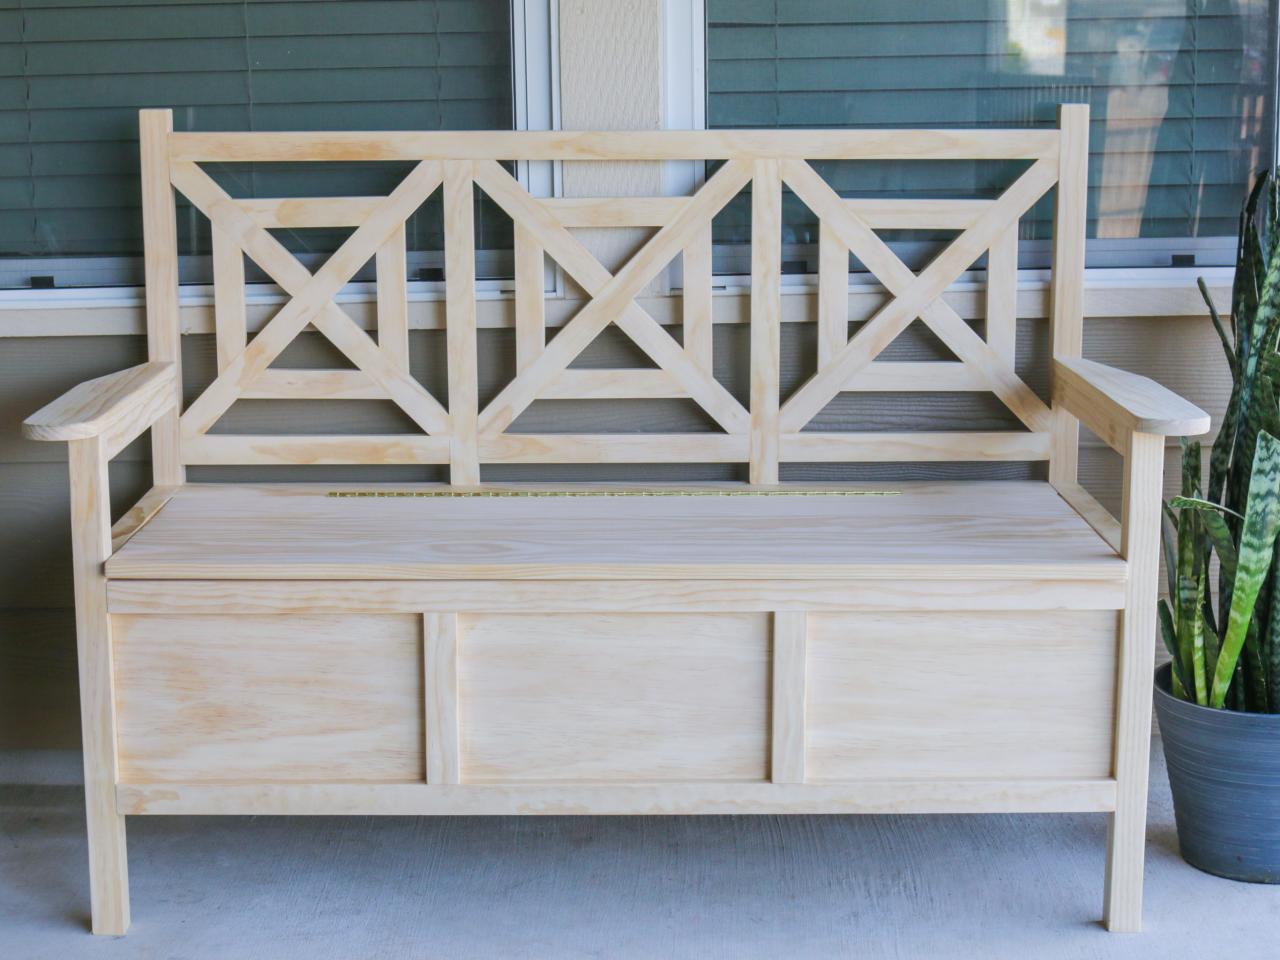
Once the glue is dry on the fretwork panels, take the three panels and insert them into place. It should be a very snug fit. Adjust as necessary. Use a mallet to gently tap it into place and secure with wood glue. Clamp and let dry.

Jen Woodhouse
To build the seat, you will simply edge-join 1x6 boards together. Measure, mark and cut the 1x6 boards to length. Apply wood glue to the edges and place them edge-to-edge and clamp together until the glue is dry. Because you are joining boards long grain to long grain, you can simply use wood glue to edge-join the boards together. No additional joinery is needed here.
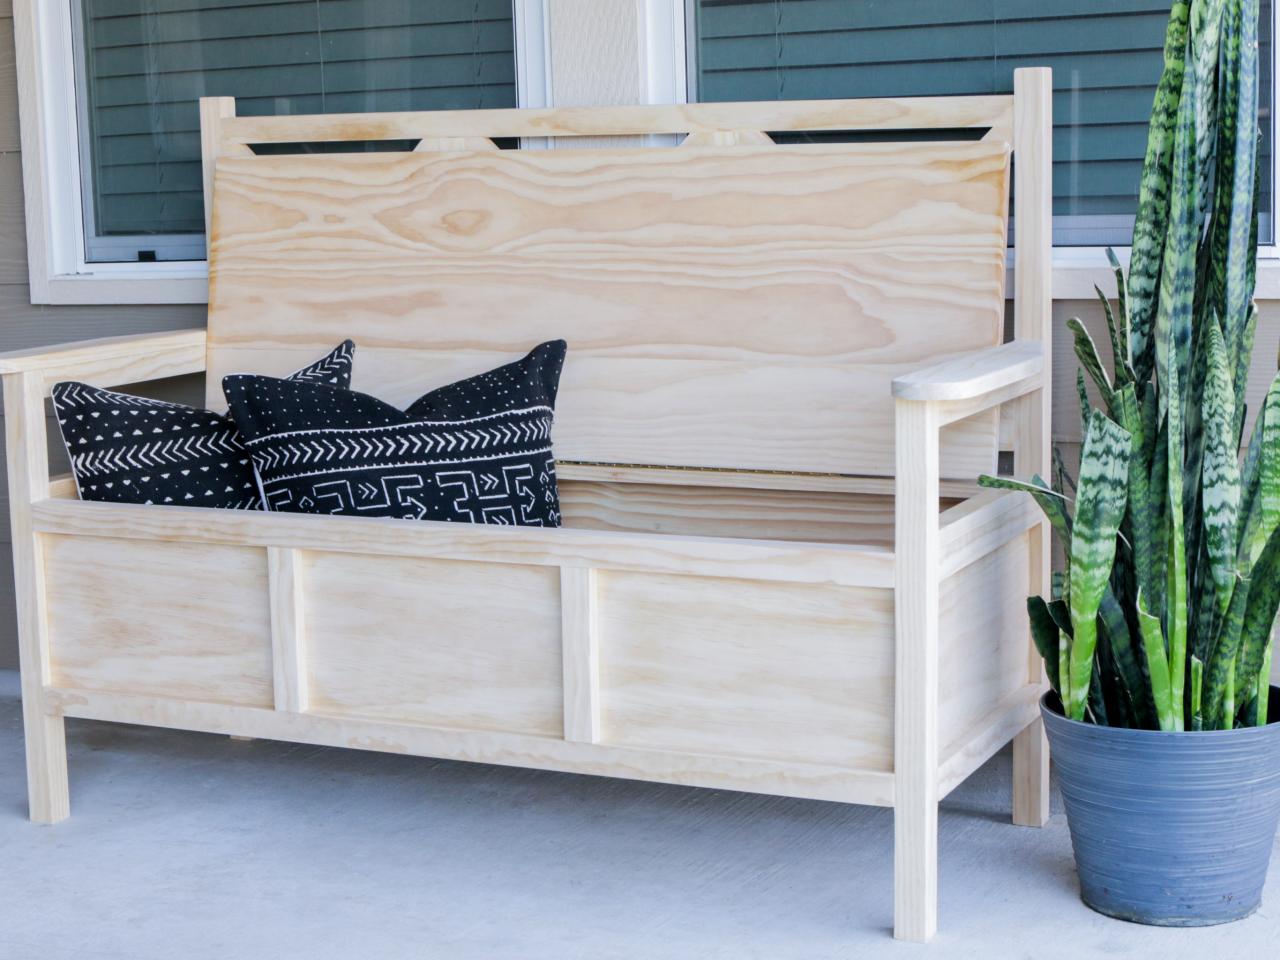
Install the Piano Hinge
Center the piano hinge on the back edge of the constructed seat, pre-drill pilot holes and screw the hinge on. Then, take the seat with the hinge on it and position it on the bench. Pre-drill pilot holes into the 1x4 seat rail and screw the hinge on.

Jen Woodhouse
Cut the Arm Rests
Measure, mark and cut the 1x4 armrests to length. Then, using a jigsaw, cut the curved and angled parts and attach it to the arms with 1-1/4” brad nails and wood glue.

Jen Woodhouse
Attach the Bottom Slats
Measure, mark and cut the 1x3 slats to length and place inside the bench, on top of the 1x2 cleats, securing with 1-1/4” brad nails and wood glue. Space the slats approximately 3/4” inches apart. Use a scrap 1x board to serve as a spacer.

Jen Woodhouse
Finish the Storage Bench
Sand the entire bench with 150-grit sandpaper, then follow up with 220-grit sandpaper. Remove the dust and debris with a slightly damp rag then stain or paint as desired. Finally, apply an exterior-grade finish to protect the wood from outdoor elements.

Jen Woodhouse
Flip the seat up to reveal spacious storage!

Jen Woodhouse
A 45” bench cushion will fit nicely on this storage bench.

Jen Woodhouse


