


How to Repair a Screen in a Door or Window Frame
Buying new door or window screens can be expensive. Save money by learning how to repair a screen in an existing frame.


Materials + Tools
- screen
- spline
- scissors
Buy the Tools


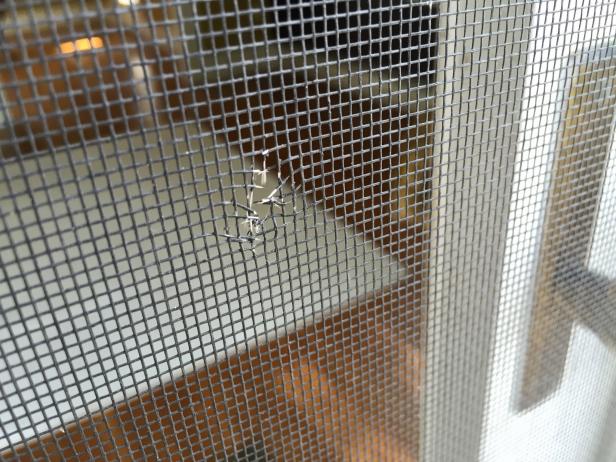
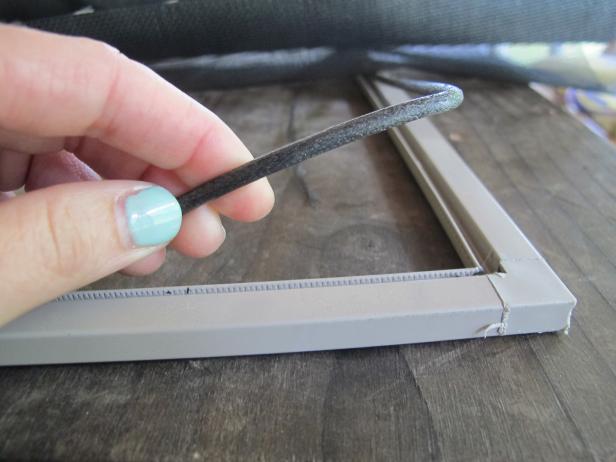
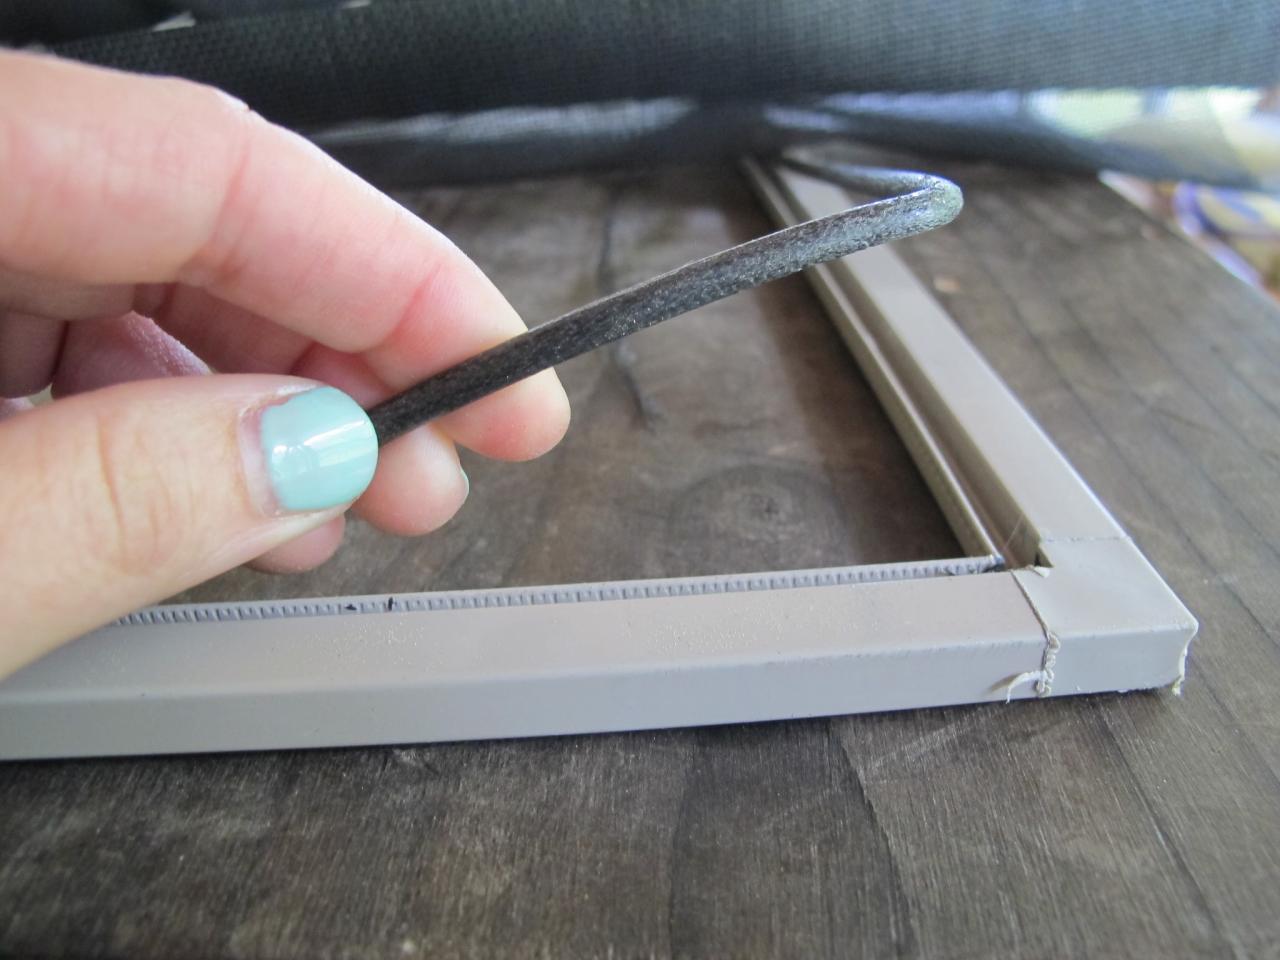
Remove Damaged Screen
Discolorations, snags and tears are the result of regular wear and tear on the screens of home windows and doors (Image 1). To replace a door screen in its existing frame, lay the frame and damaged screen down on a large flat surface. If the spline is still intact, pull it free to release the old screen (Image 2).
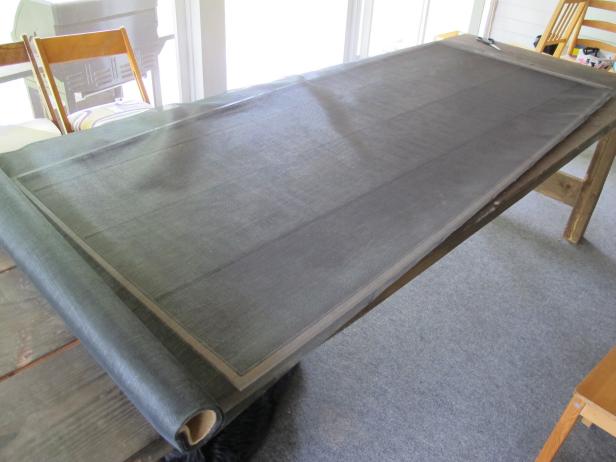
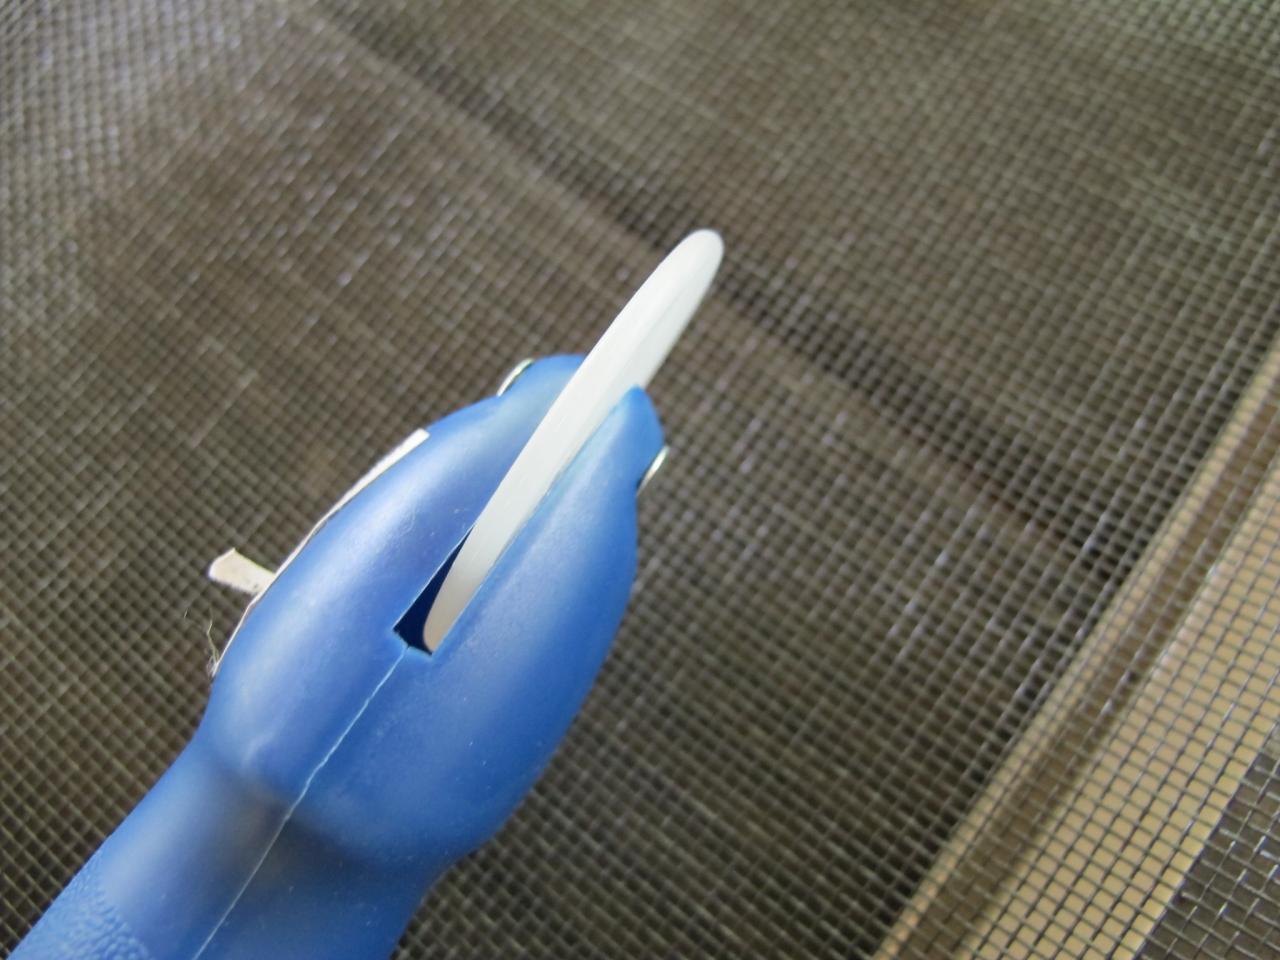
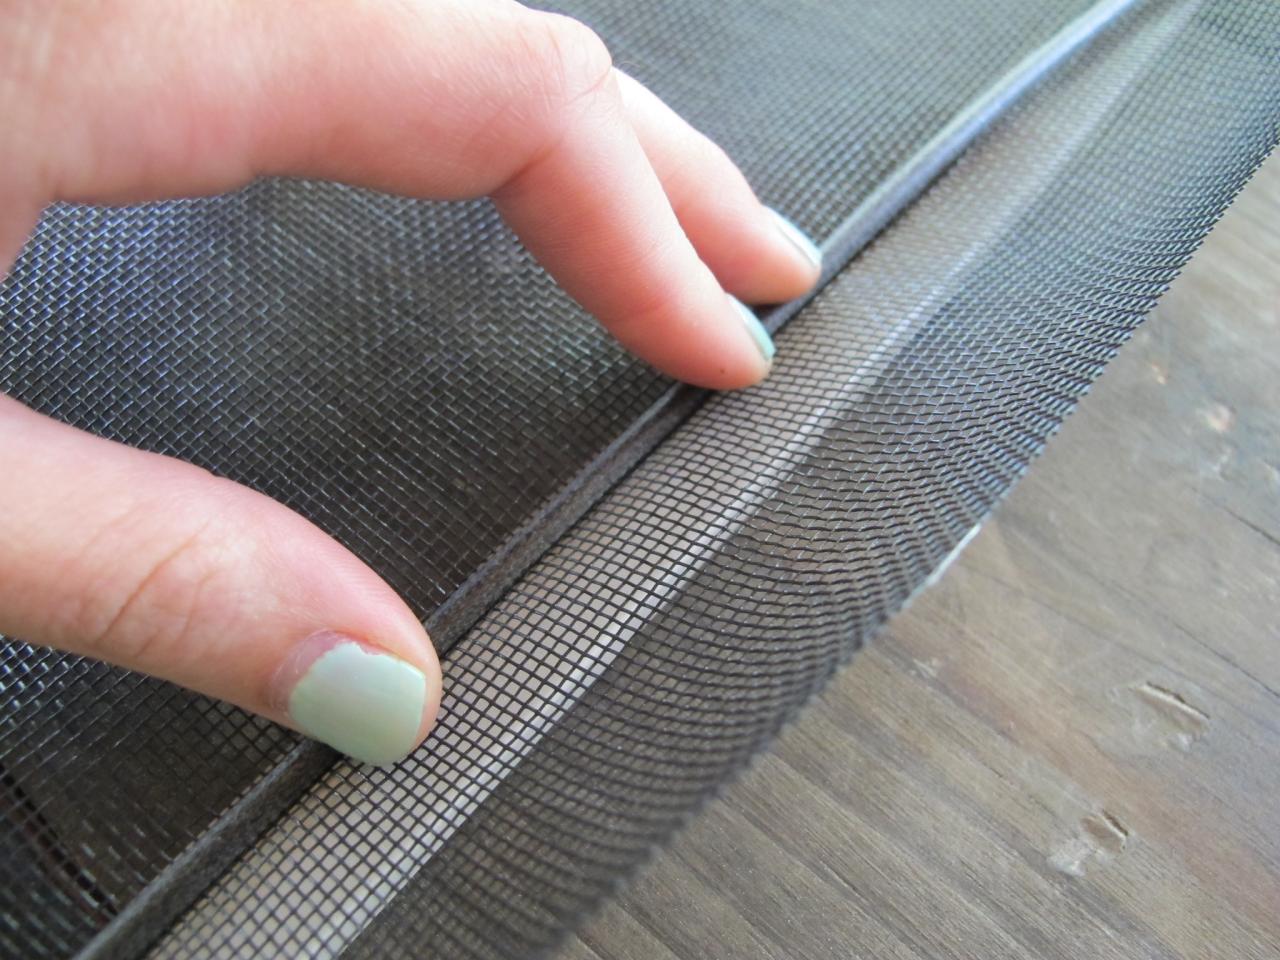
Cut New Screen
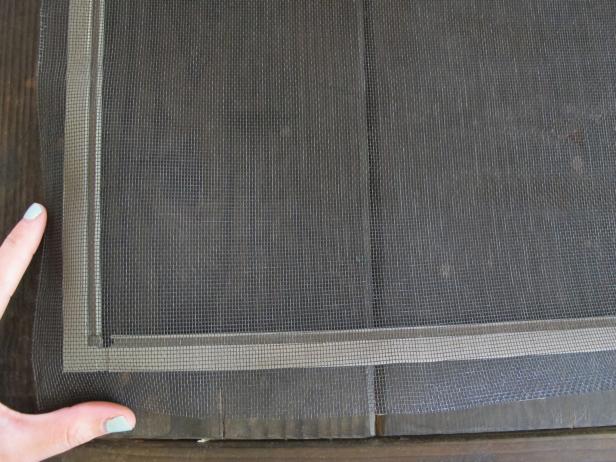
Extend a length of new screen to overlap the frame (Image 1). Trim the screen to size, leaving a 1/2-inch overlap on all edges (Image 2). The screen will get more taut as you install it so you will end up with excess all around, but trimming the screen too short leaves you at risk of not having enough screen available to reach all edges.
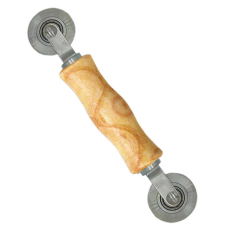
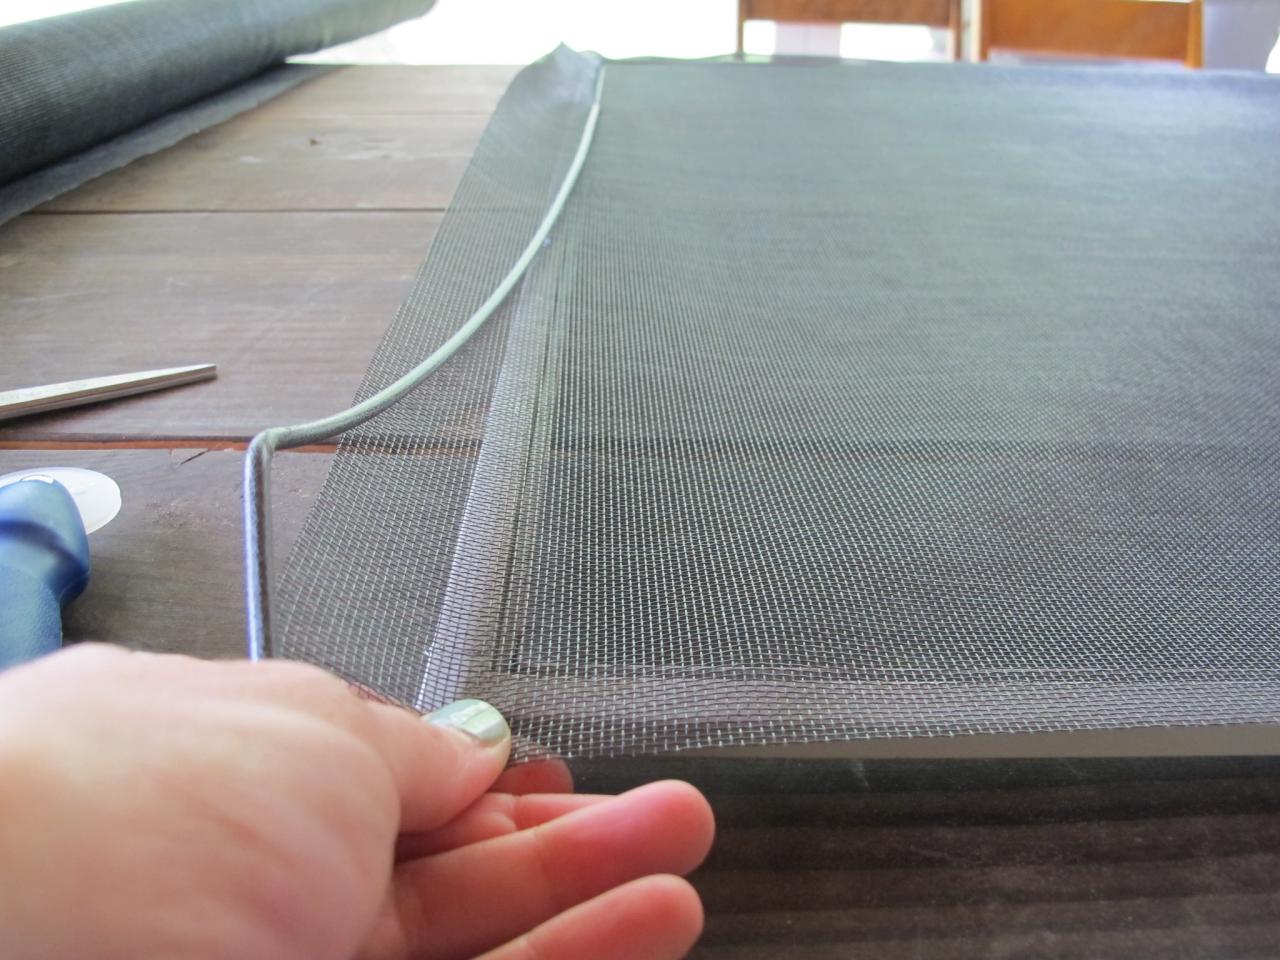
Attach Screen to Frame
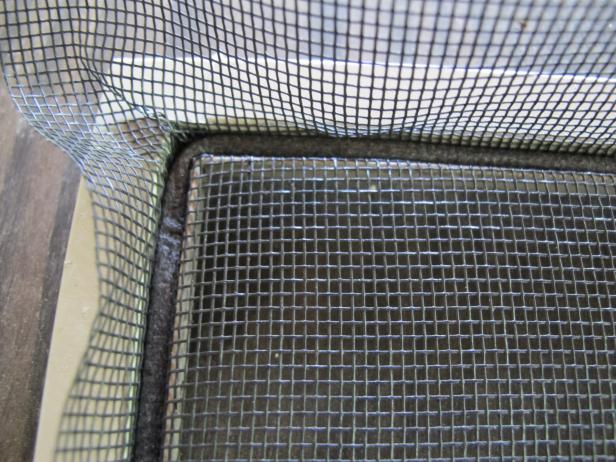
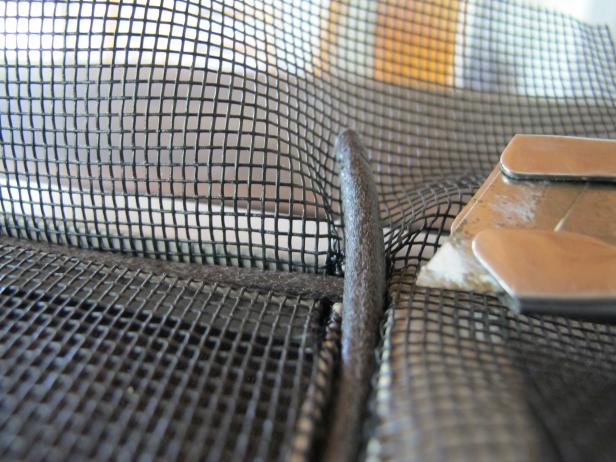
The screen spline installation tool has both convex and concave rollers on it that make it easy to wedge the spline into the frame to secure the new screen (Image 1). Begin by holding the spline (be it a new length, or the spline that you removed in Step 1 if it is in reusable condition), and align it over the screen and groove in the frame (Image 2). Use the concave end of the tool to press it into position, rolling slowly along the whole length of the frame (Image 3). Hold the screen taut with one hand while you roll with the other, or else you may find that the screen bunches in some areas (Image 4). As you reach the corners of the frame, force the spline into a right angle, and use the convex roller to press it in (Image 5). Roll over the length of the spline with the convex roller to ensure that it is completely pressed into the frame.


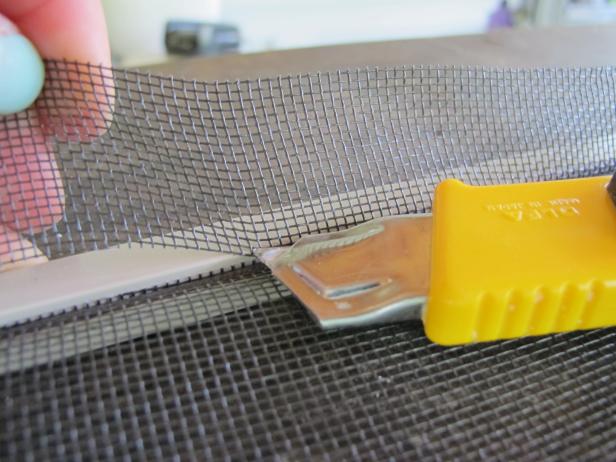
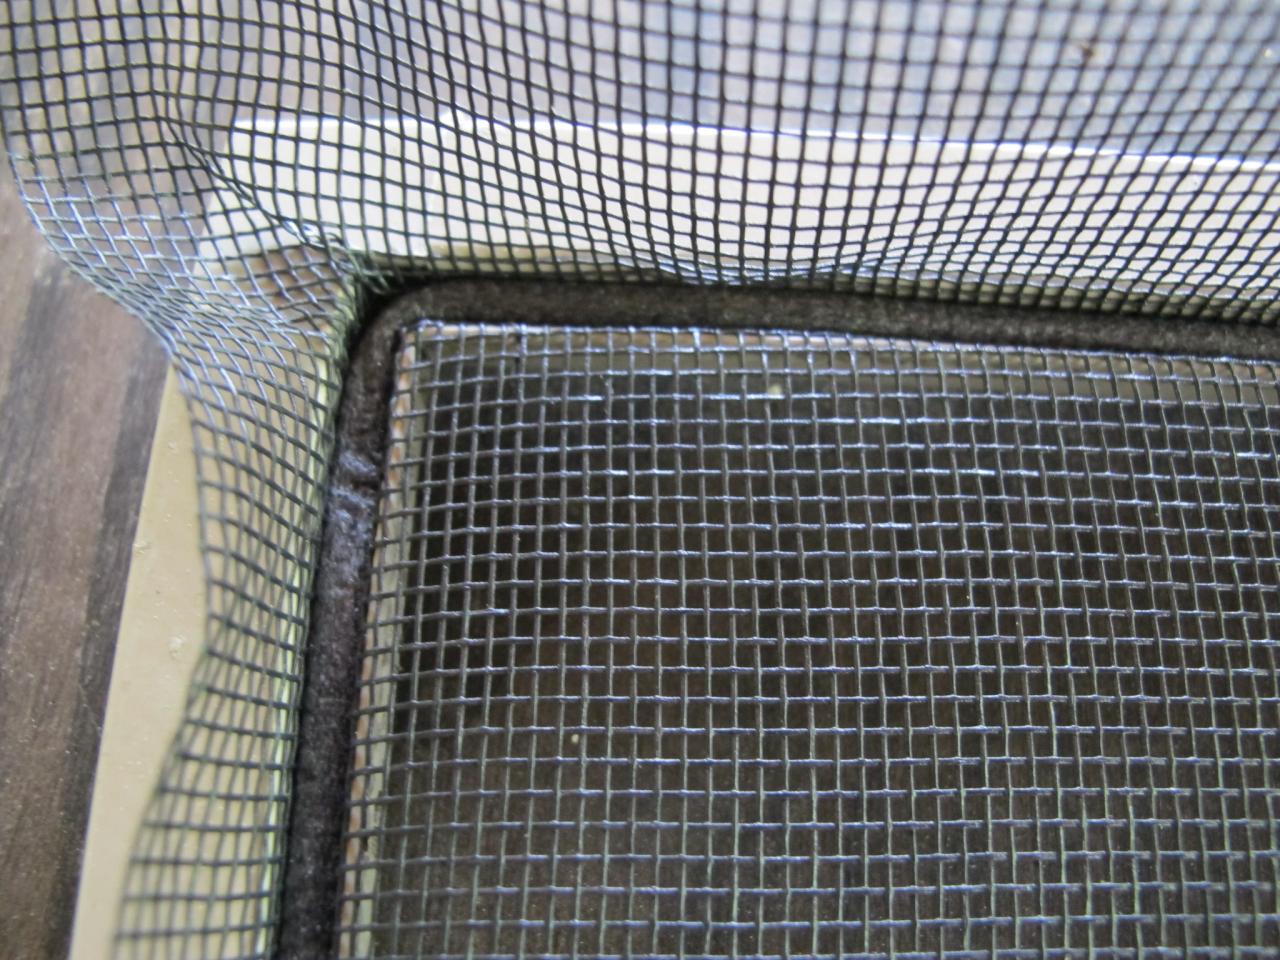
Trim Extra
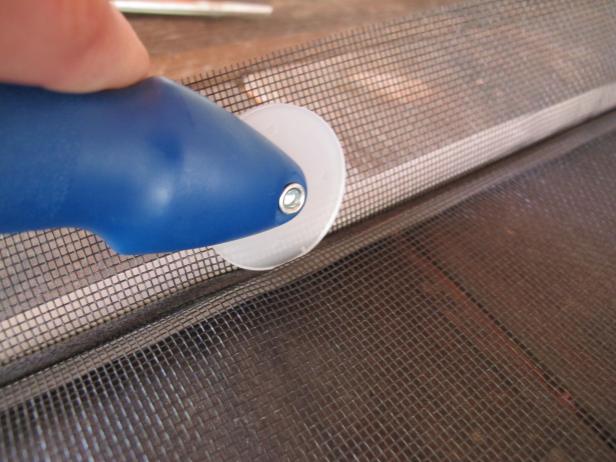
Use the utility knife to cut off any excess of spline and screen (Image 1). To remove the extra screen, slice along the inside of the frame above the spline for a nice, clean edge (Image 2).


