


7 Tips for Creating the Perfect Gallery Wall
These tricks from HGTV Magazine will help you completely transform your walls.

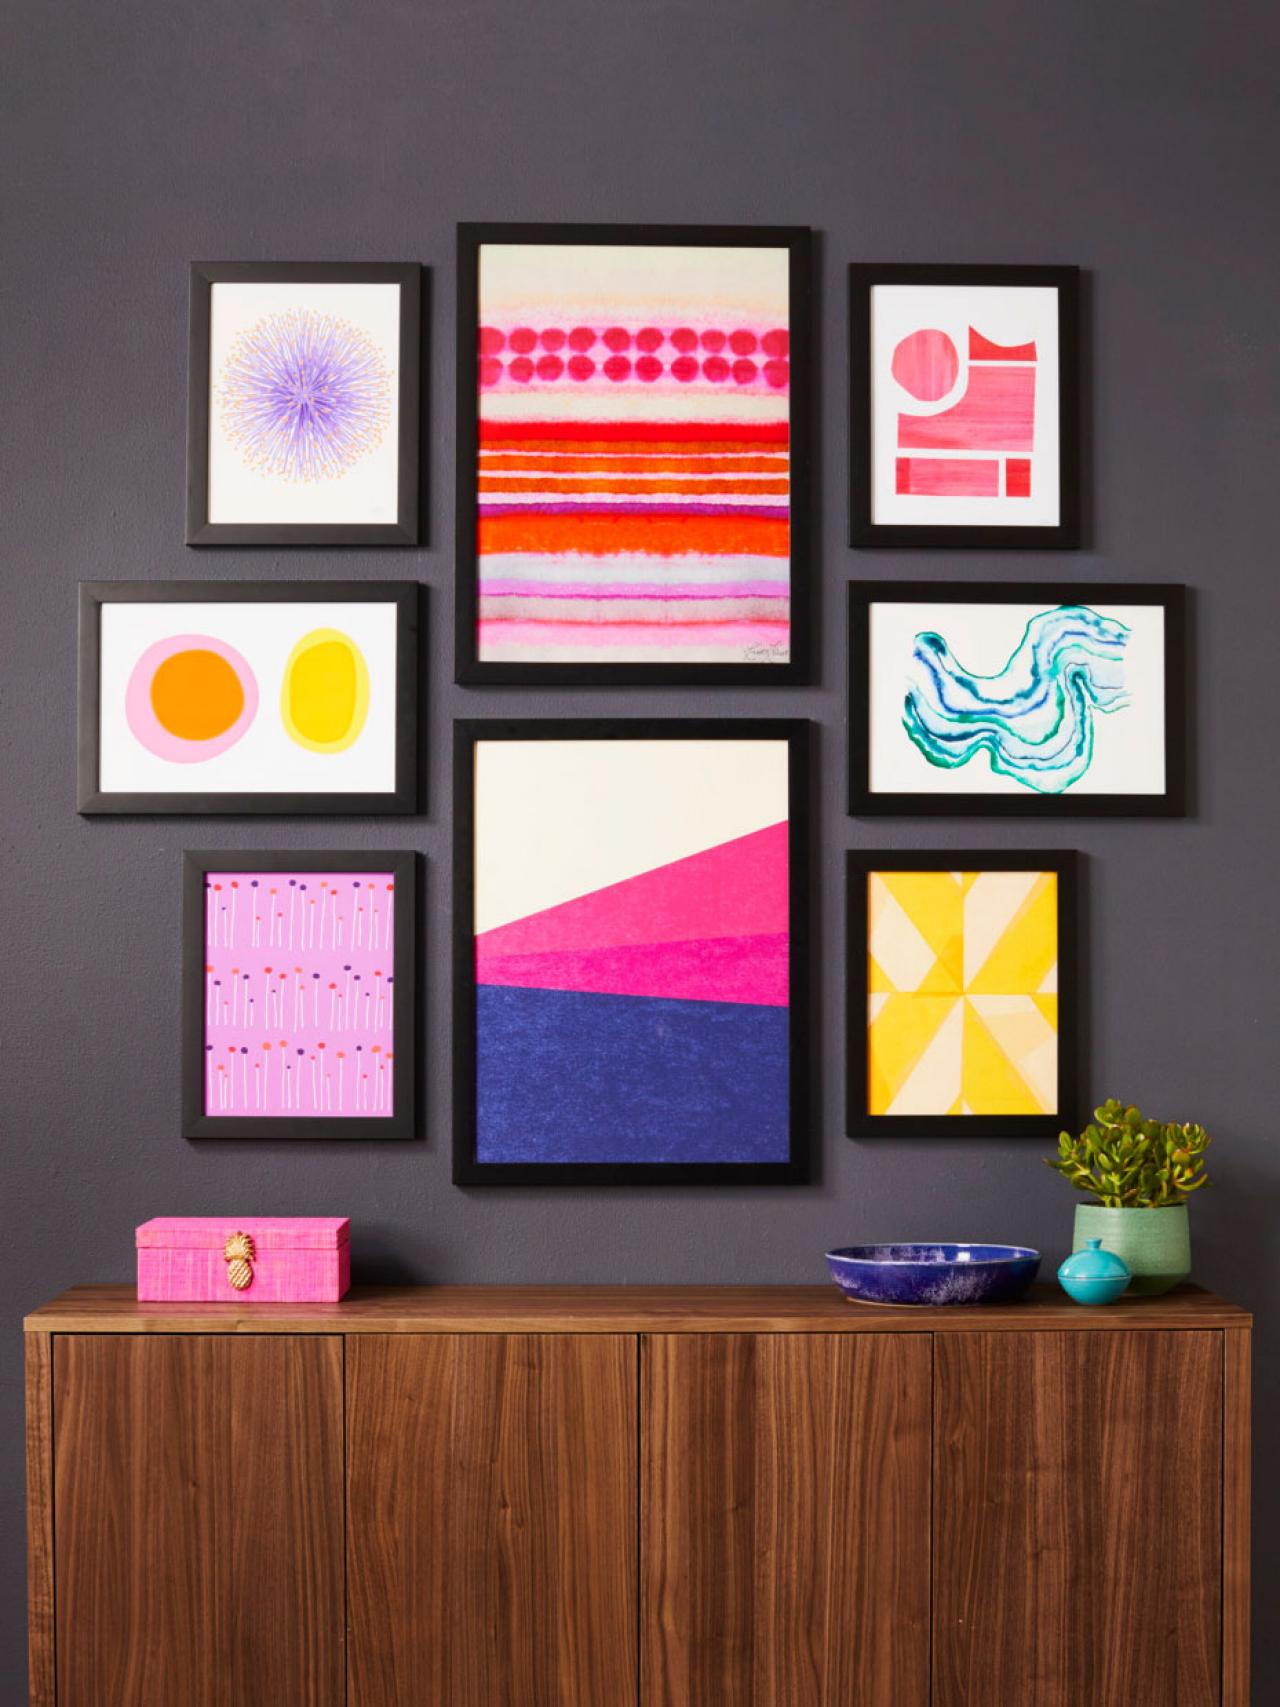
1: Start with the art
To create an assembled-over-time look, combine new and vintage prints and paintings, along with flea market finds. For a more modern look, find art within one color palette, or try pieces of the same size that are from a single collection or have a unified theme.
2: Tie it together
Keep your frames cohesive and get them all in the same color. This goes for matboards, too. Add a few light-color wood frames for a more eclectic mix.
3: Plan it out
Lay your framed art on the floor, then snap a photo of the final arrangement to refer to when hanging the art on the wall.
4: Level the first piece
Use a level to hang at least the first couple of frames. If the first row is crooked or slanted, the whole gallery will be off.
5: Hang frames with uniform spacing
Leave the same amount of space between frames so that the installation doesn’t appear messy — 2 inches is a good starting point. Too much space (more than 5 inches) or uneven space between frames can make the arrangement come off as haphazard.
6: Use tape as a measuring tool
Cut painter’s tape into the amount of space you want between the frames so that you can easily put these “spacers” between items as you hang the collection. This will save time: Painter’s tape is easier to place than unwieldy measuring tapes or rulers.
7: Grow from the base
Hang a bottom piece first. If you’re creating a gallery above the sofa, start about 6 inches above the back edge. Building from the lowest row allows you to expand your gallery wall up and out without running out of space.


