1 / 9
Photo: Image courtesy of Shannon Mulkey
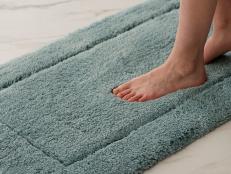
A Moss Mat
Evoke the forest in your bathroom by creating this cool moss mat.
Bring the outdoors inside with these creative bath mats. All you need is one afternoon and a handful of supplies to transform your bathroom.