


3 Glitzy Wooden Star Projects To Ring in the New Year
Grab some glitter and a pack of wooden craft stars and DIY these decorations in plenty of time to watch the ball drop.

Danielle Boaz

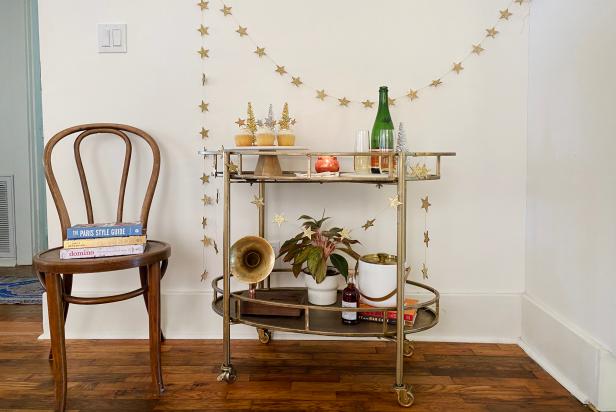
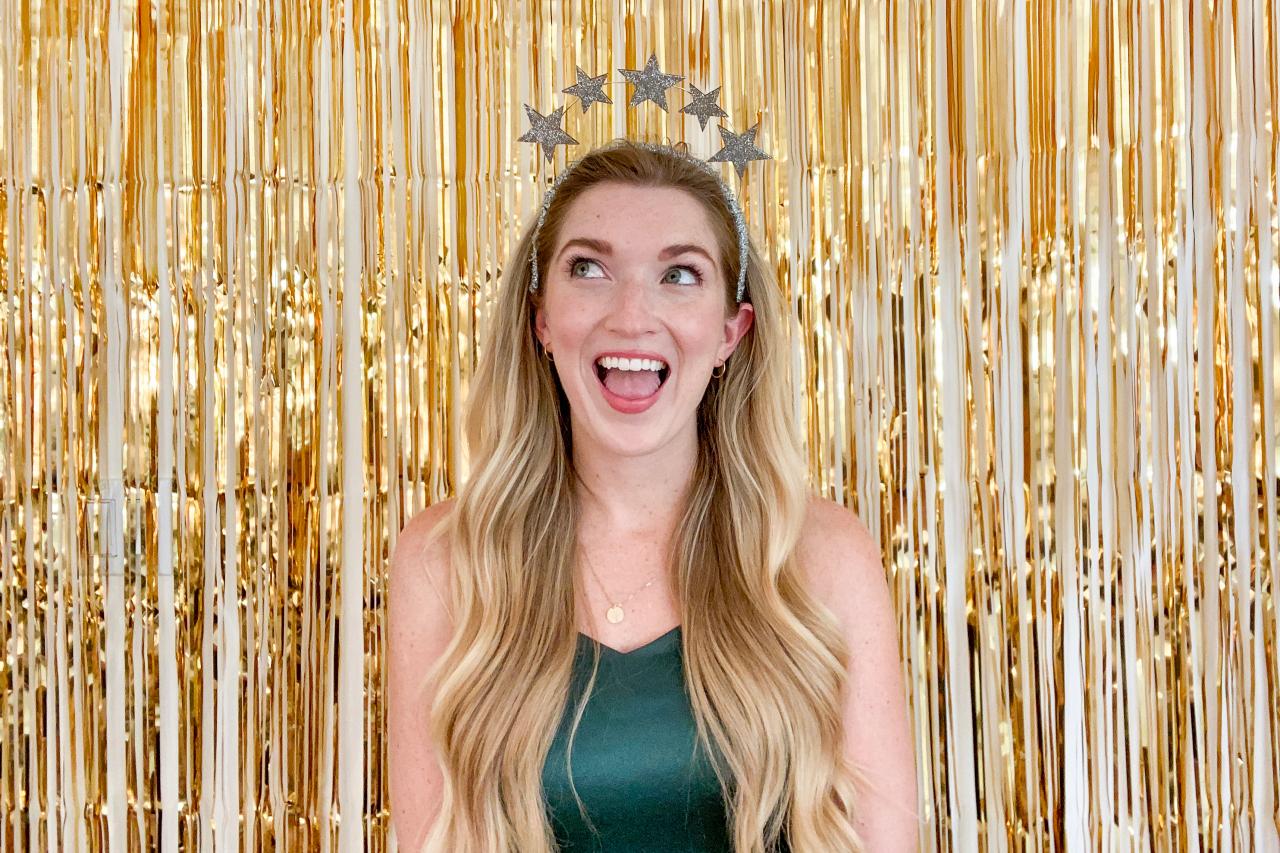
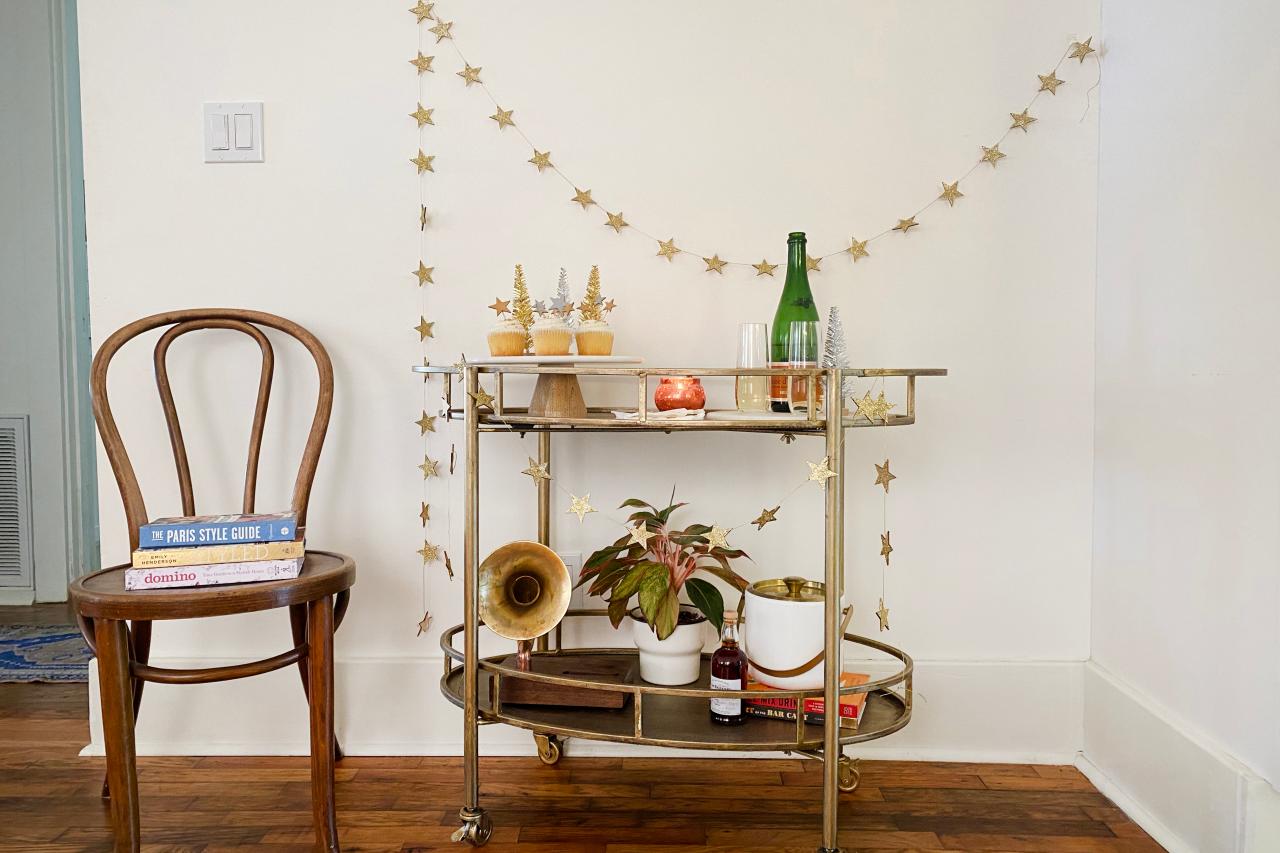
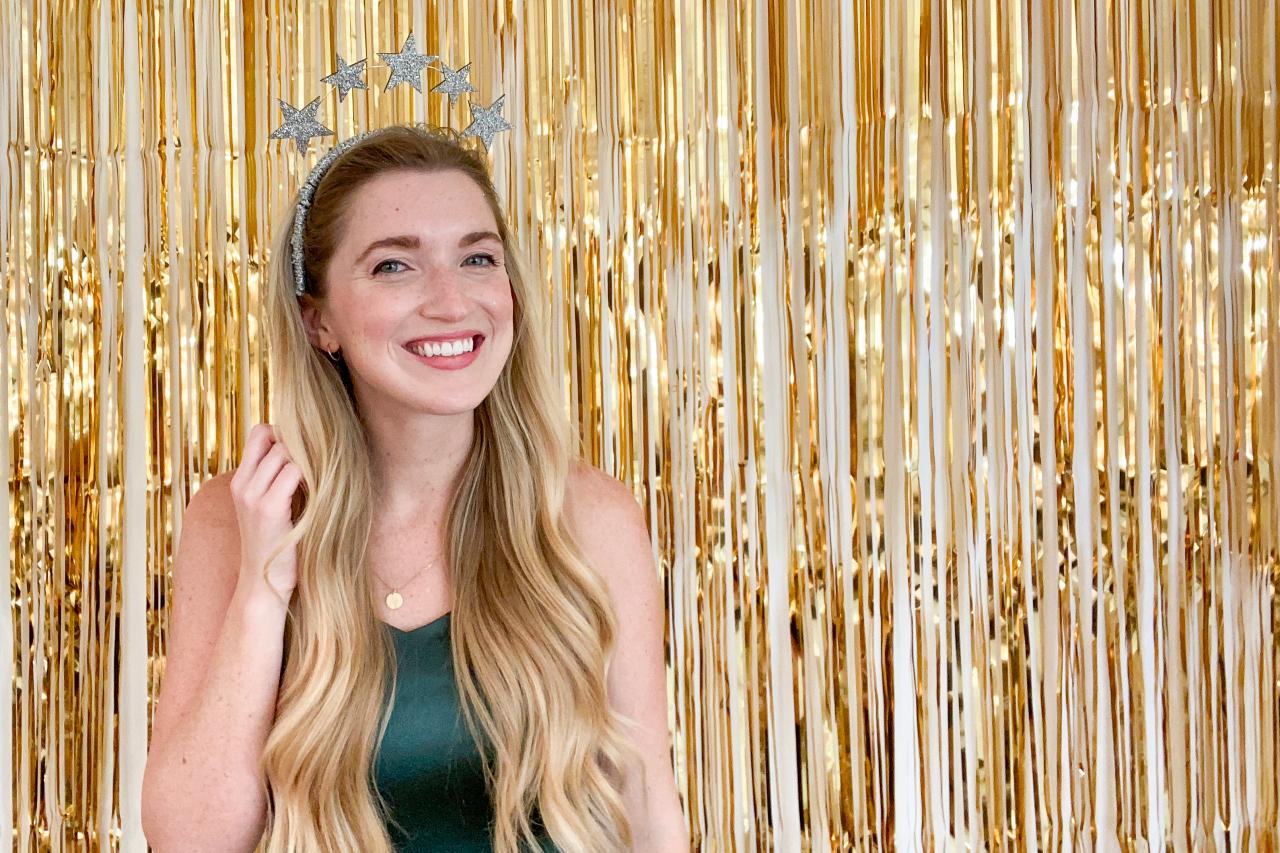
Make your year-end celebration feel like a night on the town even if you’re ringing in the new year on the sofa. HGTV Handmade’s Danielle Boaz created three different wooden star projects sure to add sparkle to your New Year’s Eve decor. Top cupcakes with glamorous stars, make a glittery headband and pose for the perfect selfie in front of gold star garland.
Gold Star Garland

Danielle Boaz
Materials + Tools
- assorted wooden craft stars
- gold glitter
- 6' of gold string
- decoupage glue
- drill and small drill bit
- embroidery needle
- foam brush
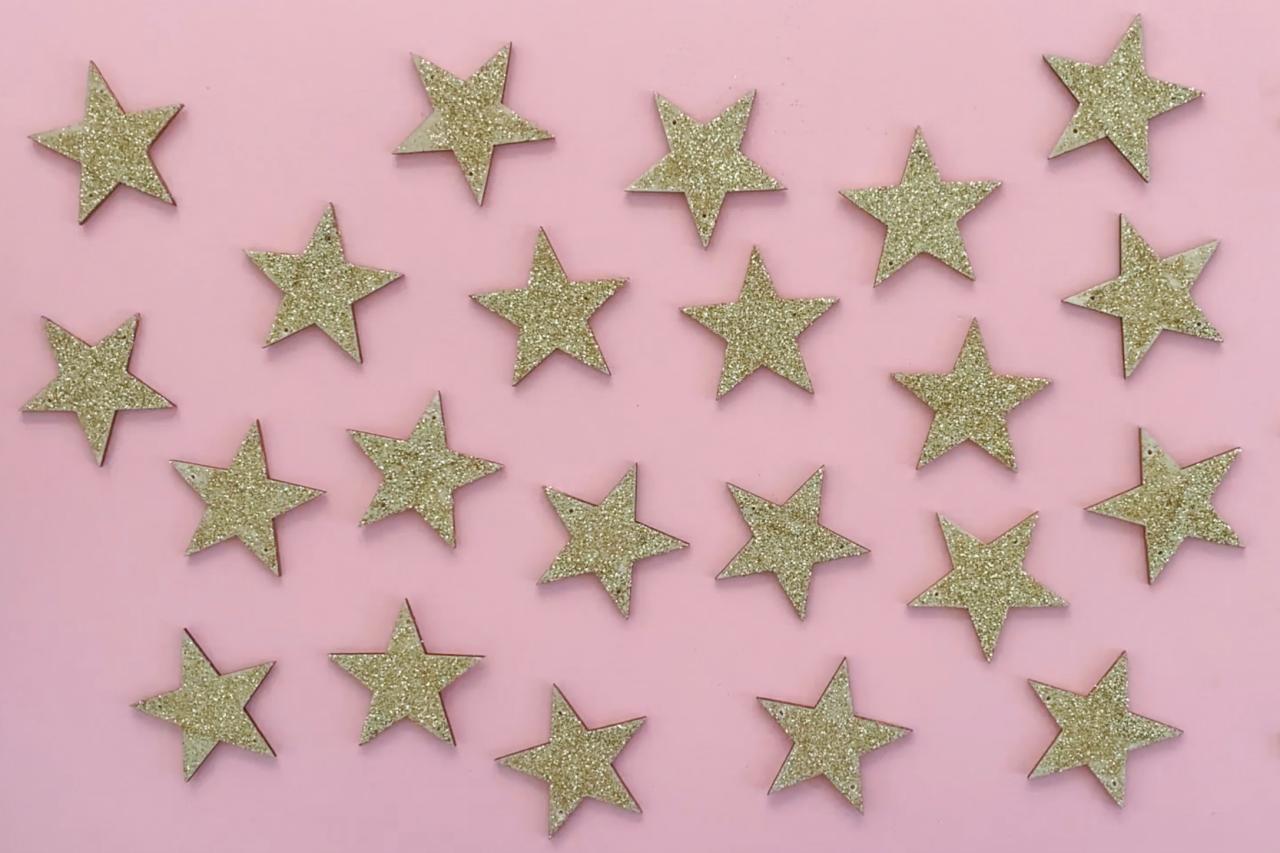
Note: For 6 feet of garland, you will need approximately 36 wooden stars.
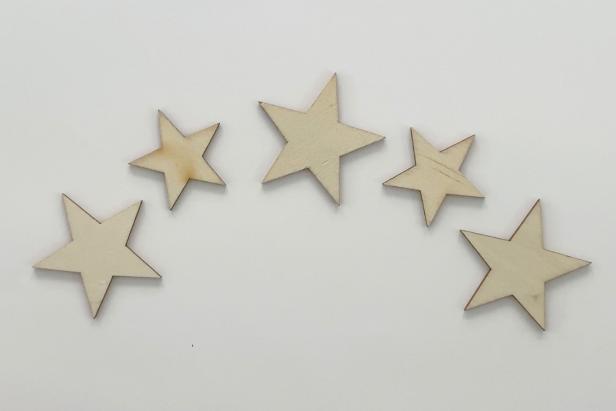
Drill + Glitter
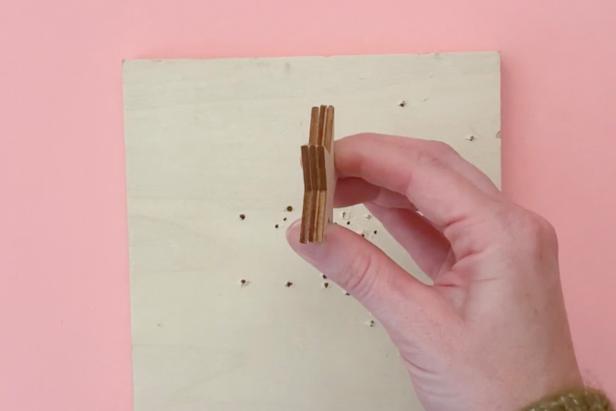
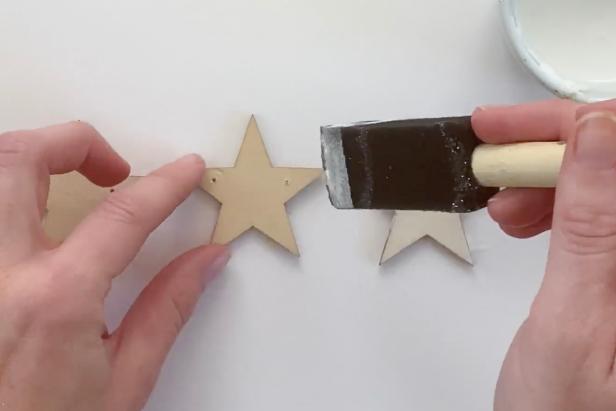
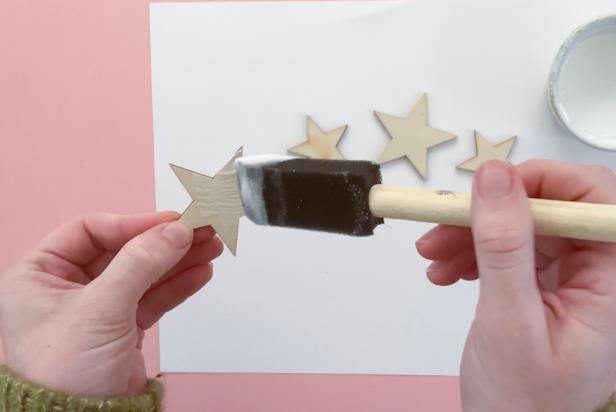
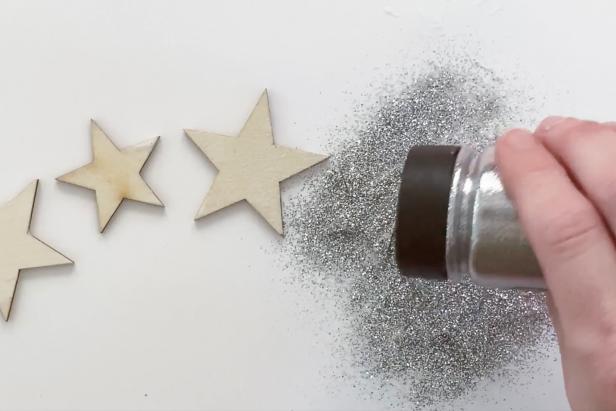
Place a piece of scrap wood on a work table. Then, take a stack of three wooden stars and align them together (Image 1). Now use a drill to create two holes in each wooden star for the gold string to go through (Image 2). Tip: Be sure to use a drill bit that matches the size of your string. Once all the stars are drilled, place them on a piece of scrap paper. Using a foam brush, apply a coat of decoupage glue to one side of each star, working in small batches (Image 3). Then, lightly sprinkle a layer of gold glitter onto the decoupage glue (Image 4). Let the stars dry for several hours (Image 5).
Danielle Boaz

Danielle Boaz
Danielle Boaz

Danielle Boaz

Danielle Boaz
Thread String + Enjoy
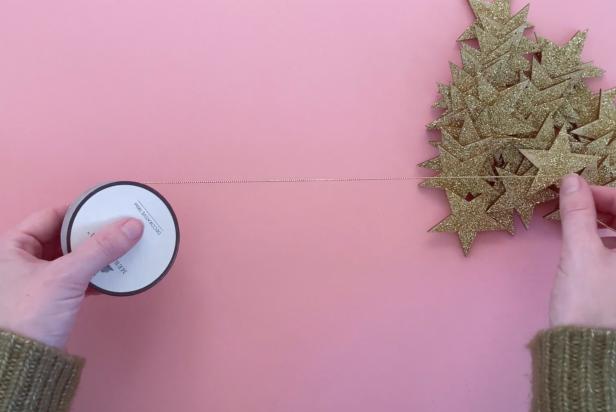
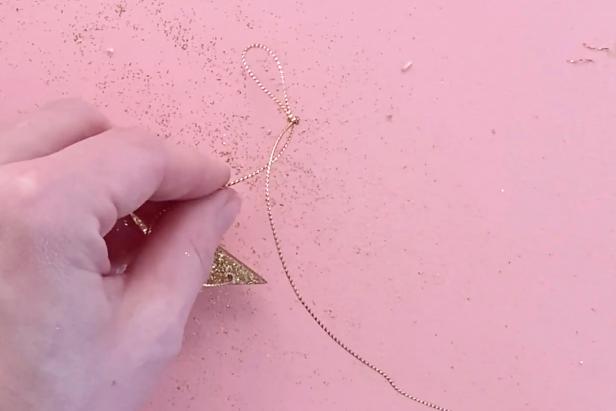
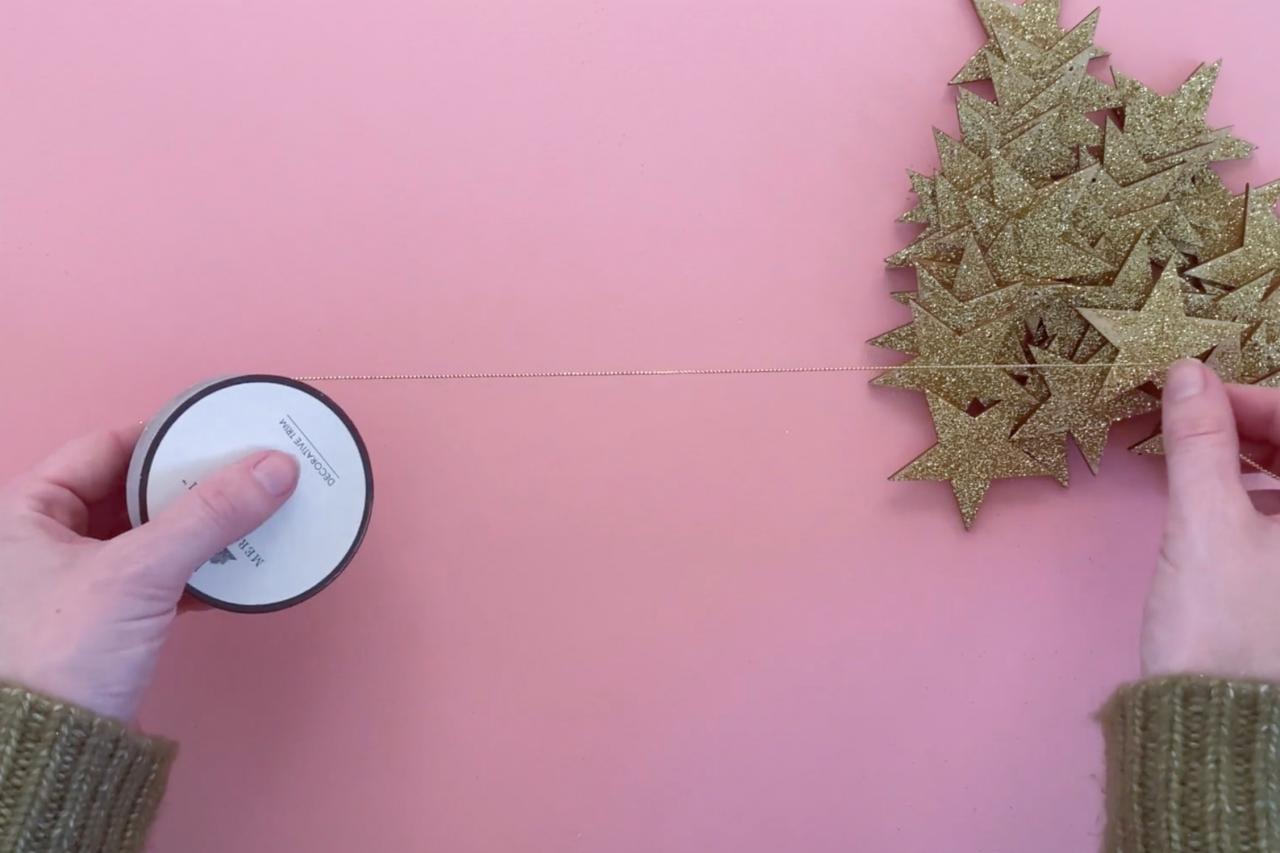
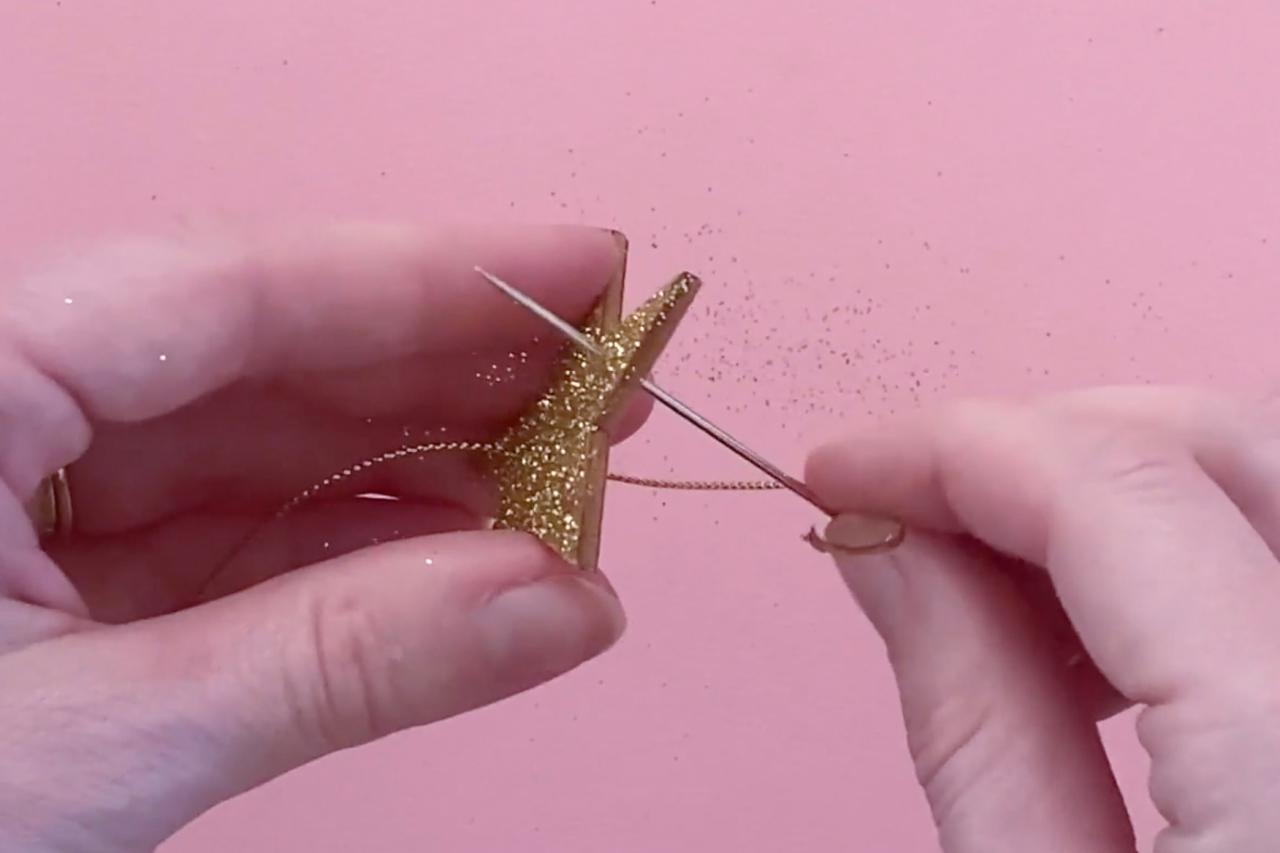
Measure 6 feet of gold string (Image 1). Take the end of the string and thread it through an embroidery needle. Then thread the string through the left hole of the first star, pushing the thread in toward the back, then up through the front hole (Image 2). Note: The string should run along the back of each star. Slide the stars down the string about 1 inch apart (Image 3). Last, tie a loop on each end of the gold string (Image 4) and display the garland on the wall for the perfect backdrop (Image 5).
Danielle Boaz

Danielle Boaz

Danielle Boaz
Danielle Boaz
Danielle Boaz
Silver Star Headband

Danielle Boaz
Materials + Tools
- assorted wooden craft stars
- plastic headband
- 18-gauge jewelry wire
- silver glitter
- silver cord
- paintbrush
- low-temp hot glue gun + glue sticks
- decoupage glue
- scissors
Paint Stars
For Danielle’s sparkly headband, place (2) 1-inch wooden stars between (3) 2-inch wooden stars (Image 1). Next, use a foam brush to coat one side of the stars with decoupage glue (Image 2). Then gently sprinkle on a layer of silver glitter (Image 3). Let the stars dry for several hours.
Danielle Boaz
Danielle Boaz
Danielle Boaz
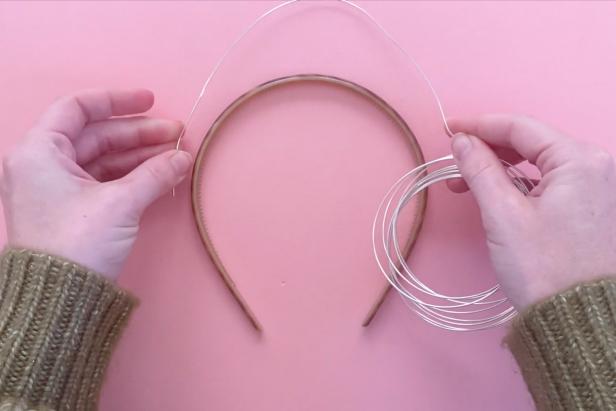
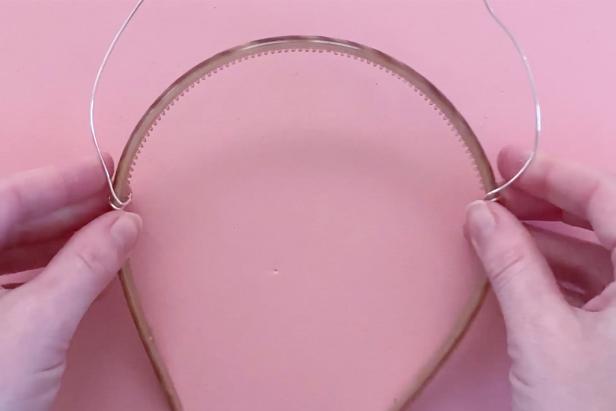
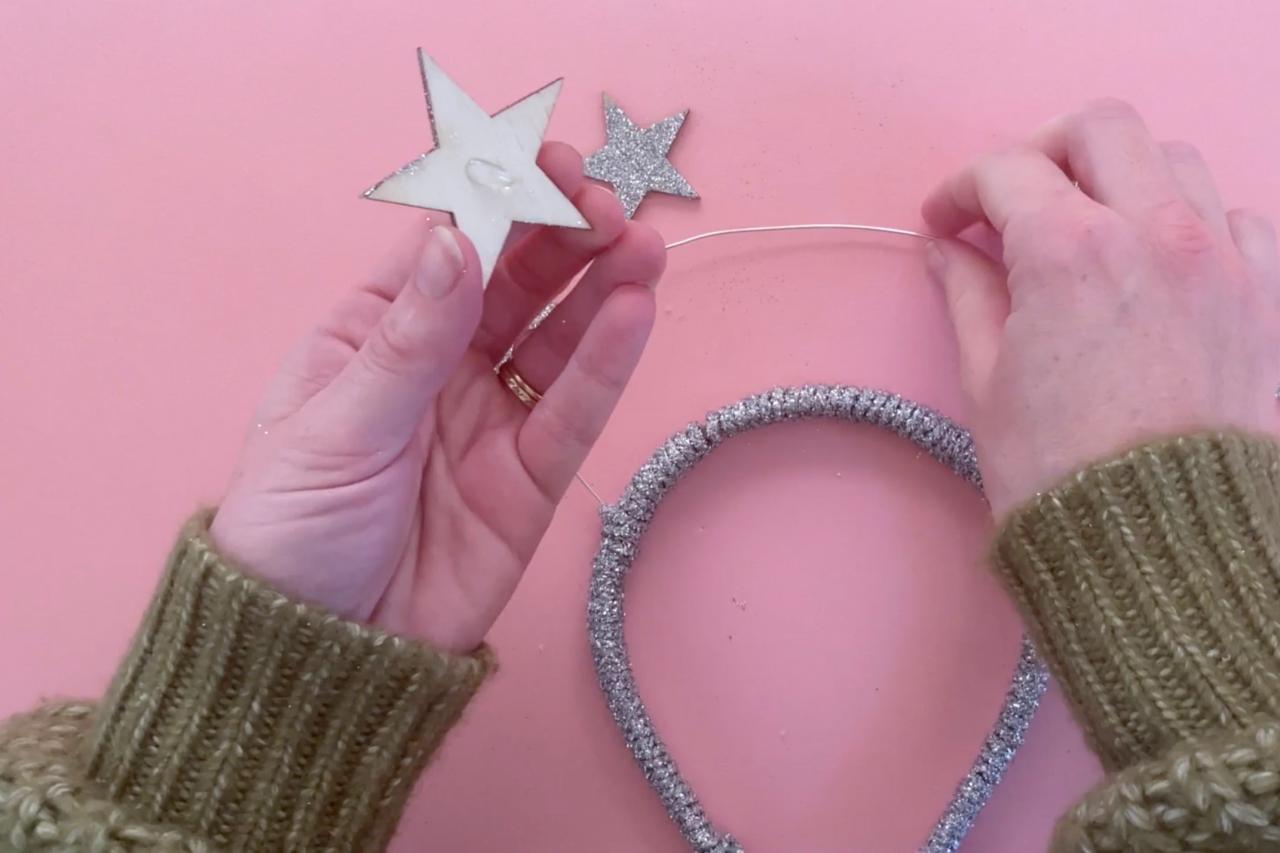
Make Headband
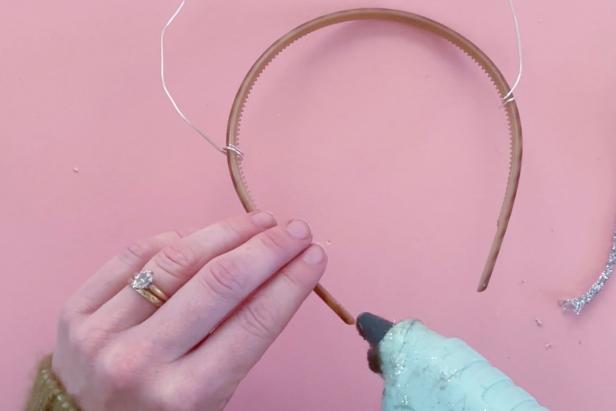
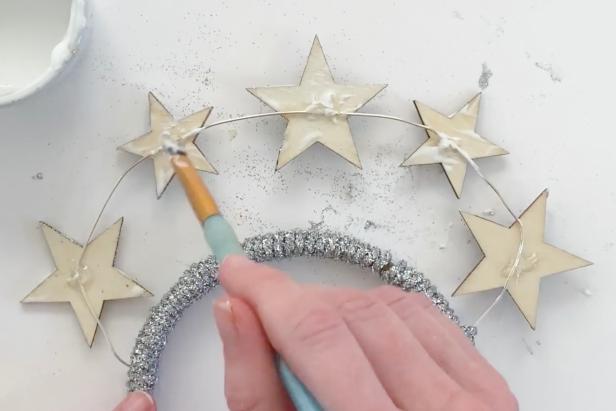
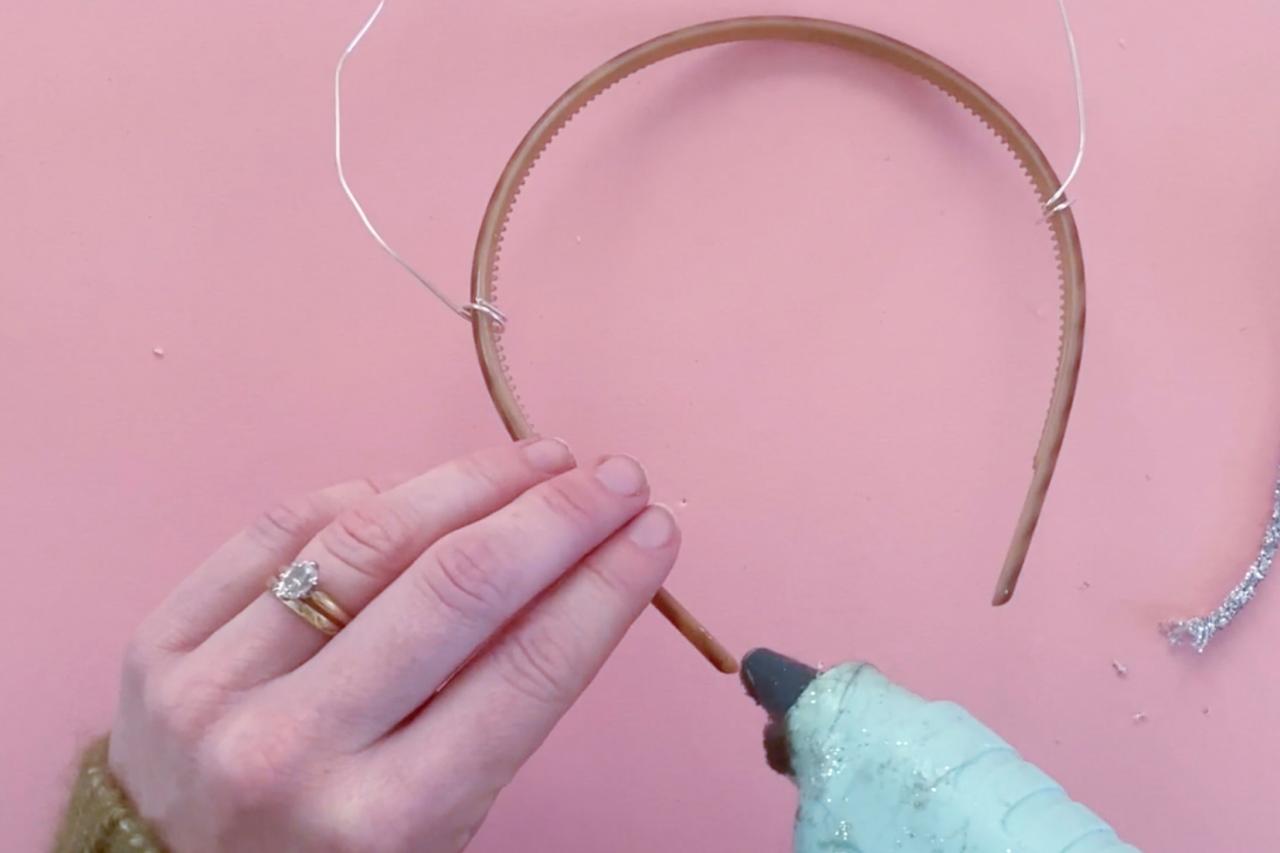
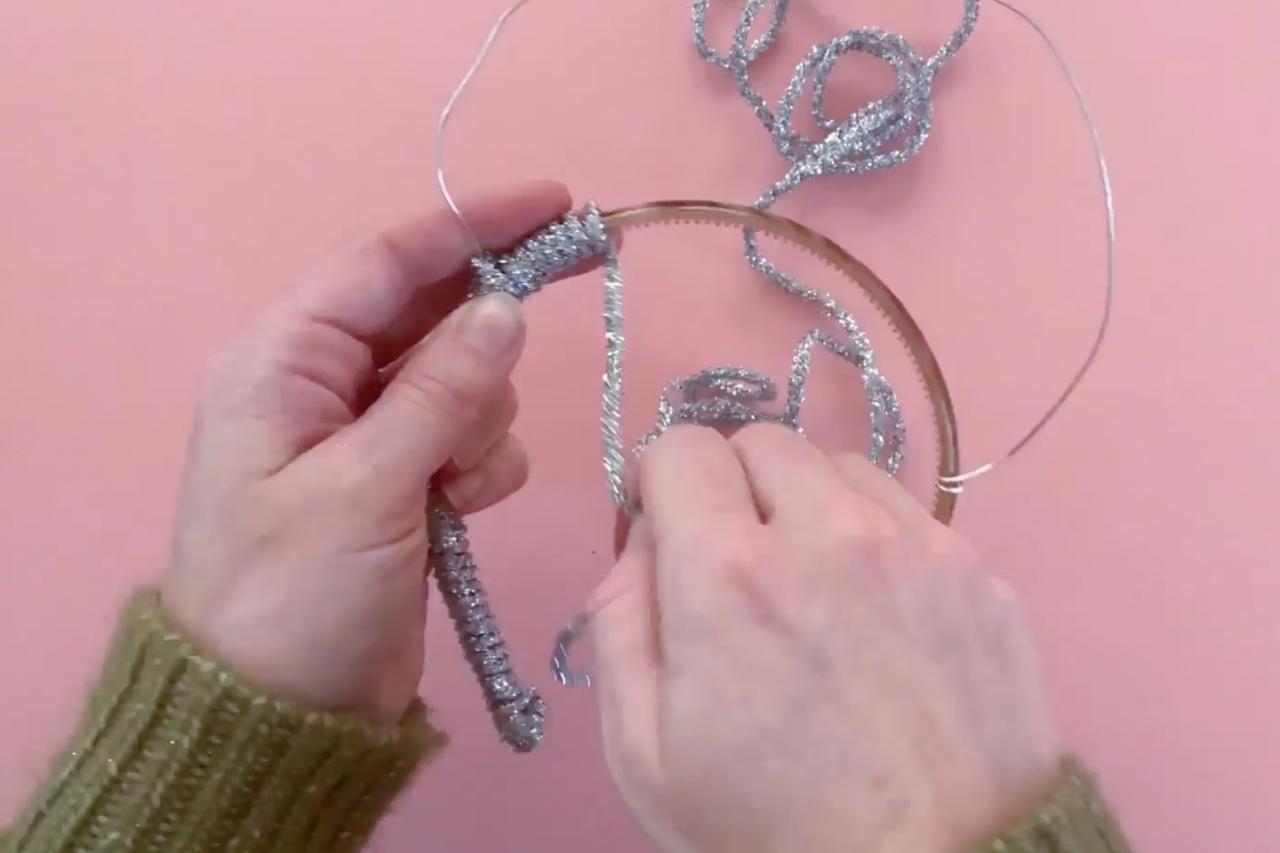
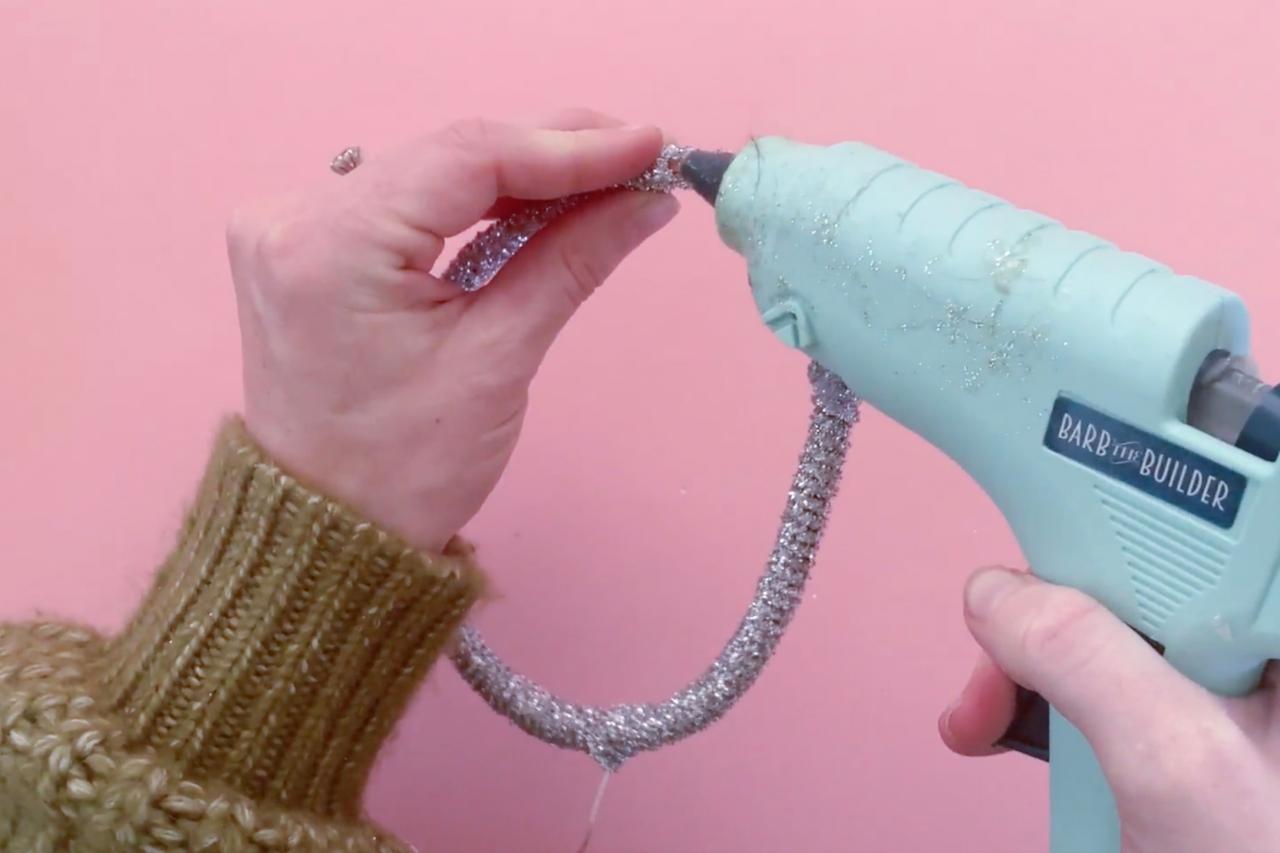
Measure the 18-gauge wire against the plastic headband to determine the length and cut with scissors (Image 1). Attach the wire to both sides of the plastic headband by twisting the ends tightly around the middle section of the headband (Image 2). Next, use a low-temp hot glue gun to add a dot of glue to one end of the plastic headband (Image 3). Affix the end of the glitter cord to the dot of glue and then begin tightly wrapping the cord around the headband. Tip: Once you reach the wire on the headband, wrap the cord around a few extra times to keep the wire from showing (Image 4). Continue wrapping the cord until you reach the other end of the headband. Use scissors to trim the cord, then attach it to the headband with a dot of hot glue (Image 5).
Danielle Boaz
Danielle Boaz
Danielle Boaz

Danielle Boaz

Danielle Boaz
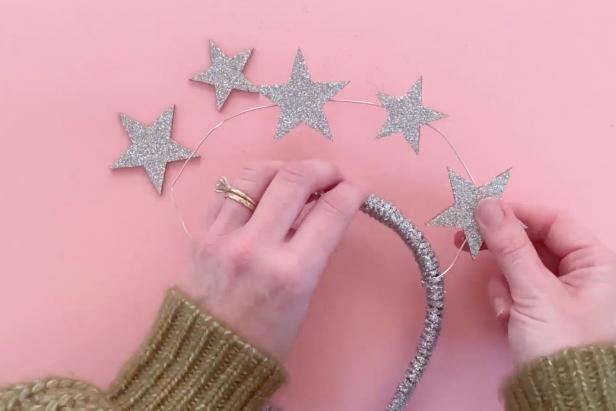
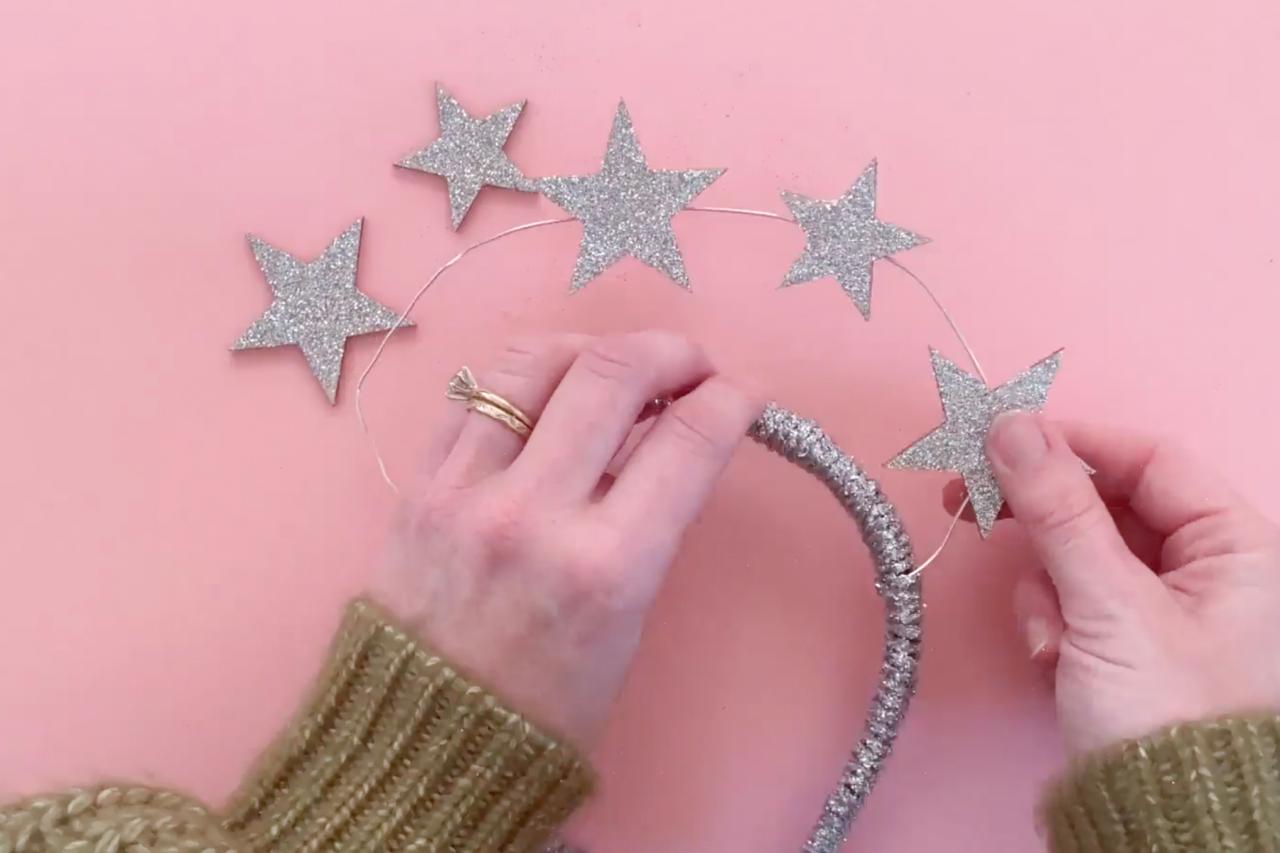
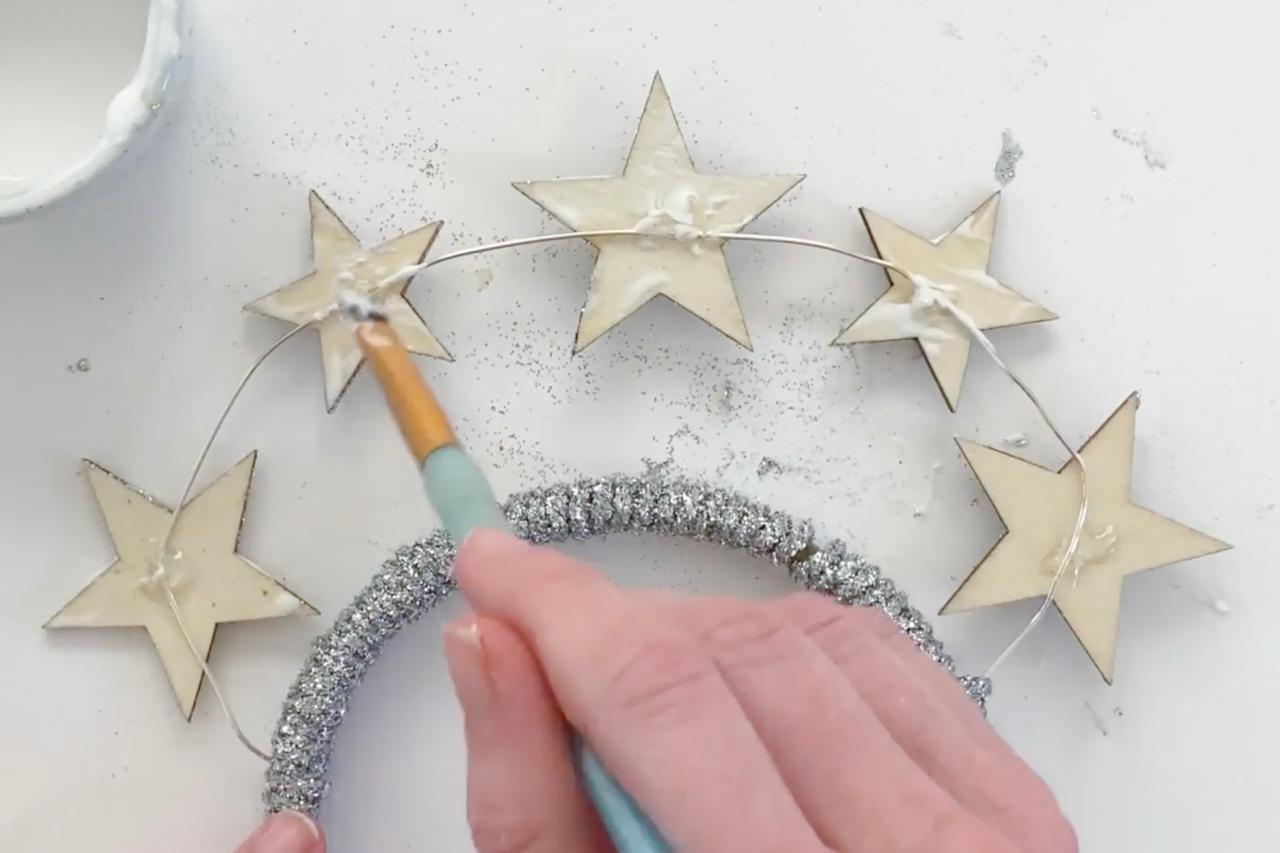
Glue Glitter Stars
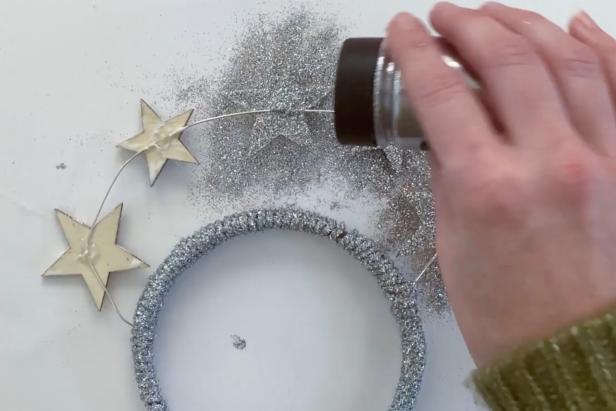
Add a dot of glue from a low-temp hot glue gun to the back of the middle, biggest star (Image 1). Then affix the back of the star to the jewelry wire and hold it in place until dry. Repeat the steps above for the remaining stars (Image 2). Next, flip the headband over and place it on a piece of paper. Use a small paintbrush to add a layer of decoupage glue to the back of each star (Image 3). Then sprinkle a coat of silver glitter onto the stars (Image 4) and let dry for several hours. Slip on the headband and pose for the perfect New Year’s Eve snap (Image 5).

Danielle Boaz
Danielle Boaz
Danielle Boaz
Danielle Boaz
Danielle Boaz
Star Cupcake Toppers

Danielle Boaz
Materials + Tools
- assorted wooden craft stars
- gold and silver metallic paint
- paintbrush
- toothpicks
- floral foam
- disposable plate or paint palette
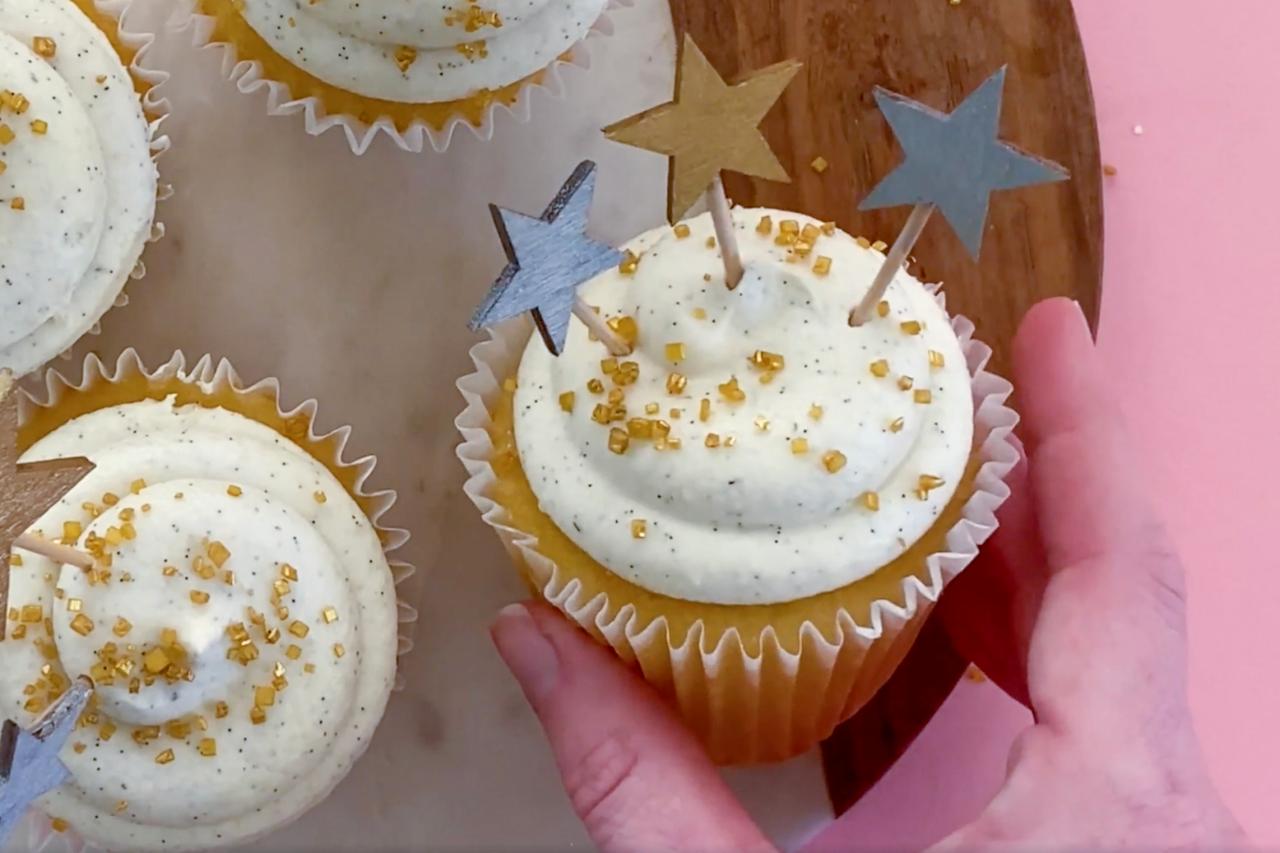
Paint + Dry + Display
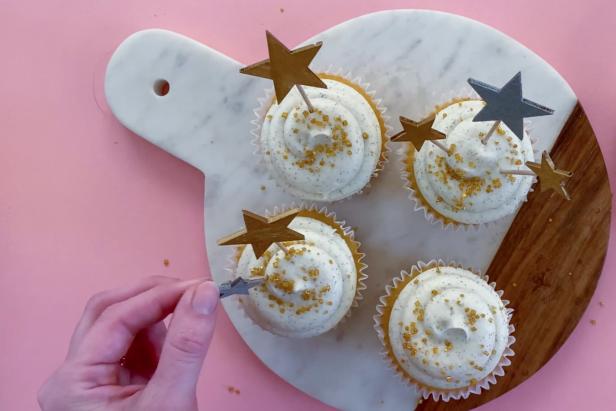
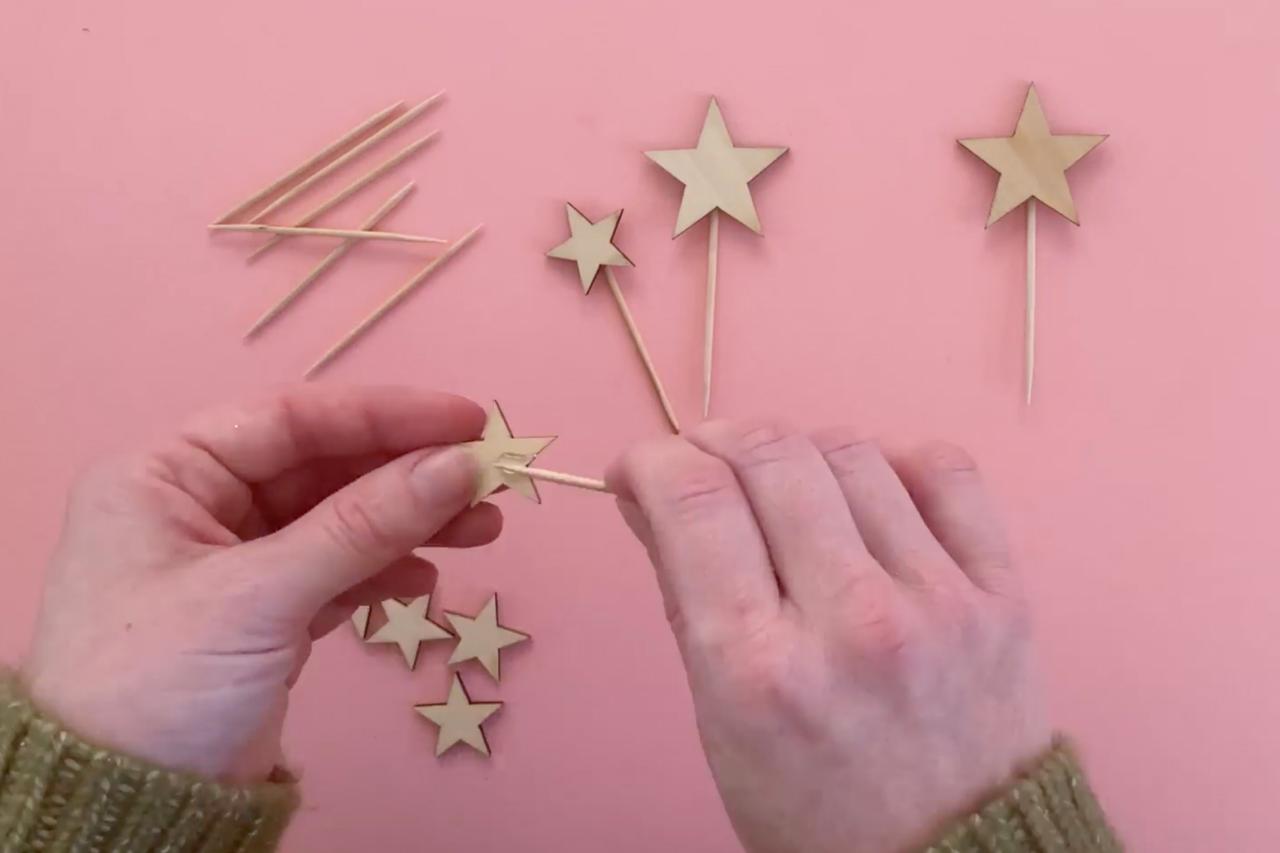
To make the cutest NYE cupcake toppers, use a combination of 1/2-inch wooden stars and 1-inch wooden stars. Using a low-temp hot glue gun, add a dot of glue to the back of the wooden star and then add a toothpick to the glue (Image 1). Hold until dry. Next, add a few drops of metallic silver and gold paint to a paint palette or disposable plate. Use a small paintbrush to coat both sides of the wooden star and place in floral foam to dry for several hours (Image 2). Note: Do not paint the toothpick. Stick a few stars into a fresh cupcake and pop some bubbly to toast another successful DIY (Image 3).

Danielle Boaz

Danielle Boaz
Danielle Boaz

New Year's Eve Craft Ideas

Make This New Year’s Eve Gift Box for a Festive Virtual Send-off
Send your friends some shiny DIY garland and custom confetti poppers to create the perfect “Auld Lang Syne” Zoom moment.

Confetti-Inspired New Year's Eve Ideas 16 Photos
Incorporate sparkle into your New Year's Eve party in fun, unexpected ways with these DIY ideas.


