


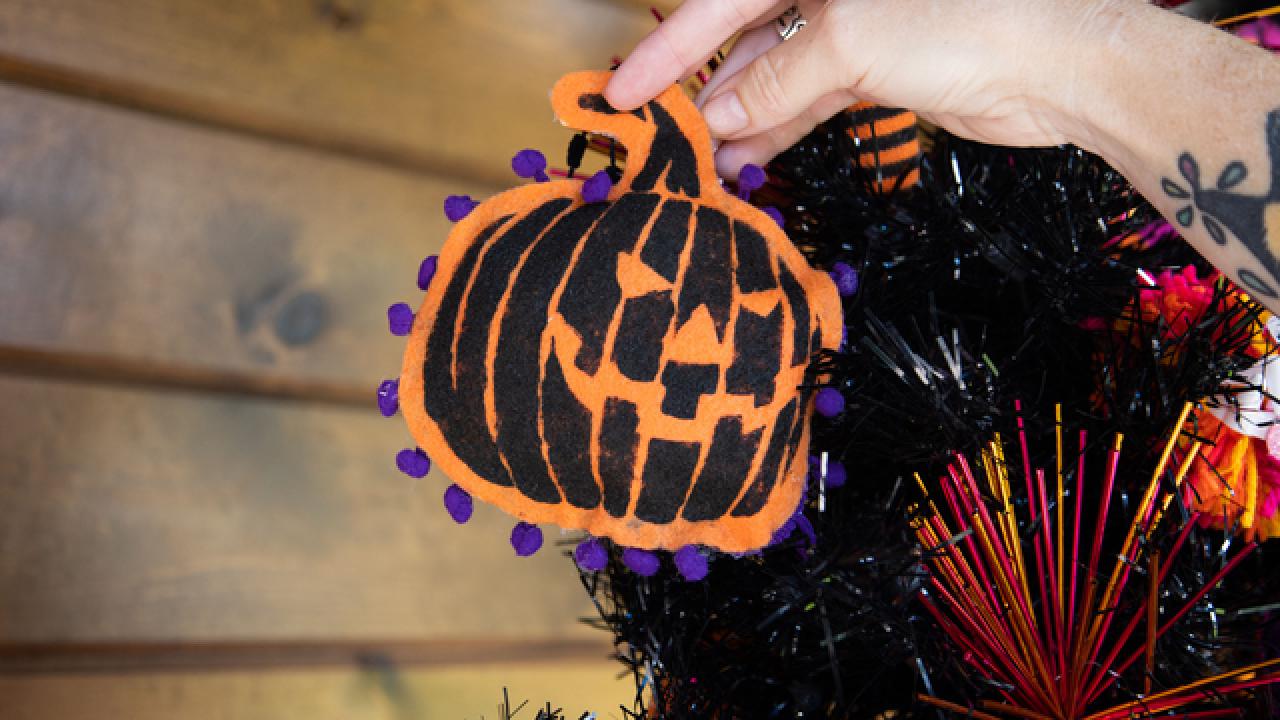
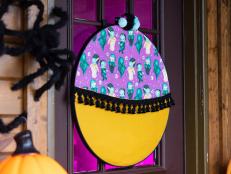
DIY No-Sew Ornaments for Halloween Trees
No sewing machine? No problem! Easily craft these no-sew stenciled ornaments just in time for Halloween.

Best Wishes Studio

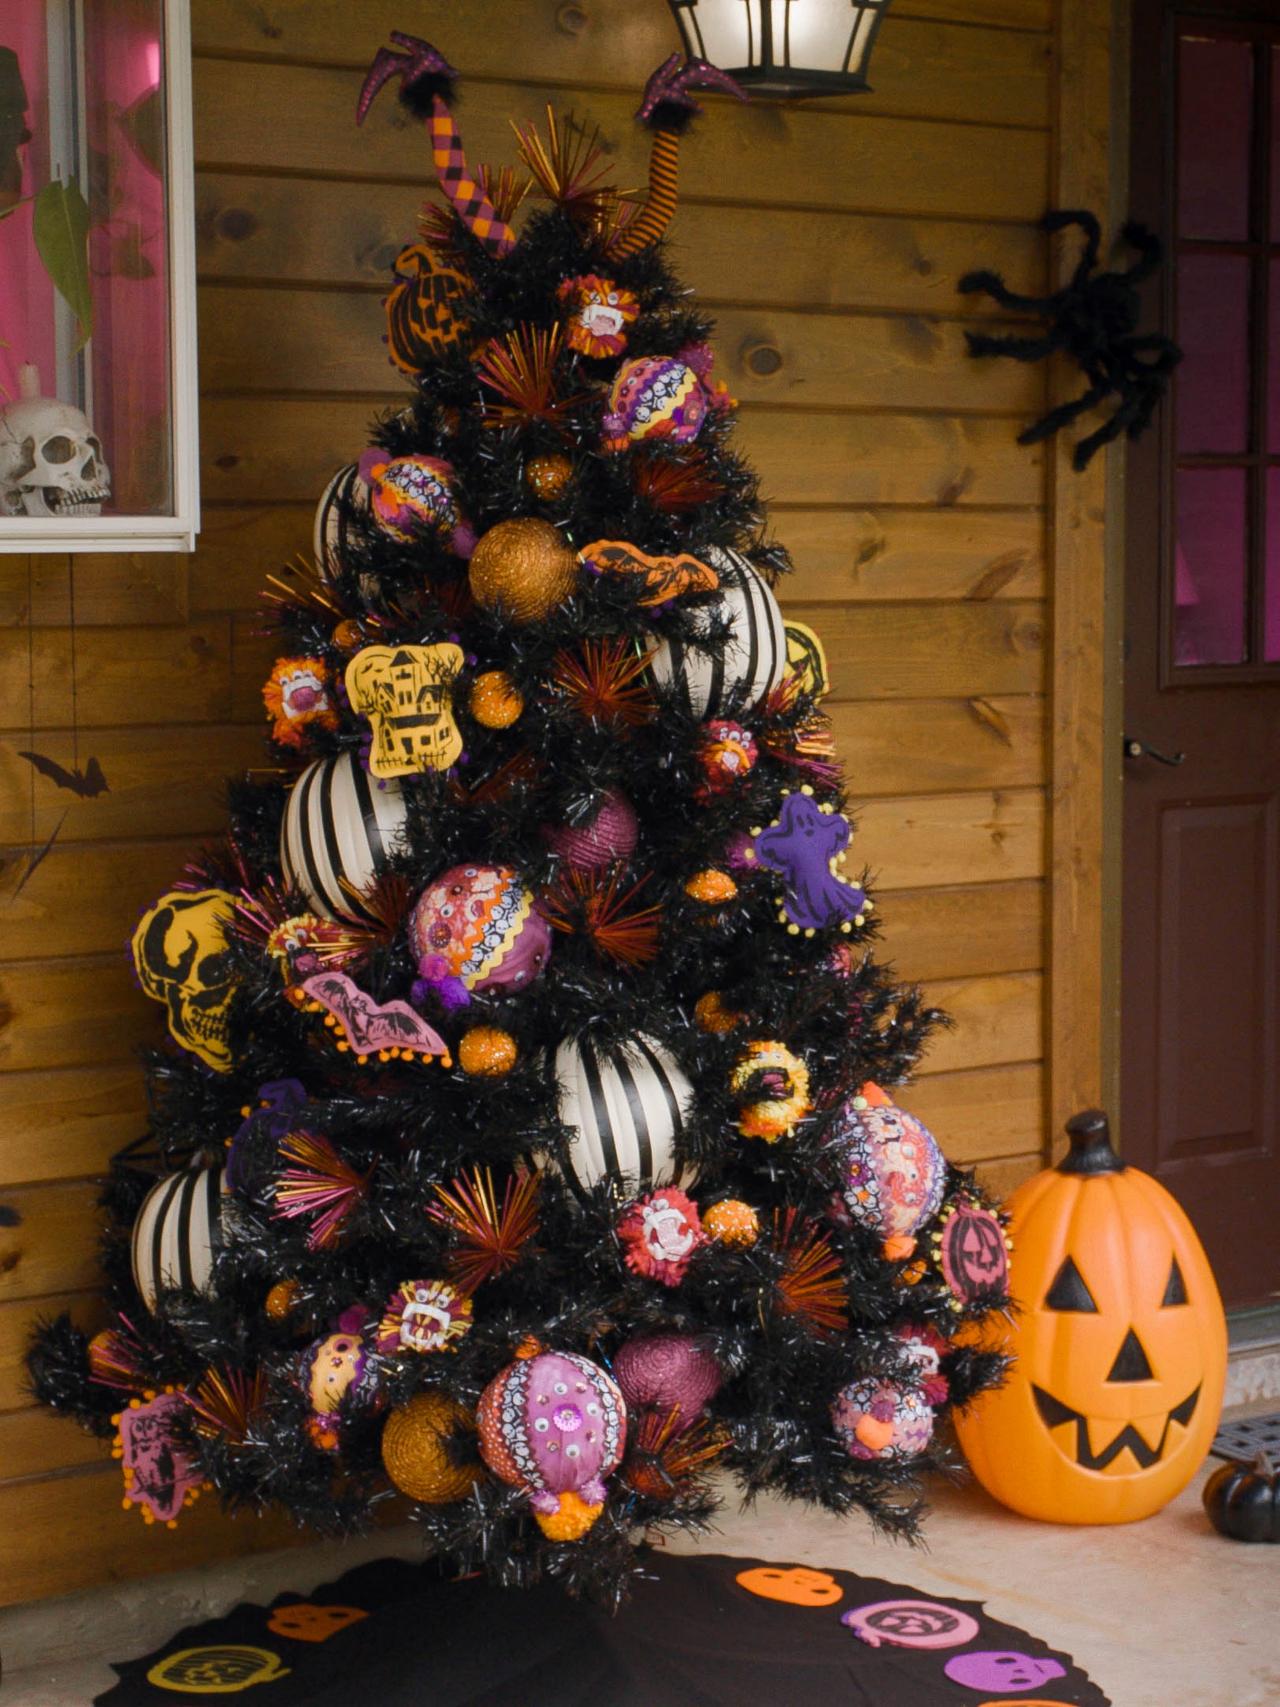
Turns out Christmas isn’t the only holiday for festive ornaments and trees. This year, put a playful spin on a traditional Christmas tree by decorating a Halloween tree with DIY stenciled ornaments. These easy-to-craft ornaments are made with common craft supplies and can easily be customized and personalized to your liking, making them the perfect way to spend a crafty afternoon. No sewing machine required.
Materials Needed
- felt
- Halloween-themed stencil
- black craft paint
- craft paintbrush
- scissors
- Halloween-themed fabric
- pen
- pom-pom fringe
- yarn
- hot glue gun + sticks
- batting
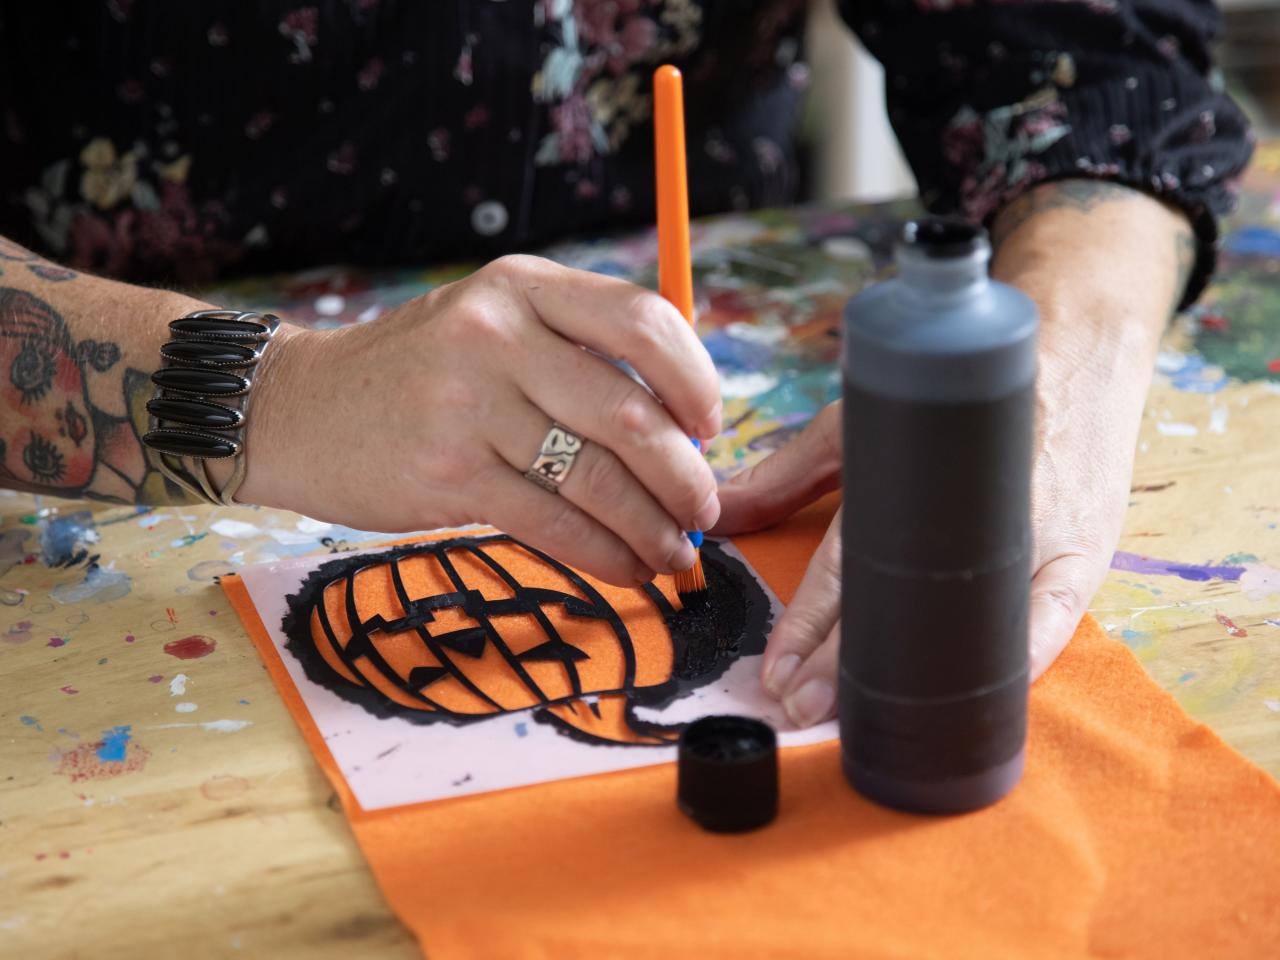
Paint Stencil Design
Once you pick out your Halloween stencil of choice, place it on appropriately colored felt (orange for pumpkins, purple for a monster, etc.) and fill in the pattern with black craft paint. For the best results, use a dry brush technique by not overloading your brush. Remove stencil and let dry.

Best Wishes Studio
Cut Out Design
Once the paint has dried, use scissors to cut out the shape around the stencil, leaving about 1 inch of excess felt around the design's perimeter.
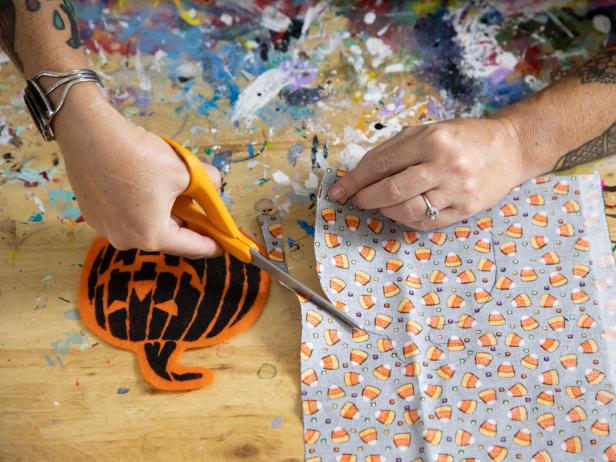
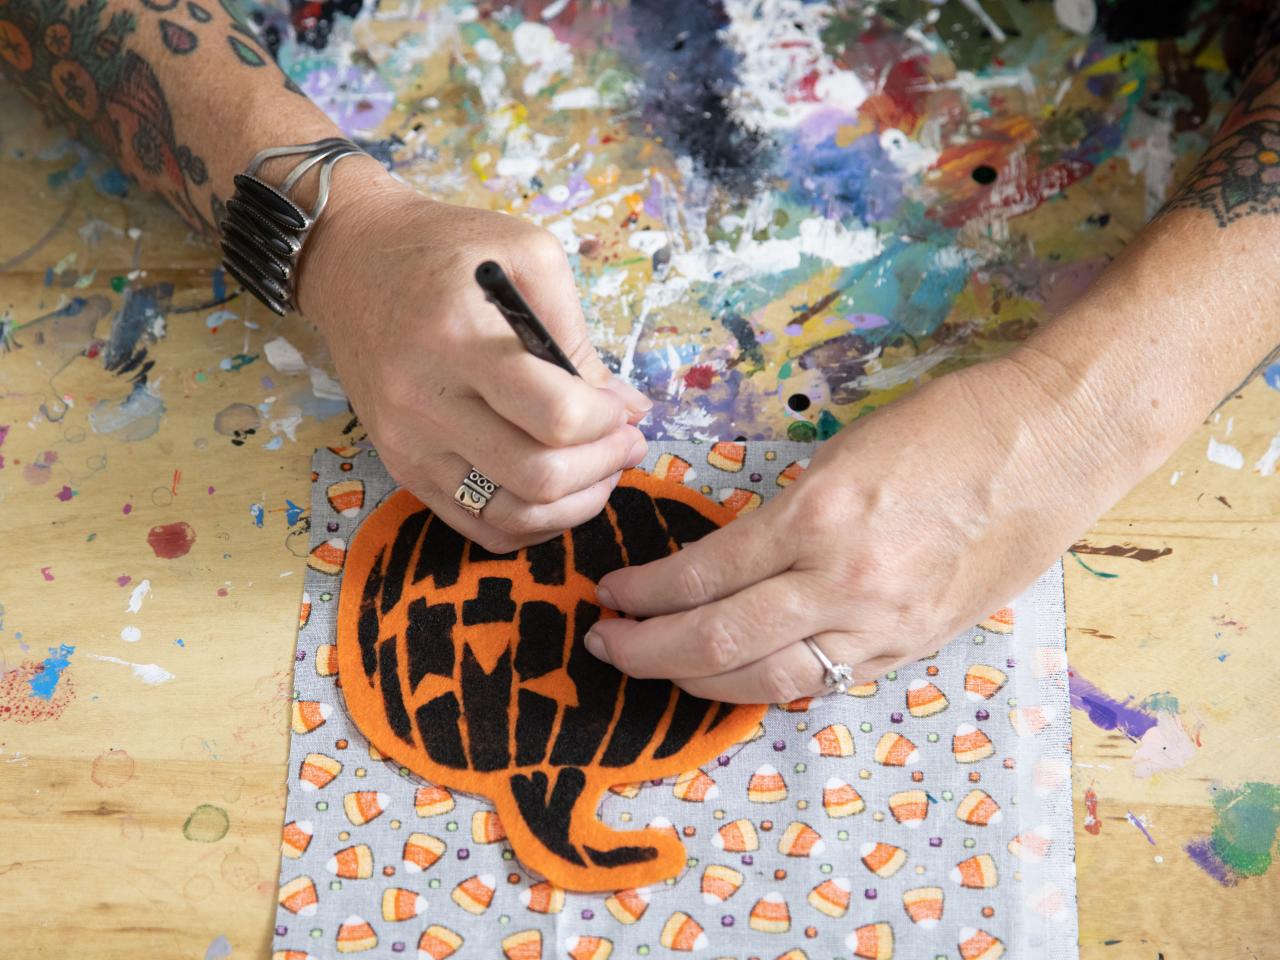
Transfer Shape to Fabric
Place the cut-out shape on the back of a piece of Halloween-themed fabric and use a pen to trace the shape (Image 1). Cut out using scissors (Image 2).

Best Wishes Studio
Best Wishes Studio
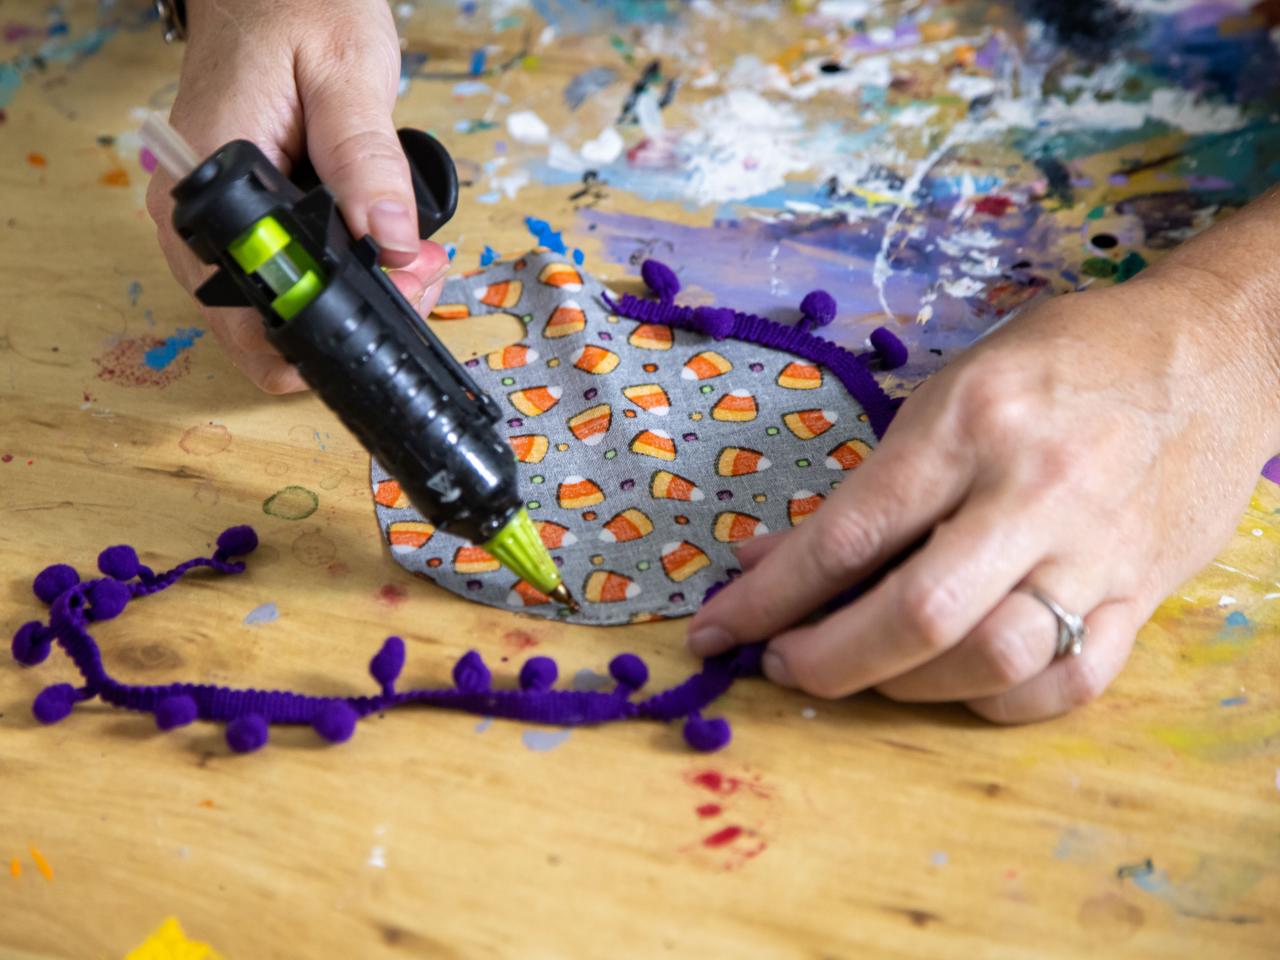
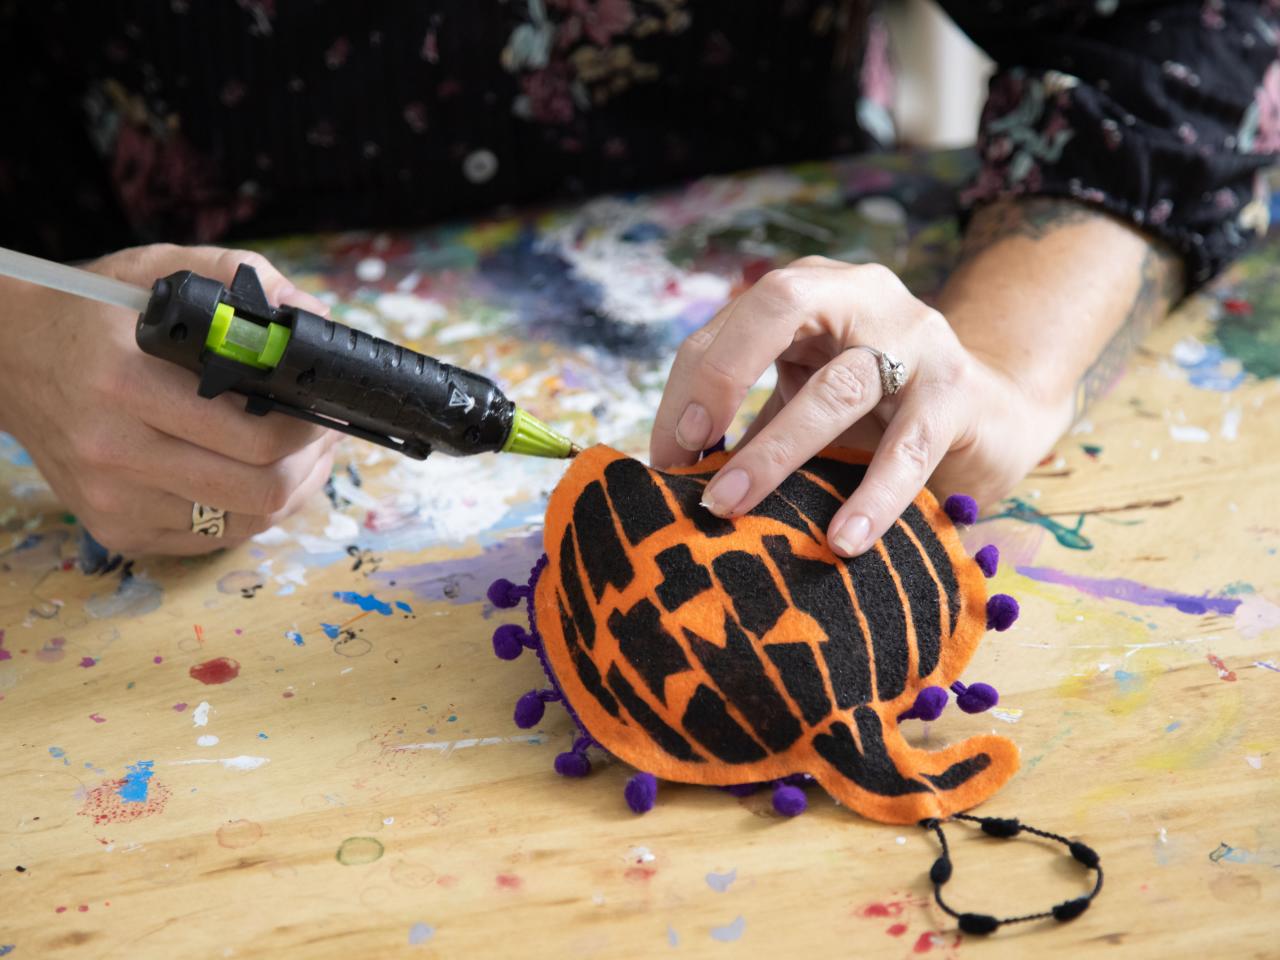
Attach Pom-Pom Trim
Place a bead of hot glue around the edge of the backside of the fabric and carefully press pom-pom fringe into the glue as you work your way around. Cut off any excess once you reach the end.

Best Wishes Studio
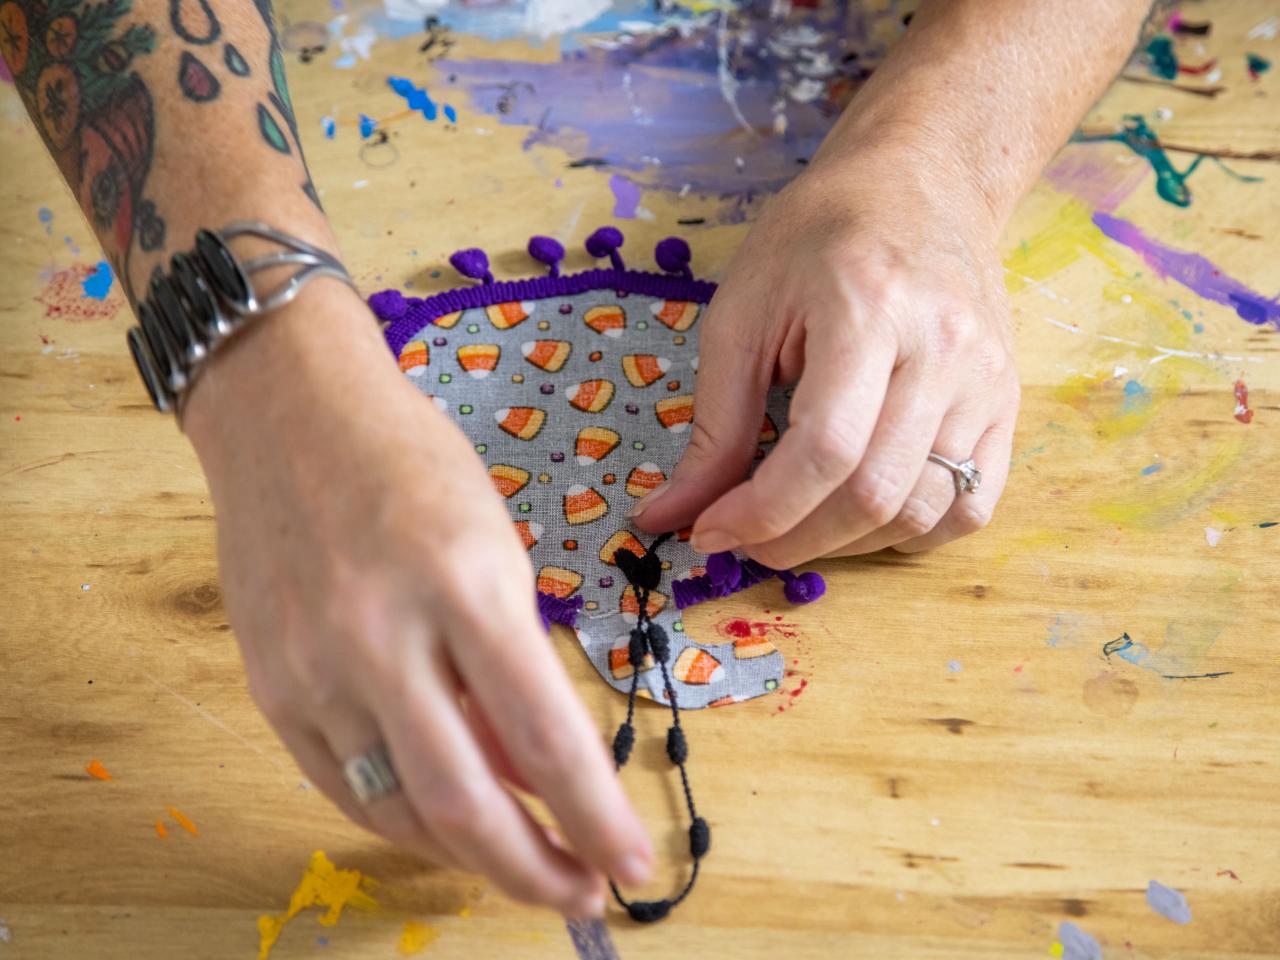
Attach Yarn Loop
At the top of the ornament, hot glue a yarn loop for hanging.

Best Wishes Studio
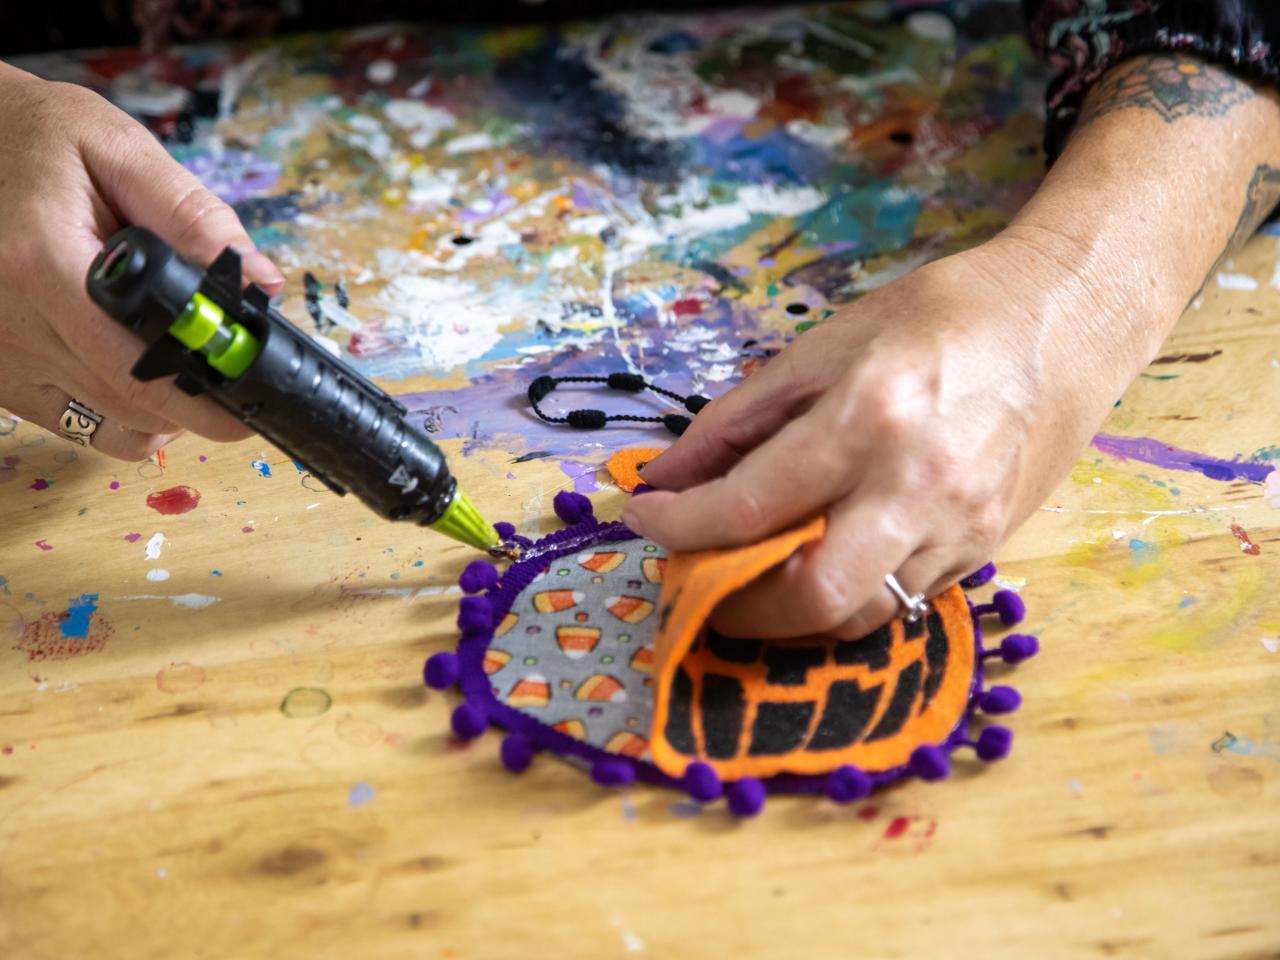
Connect Pieces
On top of the fringe, repeat the hot gluing process around the edge to connect the felt piece. Leave approximately 2 inches unglued for stuffing.

Best Wishes Studio
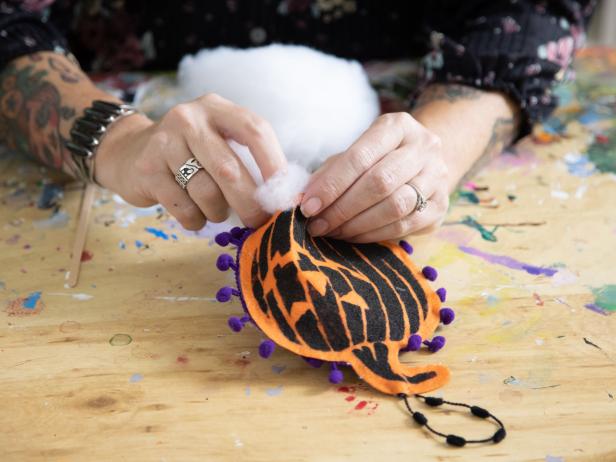
Stuff Ornament and Seal
Stuff the ornament with batting, being sure to fill any smaller detailed areas such as a pumpkin stem (Image 1). Once filled, use hot glue to seal the remaining gap (Image 2).
Best Wishes Studio

Best Wishes Studio
Final Steps
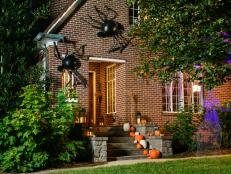
Repeat the stenciling, then stuffing, steps to make as many ornaments as you like, switching up the stencil for monsters, ghosts, pumpkins, skeletons and any other Halloween-themed design. Once complete, use them to decorate a haunted Halloween tree or simply hang them in your windows to greet trick-or-treaters.
Best Wishes Studio


