


Turn a Wooden Pallet Into a Decorative Sled
Repurpose an old wooden pallet into a charming vintage-style sled that will add instant charm to any space.

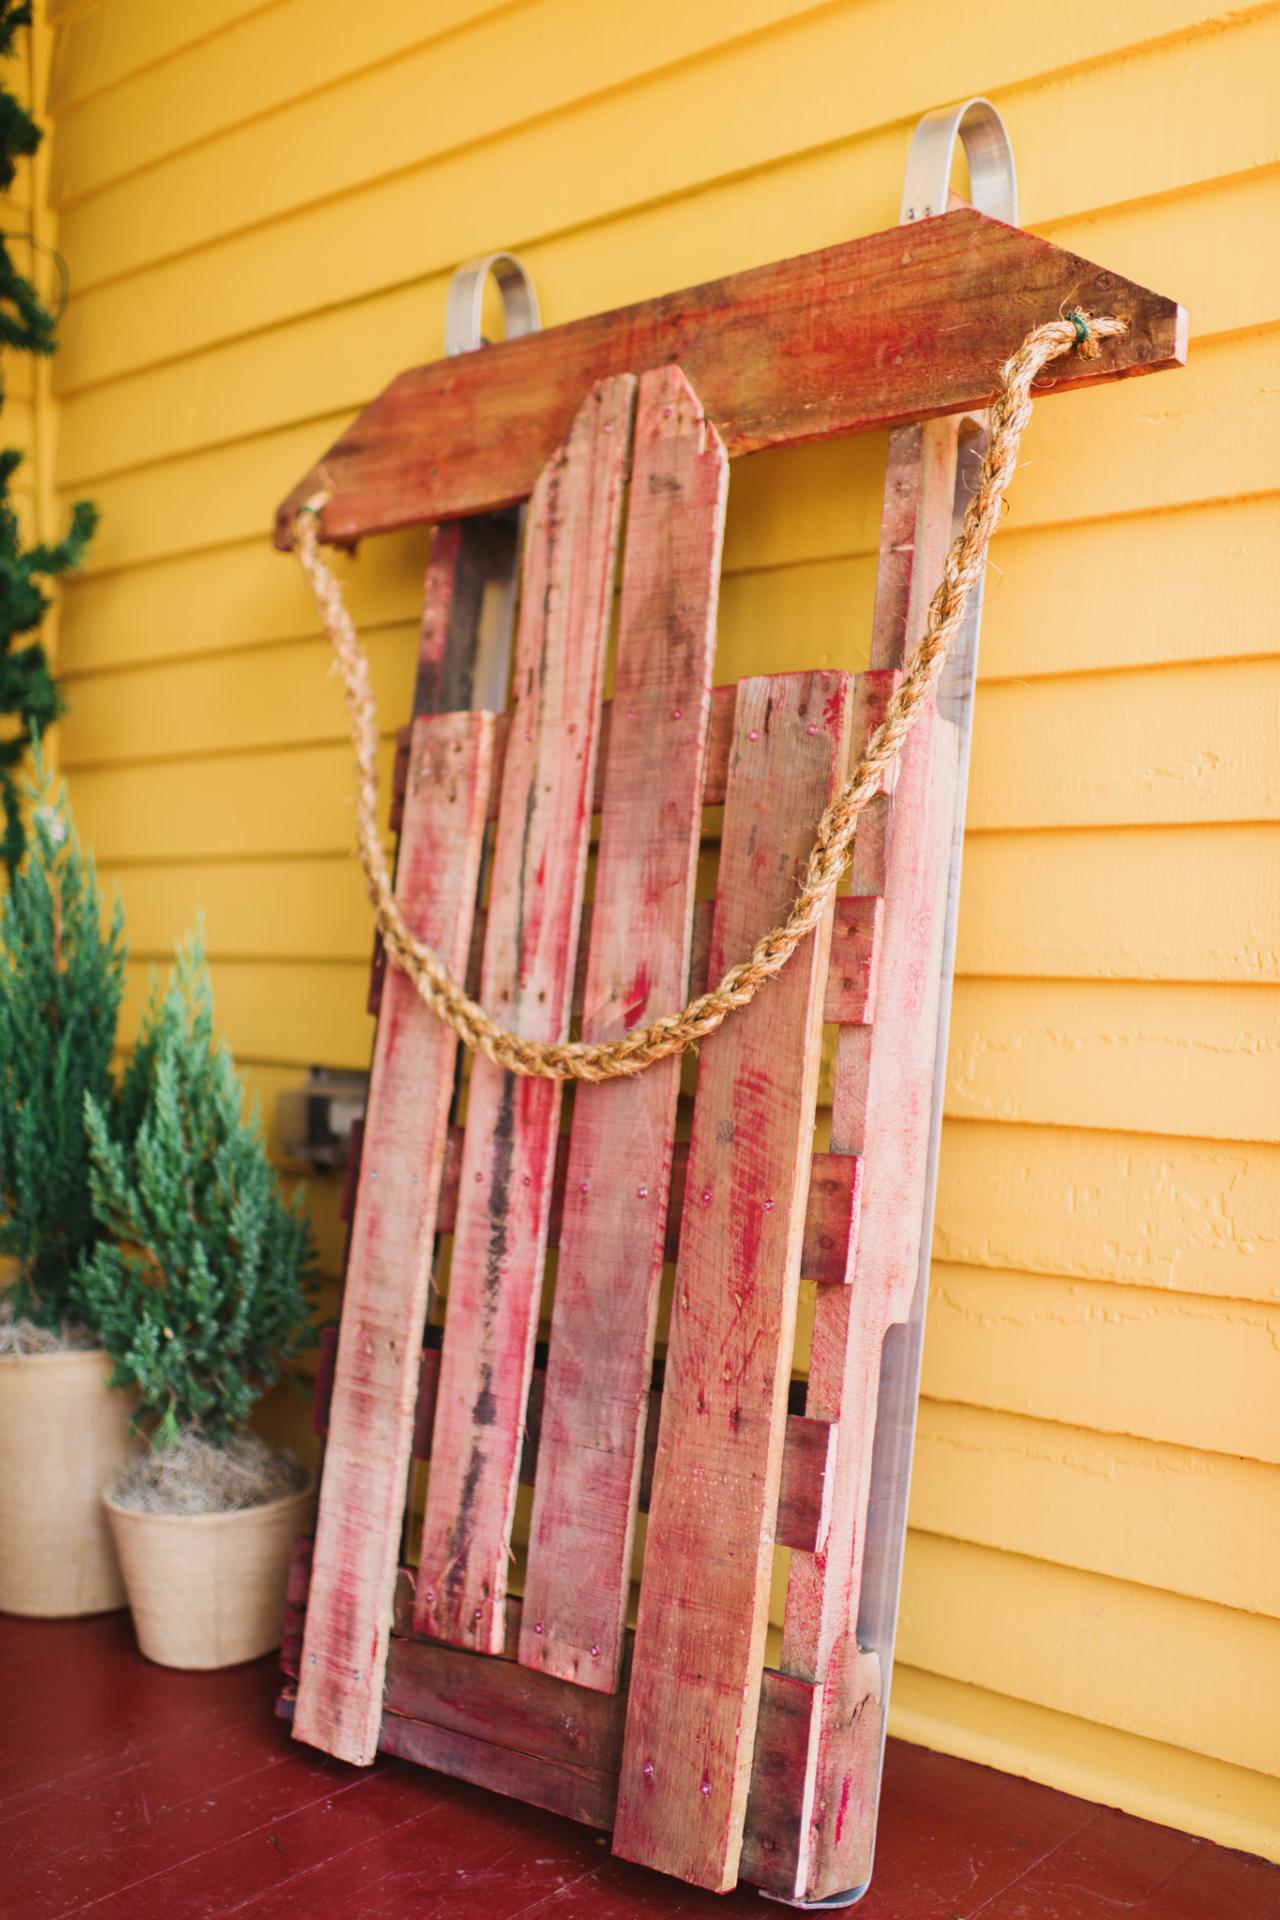
DIY Decorative Sled
Repurpose an old wooden pallet into a charming vintage sled.

Photo by: Flynnside Out Productions
Flynnside Out Productions
Materials Needed
- wooden pallet
- flat bar aluminum stock (1 1/2" x 1/8" x 8')
- 1/2" jute rope
- latex paint (in desired color)
- 2" wood screws
- safety goggles
- measuring tape
- pencil
- straight edge
- circular saw
- cordless drill
- 1/8" drill bit
- Phillips head bit
- 3/4" paddle bit
- paintbrush
- old rags
- hammer
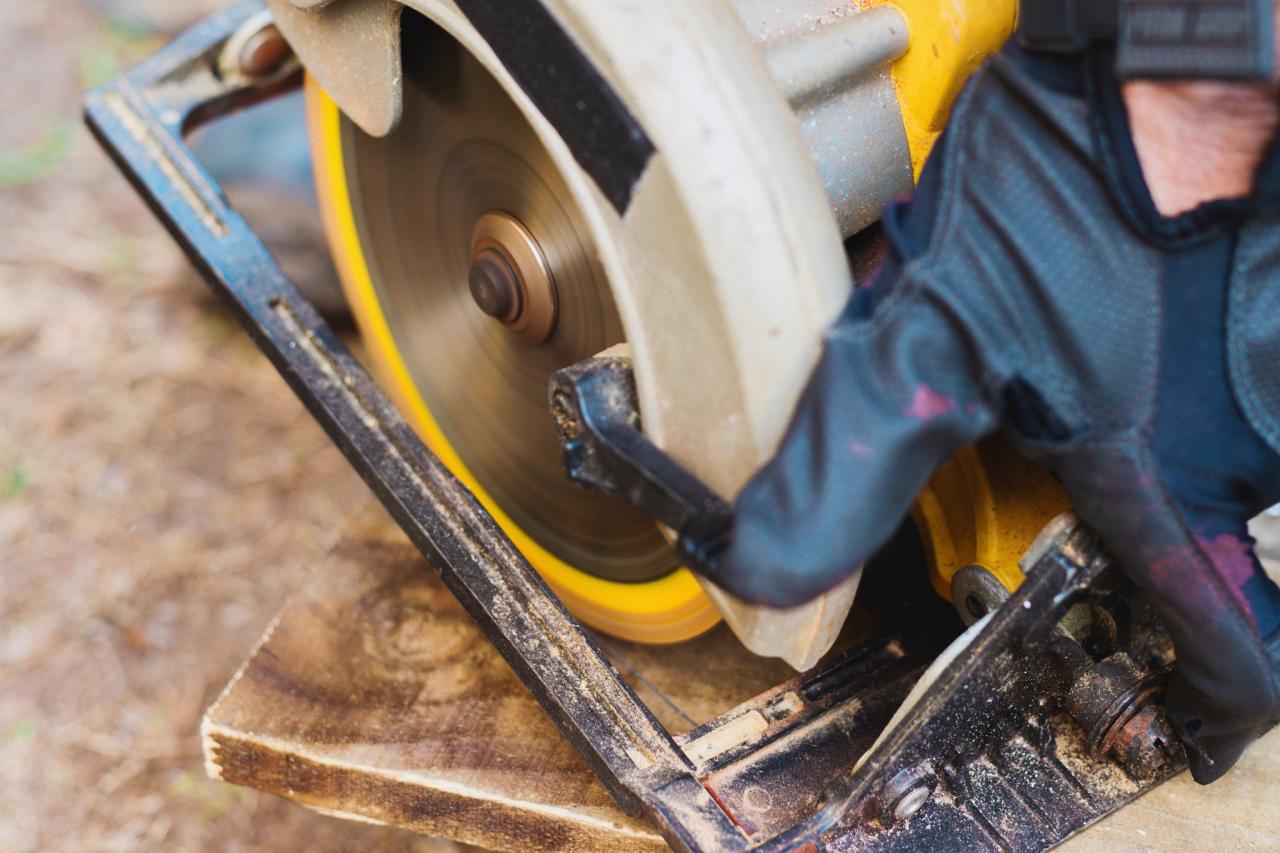
Prep Pallet
Using a hammer, pry off the top two boards and bottom two boards from the pallet, carefully removing any old nails. Set these boards aside — you’ll use them later for the sled’s seat and toe board. Then, using a circular saw, cut the pallet in half using the center support as a guide.

Step 1: Prep Pallet
Using a hammer, pry off the top two boards and bottom two boards from the pallet, carefully removing any old nails. Set these boards aside, as youâll use them later for the sledâs seat and toe board. Then, using a circular saw, cut the pallet in half using the center support as a guide.
Photo by: Flynnside Out Productions
Flynnside Out Productions
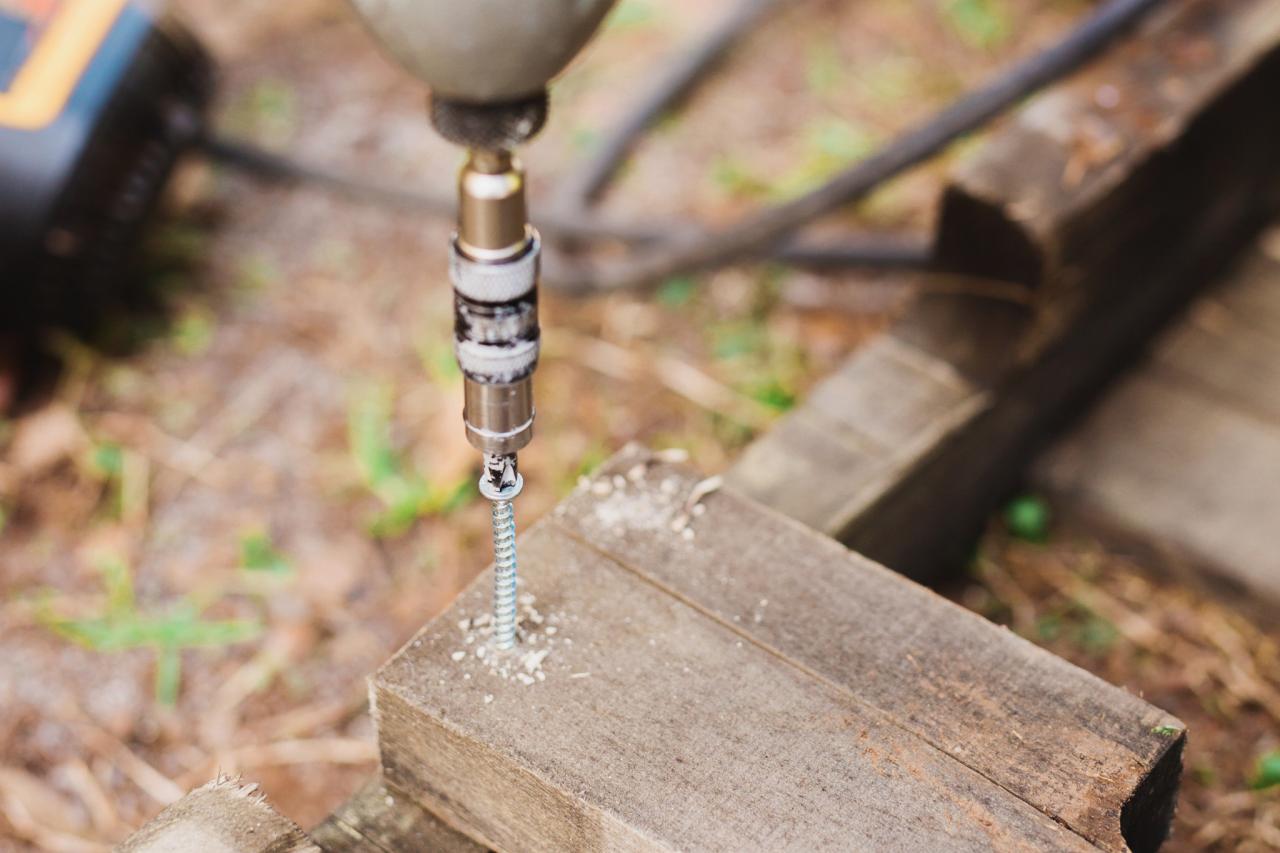
Add Bracing Board
Measure the distance between the two vertical support boards. You will need a brace board here, using a scrap board off the discarded pallet. Transfer this measurement onto the scrap board with a pencil and measuring tape. Using a circular saw, cut the board and remove any old nails. Lay this bracing board horizontally across the middle of the sled bottom side up. Pre-drill holes with the appropriate bit, then attach with 2-inch wood screws so that the old wood will not split.

Step 2: Add Bracing Board
Measure the distance between the two vertical support boards. You will need a brace board here, using a scrap board off the discarded pallet. Transfer this measurement onto the scrap board with a pencil and measuring tape. Using a circular saw, cut the board and remove any old nails. Lay this bracing board horizontally across the middle of the sled bottom side up. Pre-drill holes with appropriate bit, then attach with 2 inch wood screws so that the old wood will not split.
Photo by: Flynnside Out Productions
Flynnside Out Productions
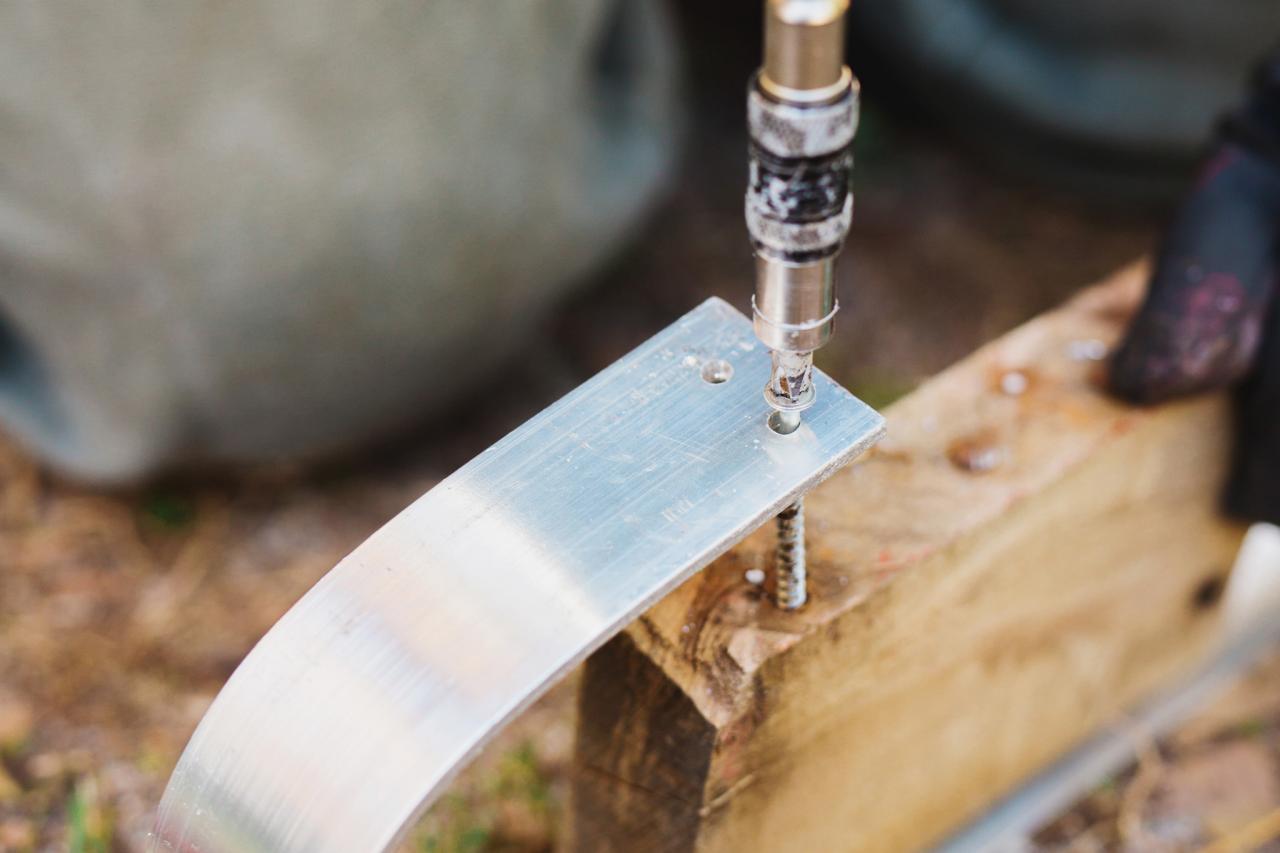
Add Blades to Sled
Place a piece of aluminum stock underneath the outer edge of the sled, then bend it back on itself to create the curved blade in front. Secure by pre-drilling with the appropriate bit, then add wood screws. Continue to secure the blade to the bottom of the sled, pre-drill each hole, then

Step 3: Add Blades to Sled
Place a piece of aluminum stock underneath the outer edge of sled then bend back on itself to create the curved blade in front. Secure by pre-drilling with appropriate bit, then add wood screws. Continue securing blade to bottom of sled, pre-drilling each hole then adding 2 inch screws every 10-12 inches. At rear of sled bend aluminum stock against the vertical support board. Pre-drill with appropriate bit, then secure with screws. Repeat this on the other side.
Photo by: Flynnside Out Productions
Flynnside Out Productions
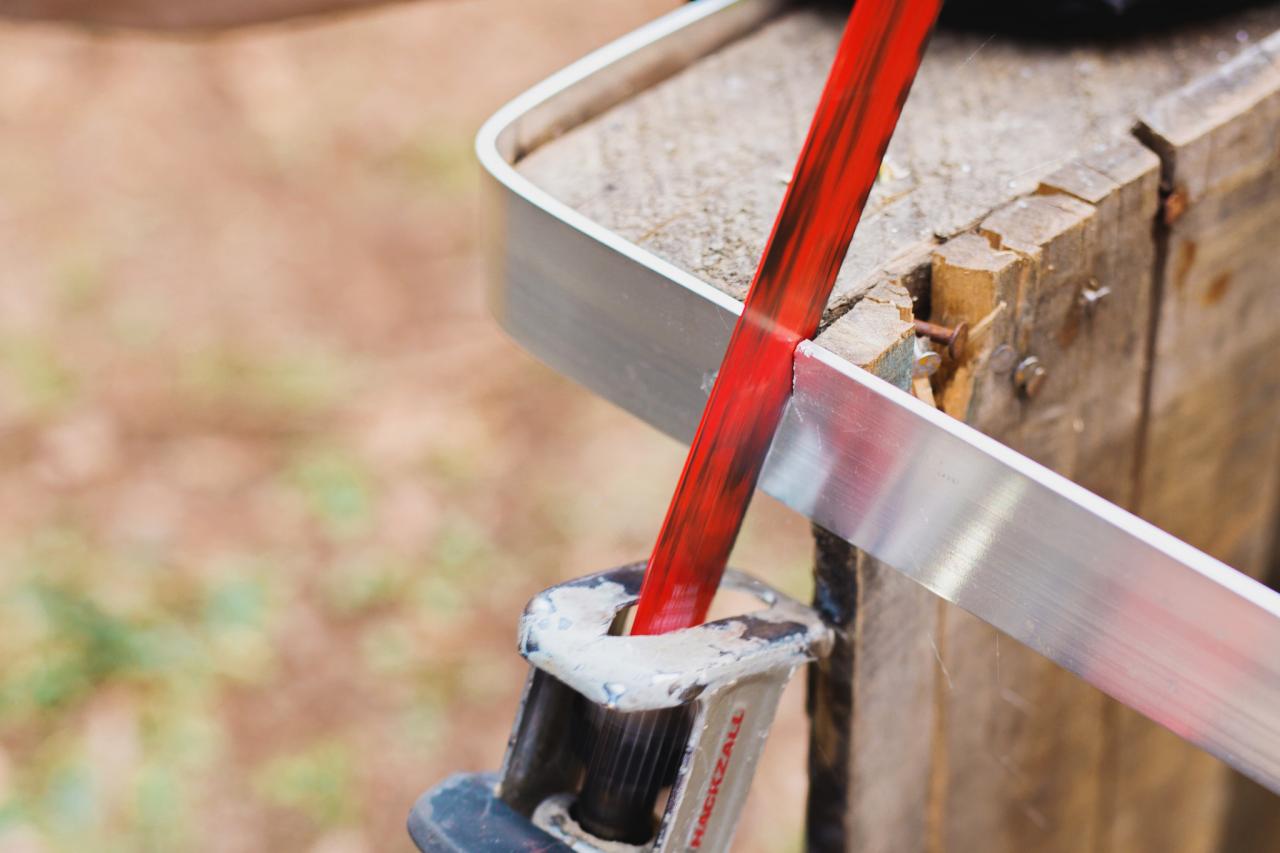
Trim Excess Off Blades
Using a circular saw, trim off the excess aluminum to avoid sharp edges and create a finished look. Repeat on the other side.

Step 4: Trim Excess Off Blades
Using a circular or reciprocal saw, trim off the excess aluminum to avoid sharp edges and create a finished look. Repeat on the other side.
Photo by: Flynnside Out Productions
Flynnside Out Productions
Cut and Secure Toe Board
Create a toe board from scrap wood off the unused portion of the pallet. Using a circular saw, cut toe board so that it hangs over by 8 inches on each side, allowing room for a foot to rest. Secure with wood screws. Then, using a circular saw, cut each end at an angle. Use the scrap wood from your first cut to mark and match the angle on the other side.

Step 5: Cut & Secure Toe Board
Create a toe board from scrap wood off the unused portion of pallet. Using a circular saw, cut toe board so that it hangs over by 8 inches on each side, allowing room for a foot to rest. Secure with wood screws. Then using a circular saw, cut each end at an angle. Use the scrap wood from your first cut to mark and match the angle on the other side.
Photo by: Flynnside Out Productions
Flynnside Out Productions
Add Vertical Seat Boards
Using extra boards from the discarded part of the pallet, cut seat boards to size and attach with wood screws. These boards will run vertically and provide visual interest and strength to the sled. For a more authentic look, cut the two center boards at an angle using your circular saw.

Step 6: Add Vertical Seat Boards
Using extra boards from the discarded part of pallet, cut seat boards to size and attach with wood screws. These boards will run vertically and provide visual interest and strength to the sled. For a more authentic look, cut the two center boards at an angle using your circular saw.
Photo by: Flynnside Out Productions
Flynnside Out Productions
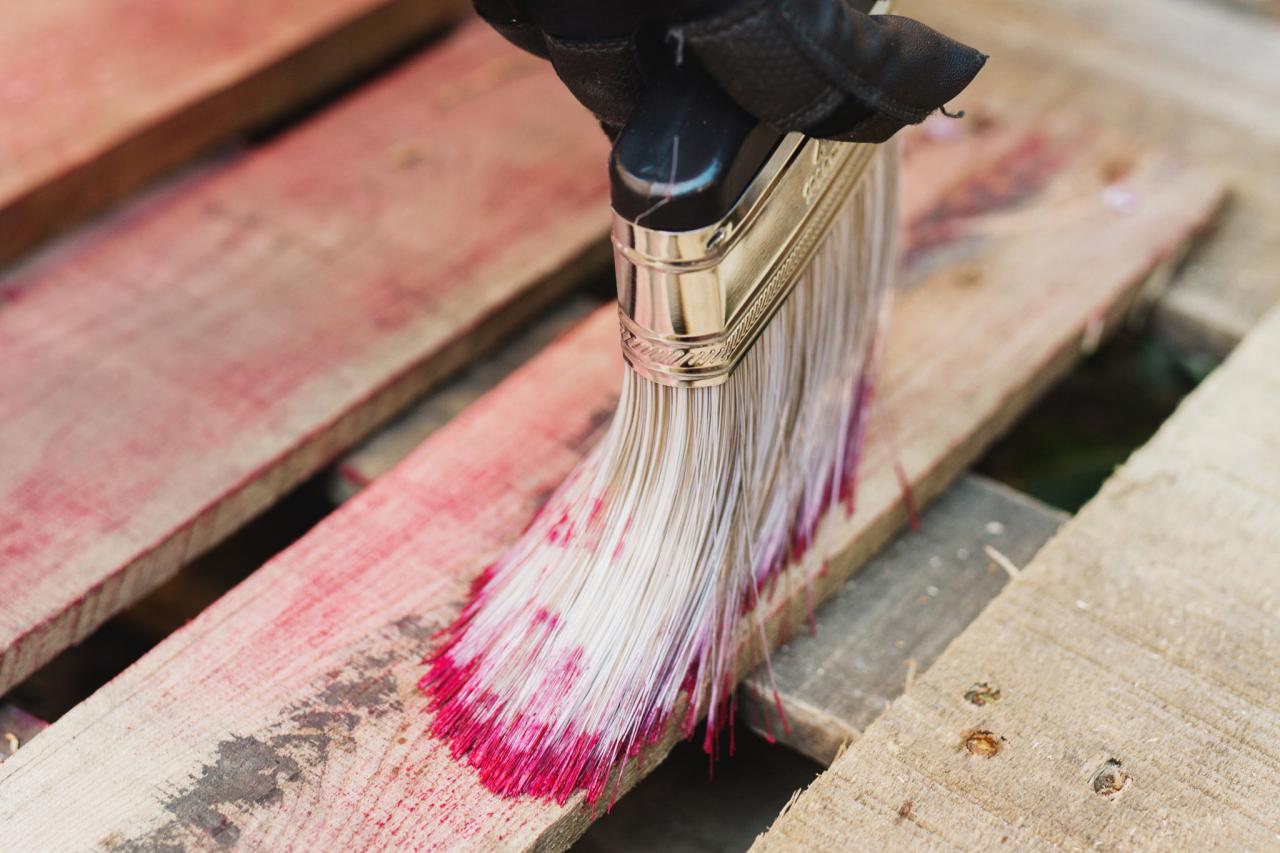
Paint Sled
Using a large bristle paintbrush, barely dip into the paint, then brush excess onto the can’s edge before applying to the wood. This method is called “dry brushing” and ensures you get a weathered look with just a hint of holiday color.

Step 7: Paint Sled
Using a large bristle paint brush, barely dip into the paint, then brush excess onto the canâs edge before applying to the wood. This method is called âdry brushingâ and ensures you get a time-worn, weathered look with just a hint of holiday color.
Photo by: Flynnside Out Productions
Flynnside Out Productions
Drill Holes for Handle
Using a paddle bit, drill holes at the end of the toe boards. Make sure your holes allow just enough room to pass the rope through it.

Step 8: Drill Holes for Handle
Using a paddle bit, drill holes at the end of the toe boards. Make sure your holes allow just enough room to pass the rope through
Photo by: Flynnside Out Productions
Flynnside Out Productions
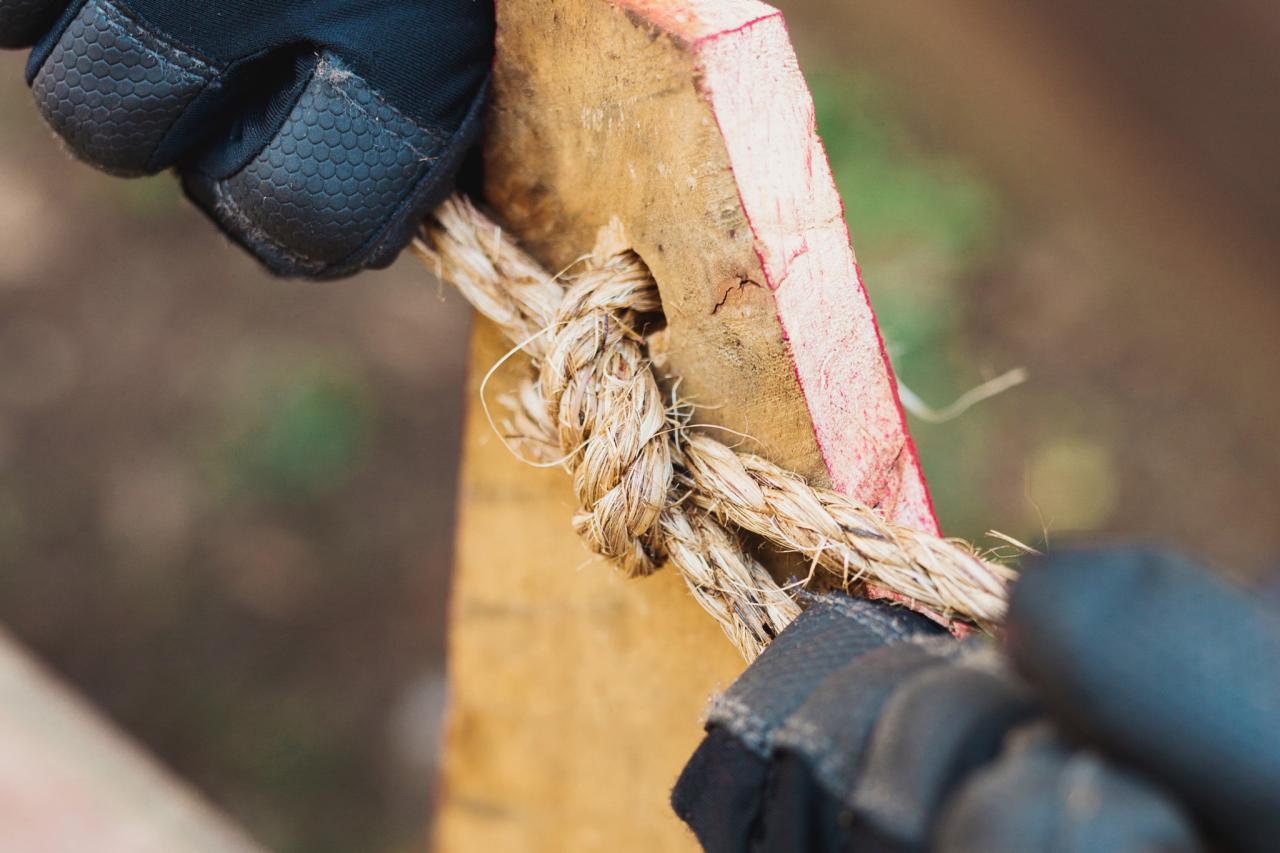
Add Braided Rope Handle
Braid rope into a 3-foot section and secure edges with floral wire, leaving individual pieces of rope loose on each end. Thread the loose ends through the holes on either side of the toe board and tie with a knot to secure.

Step 9: Add Braided Rope Handle
Braid rope into a 3 foot section and secure edges with floral wire, leaving individual pieces of rope loose on each end. Thread the loose ends through the holes on either side of the toe board and tie with a knot to secure.
Photo by: Flynnside Out Productions
Flynnside Out Productions
Finish
Prop up your brand-new, decorative sled inside or outside and let the compliments fly.
DIY Decorative Sled
Repurpose an old wooden pallet into a charming vintage sled.
Photo by: Flynnside Out Productions
Flynnside Out Productions


