


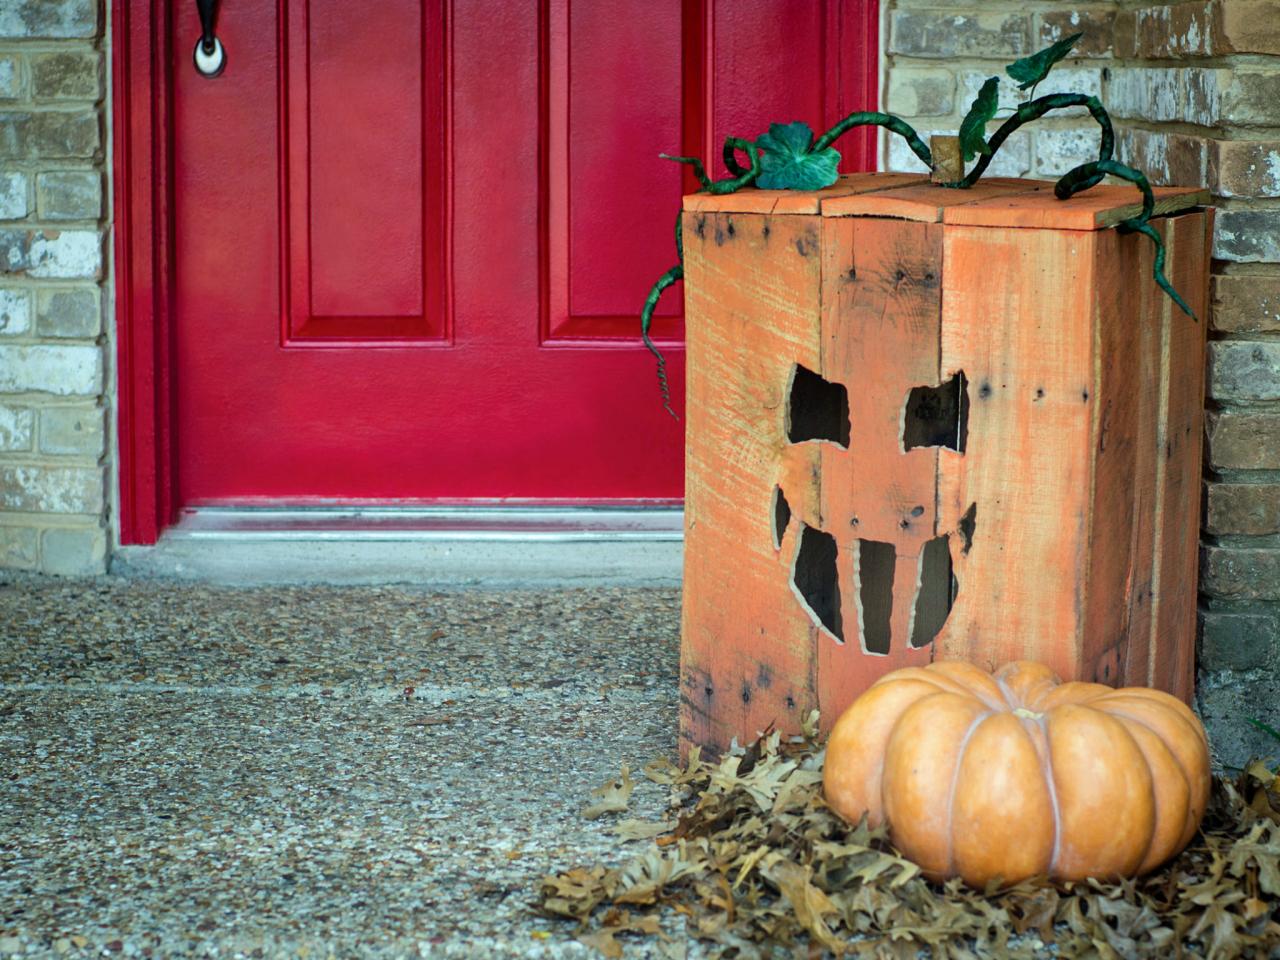
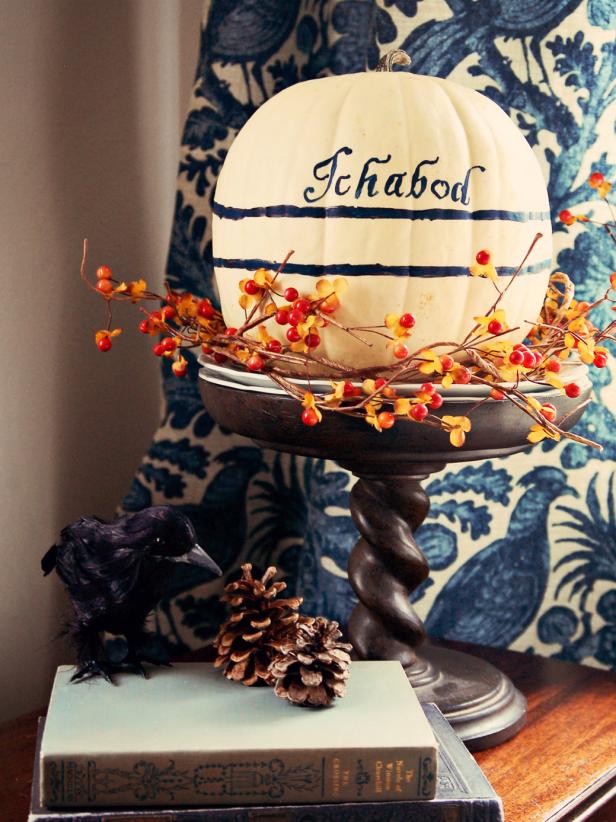
Turn a Wood Pallet Into a Halloween Jack-O'-Lantern

Pallet Jack-o'-Lantern Head: Beauty 1
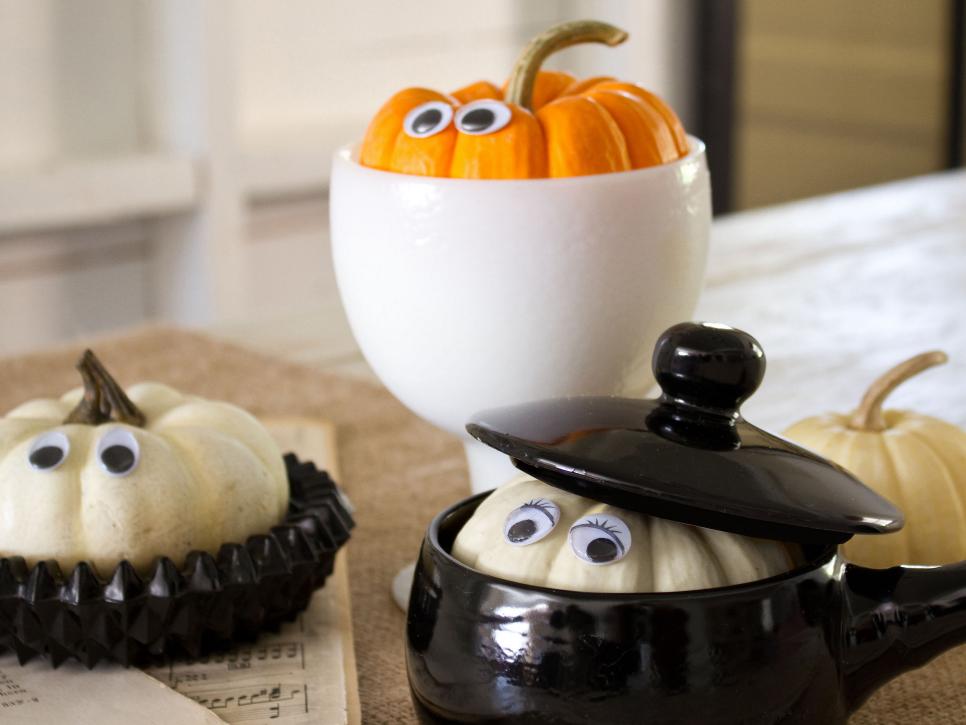
Dress up your doorstep or dark corner indoors with this spooky Halloween DIY. The easy to find pallets make it rustic and up the creepy factor.

Materials Needed:
- wood pallet
- 1/2" mdf cut into (2) 15"x15" squares
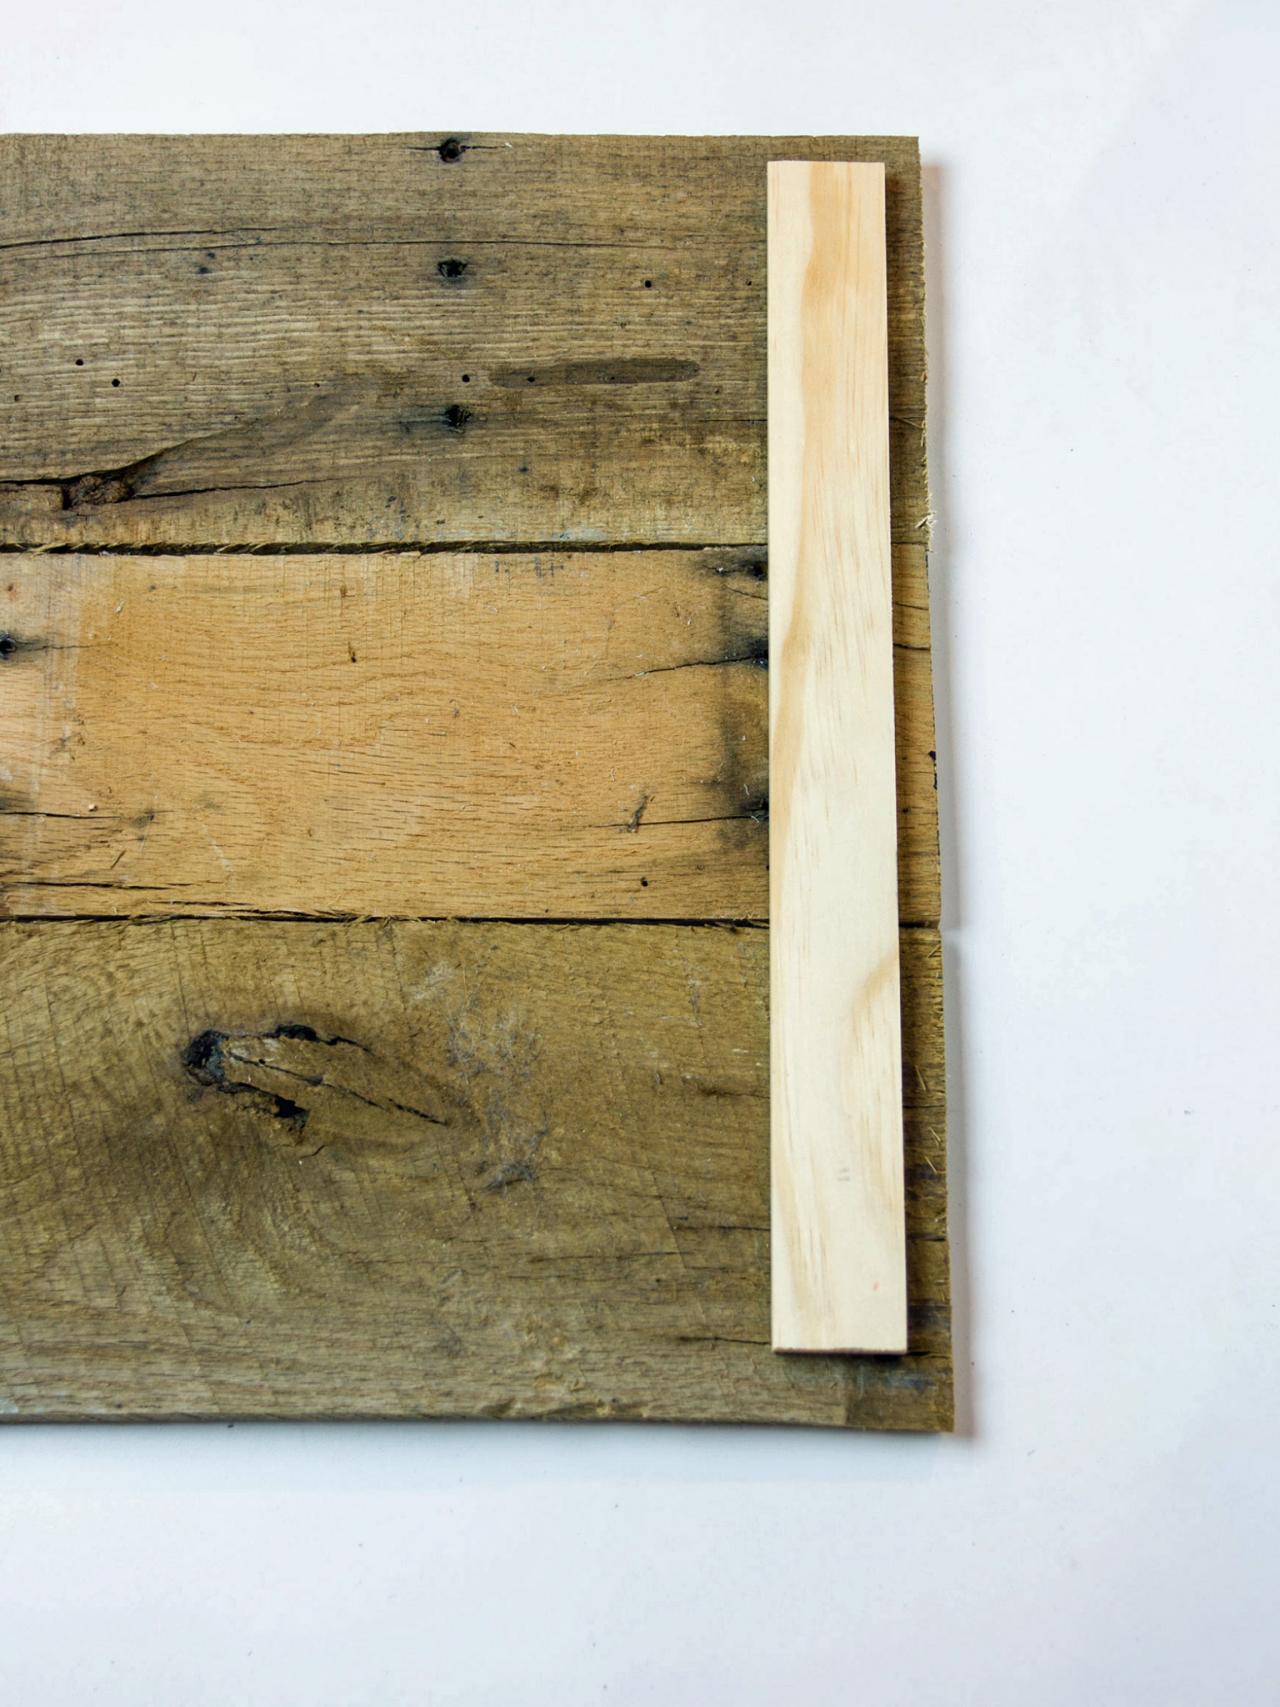
- 1"x1/2" craft strips: (2) 15" and (2) 14-1/2"
- 1/2" finishing nails
- 3/4" nails
- spiral saw
- orange craft paint and wide paint brush
- tap light or battery-operated votive
- wire
- green tissue paper
- artificial leaves (optional)
- floral tape
- wood glue
- 1-1/2" wood screw
- 24" clamps
- permanent marker
- Download: Jack-O'-Lantern Eyes Template
- Download: Jack-O'-Lantern Smile Template
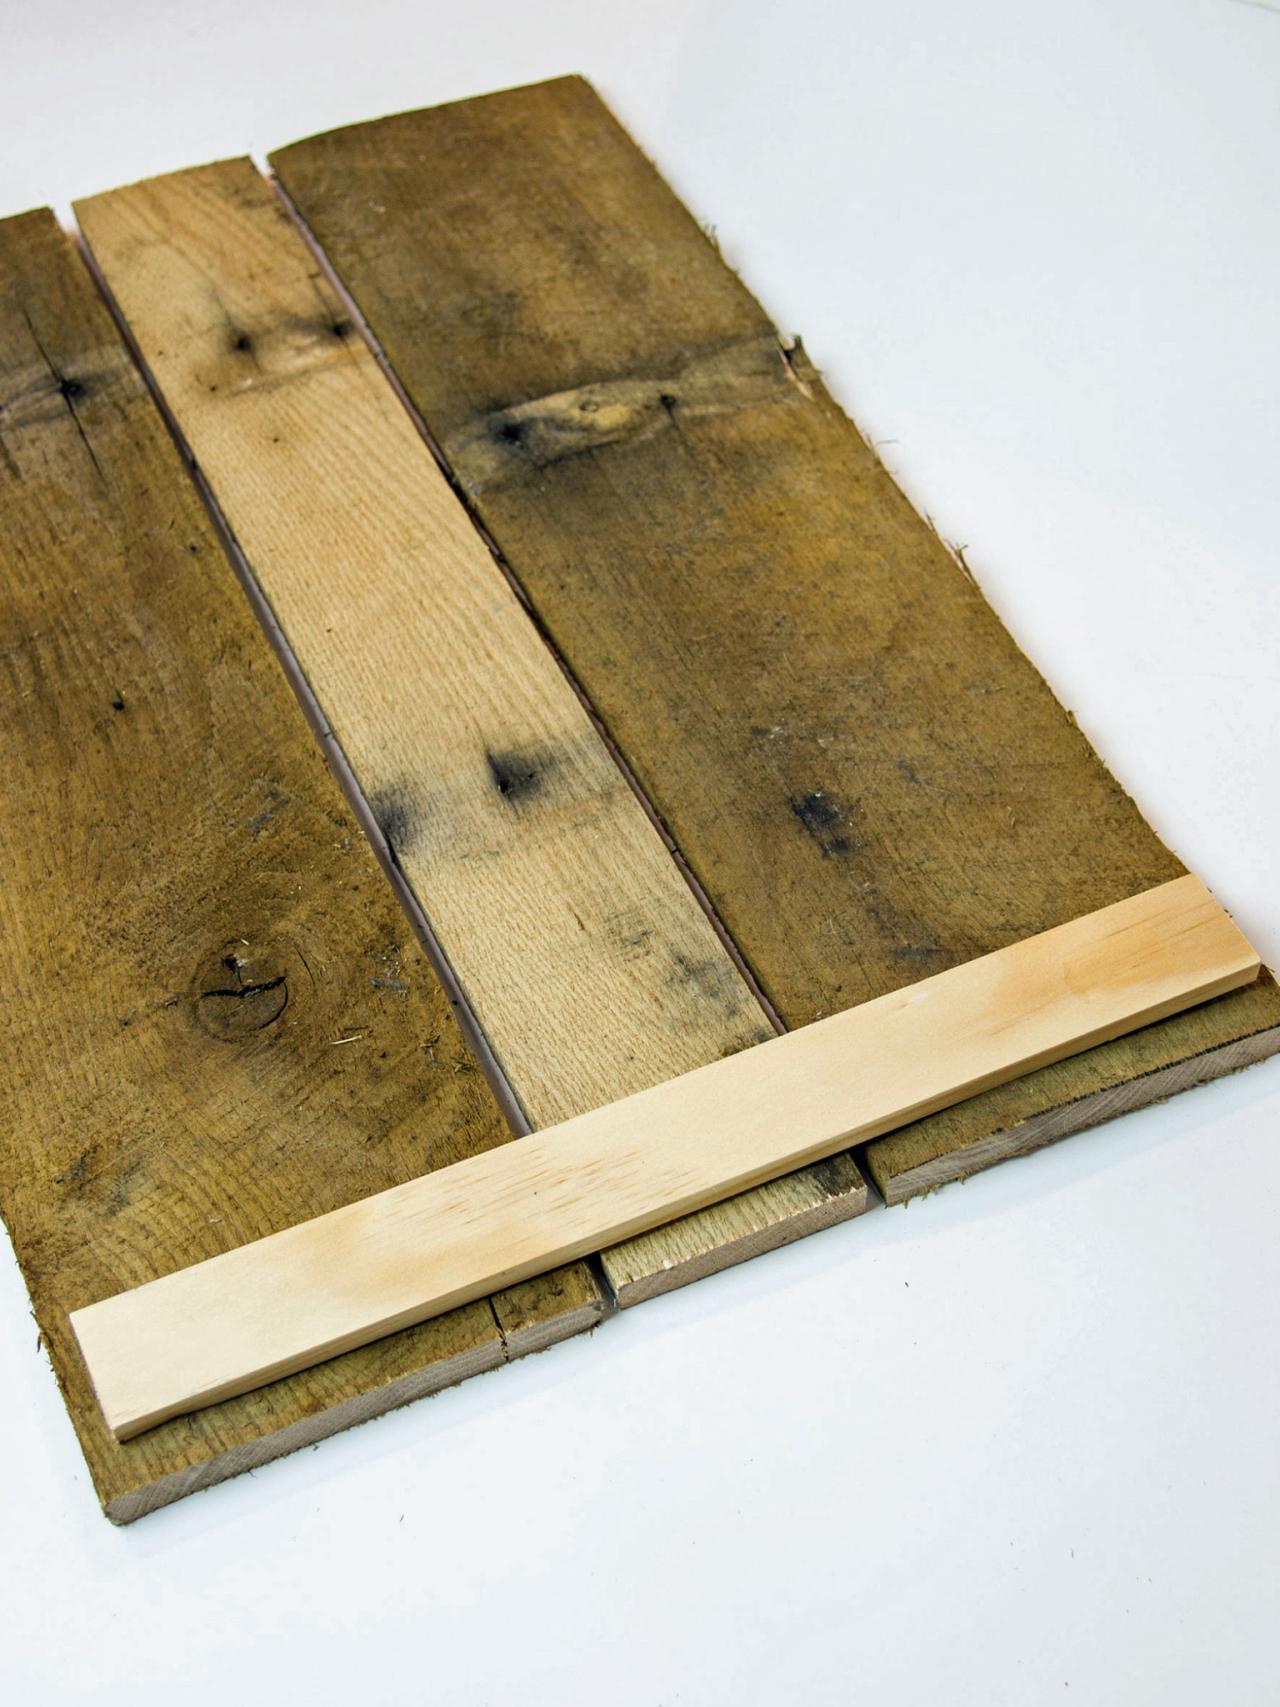
Disassemble Pallet and Lay Out Boards
First, break apart the pallet and cut the boards into 12 to 16 pieces that are 22" long and 3 to 4 pieces that are 17" long. Next, cut 2 of the wood craft strips into 15" segments and 2 into 14-1/2" segments. Place the pallet pieces on the floor with the 15" x 15" mdf board in the middle, creating a cross shape. For the front and back of the box, lay the pallet pieces 1/2" past the edge of the mdf board. Measure the space in between the two outside pieces and subtract 1/2". Use that measurement to cut the remaining board for the middle, if necessary. Repeat for the sides; however, the side pieces should not extend beyond the edge of the mdf boards so that once your box is assembled, the front and back boards will overlap and nail into the side boards.

Pallet Jack-o'-Lantern Head: Step 1
Break apart the pallets and cut into 12 – 16 pieces, 22” long, and 3 – 4 pieces, 17 inches long. Cut the wood strips (2) at 15” and (2) at 14-1/2”. Place pallet pieces on the floor with the 15”x15” mdf board.
Begin Assembly
Once your pallet boards are in place, attach the 15" strips to the front and back pieces 1/2" from the top and 1/2" from the sides using 3/4" nails (Image 1). Then attach the 14-1/2" strips to the side pallet pieces 1/2" from the top and 3/8" from the sides using 3/4" nails (Image 2). Bring the front, back and side pieces together with the mdf board at the bottom and the craft strips at the top; clamp together with long clamps and use finishing nails to secure the joints at the corners (Image 3). Turn the box on its side and secure the bottom of the pallet boards to the mdf board with 3 or 4 finishing nails per board (Image 4).

Pallet Jack-o'-Lantern Head: Step 2
For the front and back of the box, lay the pieces 1/2” past the edge of the mdf board. Measure the space in between the two outside pieces and subtract 1/2”. Use that measurement to cut the remaining board for the middle, if necessary. Repeat for the sides, but the outside pieces should not extend beyond the sides of the mdf board. Attach the 15” strips to the front and back pallet pieces 1/2” from the top and 1/2 from the sides using 3/4” nails.
Finish Pumpkin Assembly
Lay the other mdf board on top of the box resting on the craft strips. Line up the two outside pieces with the edge of the box. Measure the space between them and subtract 1/2". Use that measurement to cut the middle piece if necessary. Next insert a 1-1/2" wood screw through the center of the middle pallet piece on the top from the back of the wood through to "good" side (Image 1). This screw will later be used to attach the stem to the top of the pumpkin. Nail the top pallet pieces to the mdf board with finishing nails (Image 2). For the pumpkin's stem, break some of the pallet scraps and find two pieces that can be glued back to back for a stem, apply wood glue and clamp the pieces together to dry while you finish the project (Image 3).

Pallet Jack-o'-Lantern Head: Step 3
Attach the 14-1/2” strips to the sidepallet pieces 1/2” from the top and 3/8” from the sides using 3/4” nails.
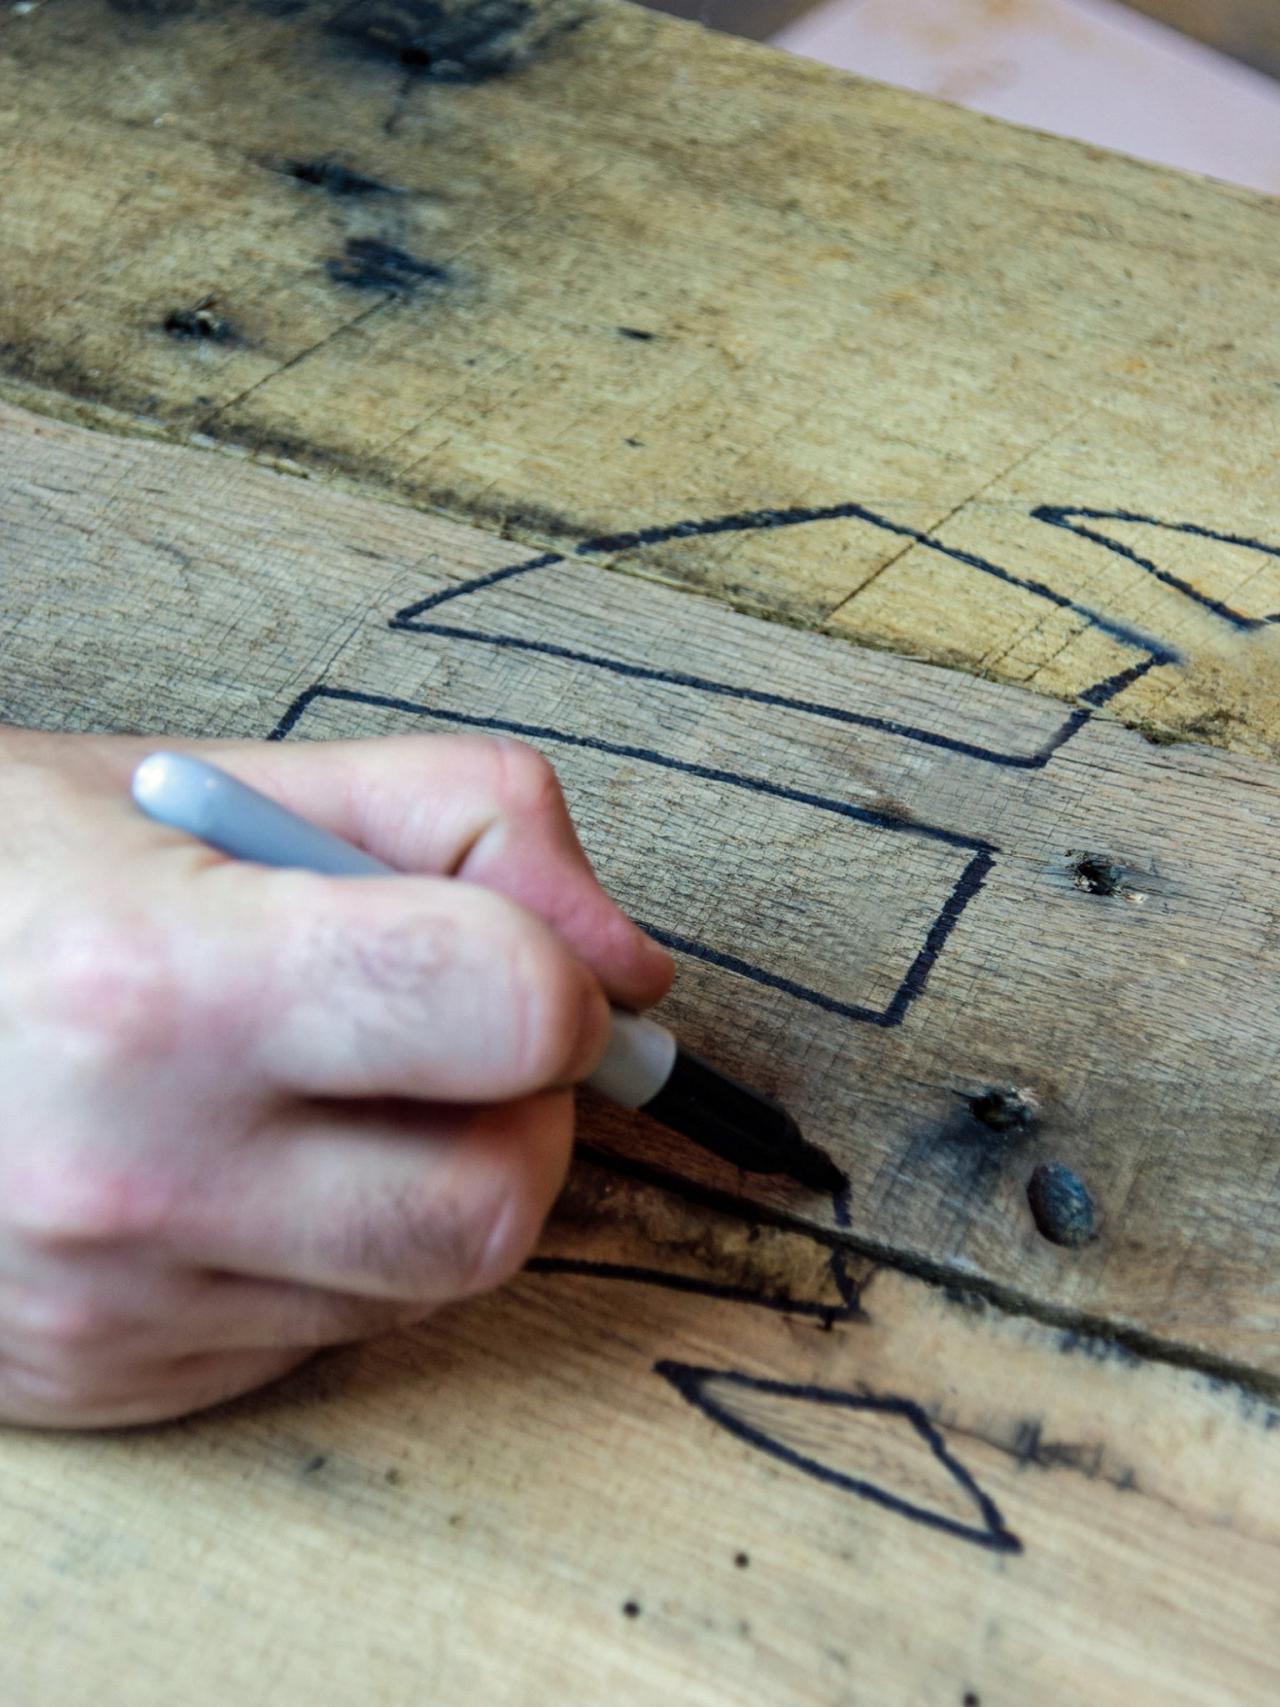
Draw Then Cut Out Face
Use a marker to draw the jack-o'-lantern's face onto the front of your box (Image 1). Use the template as a guide or create one of your own. Use a spiral saw to cut out the face design (Image 2). Tip: At no point should the design cut completely through the middle board.

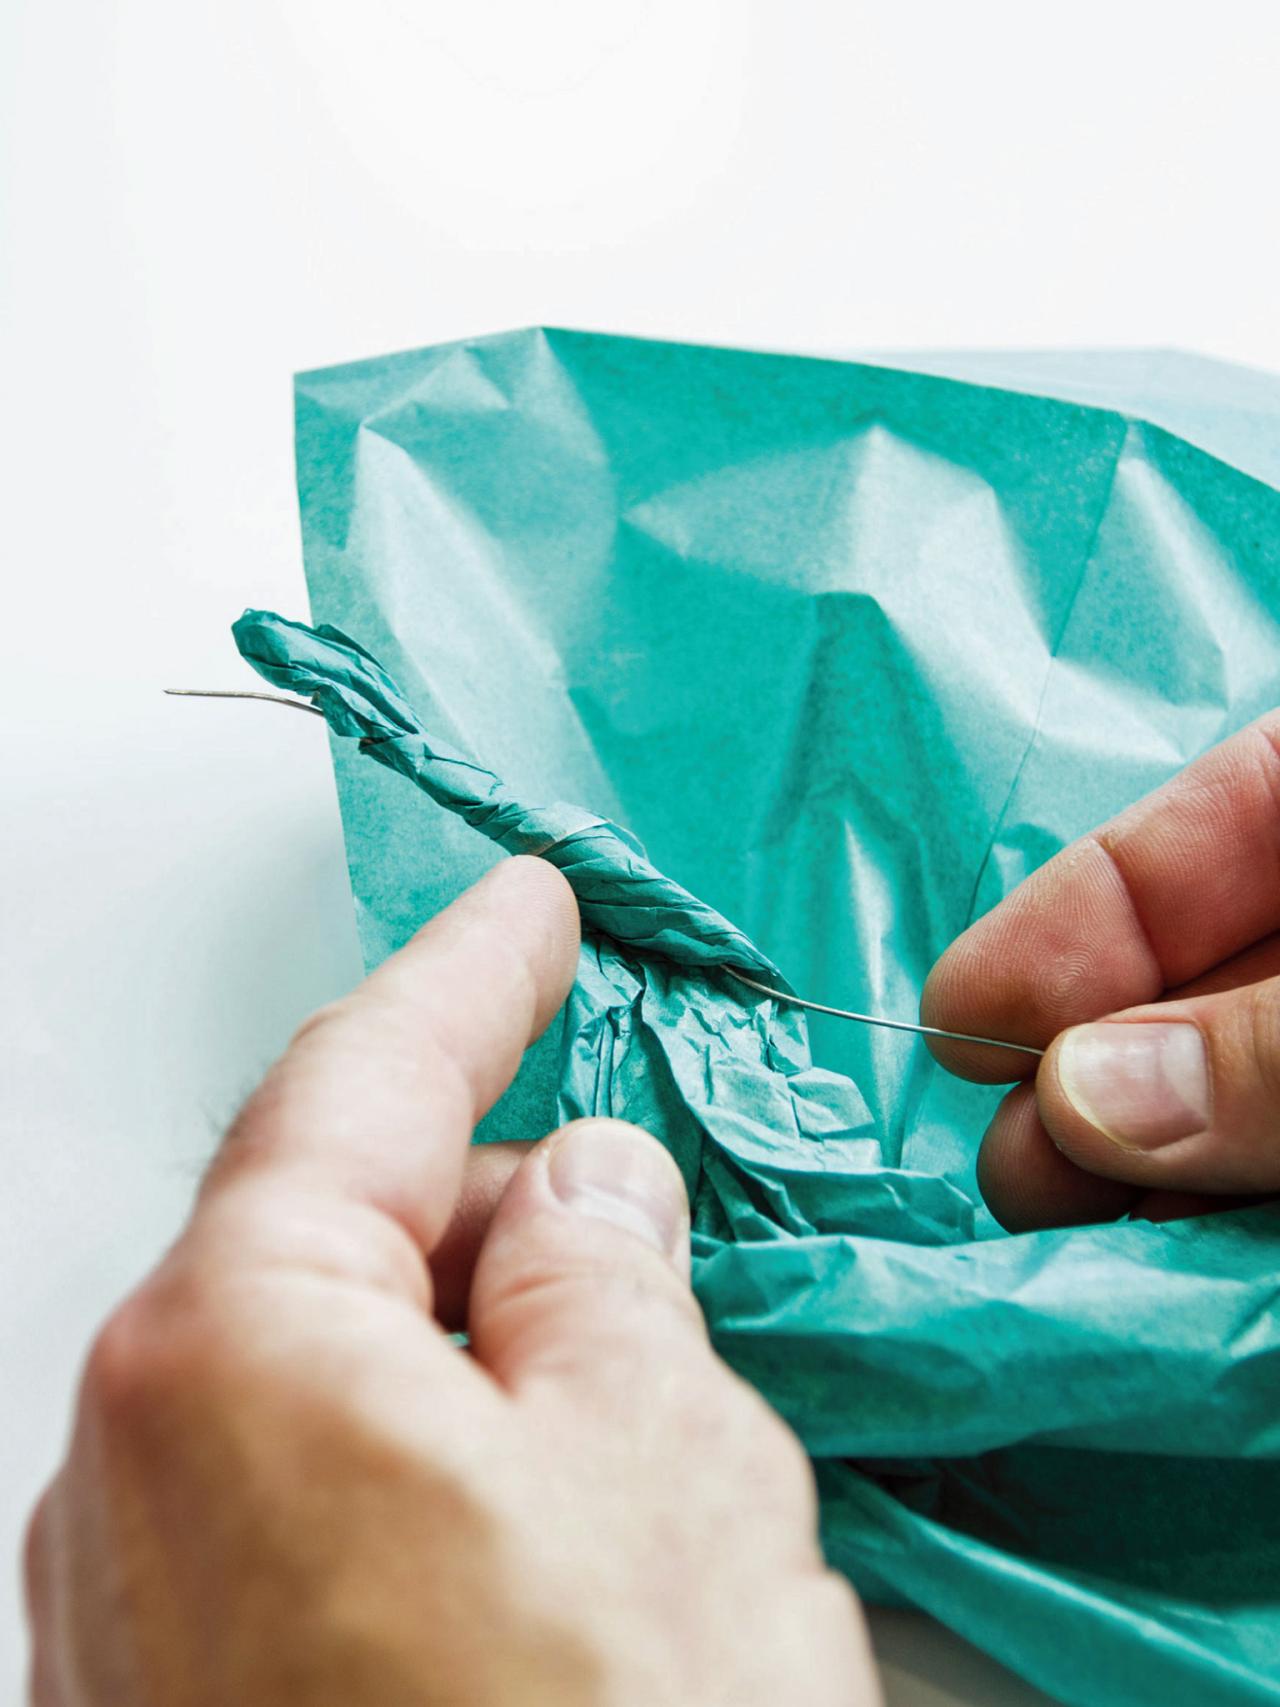
Create the Vine
Cut a piece of floral wire to about 4 feet long. Wrap tissue paper around the wire from one end to the other, securing with tape whenever needed (Image 1). Use floral tape to completely cover the tissue paper, overlapping each time. If desired, attach a few artificial leaves with floral tape and set aside (Image 2).

Pallet Jack-o'-Lantern Head: Step 11
Cut a piece of floral wire to about 4 feet. Wrap tissue paper around the wire from one end to the other, holding with tape at the end of each sheet of paper as needed.
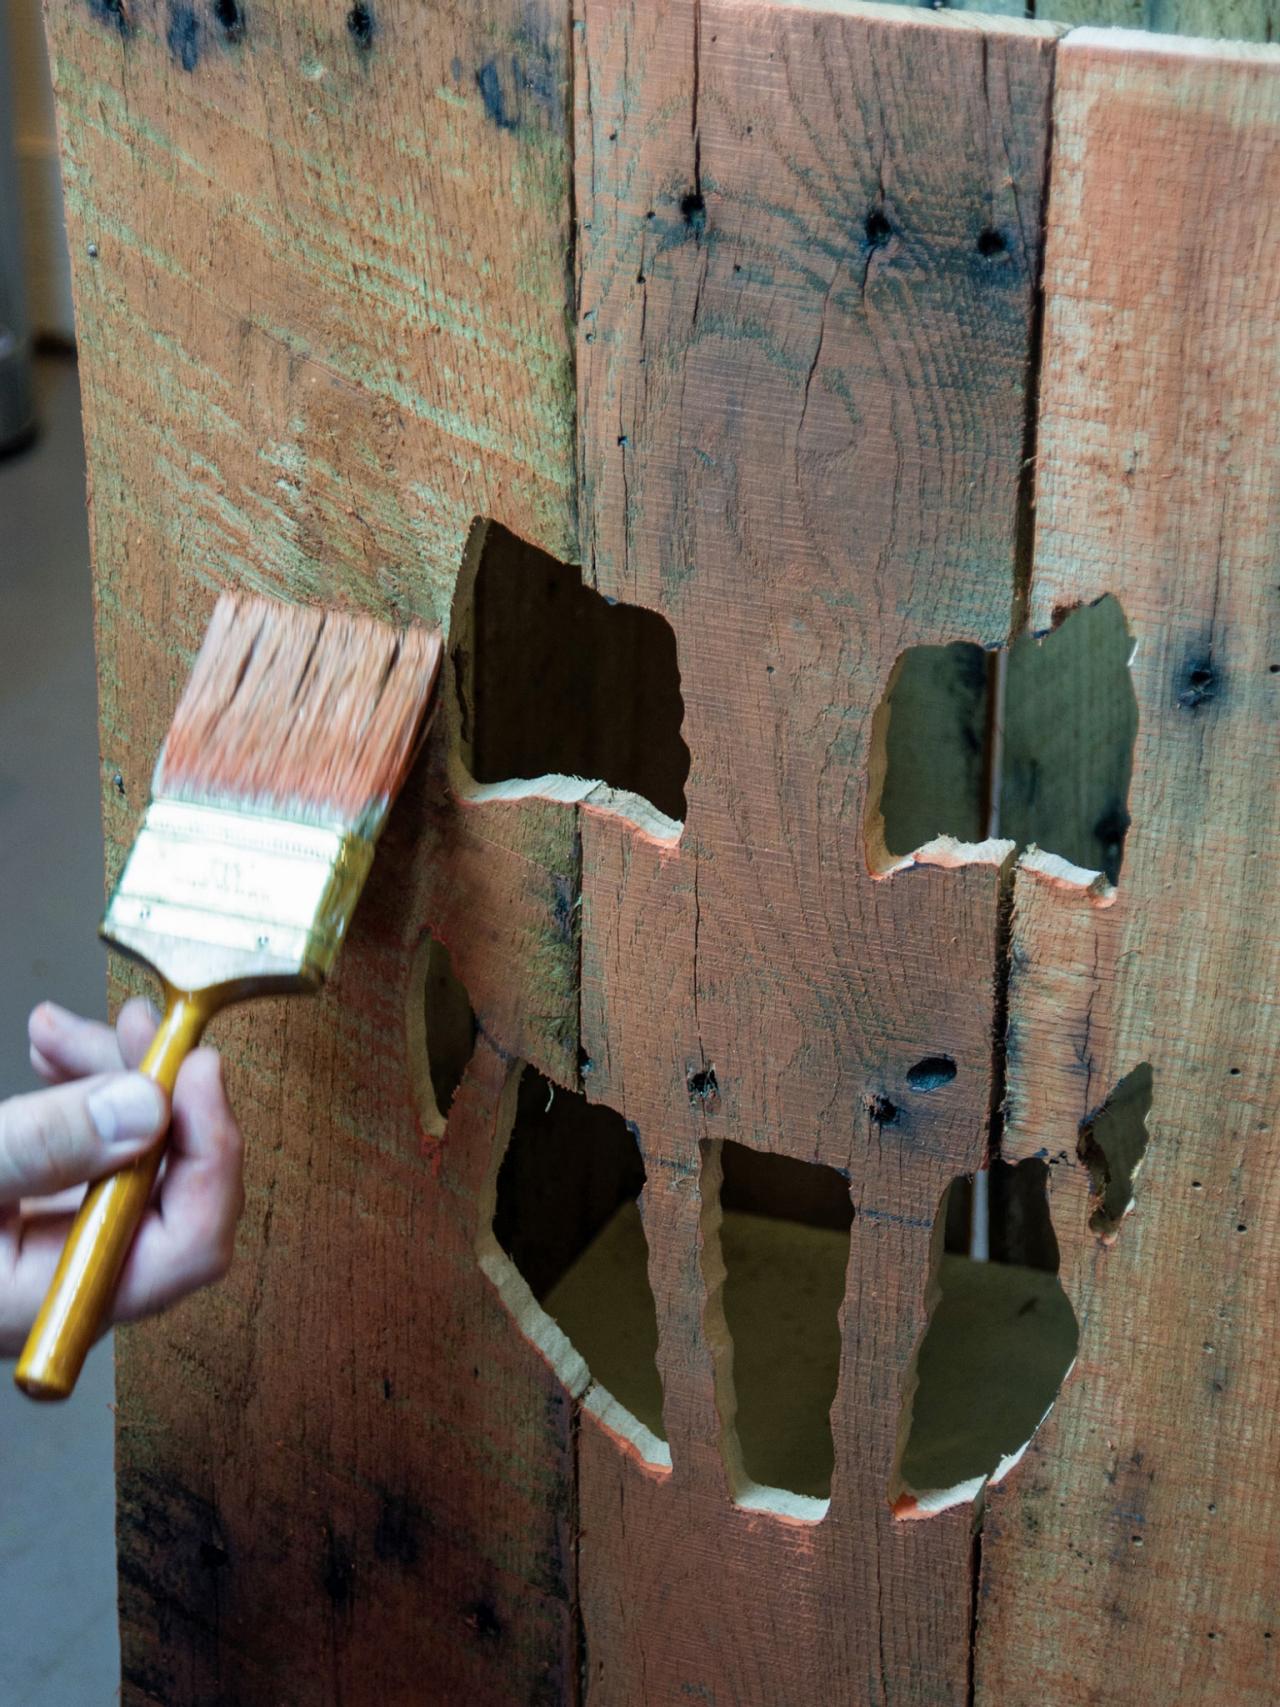
Paint Pumpkin, Add Vine and Light
Mix 2 parts craft paint to 1 part water. Dip a wide brush in the mixture and dab it on newspaper to remove most of the paint. Drag the paintbrush over the box for a rustic, dry-brush effect (Image 1). Allow to dry completely before proceeding. Once dry, wrap the wire vine around the screw in the lid once. Then add the dry stem on top of the vine by screwing it onto the exposed screw (Image 2). Finally, place a light inside the jack-o'-lantern to bring your Halloween decoration to life (Image 3).

Pallet Jack-o'-Lantern Head: Step 13
Set aside. Mix 2 parts craft paint to 1 part water. Dip a wide brush in the mixture and remove most of the paint on newspaper. Use the remaining paint to drag over the box for a very light dry brush effect.


