


Create Outdoor Garden Tool Storage From a Stock Tank
Keep your garden tools neatly tucked away and out of sight — without taking up valuable garage space — with this outdoor galvanized metal and cedar storage container.

Shain Rievley
Materials Needed
- 2' x 2' x 6' oval stock tank
- (5) 19/32" x 5-1/2" x 6' cedar fence pickets
- table saw
- orbital sander
- wood glue
- (2) large trigger clamps
- 3/4" x 4" x 8' cedar board
- drill
- 1" exterior screws
- jigsaw
- liquid rubber
- paintbrush
- 2x8 x 8’ pressure-treated wood
- 3/8” drill bit
- marker
- 2x4 x 8’ pressure-treated wood
- (5) 3/8" x 4" galvanized hex bolts
- (5) 3/8" galvanized nuts
- (5) galvanized washers
- hammer
- (2) ratcheting wrenches
- (4) 8” galvanized T hinges
- 1-1/4” exterior screws
- 1/2" screws
- marine spar varnish
- storage bins (optional)
Prep Boards
Start by prepping the cedar boards that will be used to create the lid. Run the boards through a table saw to ensure the edges are straight with clean cuts (Image 1). This will make the seams snug once assembled. Since cedar can be very rough, sand the boards with an orbital sander for a safe, smooth finish (Image 2).

Shain Rievley

Shain Rievley
Construct Lid
Run a line of wood glue down the long edges of the boards (Image 1), then push them together. Secure in place with large clamps (Image 2). Let the glue dry for one hour. Next, cut the 4-inch cedar board into 20-inch pieces. Place the pieces horizontally across the fence boards for added support (Image 3), and secure with 1-inch screws (Image 4).

Shain Rievley

Shain Rievley

Shain Rievley

Shain Rievley
Cut Lid to Size
Measure the curvature of the stock tank. Use a pencil to mirror that on the lid (Image 1), allowing a 1-inch lip for overhang. Use a jigsaw to cut out the pattern (Images 2 & 3).

Shain Rievley

Shain Rievley

Shain Rievley
Seal
Seal the lid on the underneath side with liquid rubber to keep water out of your tool storage. Make sure to use nitrile gloves when handling. Let dry for 24 hours after application.

Shain Rievley
Attach Lid Support
Cut a 2x8 board to fit the back of the stock tank before the sides start to curve — 43 inches for ours. Drill a hole in the board every few inches (Image 1). Hold the 2x8 up to the outside top lip of the tank, and use a skinny marker to mark drill spots on the tub. Use a 3/8-inch drill bit for metal to drill all the way through the tank where you made the guide marks (Image 2). Next, cut a 2x4 to the same size as the 2x8. Hold the 2x4 on the inside top lip. Use a marker through the drilled tub holes to mark guide spots on the wood, and drill holes through those marks. Place 4-inch long, 3/8-inch bolts and washers through the 2x8 board (Image 3). Line the board and bolts up and push through the stock tank holes and the 2x4 on the inside. Use a hammer to push the bolts all the way through if needed, then secure with a nut and wrench (Images 4 & 5).

Shain Rievley

Shain Rievley

Shain Rievley

Shain Rievley

Shain Rievley
Add T Hinges
Place the T hinges on the 2x8 board, and attach with 1-inch screws (Images 1 & 2). Use 1/2-inch screws to attach the other end to the lid (Image 3). Now your lid can easily open and close (Image 4).

Shain Rievley

Shain Rievley

Shain Rievley

Shain Rievley
Waterproof
Add two layers of marine spar varnish to the top of the cedar lid for a waterproof seal.

Shain Rievley
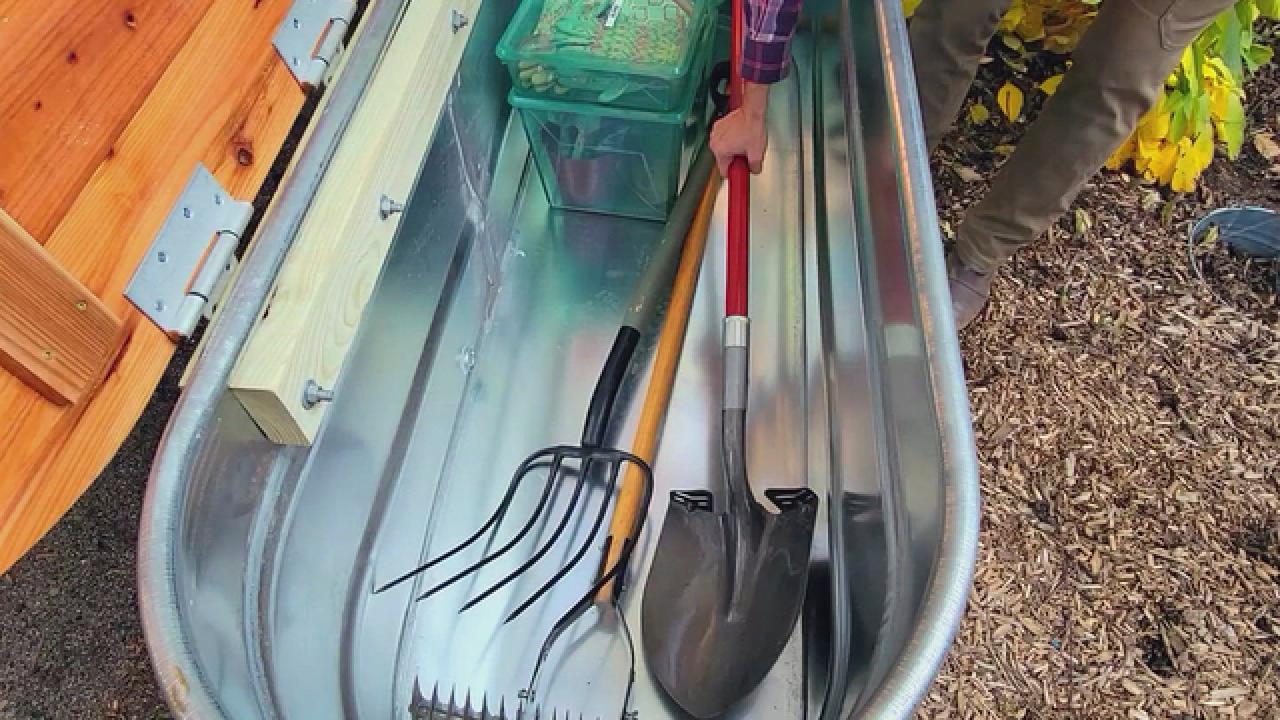
Organize
Keep smaller garden items, like gloves and handheld tools, organized in see-through storage bins (Image 1), with long shovels and rakes laying flat in the bottom of the tank (Image 2).

Shain Rievley

Shain Rievley

Shain Rievley
More Outdoor Storage Ideas to Try

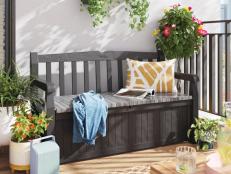
How to Make a Rolling Storage Bench
Easily build a functional bench that doubles as a storage locker for your patio.

Sneak Storage Into Your Outdoor Spaces 10 Photos
Discover clever ways to sneak in outdoor storage, so you can truly kick back and relax.

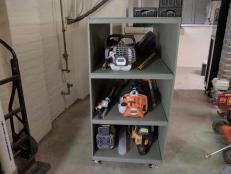
Turn a Wooden Pallet Into a Tool Rack 15 Photos
Get organized using recycled materials with this easy DIY project.


