


How to Cut Backer Board and Tips on How to Install It
Backer board (aka cement board) is sturdy and solid, but it is surprisingly easy to cut. Learn the best methods for cutting the various sizes of backer board, plus, get a few tips on how to install it.

Backer board is known by many names and has many uses. You can call it cement board, concrete board, or use its technical name, cementitious backer unit (CBU). And to add to the name-game confusion, popular brand names like HardieBacker, Durock and Wonderboard are often interchanged with the generic name. Whatever you call it, backer board is essentially a layer of concrete surrounded by a fiberglass membrane. It is commonly used as a substrate for many home improvement projects like bathroom tile, stucco siding and outdoor kitchens.

SHAIN RIEVLEY
A layer of backer board underneath tile will prevent tile and grout from shifting and cracking. And because it is made of cement, backer board is a better choice for a substrate than plywood, particleboard or drywall because it if does get wet, it will absorb the water and won’t rot or warp like wood materials. However, most backer board is not waterproof, only water-resistant. So if you’re tiling an area that comes in direct contact with water, it is best to cover the backer board seams with mesh joint tape and a coating of waterproof sealant.
Cement backer board is normally sold in 3 x 5-foot sheets with a thickness of 1/4 inch, 1/2 inch or 5/8inch. For floor tile applications, use 1/4 inch thick. Wall tiles need a thicker substrate because the backer board is spanning wall studs, so to cover the gaps in between the studs, 1/2 inch or 5/8 inch is recommended.
Word of caution: Whatever method you choose to cut backer board, be sure to wear safety goggles and a dust mask. Cutting cement backer board produces crystalline silica dust, which can irritate your eyes and lungs.
How to Make Straight Cuts With a Utility Knife
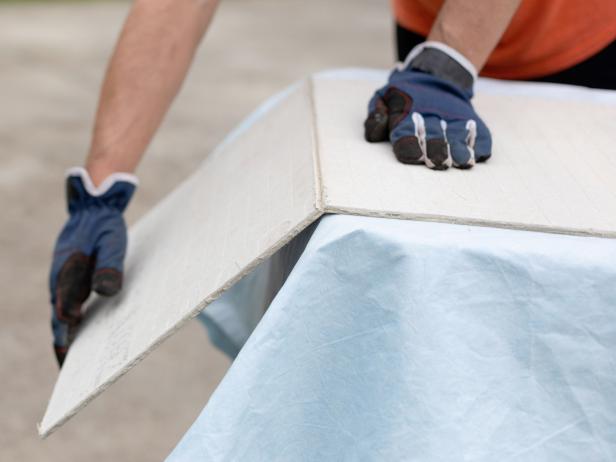
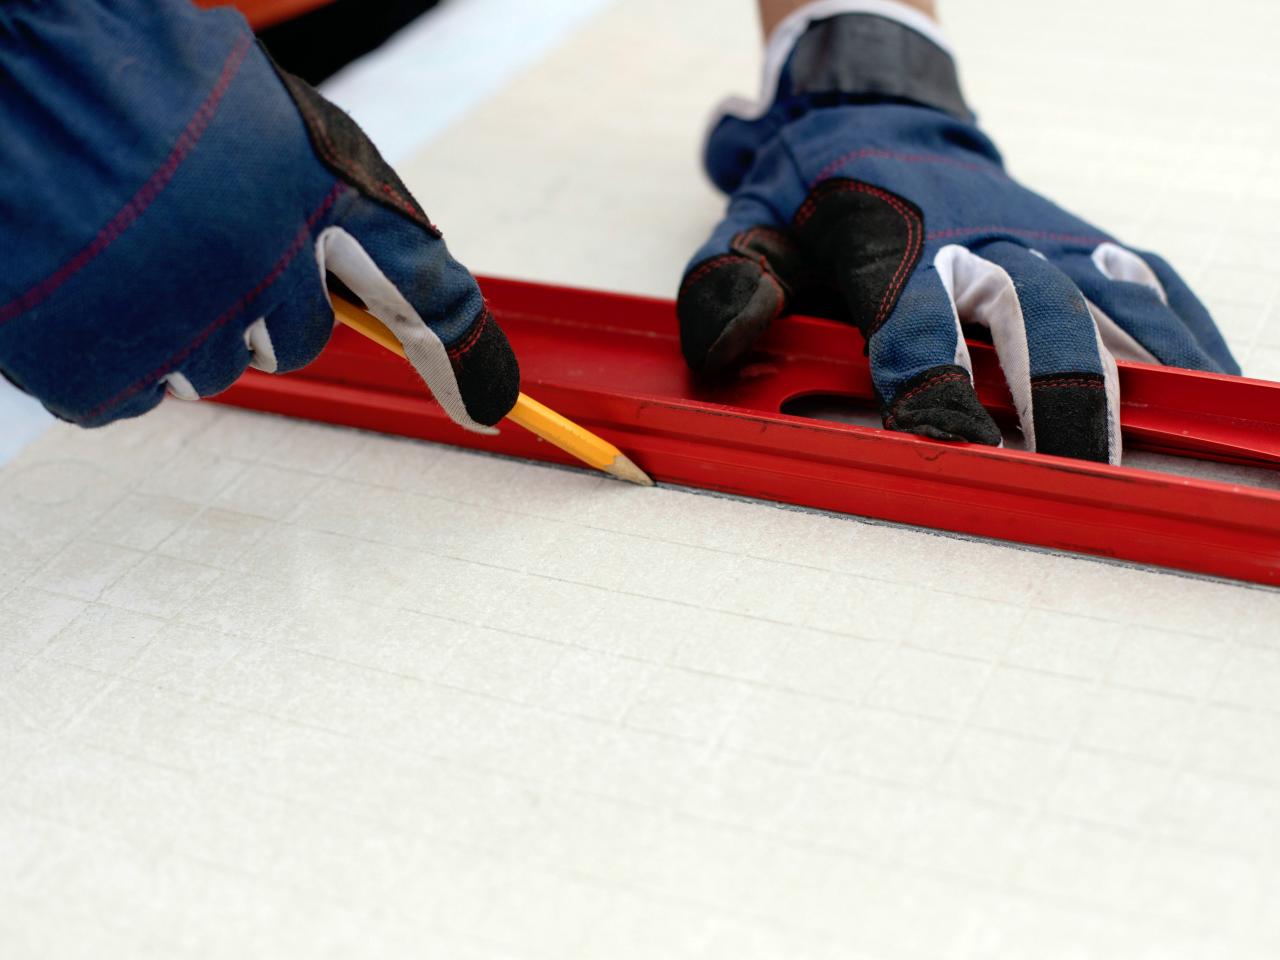
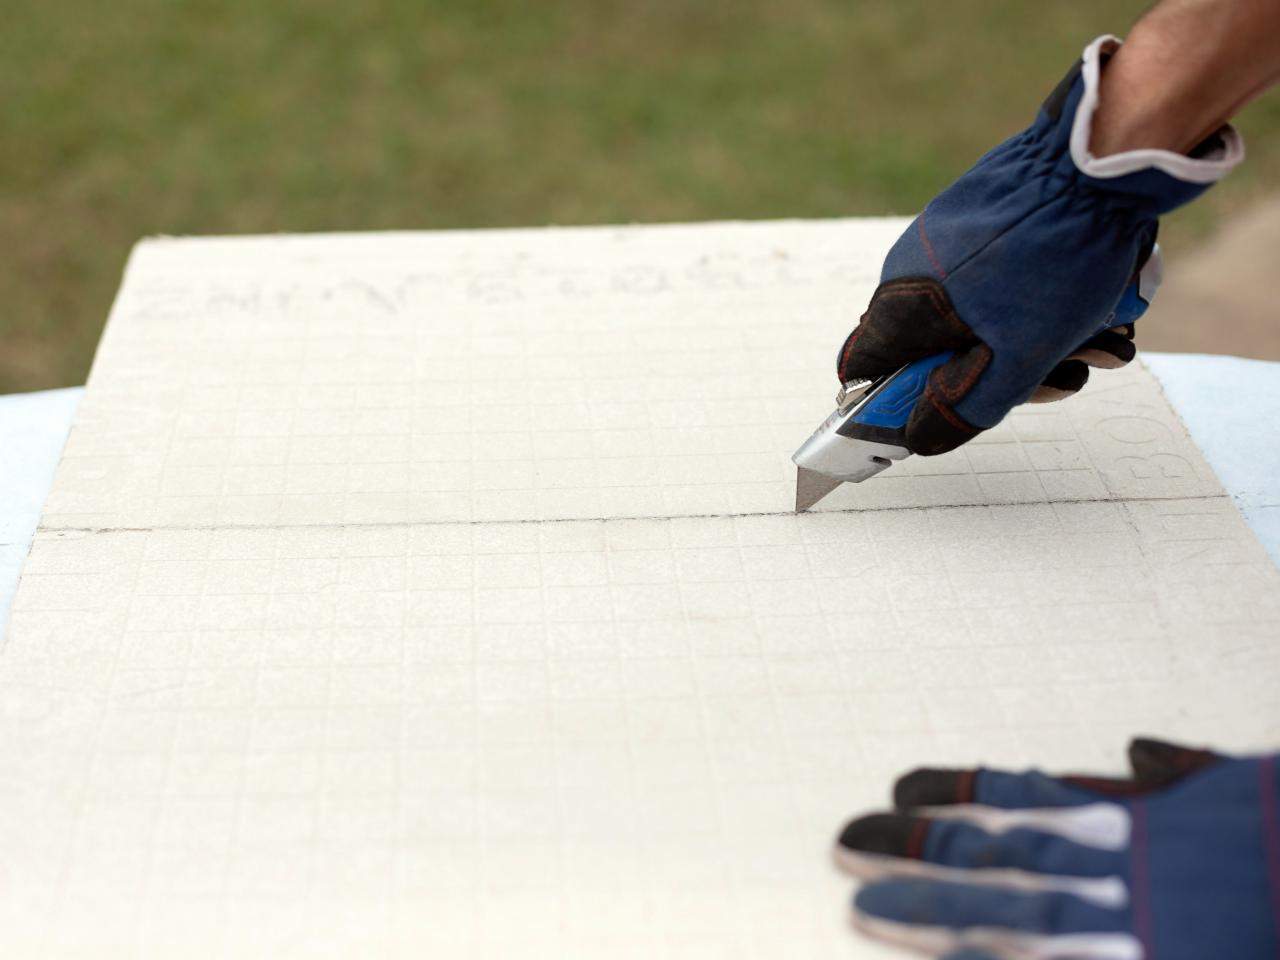
For 1/4 inch thick backer board, a utility knife or carbide-tipped scoring tool can be used to make the cuts. A new carbide-tipped blade will make the task quicker and easier. Mark the cuts using a pencil and a T-square or straight edge (Image 1). A carpenter's pencil often works better than a standard pencil. If the backer board has a grid pattern, utilize the grooves as much as possible. Run the utility along the lines to score the cut (Image 2). Once you get the line scribed, give it a couple of taps and it should break apart. You can also lay the board on a worktable with the scored line hanging just over the edge then apply a little pressure to snap the scored line (Image 3). If it doesn't snap off easily, run the utility knife through the score again. Once it has snapped, use the utility knife to cut any pieces of fiberglass that are still attached.

SHAIN RIEVLEY

SHAIN RIEVLEY
SHAIN RIEVLEY
How to Make Straight Cuts With a Power Tool
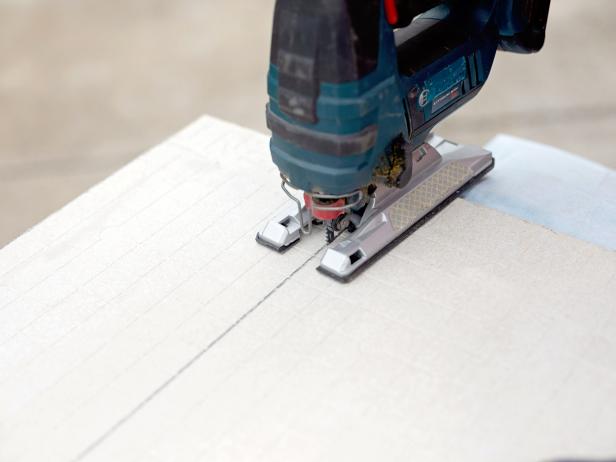
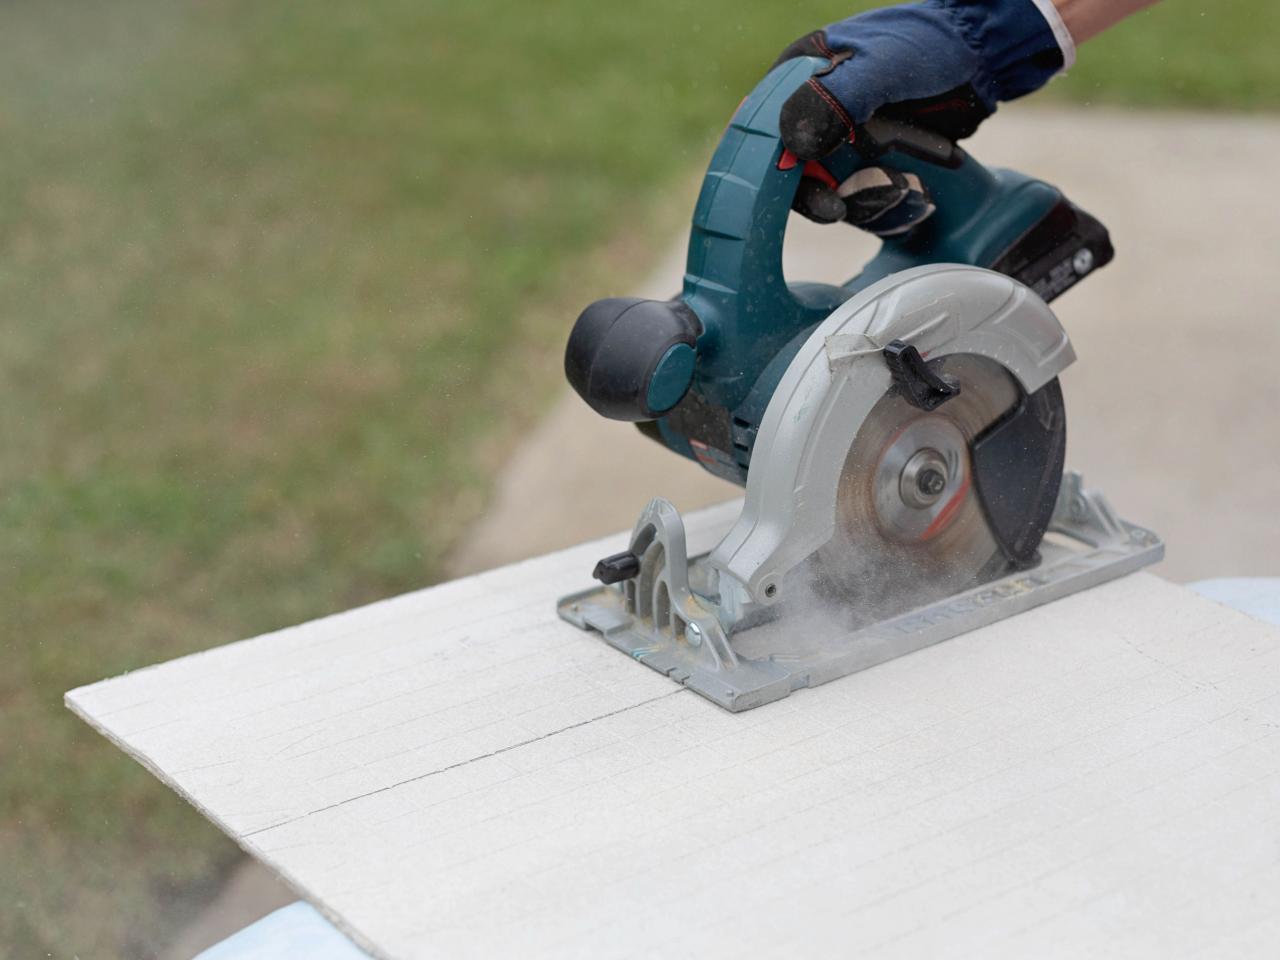
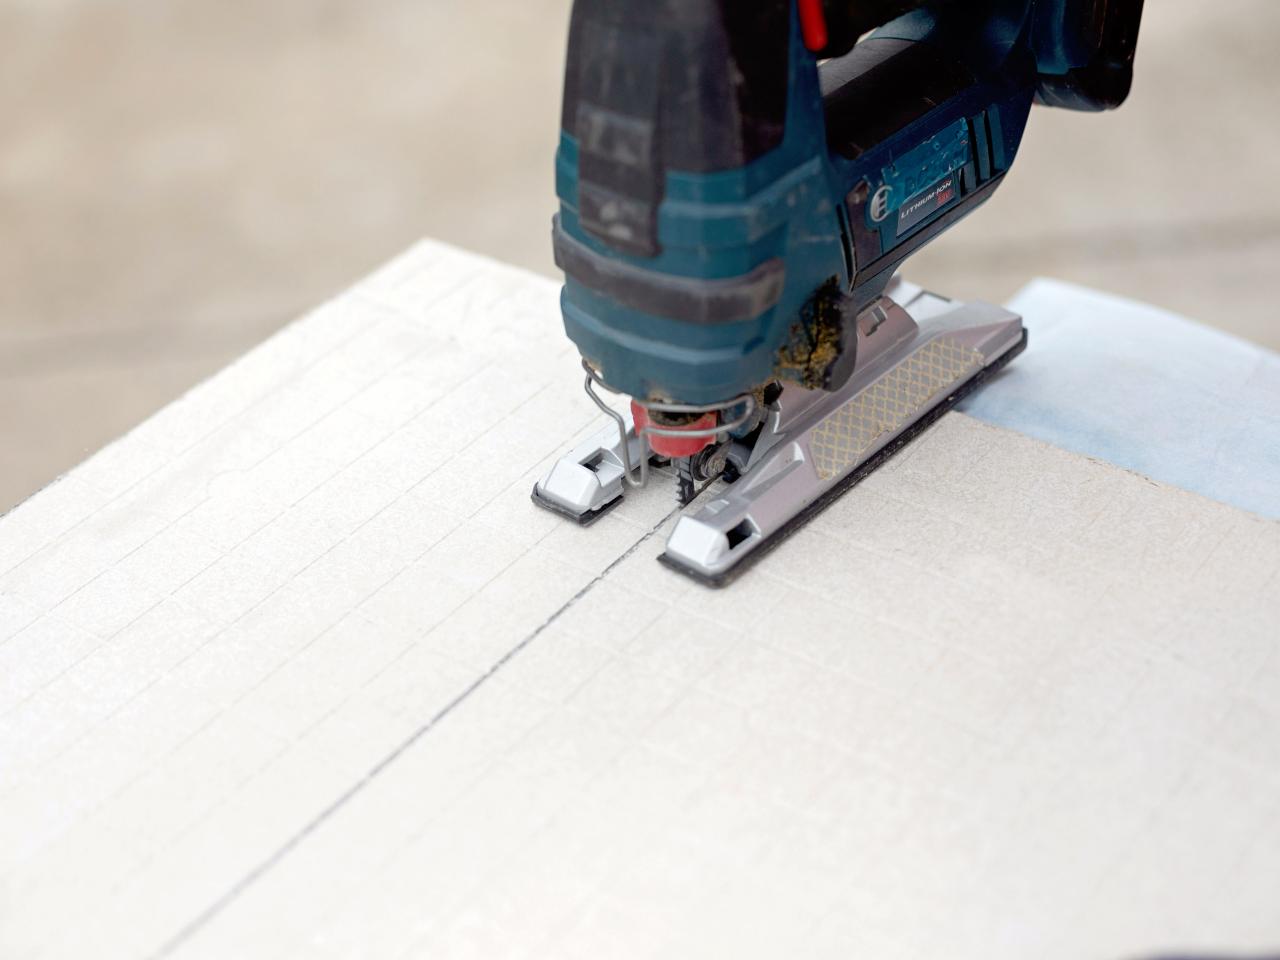
For cutting 1/2 inch or 5/8 inch, a jigsaw or circular saw is recommended. Mark your cuts with a pencil and a straight edge. If you have several cuts to make, you may want to invest in a carbide-tipped or carbide-grit blade. You can use standard blades on either tool, but they will wear out very quickly. Place the board on a worktable with the cut mark and shorter side hanging off the edge. Clamp the larger side down to the table so it doesn’t shift while you are cutting. Then make the cut.

SHAIN RIEVLEY
SHAIN RIEVLEY
Note: Pros will often use an angle grinder with a diamond blade because it makes a quicker and cleaner cut. But a grinder will kick up a lot more dust than a jigsaw or circular saw. So if you choose to use an angle grinder, be sure to wear goggles and a respirator to protect your eyes and lungs.
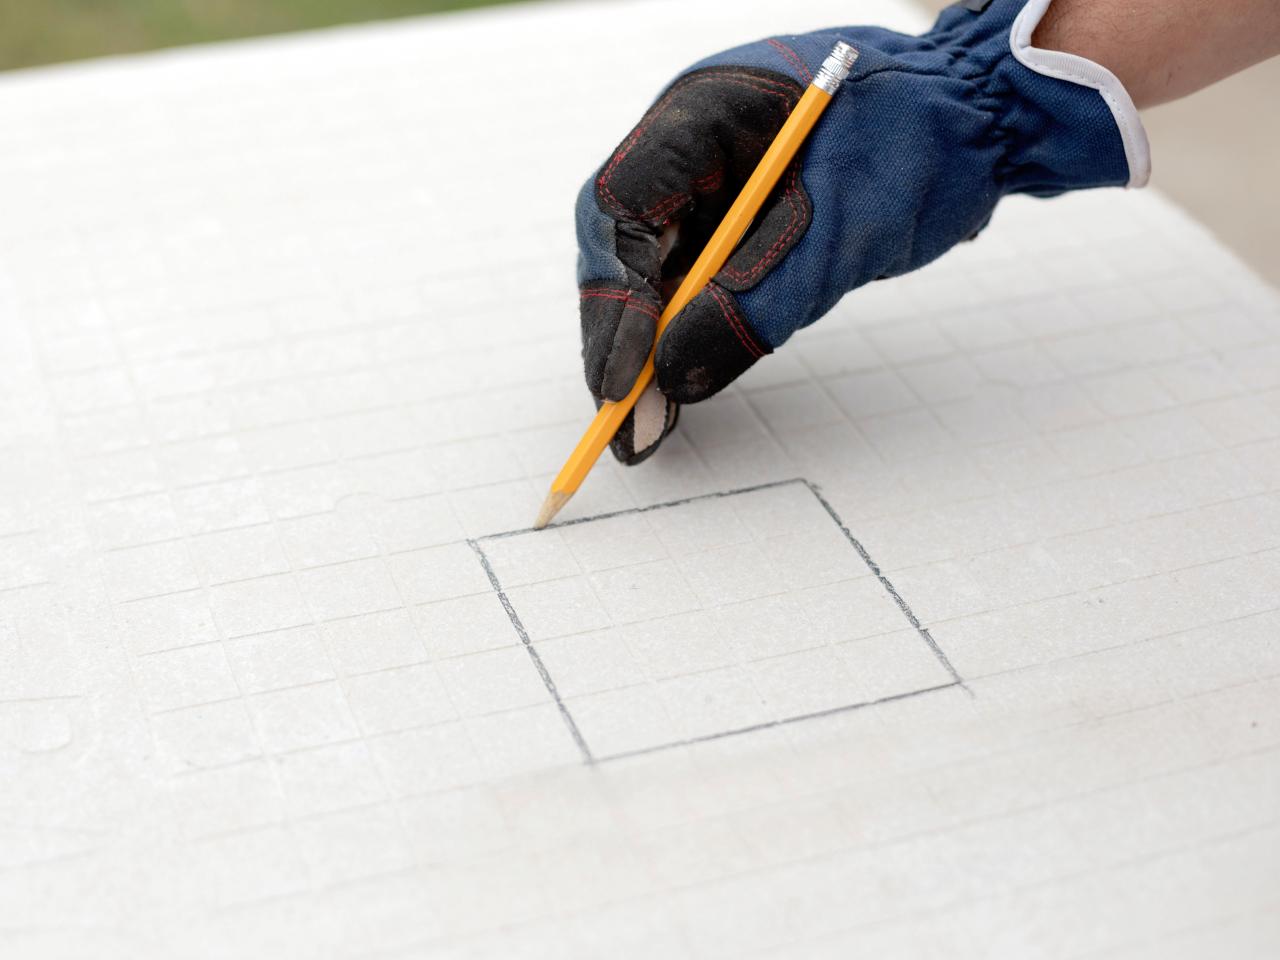
How to Cut Holes in the Middle of a Piece of Backer Board
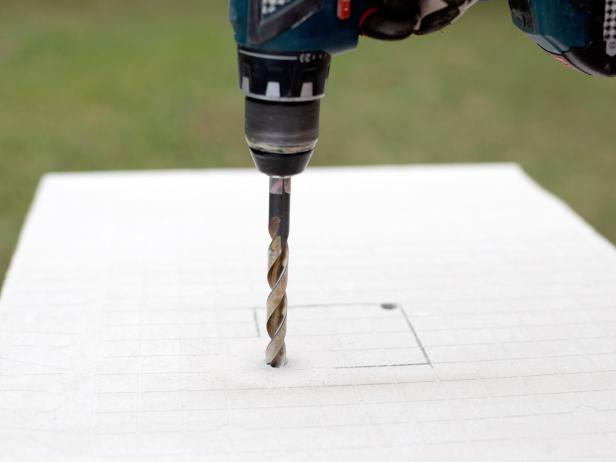
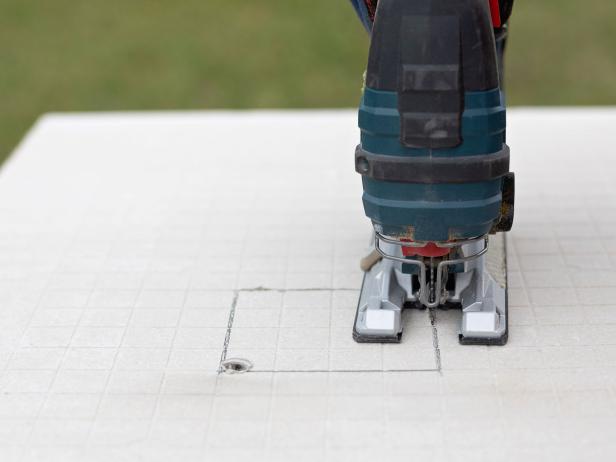
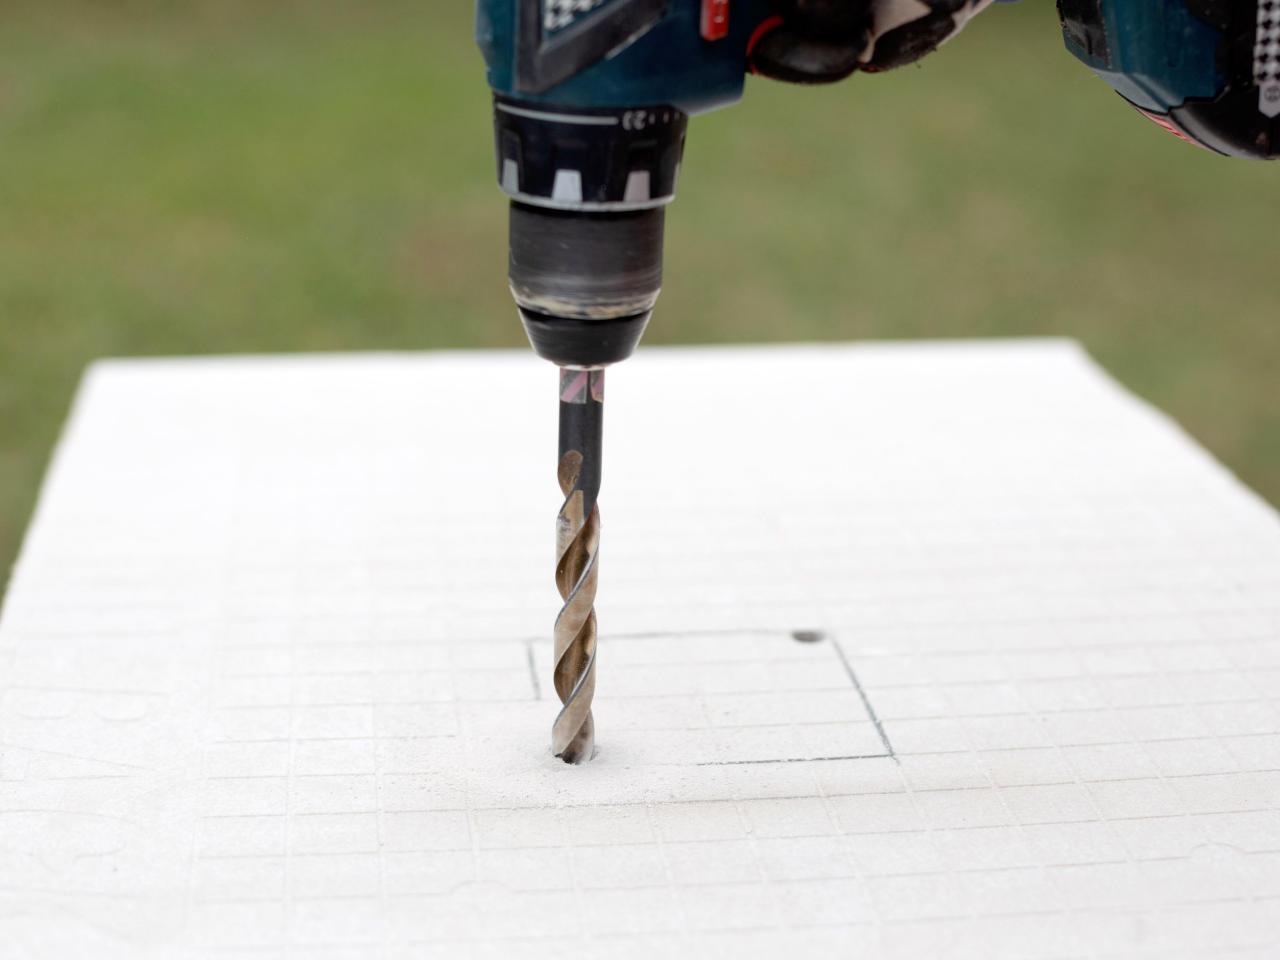
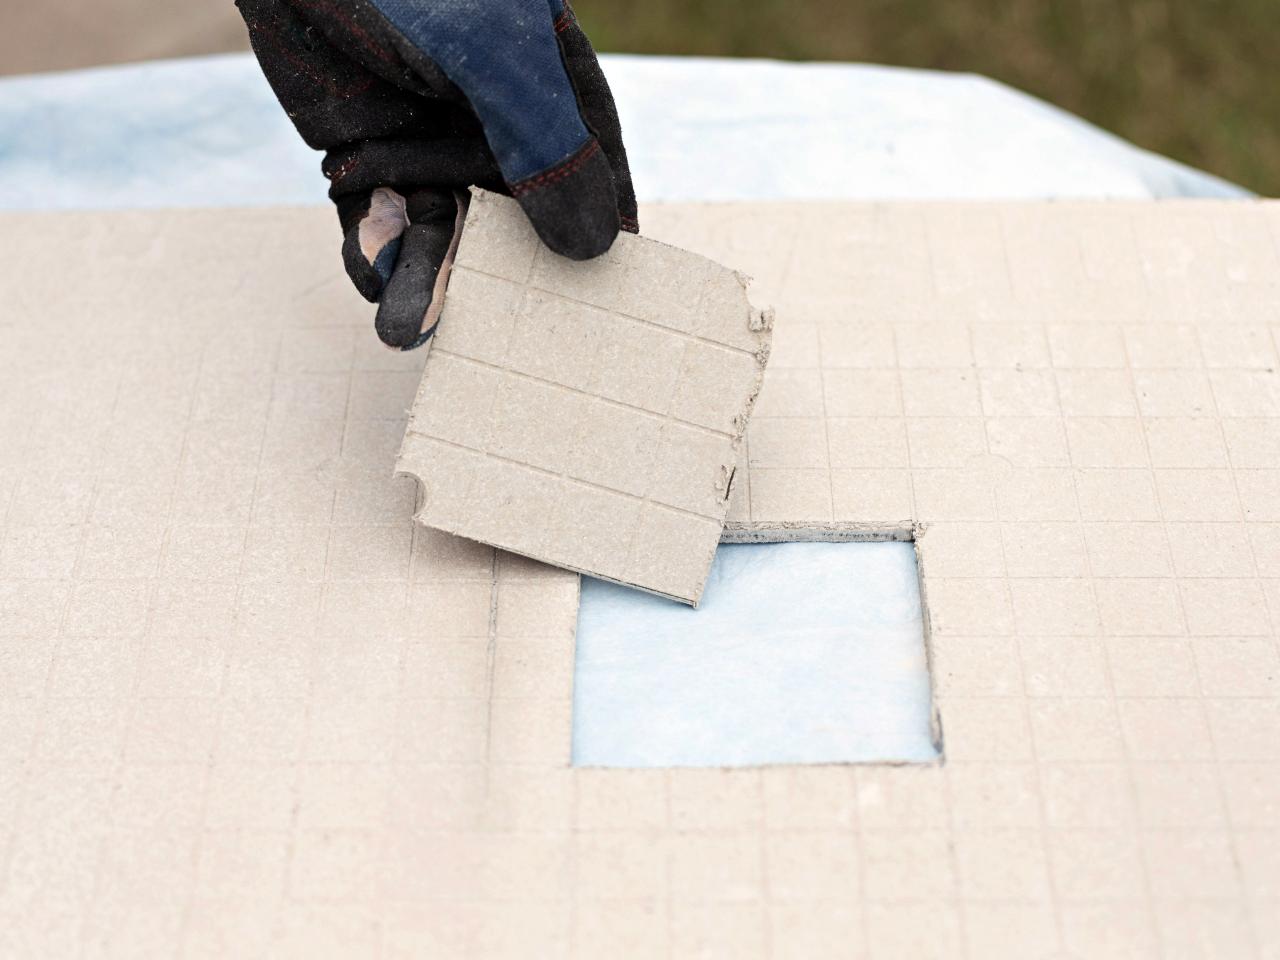
If you need to cut holes in your backer board for things like water valves, showerheads, drains, etc., carefully measure the placement of the hole’s needed dimensions. Transfer those measurements onto the backer board and trace the line with a pencil (Image 1). (It’s always a smart idea to double and triple check the sizes and placement of the holes.) Use a drill with a masonry bit to make a starter hole that a jigsaw blade will fit into (Image 2). Make sure to drill within the lines you traced. Insert the jigsaw blade into the starter hole and cut along your traced lines (Image 3). If the hole is round, you may be able to make the cut using a drill fitted with a hole-saw bit.

SHAIN RIEVLEY
SHAIN RIEVLEY
SHAIN RIEVLEY

SHAIN RIEVLEY


