


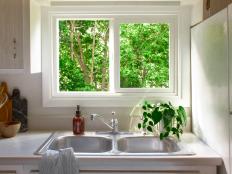
Installing Under-Cabinet Lighting

Materials and Tools:
black puck lights (Hampton Bay 120v) (10)
on-wall switch box
dimmer
wire-mold kit
switch box
crimp connector kit
1/2" screws to fit lights
black puck lights (Hampton Bay 120v) (10)
on-wall switch box
dimmer
wire-mold kit
switch box
crimp connector kit
1/2" screws to fit lights
3/8" drill bit
cordless drill with battery and magnetic screw tip
drill
drywall jab saw
electrician's pliers
crimp tool
staple gun
torpedo level
wire nuts
wire staples
measuring tape
pencil
safety glasses

Steps:

1. First, locate or determine your power source. In our case, we pulled our power from the attic, since it was accessible and close. We ran our hot wire from the attic, down in a piece of wire molding, to the top of the cabinets. A simpler option, if you don't want to do electrical work yourself, is to pull power from an existing outlet, simply plugging the lights into the outlet.

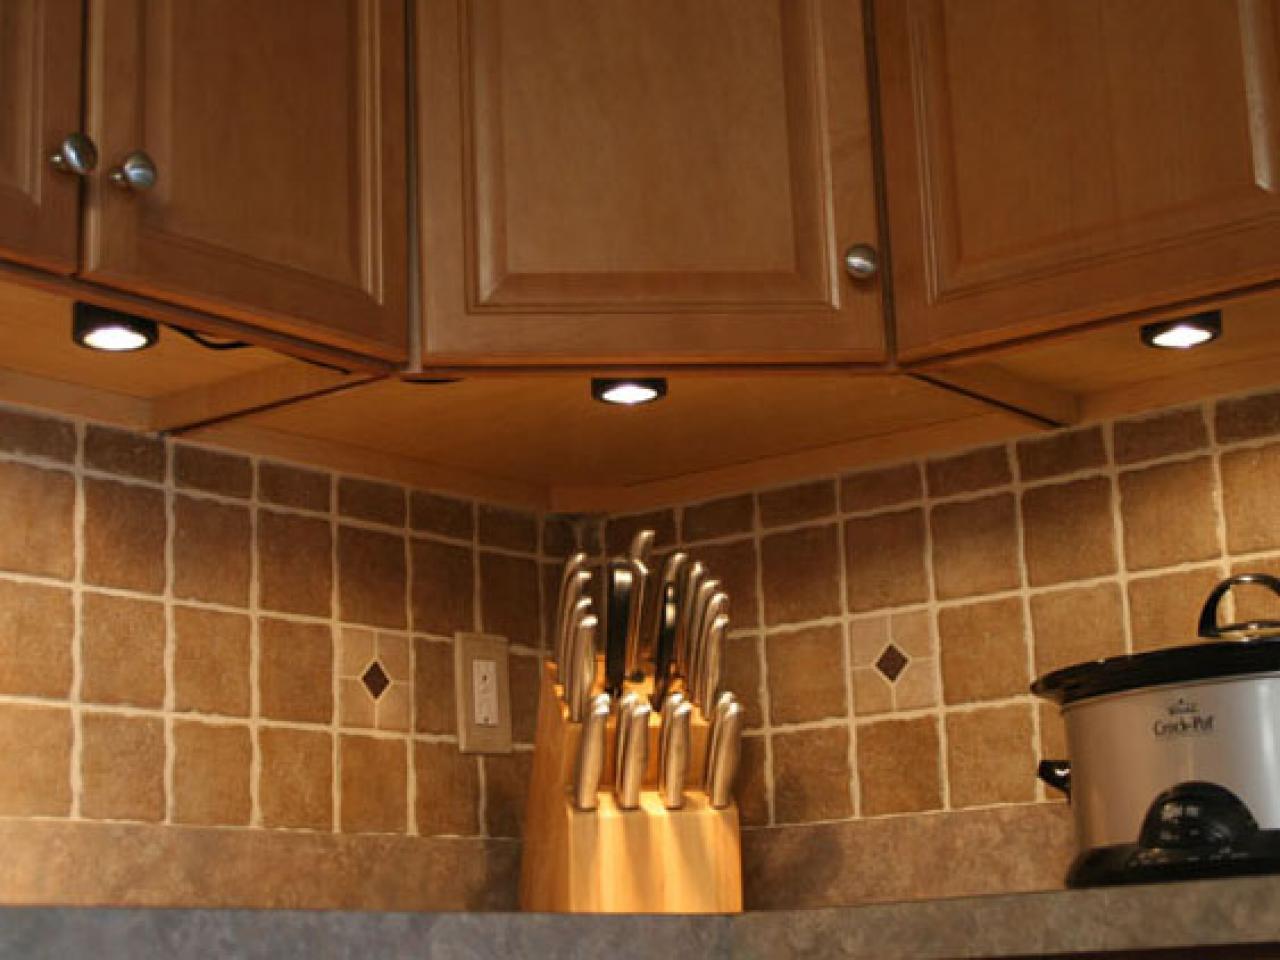
2. Next, install the lights. For our purposes, we centered a light under each cabinet door. Keep the lights close to the front the wall cabinet, positioning the light over the center of the countertop. Install the lights by screwing the lights up into the bottom of the cabinet using 1/2" screws.

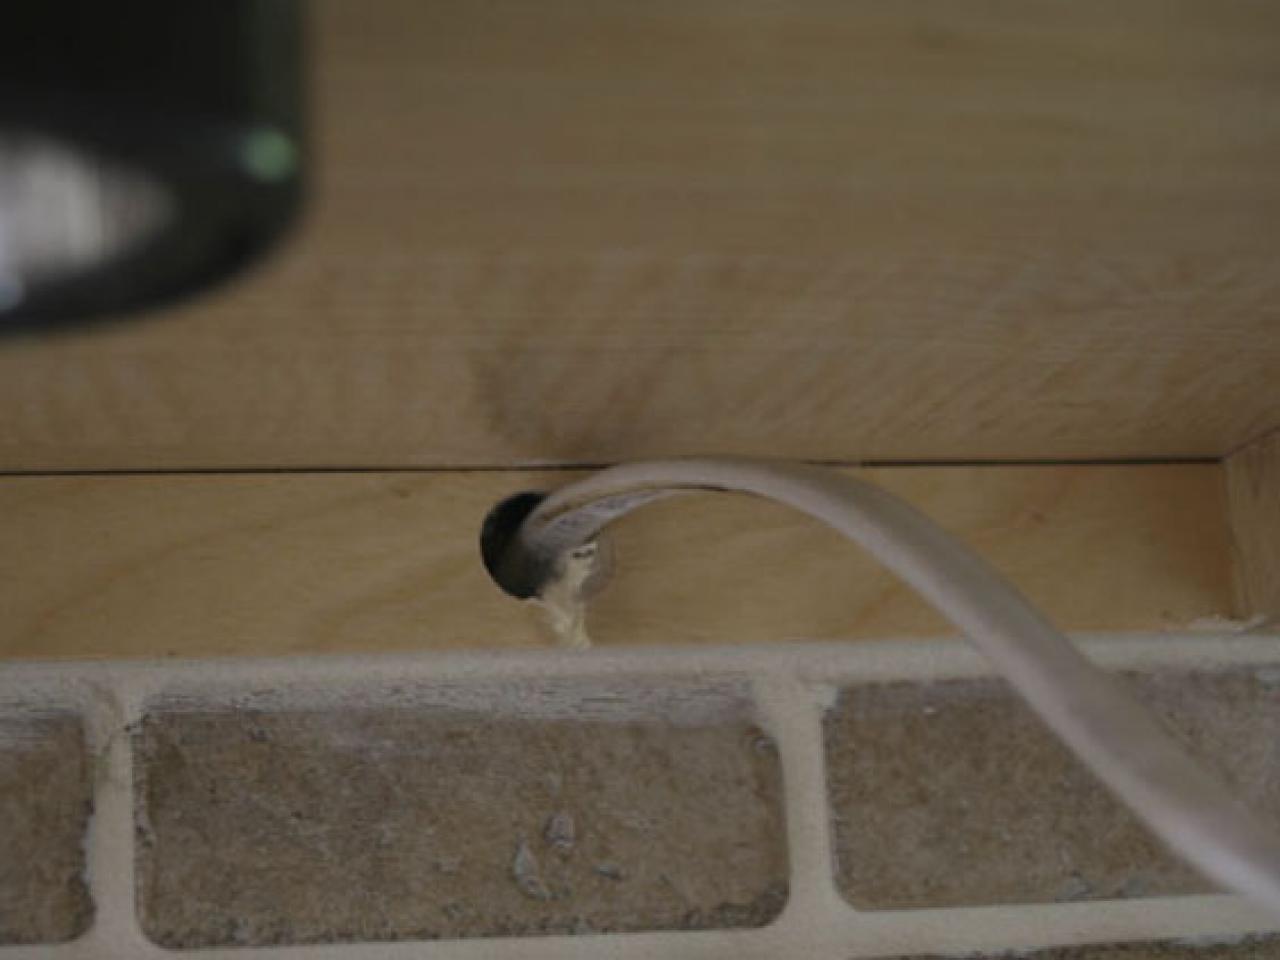
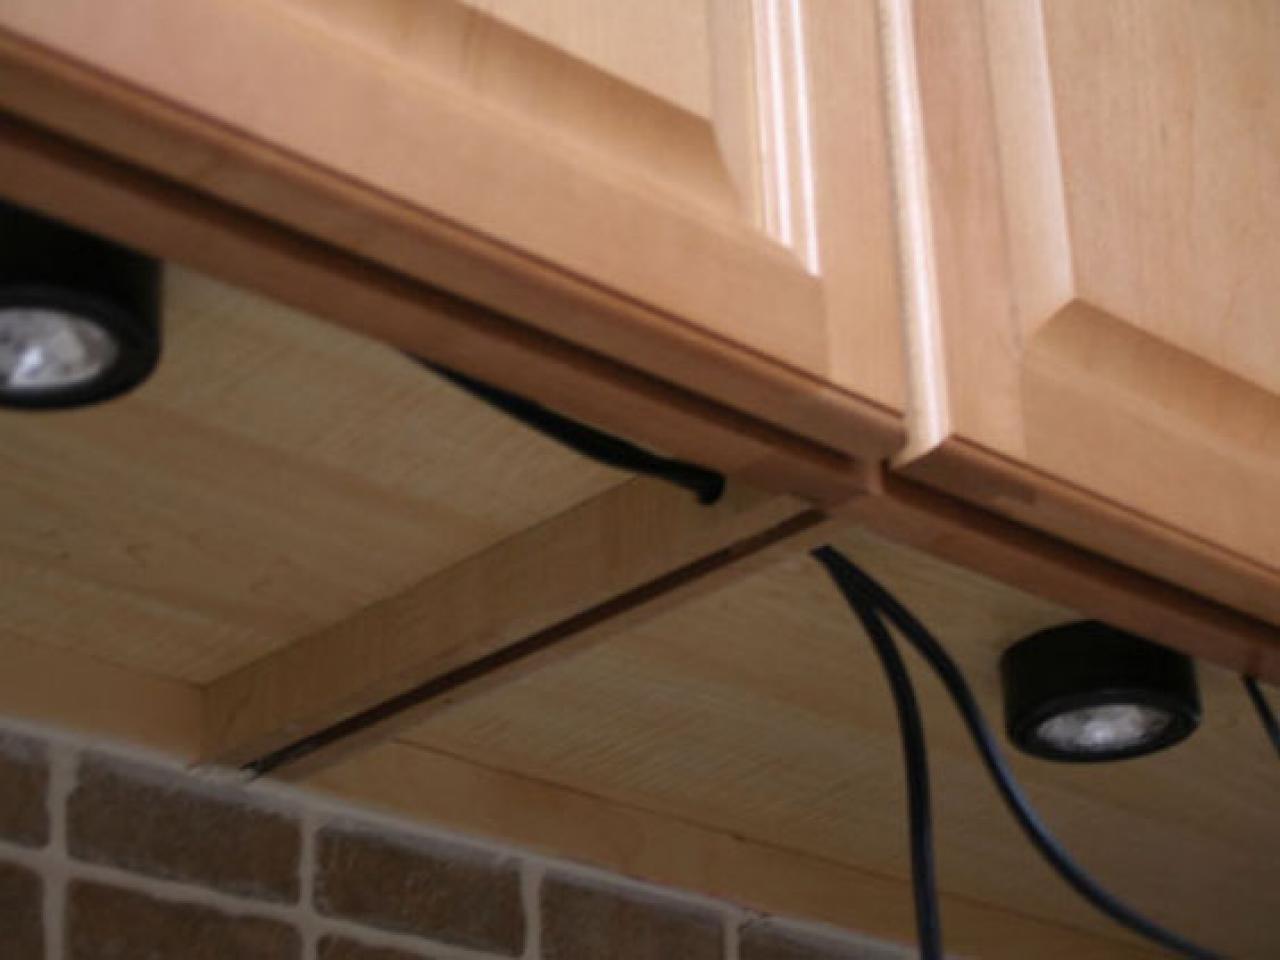
3. Depending on the kit, it may be better to wire the lights under the cabinets and staple the wires up, or it may be better to do all the wiring on top of the cabinets, and drill down thru the cabinet to get the wire the light. It will depend on the type of cabinets installed. If they are face-frame cabinets, there is a recess in the bottom to hide the wires, so all wiring can be done there. If they are overlay cabinets, there is no recess on the bottom, so do all the wiring from the top.
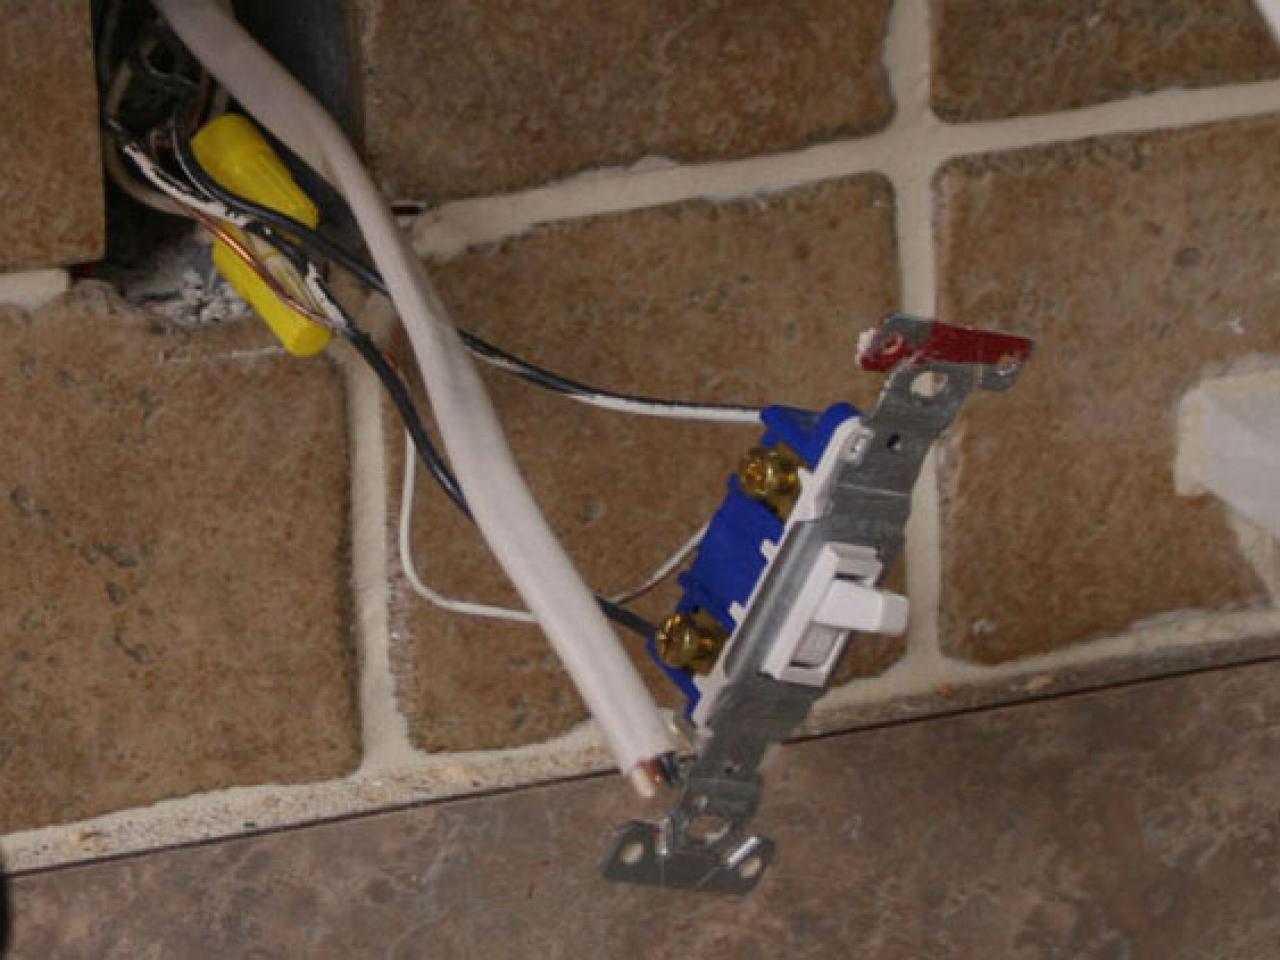
4. After all the lights are wired together, hook the hot wire (the smooth side of the wire) to the switch. Tie the neutral wire (the ribbed wire) to the white wire from the house. The black wire from the house will go to the other side of the switch. To summarize: white to ribbed, black to switch and smooth to switch.


