


Light Up Your Cabinets With Rope Lights

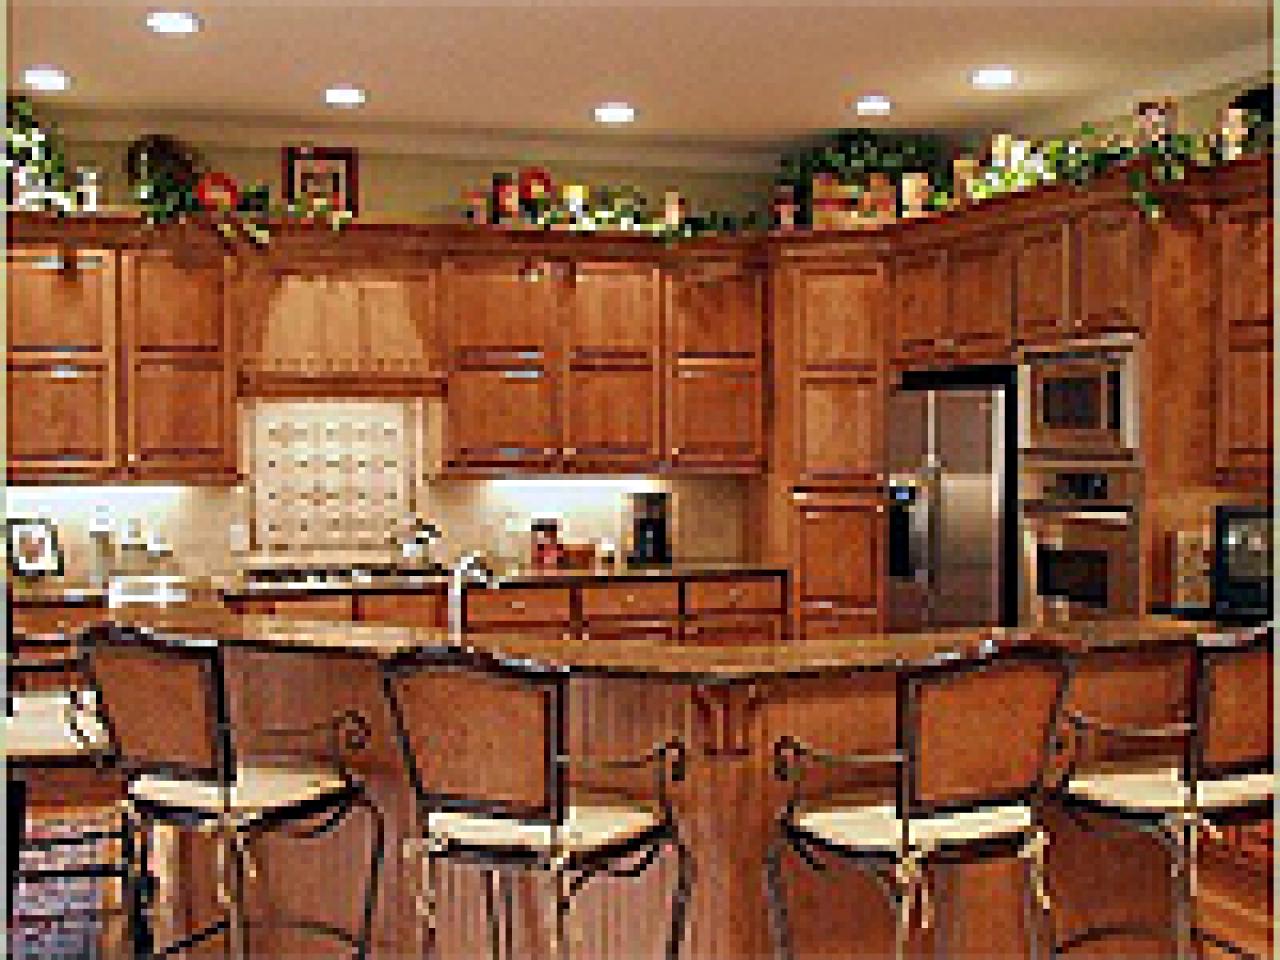
Problem: Areas under kitchen cabinets often have insufficient lighting, and typical under-cabinet lights are often unattractive and illuminate only isolated areas.
Solution: Rope lighting, available at most specialty lighting stores, provides an attractive, low-cost light source under the entire cabinet.
Materials and Tools:
Drill with spade bit
Circuit tester
Flathead screwdriver
Diagonal cutter to cut rope lighting
Coaxial cable clips (nail-in or stick-on) large enough for rope lighting
Pencil
String
Safety glasses
Steps:
1. Run a piece of string along the route you plan to use for your rope lighting.
2. Tighten the string and use it as a reference for marking the areas to be drilled.
3. Using the marks as a reference, drill holes in the sides of the base portion of the wall cabinets. Use a bit that's just large enough to allow the rope lighting to fit through.
4. Rope lighting is flexible and comes in lengths that can be cut at 18-inch intervals. Be sure to cut the rope light only where indicated or it will not function properly.
5. Thread the rope lighting through the holes and support it with cable clips where necessary.
6. Place a plastic cap (included in rope light kit) on the end of the rope light farthest from the power source.
7. On the end closest to the power source, insert male electrode spikes into the conductors on the rope light.
8. Slip the collar and sleeve (supplied with the kit) onto the rope light, and tighten the collar to the sleeve.
9. Insert the female connector (attached to power cord) to the male connector on the rope light.
10. Screw the support connector in place to ensure that the male and female connectors don't come apart.
11. Secure the remaining rope lighting to the cabinet and plug in to activate.
12. To eliminate the need for plugging and unplugging the light, you can install a switched outlet.
13. At the circuit breaker box, shut off the power supply to the outlet you'll be working on.
14. Test the outlet with a circuit tester to make sure the power is off.
15. Remove the faceplate and outlet.
16. Disconnect the wires from the outlet.
17. Connect the wires to the terminals on the switched outlet. Switched outlets vary. Follow the manufacturer's instructions.
18. Install the new outlet and reattach the cover plate.
19. With these easy DIY instructions, your kitchen will have a new glow in no time.


