


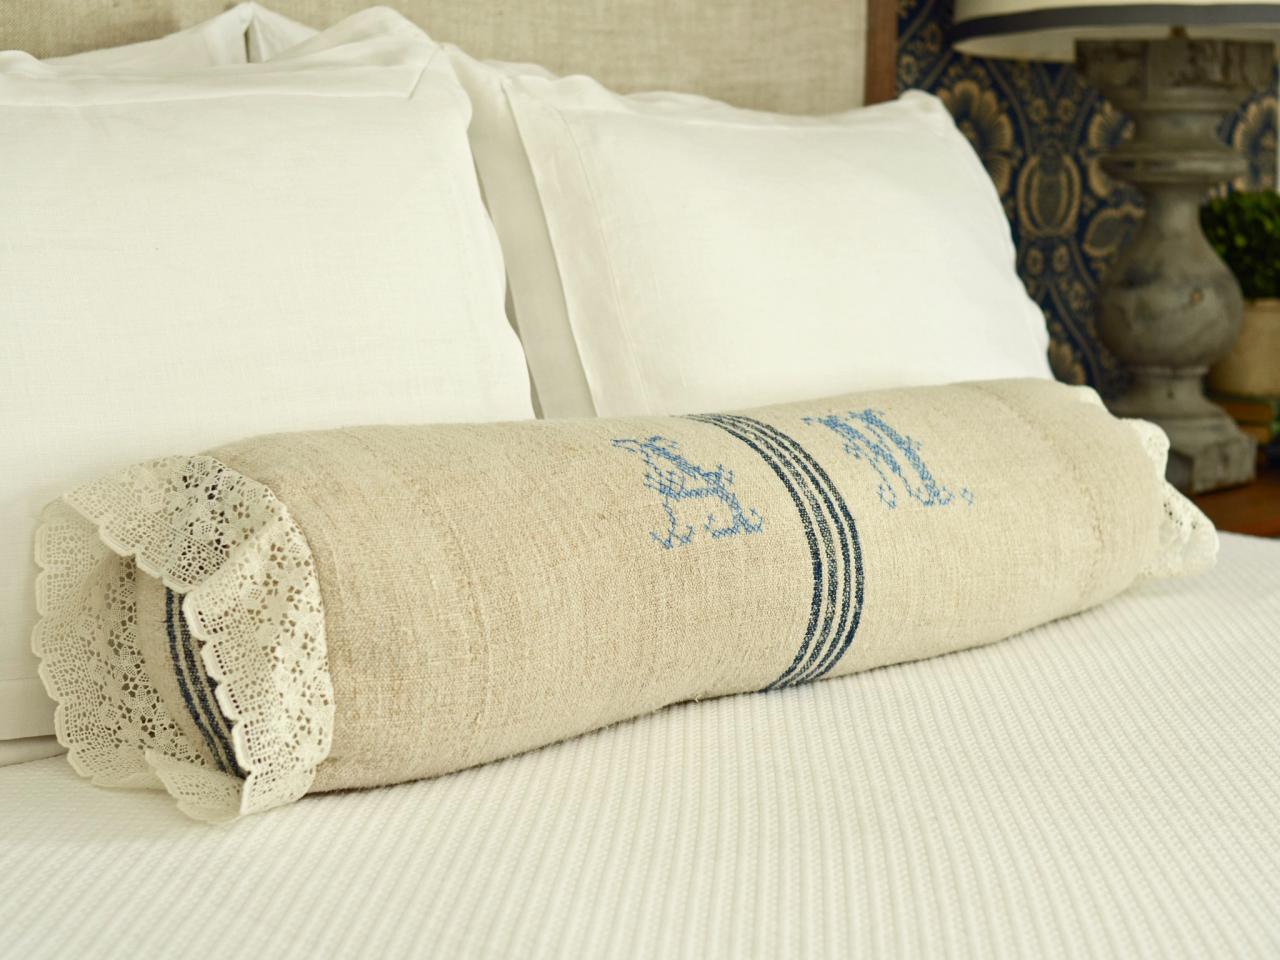
How to Sew a Bedroom Bolster Pillow

Handmade Bolster Pillow On Bed

Materials Needed:
- approximately 1 yard fabric (depending on width)
- 1 yard trim
- 30" bolster-pillow form
- yardstick
- pencil
- scissors
- sewing tape measure
- coordinating all-purpose cotton thread
- straight pins
- all-purpose needle
- sewing machine
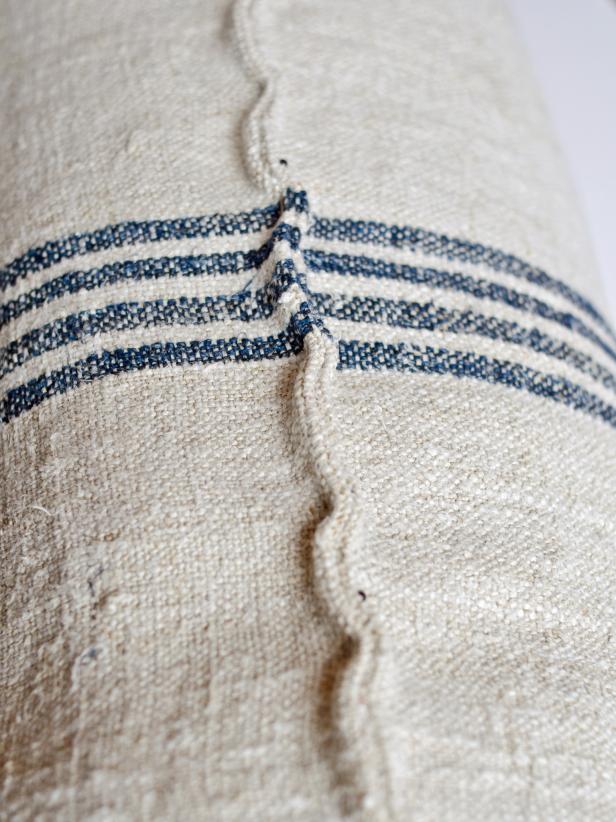
Measure Form and Cut Fabric
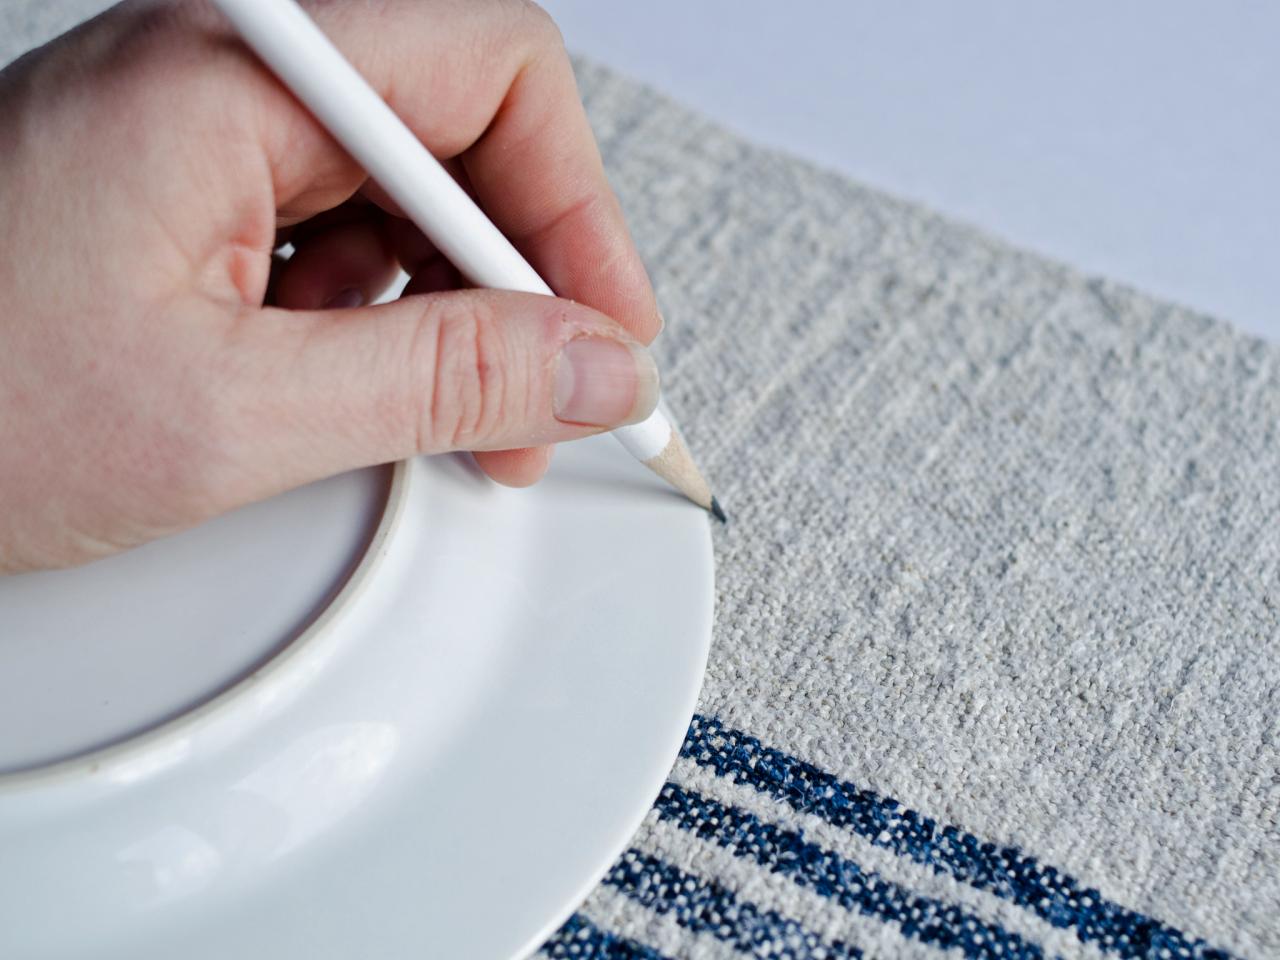
Measure diameter, width and circumference of bolster-pillow form (Image 1). Cut a rectangular piece of fabric to width and circumference measurements, plus add 1/4 inch on all sides for seam allowance. Measure and cut out two circular pieces of fabric, one for each end of bolster pillow. Tip: A dessert/salad plate is the perfect template for a standard 30" bolster form (Image 2).


Measuring Pillow Form
Marking Around Template
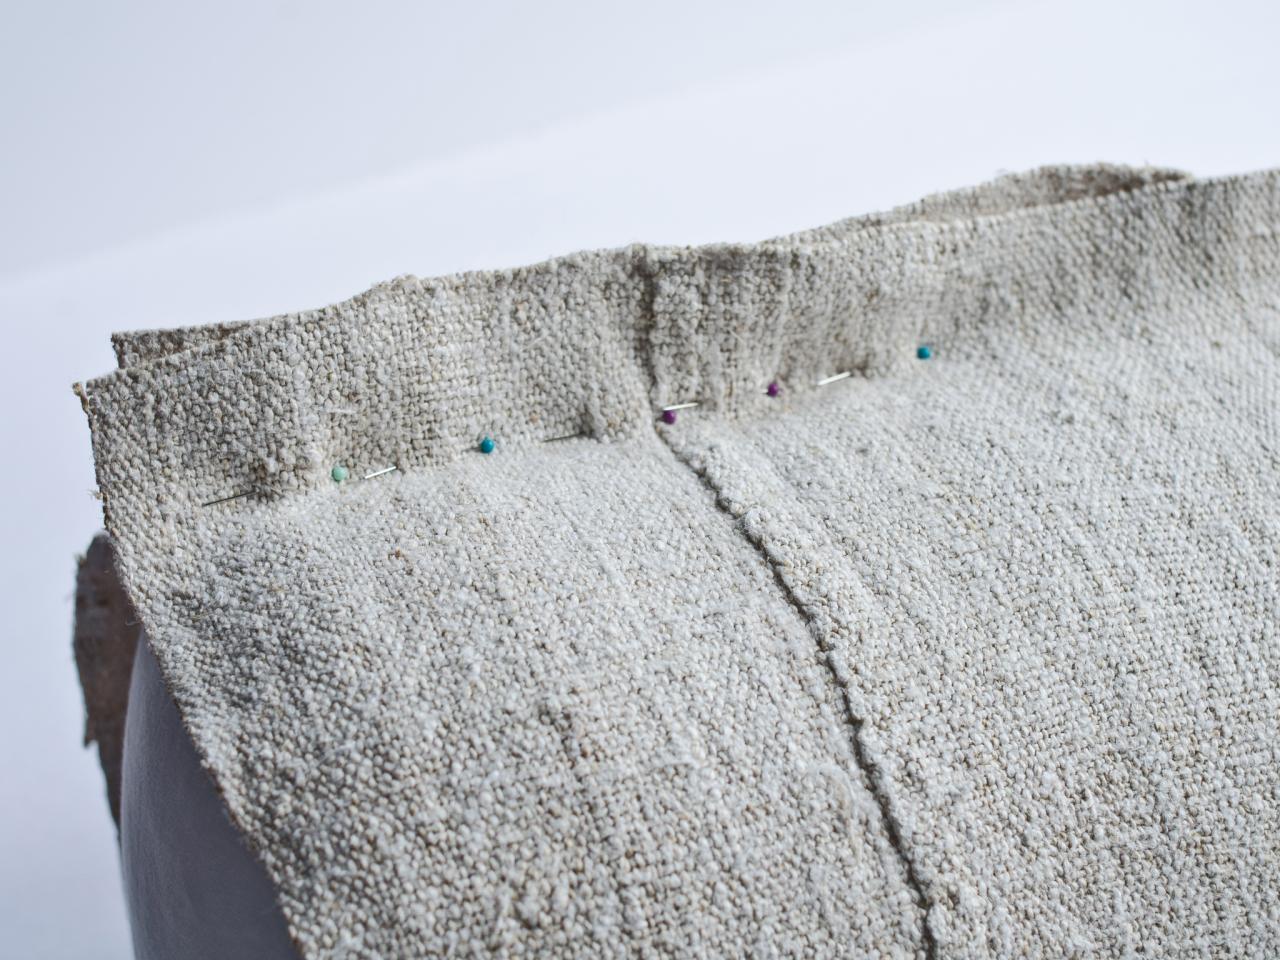
Pin and Sew Bottom Seam
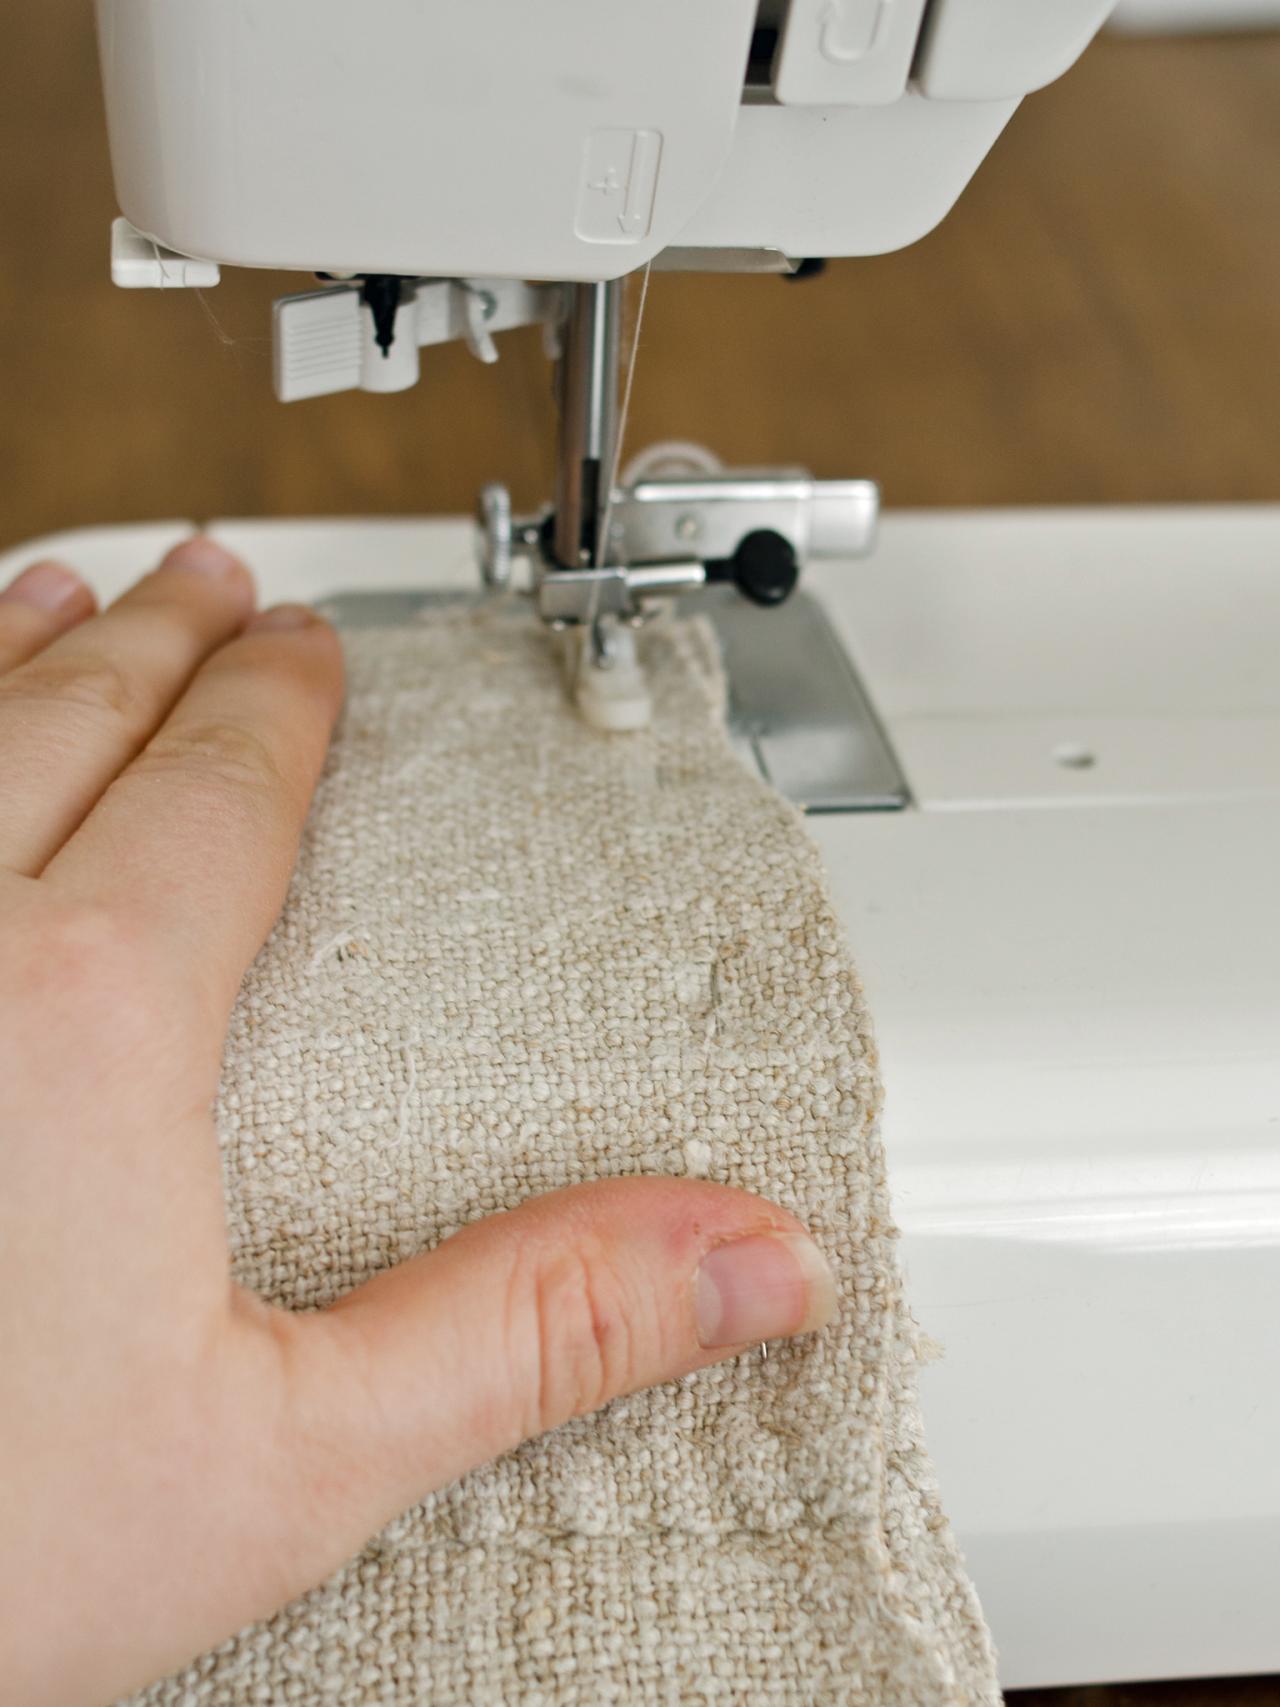
Wrap the rectangular piece of fabric around bolster pillow form with the wrong side facing out. Pin seam where ends meet, leaving approximately 15 inches unpinned in the center (Image 1). This opening will allow the form to be inserted once pillow cover is completed and it will later be closed by hand. Trim off any excess fabric with sharp scissors. Sew along pin lines on both sides of pillow then remove pins (Image 2). Tip: Because this pillow doesn't require a lot of fabric, it's a great project for using up old clothing, table linens or cutter quilts. An antique grain sack and trim from a petticoat were used for this tutorial.


Pinning Seam on Pillow
Sewing Fabric
Pin and Sew Trim
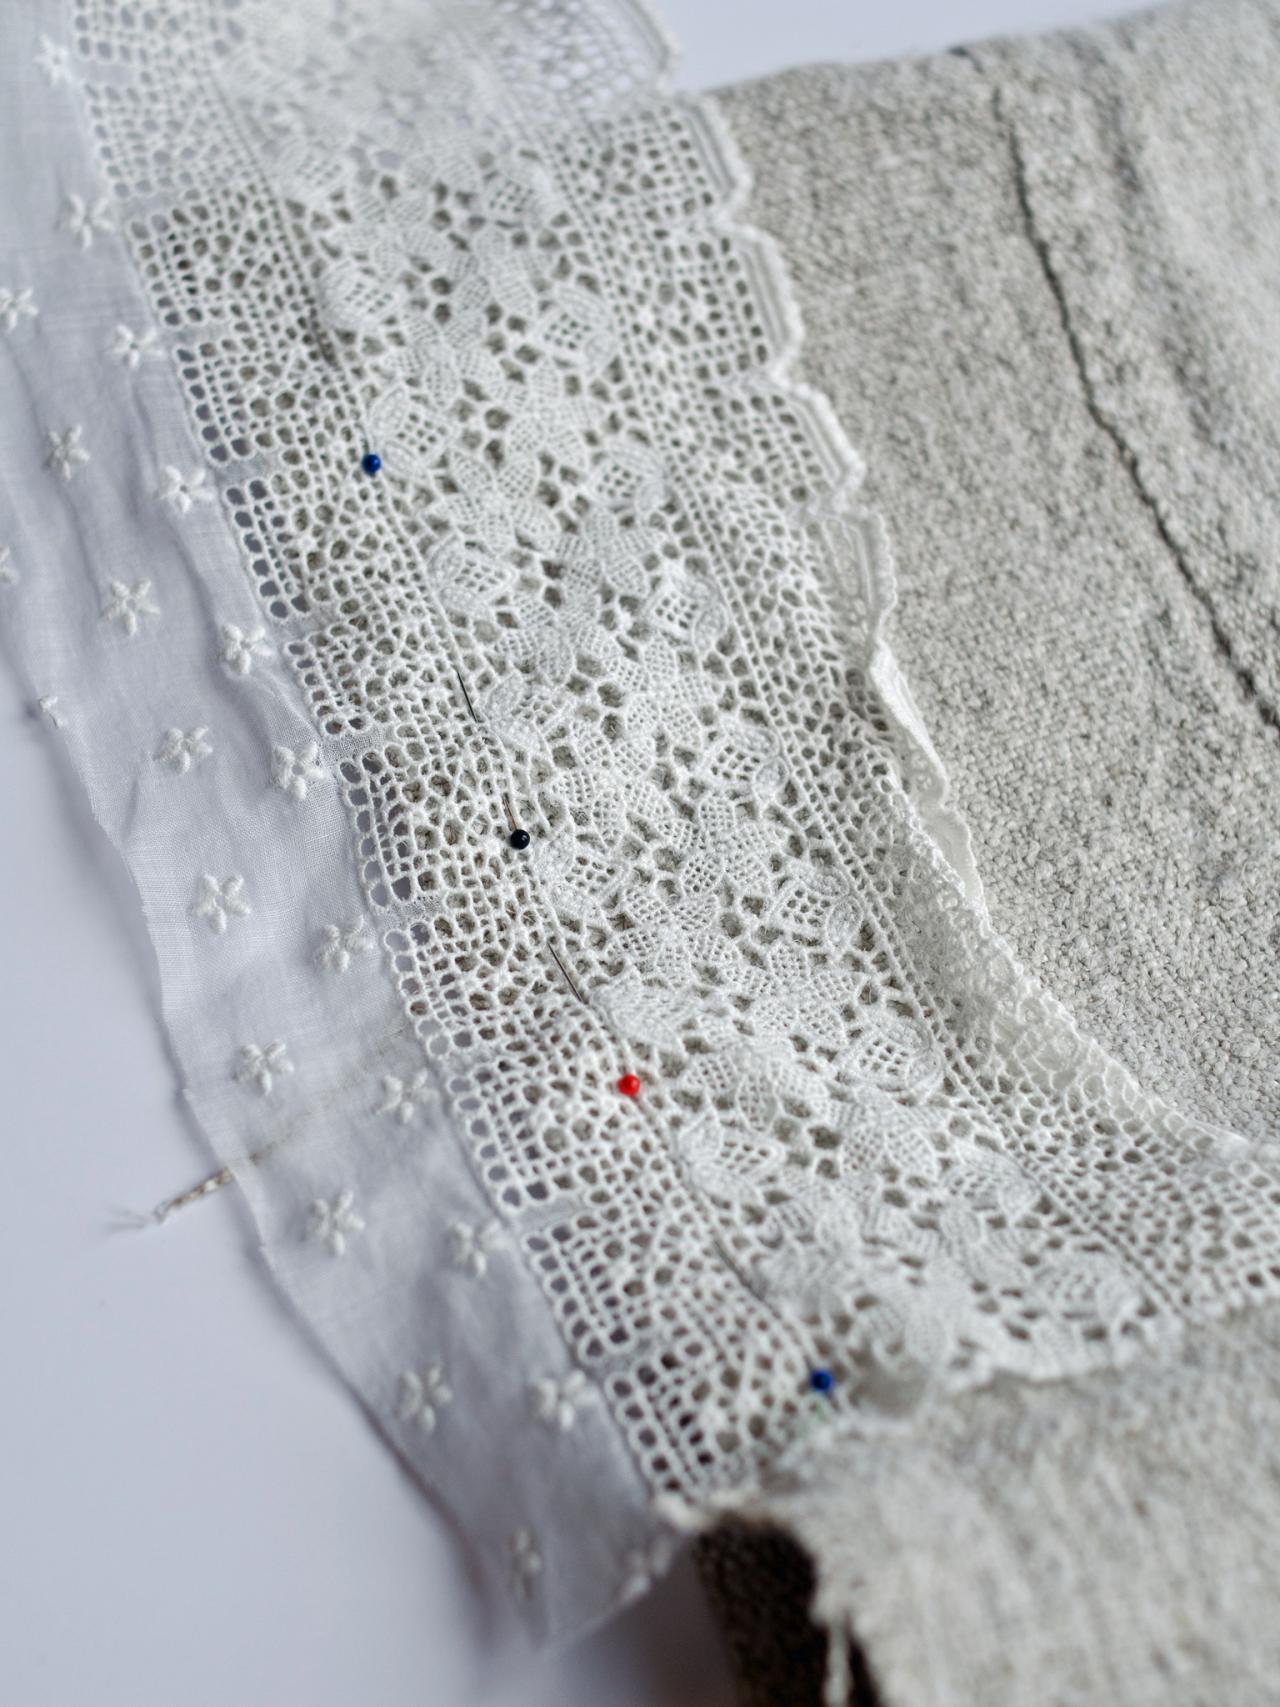
Turn pillow cover right-side out. Pin trim to each side, making sure it's right-side down and that raw ends are facing same direction (Image 1). Cut where trim ends meet, leaving a 1/2-inch overlap for seam allowance. Pin ends together with raw edges facing up and repeat on other side. Sew seam where trim ends meet then remove pins. Sew trim to pillow cover and remove pins (Image 2). Tip: For a more modern look, use piping or cording instead of lace or pleated trim.


Pinning Lace
Sewing Lace
Pin and Sew Ends
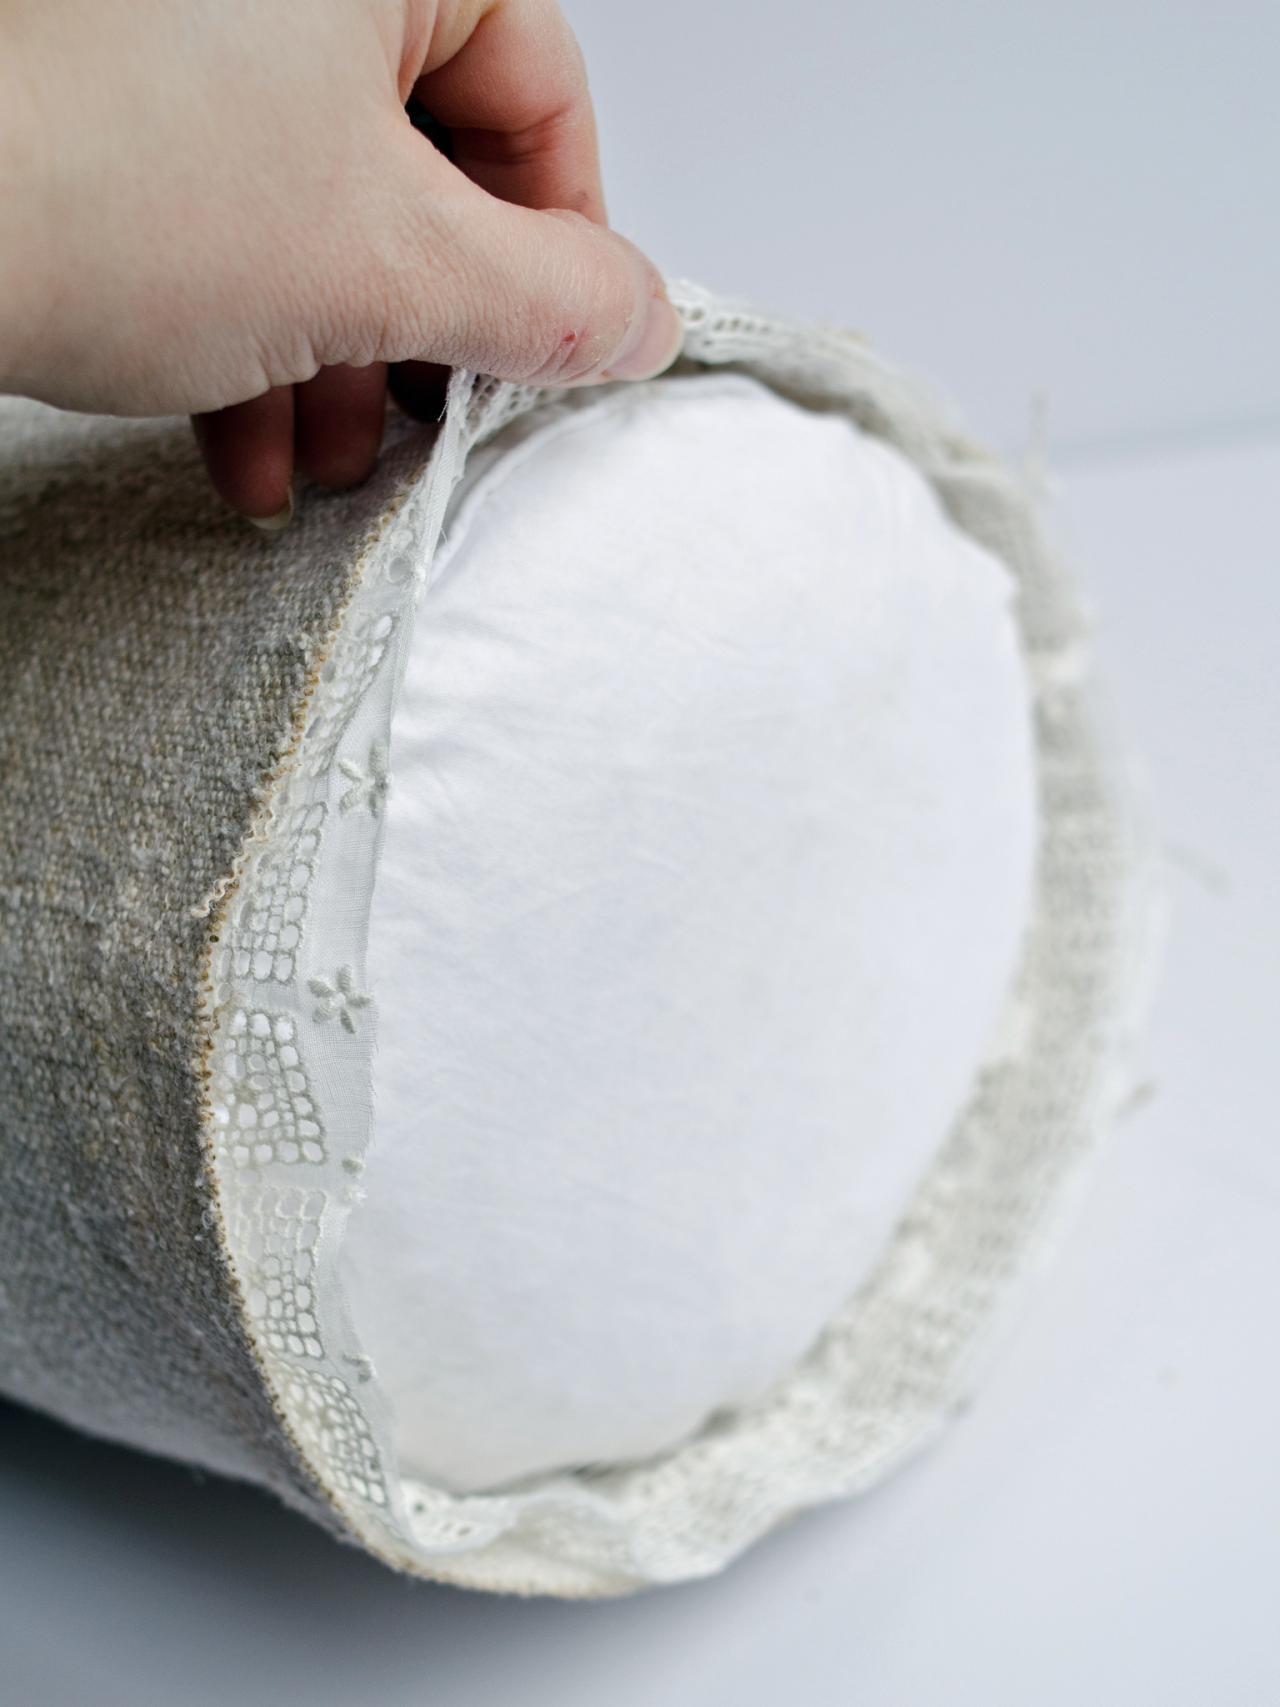
Put one end of pillow cover inside out on pillow form (Image 1). Pin piece of circle fabric to cover, making sure all raw edges are facing out and trim is tucked inside (Image 2). Remove cover and repeat on other side. Sew both ends and remove pins. Turn entire cover right-side out and insert pillow form.


Sliding Bolster Pillow Into Sham
Adding End Piece to Bolster Pillow
Pin and Sew Closed
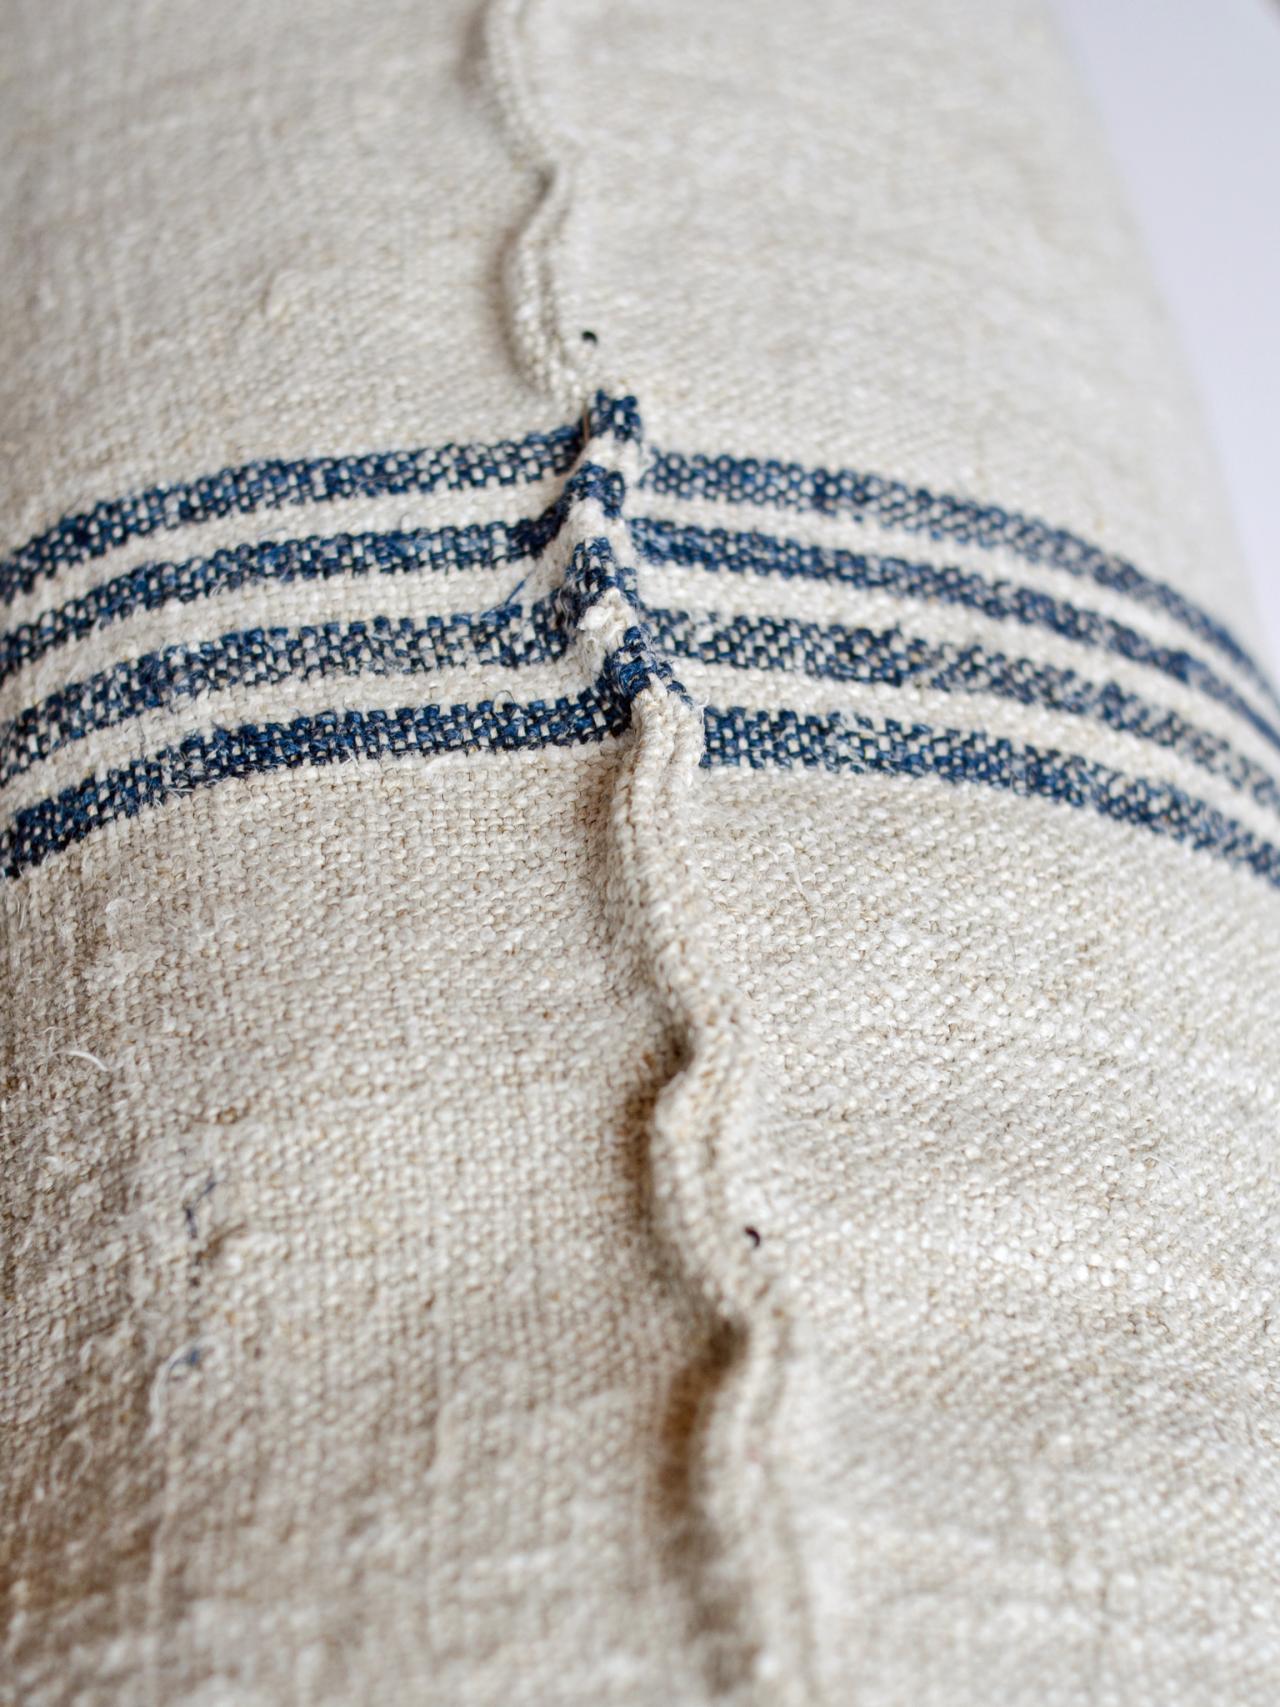
Fold raw edges of opening inside pillow cover, pinch closed and pin every few inches (Image 1). Use a needle and coordinating thread to whipstitch seam closed. Remove pins and trim any loose threads. Tip: For a washable bolster cover, use a tie, button, zipper or even Velcro closure instead of stitching it closed. Finally, place finished bolster on your bed and step back to admire its classic good looks (Image 2).

Pinning Pillow Opening Closed
Traditional Bedroom With Grouping of Platters as Art


